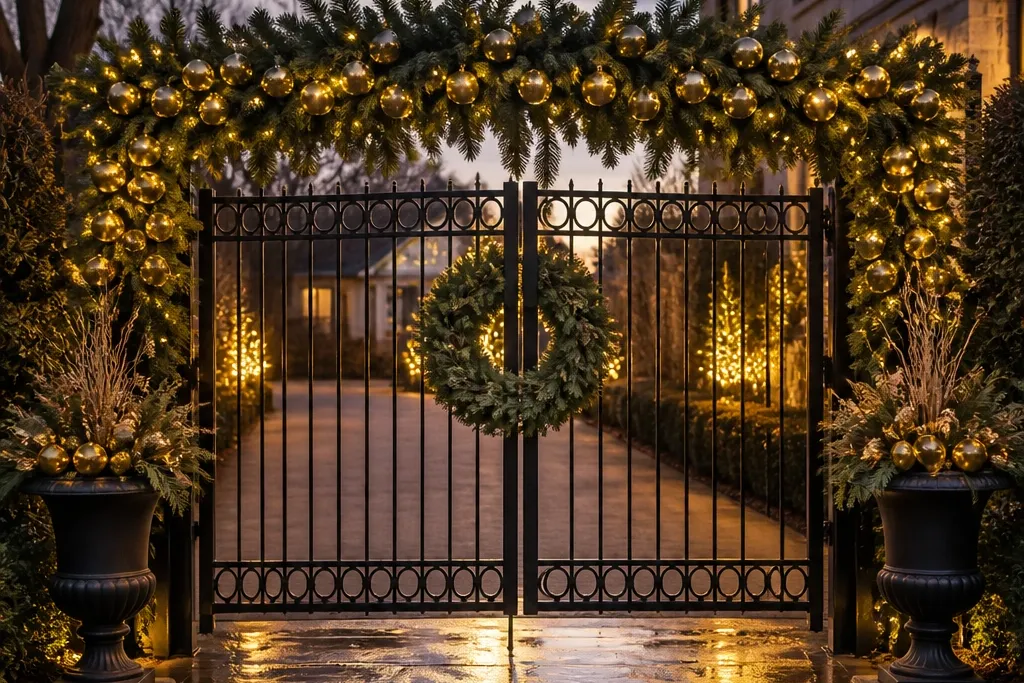
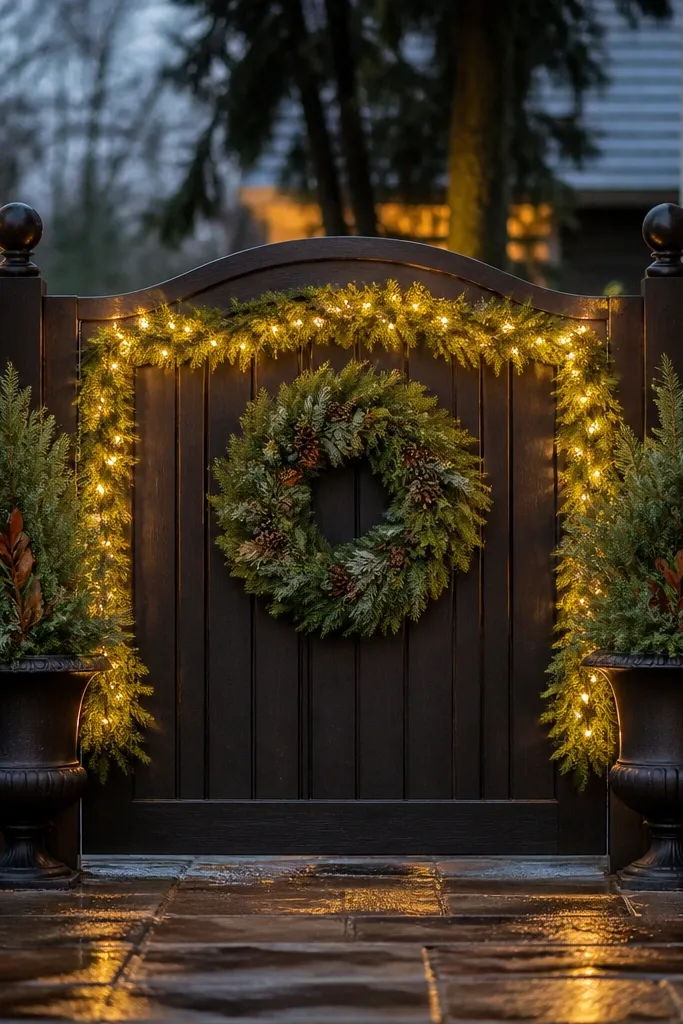
1. Oversized top garland that actually spans the gate
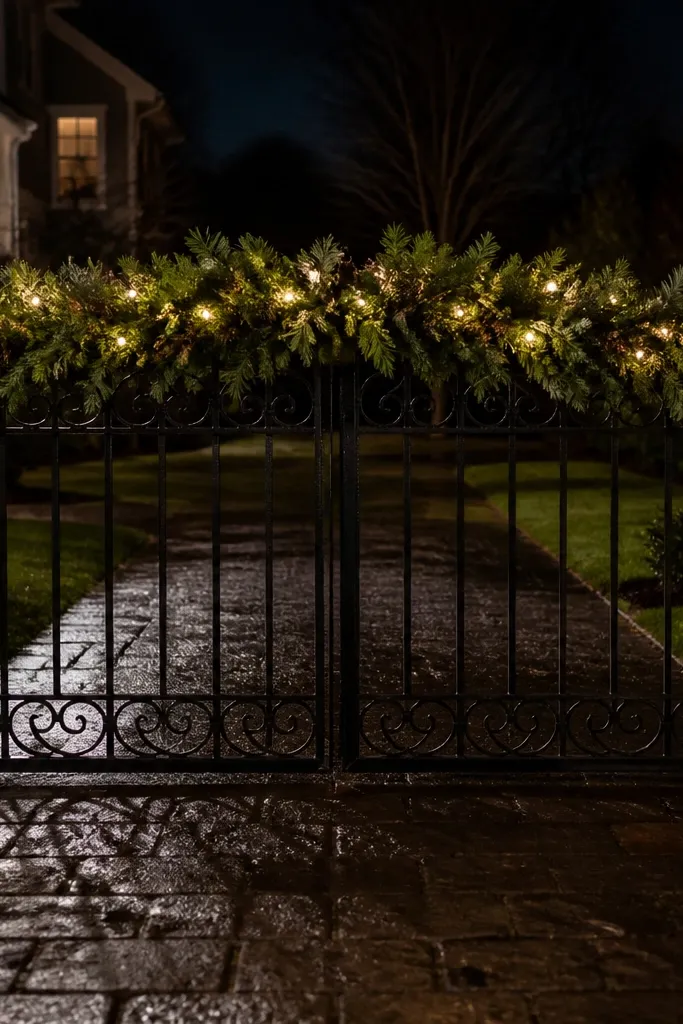
This is the fix for the “my gate looks empty” problem. A gate needs a top line that reads like a border, not a thin suggestion. Use dense outdoor garland that stays full when it’s wet, and run warm white lights along the inside so they glow through the branches. If your gate is narrow, go higher and thicker rather than stretching a thin garland across the whole width. The look is festive because the eye lands on a continuous green band, not scattered bits.
Measure the gate width first — then buy garland that covers it with a little overlap at the ends (about 2-4 inches per side). Attach two to three discreet anchor points under the top rail using zip ties to eye hooks or heavy-duty wire clips, then lay the garland so it sits centered. Finally, thread warm white mini lights through the garland from inside to out, keeping the light spacing even, and secure the last wire end so it can’t slip.
Pro tipAim for a garland depth you can see in photos: if you can’t see branches from the street, it’s too skimpy.
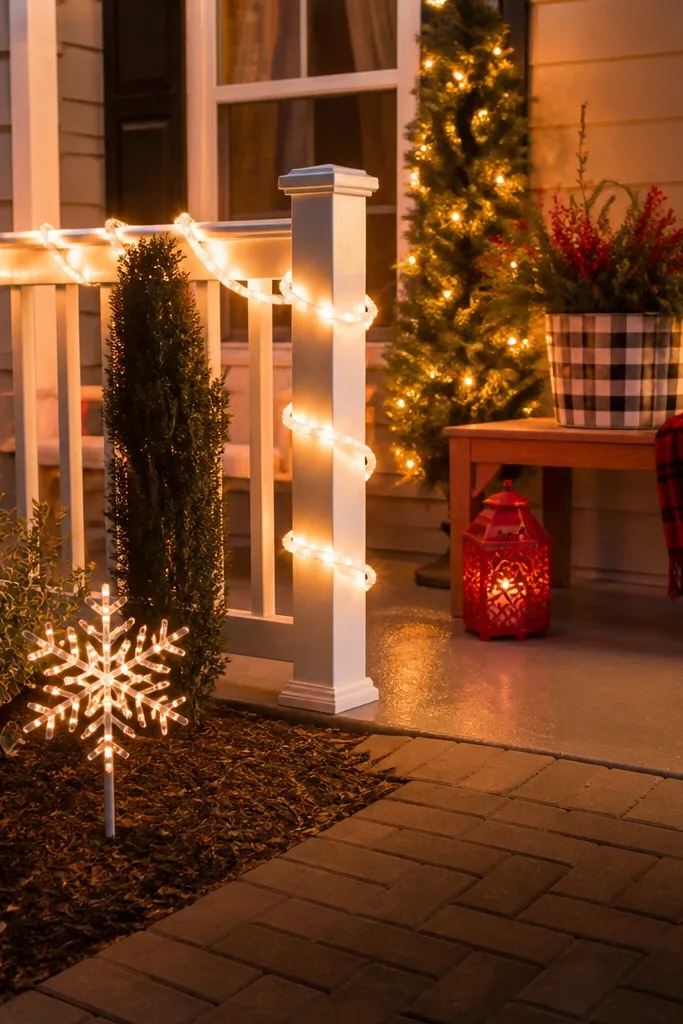
Watch outDon’t use thin garland or “half coverage” — it reads patchy once the lights are off.
2. Wreath placement at eye level, not "where it fits"
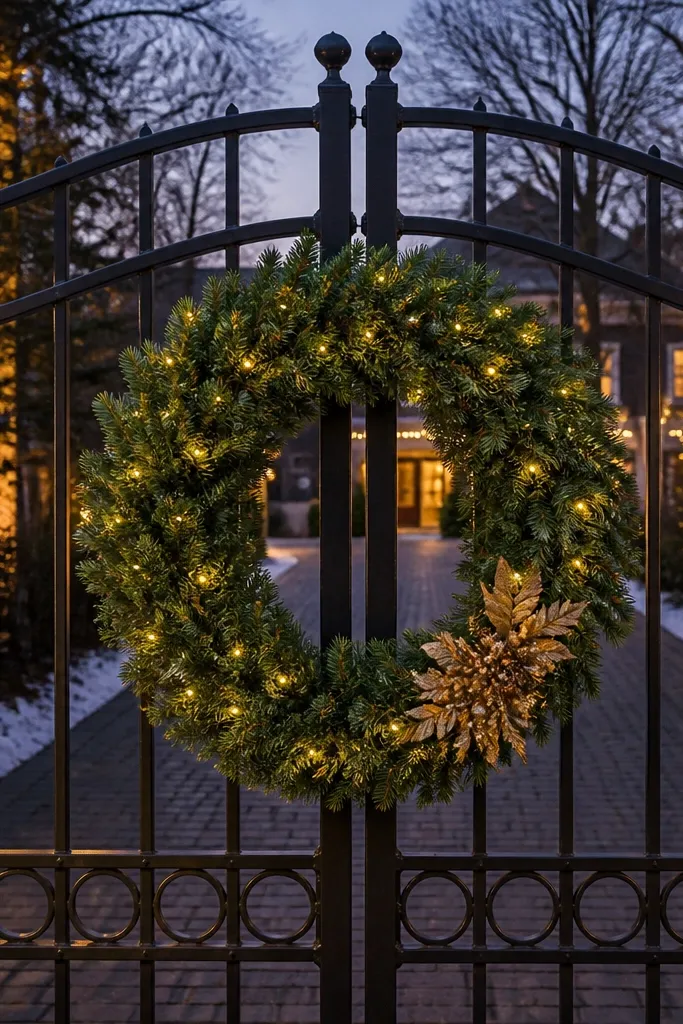
A wreath is a focal point, so placement has to be deliberate. If it sits too high, it looks like decoration stuck to the sky; too low, it gets swallowed by the bottom rail and looks crowded by foot traffic. Center the wreath to the main visual line of the gate — usually around 58-66 inches from the ground depending on rail height. Choose a wreath with enough diameter to hold shape from a distance; a small wreath looks lost against the gate frame. Add a few berry picks or a single ribbon for color so it doesn’t look flat.
Start by marking the center of the gate opening with painter’s tape so you don’t “eyeball” it. Hang the wreath using two points — one on each side of the top rail or on sturdy hooks — so it doesn’t twist. Use outdoor-safe zip ties through wire backing or a wreath hanger that grips the rail, then fluff the branches so the wreath sits evenly and the front faces outward.
Pro tipIf your gate has a decorative pattern, keep the wreath simple and bold so it competes less with the fence details.
Watch outDon’t mount the wreath off-center — that tiny shift is what makes the whole entrance feel sloppy.
3. Side urns or planters with real height and one consistent color story
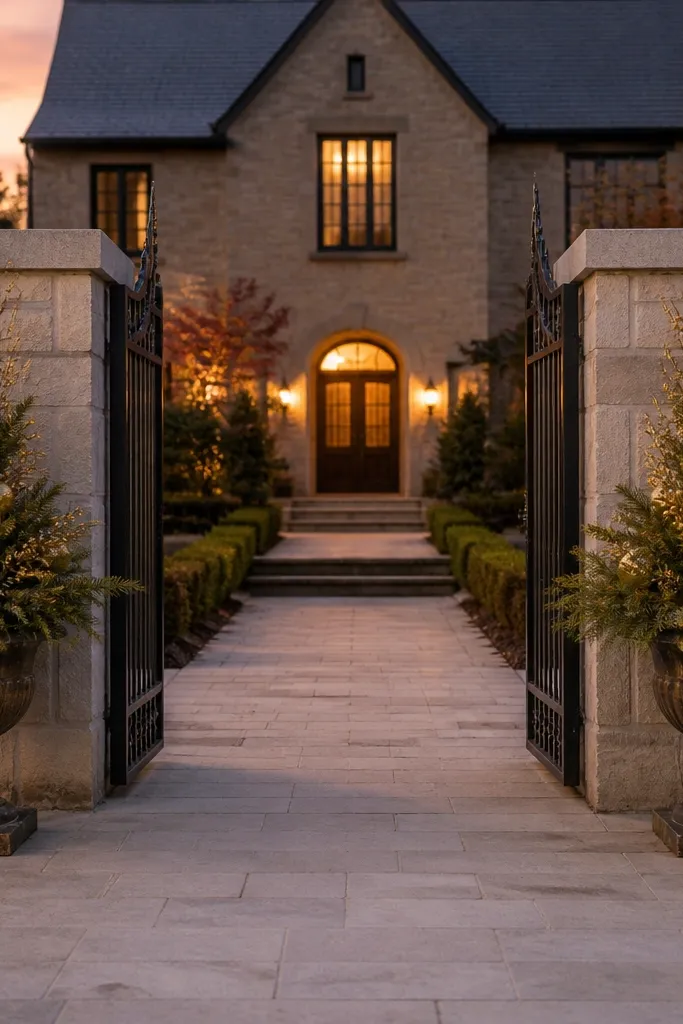
Gate decor looks best when it’s symmetrical or intentionally balanced. Two planters on either side create a natural “stage” and frame the entry, especially if your gate has a wide opening. Use planters that are tall enough to show a silhouette — think 18-24 inches minimum for most residential gates. Choose one accent color direction: red berries and warm lights for cozy, or silver accents and cool lights for crisp. This solves the common problem where side areas are blank and the gate looks heavy in the middle but empty on the edges.
Pick planters with matching shapes and matte finishes so they don’t look shiny and cheap at night. Fill them with a stable base (foam or dense filler) and place a short evergreen bundle in the center, then add berry stems evenly around the perimeter. Secure stems with floral wire, then wrap outdoor string lights lightly around the greens so they glow from within rather than drape across the ground.
Pro tipKeep the top of both planters within 1-2 inches of each other so the photos look balanced.
Watch outDon’t use tiny planters — the sides look like leftovers instead of part of the frame.
4. Warm white lights with controlled spacing, not random blinking strands
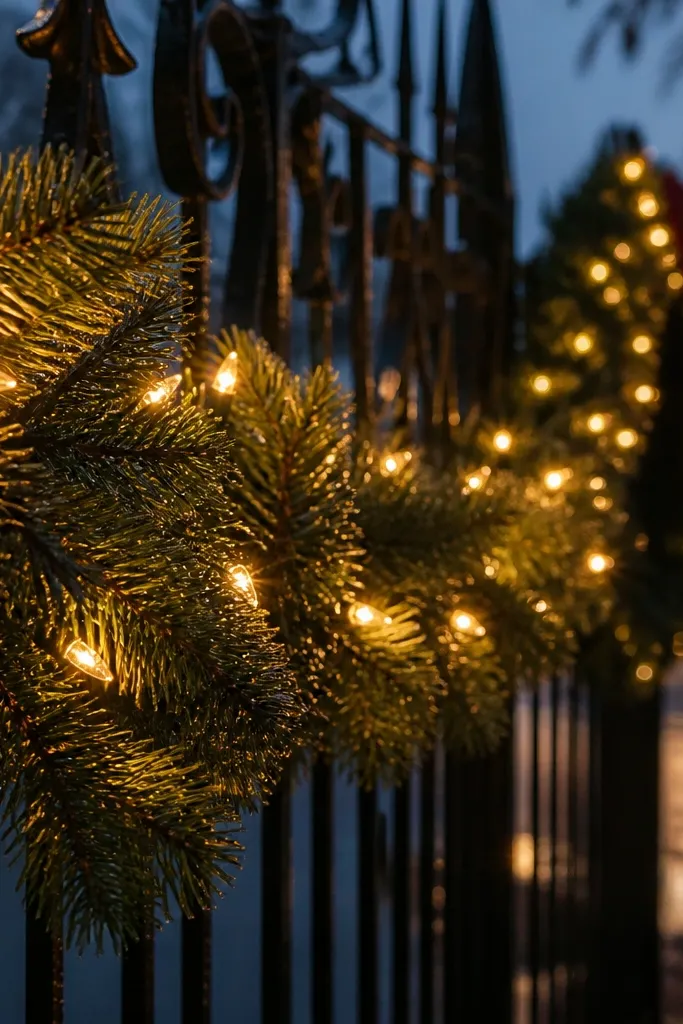
Lighting is what makes gate decor feel designed, especially at dusk. Random blinking strands usually read chaotic on a gate with rails and fence lines. Choose warm white mini lights and keep spacing consistent so the glow looks even across the garland and wreath. If you use a light set with random modes, keep it on steady or warm steady only; the gate should look calm, not like a carnival. Warm white also flatters greens by bringing out pine tones instead of turning everything blue.
Select warm white mini lights rated for outdoor use and check the plug rating for wet locations. Start at the nearest power point and work inward, tucking each light strand behind the garland so it doesn’t show as a separate line. Test before final tying, then secure with zip ties at intervals so the strand can’t slide down when the wind hits.
Pro tipUse one light set style across the gate. Mixing warm and cool white makes the decor look mismatched in photos.
Watch outDon’t hang lights on top of bare wire or rails — you’ll see the strand line and it looks cheap.
5. Ribbon bows that match the gate width, with tails that land at the right height
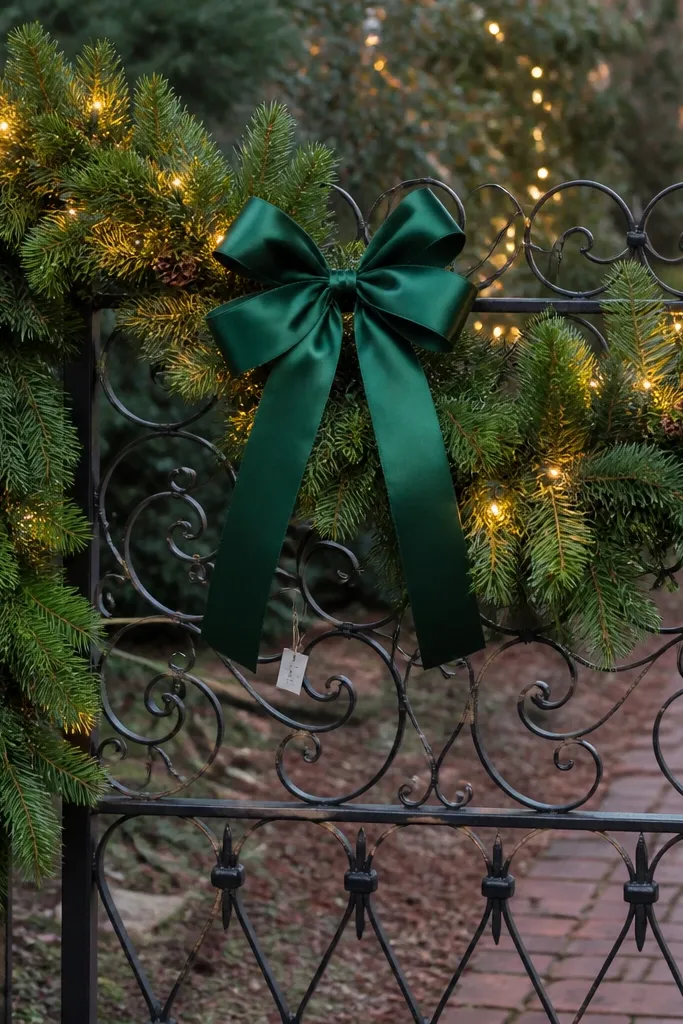
Bows are the “finish” that makes the gate look styled, but only if the size matches the gate. A small bow on a wide gate looks like a gift tag stuck to metal. Pick ribbon width that fits the scale: 2.5-4 inch ribbon for most gates, with tails that end around the mid-rail height. Tie bows with wired ribbon or add a wire frame so they hold shape even when it’s damp. This solves the common look of bows that collapse and twist, turning a neat gate into a lumpy mess.
Measure the space where the bow will sit — usually the center of the top rail or at wreath sides — then choose ribbon length with extra for tails (about 18-24 inches per bow tail set). Make a simple loop bow and pinch the center tightly, then tie it onto the rail with wire or zip ties through the ribbon backing. Fluff the loops and trim tails so both sides hang evenly.
Pro tipIf your gate has vertical bars, keep bow centers aligned with the middle bar so symmetry feels intentional.
Watch outDon’t use thin curling ribbon that can’t hold a shape — it will sag after one storm.
6. One metallic direction: gold OR silver, applied across every detail

The fastest way to make gate decor look “off” is mixing metallic finishes. Silver bells with gold ornaments and a third metal in the lights breaks the visual line and makes the gate feel cluttered. Pick one metal direction and repeat it: gold gives a warmer, cozy look against dark gate iron; silver reads cleaner against light-colored gates. Use it in three places maximum: ornaments, bow accents, and any small picks on the wreath. The gate looks cohesive because the eye keeps finding the same metallic tone.
Choose your metal direction first. Then pick 3-5 ornament picks (small sizes like 1.5-2.5 inches) in that metal and place them on the wreath and garland only. If you use any tinsel or glitter picks, keep them in the same metal direction and remove anything that doesn’t match before you hang the final pieces.
Take a quick phone photo in daylight. If you see more than one metal tone, pull one out before it becomes a night-time eyesore.
Don’t mix matte and shiny metals randomly — it reads like leftovers, not a theme.
7. Anchors that won't show: zip ties, wire hooks, and hidden clips
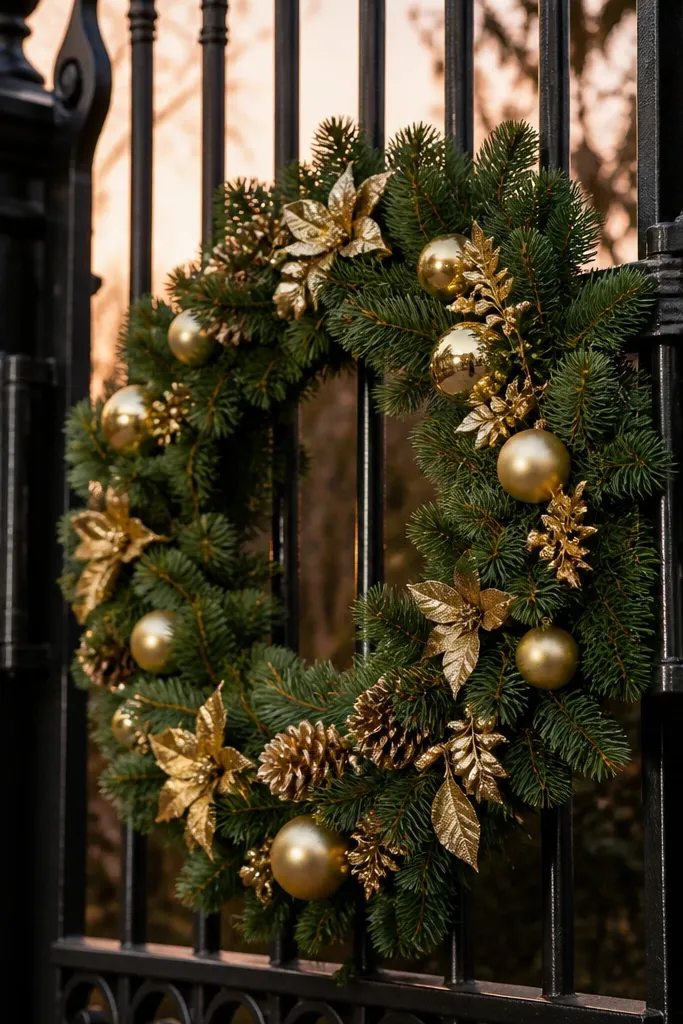
A gate is basically a wind sail. If you tie decorations with visible string or let pieces hang from the front, the whole look becomes messy fast. Hidden anchors keep the garland tight and the wreath level, so the gate stays photogenic even after hours outside. Use materials that grip without ugly knots: black heavy-duty zip ties, wire hooks under the rail, and U-shaped clips that hold garland backing. When anchors are hidden, the gate looks intentional, not improvised.
Plan your anchor points before decorating: mark three spots across the top rail and two points near the sides. Attach black zip ties to the rail first, then loop garland backing into the ties and tighten just enough to remove sag. For the wreath, use two wire hooks or a wreath hanger that grabs the rail edges, then add one extra tie at the bottom so it can’t rotate.
Pro tipUse zip ties with a cut tail and trim them close — sharp ends scratch and look sloppy up close.
Watch outDon’t rely on thin twine or suction hooks — they loosen and the decor shifts overnight.
8. Scale-correct ornament clusters that read as groups, not confetti
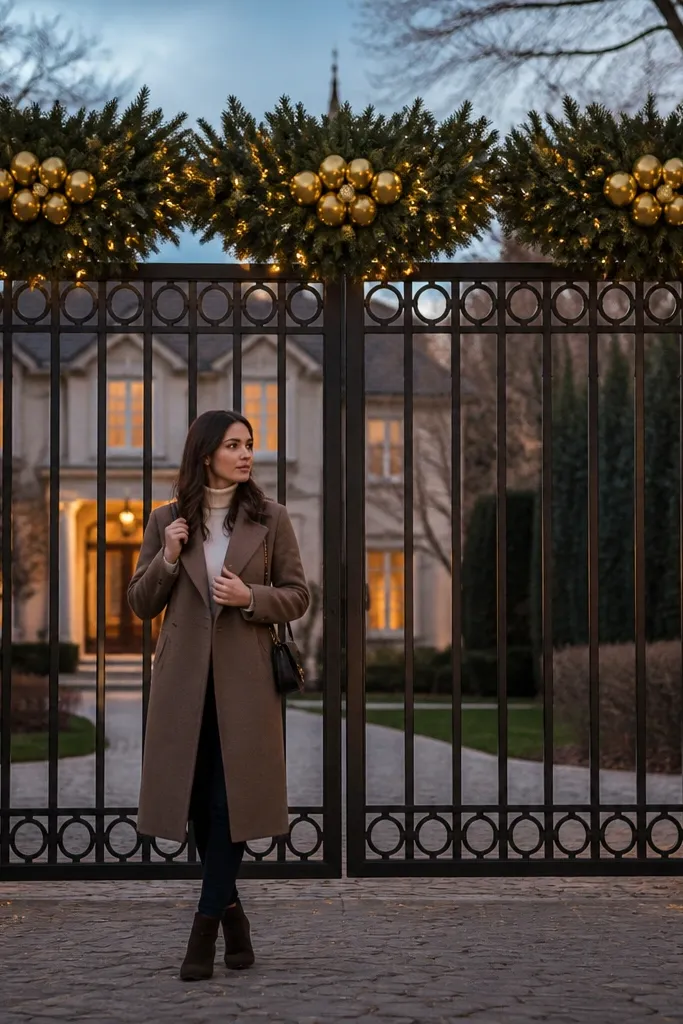
Ornaments look best when they’re clustered in a few dense spots. If you scatter small ornaments across the whole garland, the gate reads busy and the lights get lost. Use 2-3 clusters with similar sizes — for example, three clusters of 4-6 ornaments each — so the gate has rhythm. Choose ornament sizes that match the visible distance: 2-3 inch ornaments for most front gates, and only smaller if the gate is narrow and close to the walkway. This solves the common mistake where the gate looks like it got decorated in a hurry.
Start by deciding where the clusters go: usually left, center, and right on the top garland or around the wreath. Attach ornament picks to the garland backing first using wire loops, then spread the cluster so it forms a small mound of weight. Step back and check from the sidewalk; if the ornaments are too spread out, push them closer until each cluster looks dense.
Keep ornament colors limited to your chosen metallic direction plus one main color like red or berry pink.
Don’t hang one-off ornaments across the entire gate — that’s how it turns into confetti.
9. Weatherproof faux greenery that doesn't shed or go flat
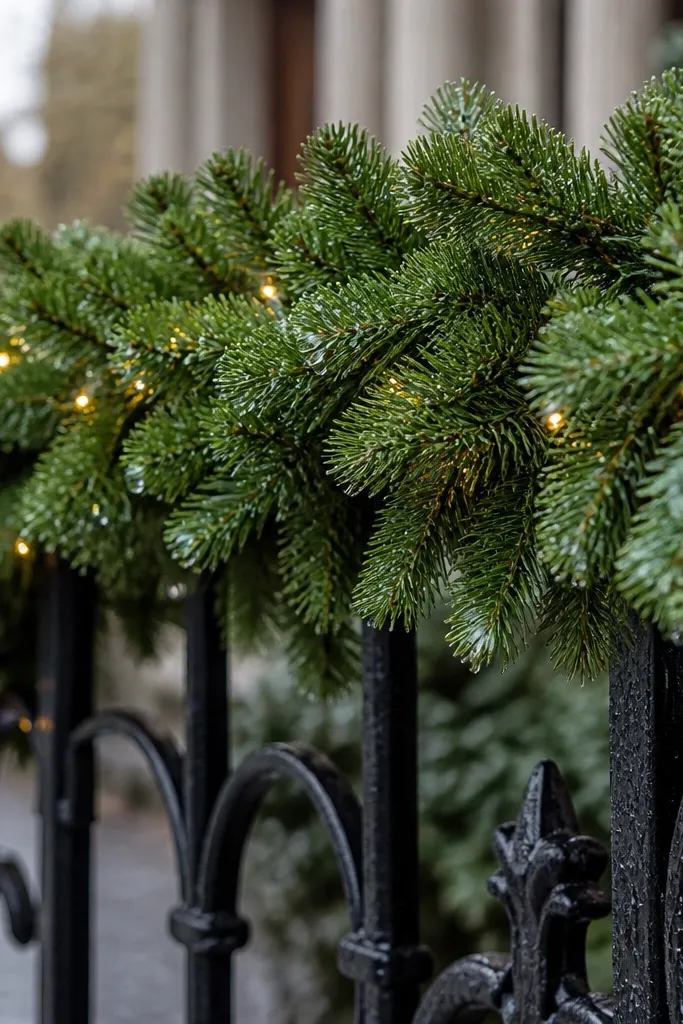
A gate gets sun, wind, and rain, so greenery needs to hold structure. If your greenery sheds needles or goes limp, it looks worse every day and makes the gate look neglected. Choose dense faux evergreens with sturdy branches and a backing that supports the shape. For a clean look, avoid mixes that have very different leaf textures unless you’re intentionally layering. The goal is a smooth, full surface that still looks like a “designed” frame when the lights are on.
Buy greenery in spray or garland form with dense branch coverage and check reviews for “holds shape” or “doesn’t shed” claims. Build the look in layers: first place the main garland or large spray line, then add smaller sprays only where you see gaps. Secure every spray with wire or zip ties to the rail so it can’t slide and expose bare spots after wind.
Pro tipFluff the branches after hanging. It takes five minutes and makes the greenery look thicker in photos.
Watch outDon’t use flimsy greenery that collapses — limp branches ruin the whole aesthetic.
10. A clean bottom rail treatment that avoids dangling strings
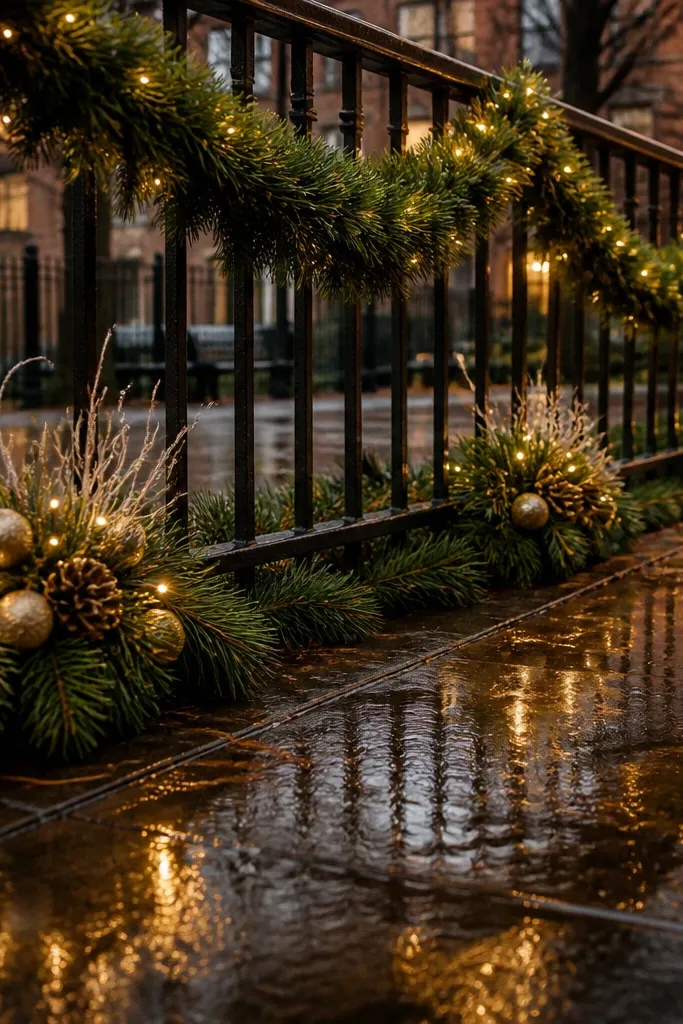
People notice the bottom rail because it lines up with where you walk and where phones capture reflections. Hanging strings, loose extension cords, or dangling decor from the lower bars makes the gate look messy. Instead, treat the bottom rail like a skirting line: wrap a light band of greenery or place two low clusters that stay above the walking line. Keep cords routed behind the rail and secured with clips so they don’t sway. This gives a finished look without the “craft project” vibe.
Route power cords behind the gate frame and secure them with outdoor clips every 12-16 inches. Add a bottom rail layer: either a thin garland band or two low evergreen swags centered on the opening. Attach ornaments to the front-facing greenery only, and keep the lowest decorations at least 10-12 inches above the ground for a tidy silhouette.
Pro tipIf you must decorate lower, use rigid picks or wire-attached greenery so nothing swings.
Watch outDon’t let light cords or ornaments hang freely from the bottom — it looks untidy in motion.
11. Gate signage-free design: let the decor do the talking
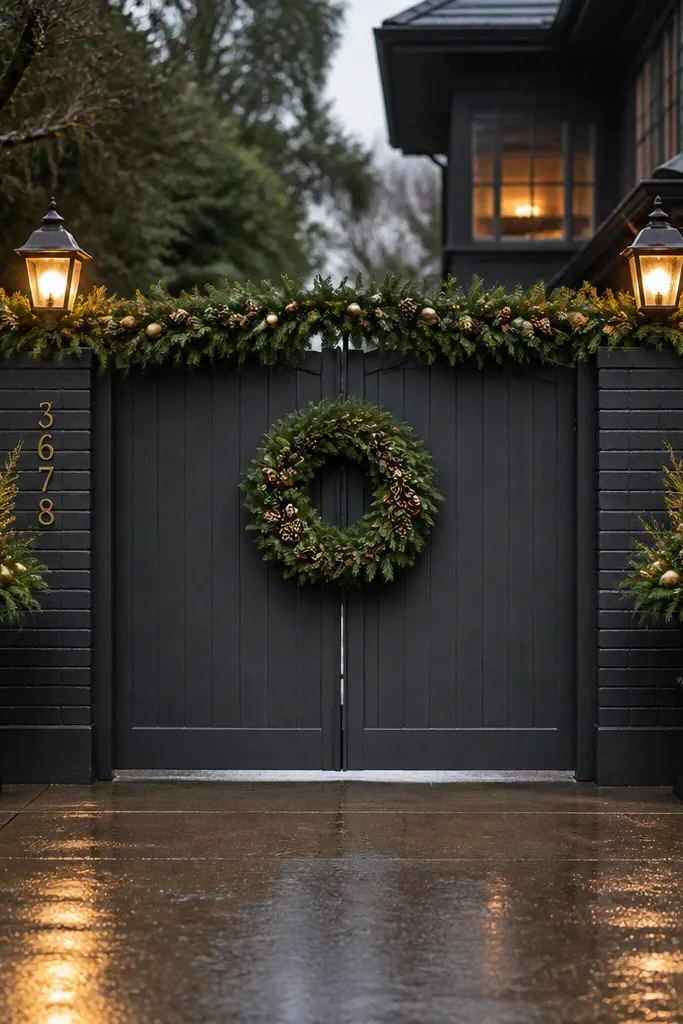
Text signs and extra add-ons often steal attention from the gate’s main holiday frame. If your gate already has house numbers or a fence pattern, a “Merry Christmas” sign can make the whole entrance look crowded and less premium. Aesthetic gate decor wins with fewer elements: one wreath, one top garland, two side accents, and controlled lighting. Keep any seasonal labels off the gate and instead use color cues — berries, ribbon, and ornament picks — so it reads festive without clutter. This solves the common mistake where the gate looks like it has too many competing decorations.
Take a quick inventory of what’s already on the gate: numbers, hooks, planters, and any existing holiday items. Remove or relocate any text signage that sits in the same area as the wreath or top garland. Then build your final set with a simple rule: one focal point at center, one supporting element on each side, and lighting that runs behind greenery rather than on top.
Pro tipIf you want a greeting, put it on the door or inside a porch frame, not on the gate itself.
Watch outDon’t add multiple signs plus garland — the gate becomes busy and less photogenic.