1. Book-Riser Laptop Stand with Linen Desk Mat
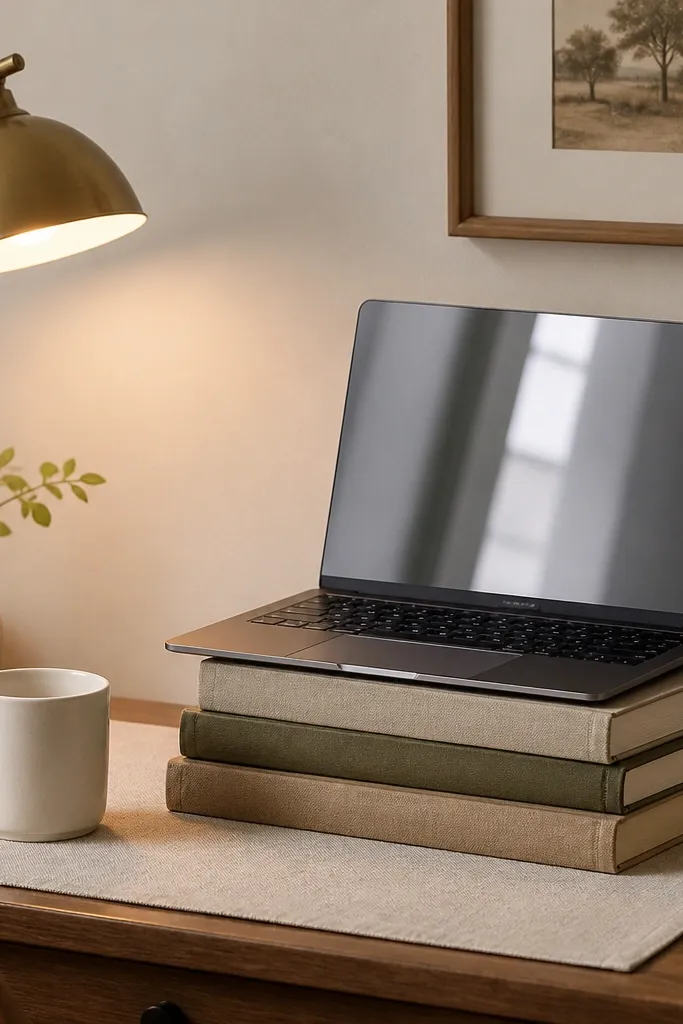
This setup solves the biggest beginner work from home set up problem: the laptop screen is too low, so your eyes and neck get tired. I used a book riser because it’s cheap and you can adjust height in minutes. The linen desk mat adds texture so the space doesn’t look like “just a work station.” Warm brass lighting makes the whole area feel cozy even during long calls.
Stack three hardcover books with similar thickness so the laptop sits steady; aim for the top of the screen around eye level when you’re seated. Use a desk mat sized roughly the width of the keyboard plus a few inches on each side. Pair the linen mat with a brass or bronze lamp and keep the mug white or cream to keep the look clean.
Pro tipAdd a thin keyboard stand or a separate compact keyboard so your wrists stay neutral; you’ll feel the difference by day three.
Watch outAvoid stacking random paperbacks that wobble — it looks messy and your laptop will slide.
2. Monitor on a Wood Riser with a Cable Sleeve Track
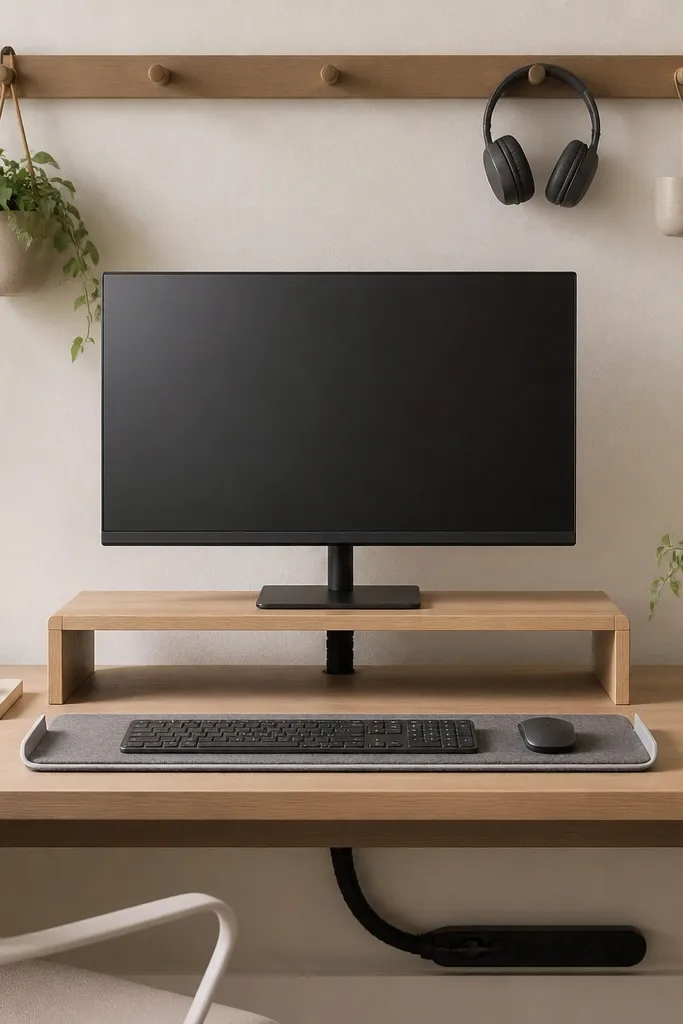
When cords are visible, the whole room looks unfinished, even if the desk is pretty. A cable sleeve track makes the setup look built-in. The wood riser adds warmth and keeps the monitor from looking like it’s floating on a bare desk. I like a neutral tray because it gives your desktop a “designed” boundary.
Use a monitor riser in oak or bamboo and keep the sleeve the same direction on both sides so it looks intentional. Place a power strip under the desk and route cables to the back of the riser. Use a tray that matches your desk finish — gray on gray, warm wood on warm wood.
Label one end of your cable sleeve with painter’s tape so you can swap chargers without tracing cords.
Avoid letting the cable sleeve hang loose in loops — it looks bulky and steals visual space.
3. Wall-Mounted Shelf Desk for Small Rooms
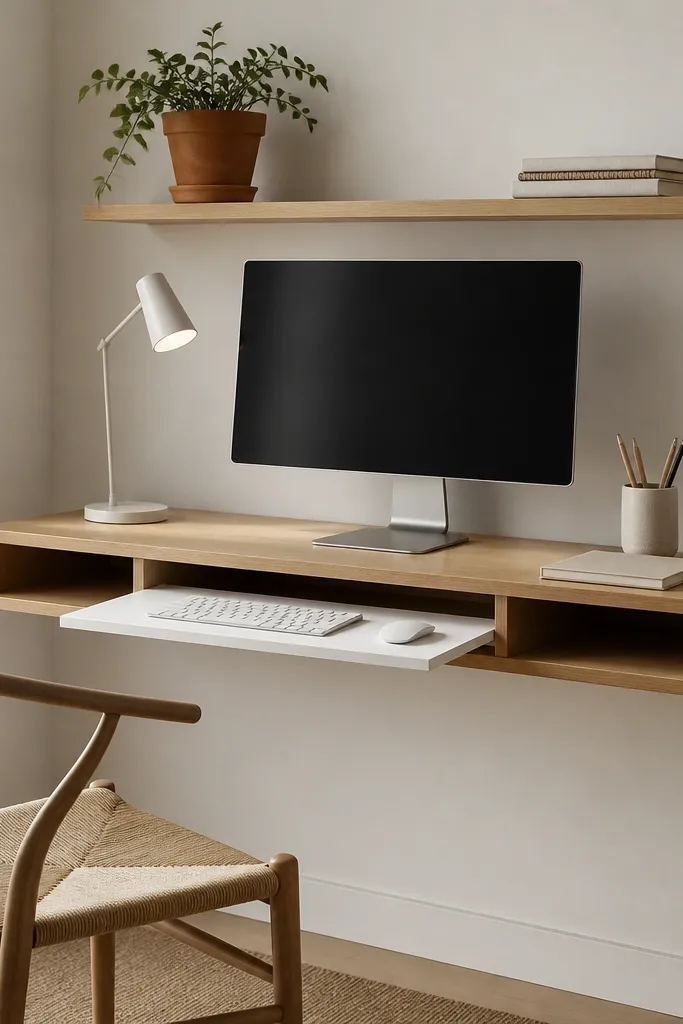
If your floor space is tight, a wall-mounted shelf gives you a clean, office-like backdrop. It also helps you hide clutter because the underside can hold a small bin and power strip. The slim keyboard tray improves posture and makes the setup feel more “real desk” than “work surface.” A terracotta plant adds color without taking up much room.
Mount the shelf at a height that puts your elbows near 90 degrees when seated. Choose a shelf at least 24 inches deep if you use a monitor; shallow shelves force you to sit too close. Add a keyboard tray or lift the laptop with a stand so your wrists don’t angle downward.
Use a matte lamp shade (not glossy) so you avoid glare on your monitor at night.
Avoid placing the monitor on the very edge of the shelf — it looks unstable and you’ll bump it constantly.
4. IKEA-Style Drawer Desk with Open-Top Lidded Trays
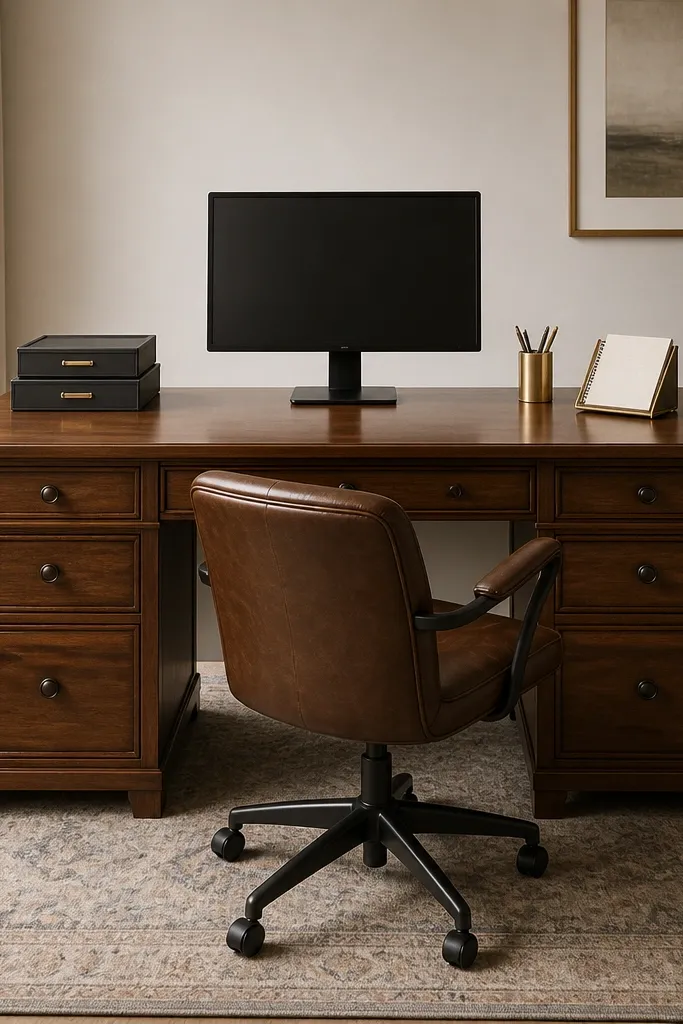
Drawer storage makes a beginner work from home set up look polished fast because the mess goes away. On top, use lidded trays so daily items don’t spill across the desk. This is the style I use when I have clients on video calls and my workspace needs to look consistent. Add a small rug under the chair to reduce the “bare office” feel.
Choose two trays: one for writing tools and one for tech (cables, USB drives, adapters). Keep the monitor centered and the pen cup on the left or right, not dead center. Use a rug with a low pile so it doesn’t snag chair wheels.
Keep only three visible items near the monitor — everything else lives in a drawer or lidded tray.
Avoid open bins of loose paper — they look like storage, not a work area.
5. Rattan Chair + Neutral Cushion + Desk Mat Combo
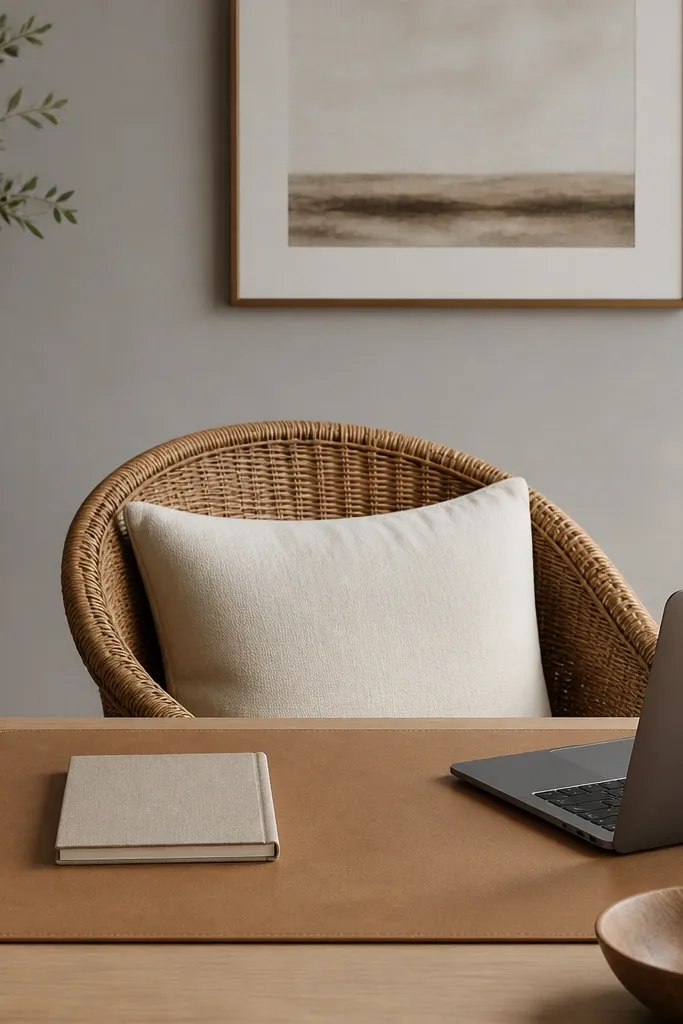
This look feels styled because the textures match: rattan weave, soft cushion fabric, and a desk mat with a subtle grain. Texture is what makes a beginner work from home set up look expensive without changing your whole furniture list. The cushion also makes long work sessions more comfortable, which means you actually use the setup daily. I pair it with a matte lamp and neutral accessories so the textures don’t fight.
Pick one neutral base color — cream, oatmeal, or light taupe. Match the desk mat finish to the cushion tone (leather-look in tan works well with cream). Keep your wall art simple: one medium frame, not a gallery wall that looks busy on camera.
Choose a cushion with a washable cover if you spill coffee — the look stays fresh.
Avoid mixing shiny finishes everywhere; glossy chair legs plus glossy desk accessories look cheap in photos.
6. Two-Tone Desk: White Surface with Black Accessories
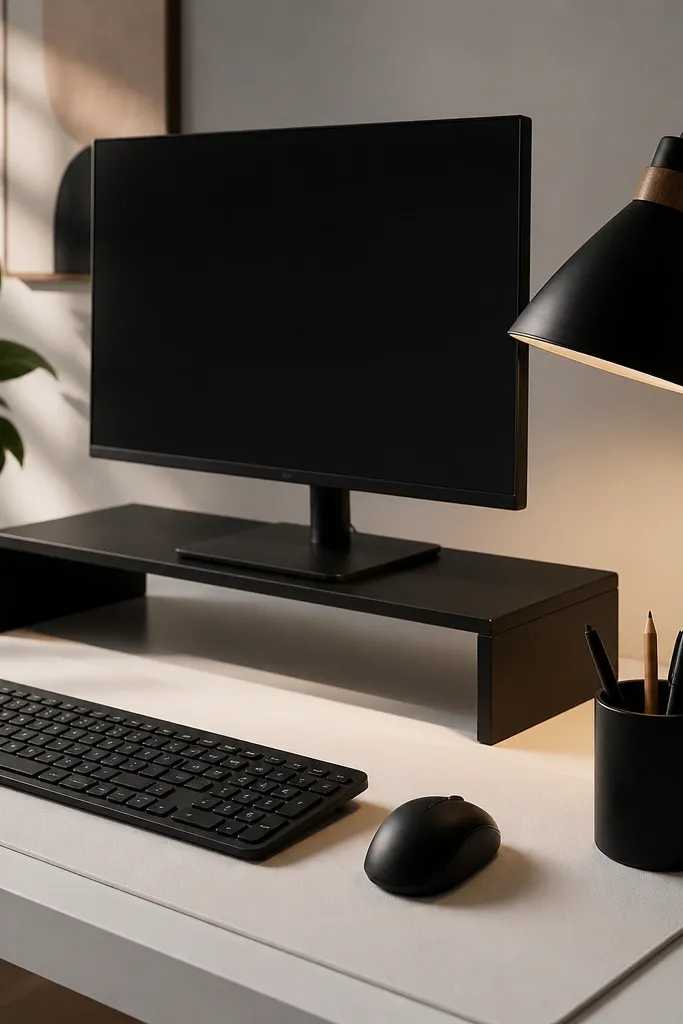
Two-tone setups are clean and easy to repeat, which matters for a beginner work from home set up. White gives you visual space, and black accessories create contrast so the desk reads like a cohesive system. I used this combo during a move because it hides wear on furniture — scratches in the white are less noticeable than on dark wood. Warm wood in the lamp base ties the look together.
Use one desk surface color and stick to black for your small items: pen cup, keyboard tray, cable ties, and lamp. Keep the desk mat either white or black, not both. If your chair is dark, add a small cream throw or cushion to balance the visual weight.
Put all black items within a 12-inch radius so they look like a “set,” not random purchases.
Avoid adding too many colors; three or four tones is where beginners start to lose the clean look.
7. Corner Setup with a Floor Lamp and Side Table Organizer
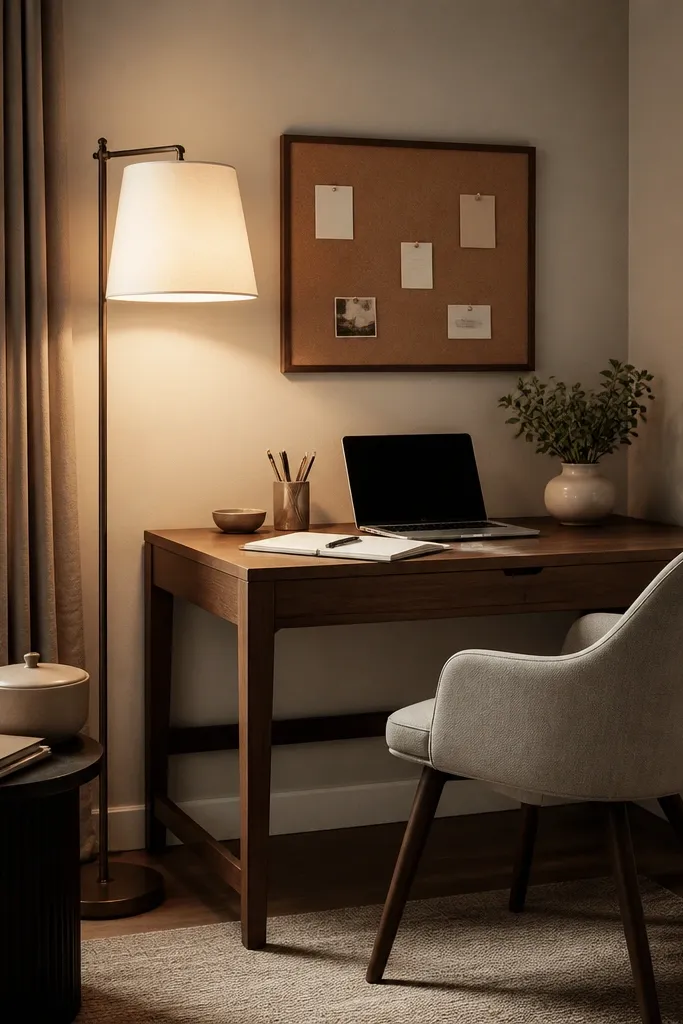
Corners look intentional when you use one strong light source and keep the desk aligned to the wall. A floor lamp helps you avoid overhead glare and gives you a warm evening mood for calls. The side table organizer adds storage without crowding the desk surface. Corkboard notes add personality without clutter because the pins stay contained.
Place the lamp so it lights the desk from the side; aim the shade slightly downward. Use a corkboard that’s about the width of your monitor so it visually frames the setup. Keep the side table within arm’s reach for paper or reference books.
Pro tipUse binder clips on your corkboard for cables or small adapters so you don’t hunt through drawers.
Watch outAvoid stacking papers on the corner edge of the desk; the corner shows every stray sheet.
8. Open Shelf Backdrop with One Color-Blocked Book Stack
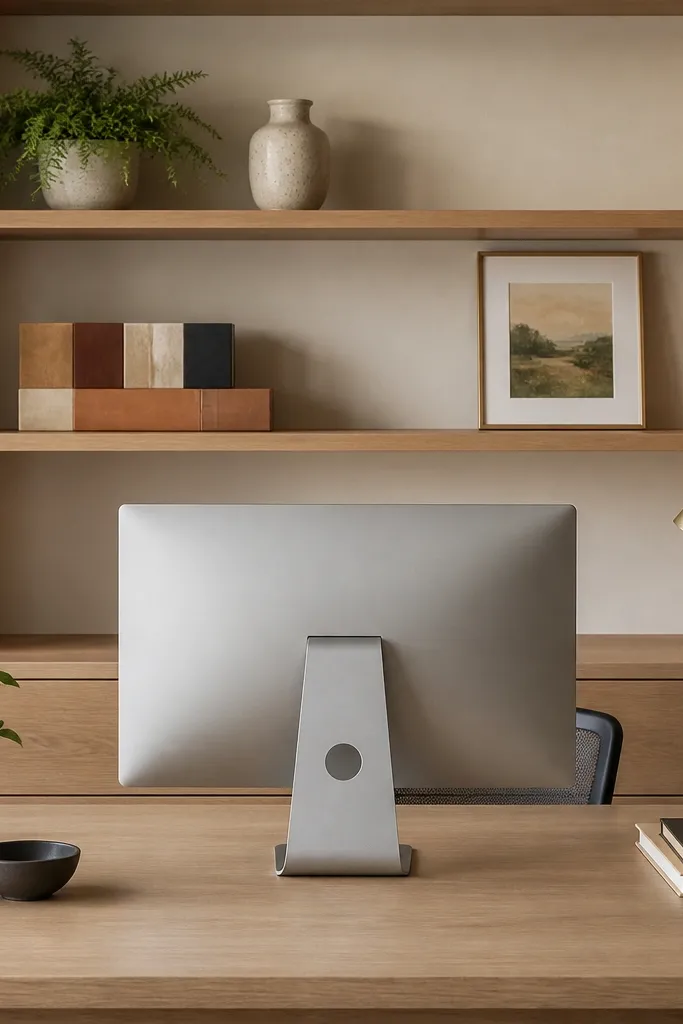
A backdrop makes your beginner work from home set up look styled because cameras pick up what’s behind you. I like keeping the shelf calm with only five items max. A color-blocked book stack adds order — the spines become a designed pattern instead of random clutter. When the shelf matches your desk color family, the whole room looks cohesive.
Choose books with two main colors (for example, cream and muted blue) and stack them vertically so the spines align. Place the plant slightly off-center so it doesn’t look symmetrical and stiff. Keep the vase matte and small; shiny ceramics throw glare on calls.
Dust the shelf once a week — the difference between “pretty” and “neglected” is usually dust.
Avoid filling every shelf slot; empty space is what makes the few pieces look intentional.
9. Glass Terrarium + Small Plant for a Clean Desk Green
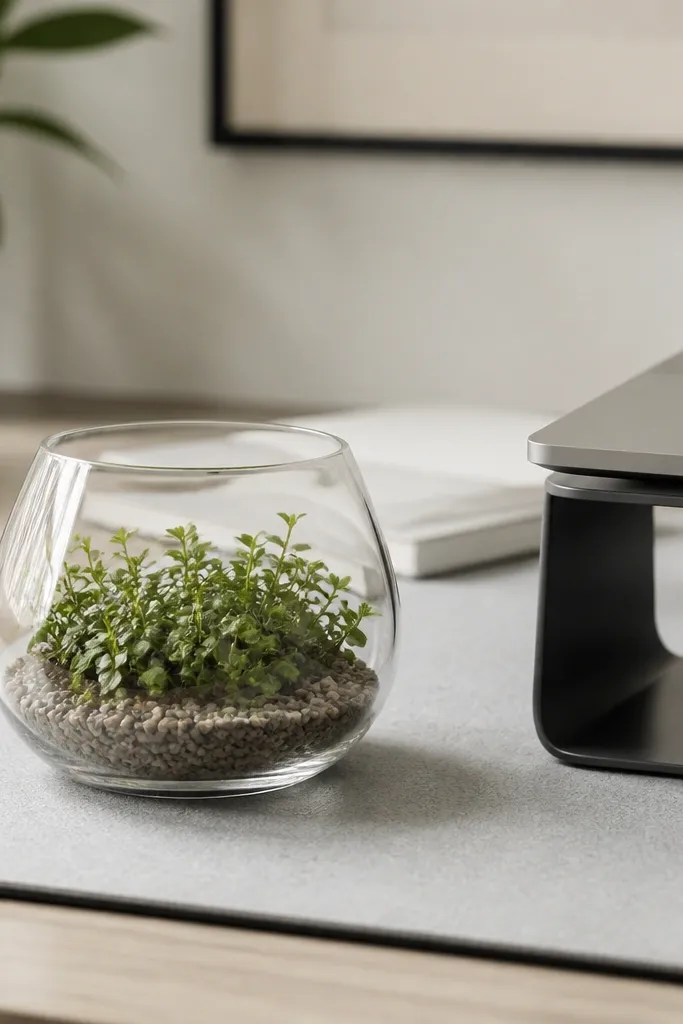
If you want plants but you hate watering chaos, a terrarium keeps the look tidy. It also creates a focal point that feels calm during work. The glass reflects light softly, which makes the setup feel brighter without adding more clutter. I pair it with one plant only so the desk stays streamlined.
Pick a low plant that fits the terrarium size — don’t cram it. Use a tray under the terrarium if your desk surface is wood or laminate to protect against water spots. Keep the terrarium on the non-mouse side to avoid knocking it.
Mist lightly once, then stop; overwatering is what turns terrariums cloudy and messy.
Avoid a large plant on a tiny desk — it steals space and makes your keyboard feel crowded.
10. Framed Grid Print at Eye Level with a Simple Clipboard
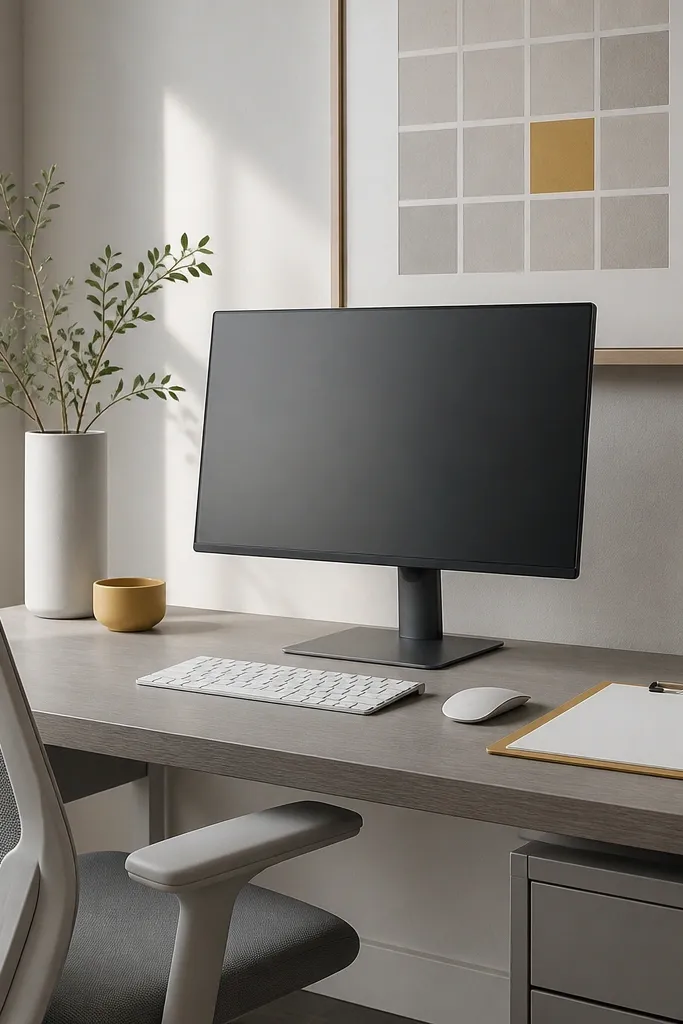
This is a trick I use when the room behind the desk looks blank or ugly. A framed print at eye level creates a clean background and hides messy walls. The clipboard keeps your daily paper visible but organized, which helps if you reference notes all day. A mustard accent in one item adds warmth without turning the whole setup into a craft project.
Hang the frame so the center lines up roughly with the top third of your monitor. Use a simple mat (off-white or light gray) so it doesn’t look like a cheap poster. Pick one accent item — a mustard notebook or pen cup — and keep the rest neutral.
Pro tipUse a dry-erase sheet on the clipboard for tasks; it stays tidy even when you erase.
Watch outAvoid heavy patterned prints if your desk already has textures; the background will fight for attention.
11. Standing Desk Look with a Simple Height-Adjusted Setup
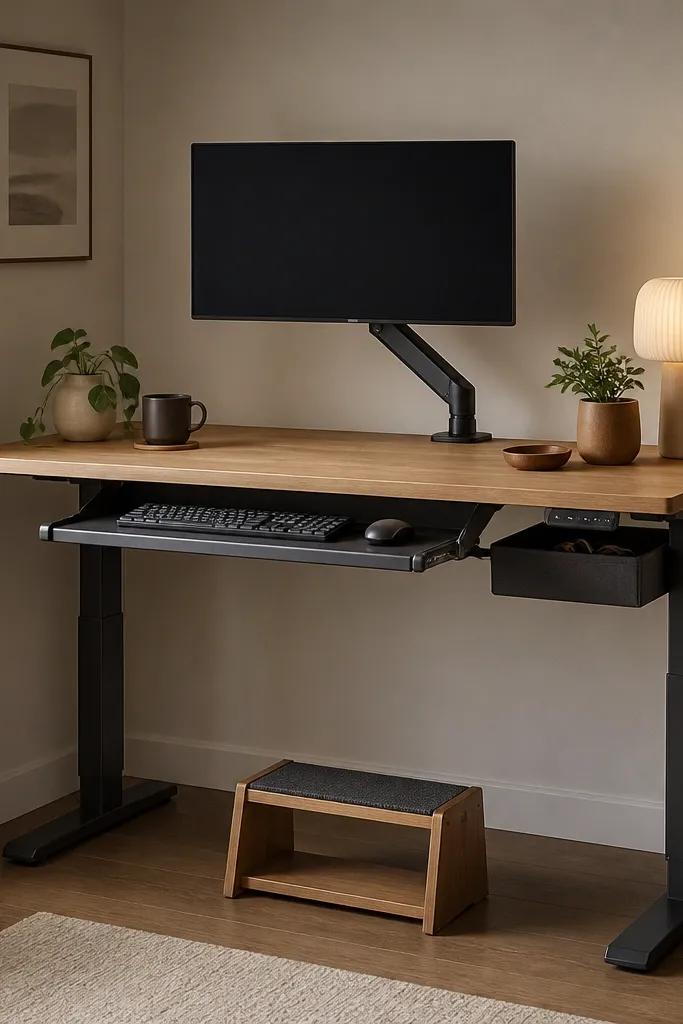
A standing desk makes work feel more energetic, but the look only works if the monitor stays aligned. With a monitor arm, you keep the screen steady while you adjust height. A keyboard tray makes the setup feel intentional and prevents your wrists from bending awkwardly. This is one of the easiest beginner work from home set up upgrades that looks modern fast.
Set monitor height so the top is around eye level at your seated height. Keep the keyboard tray so your elbows are about 90 degrees. Add a drawer organizer under the desk for adapters and extra cords so the standing setup doesn’t look cluttered.
Use a footrest or step under the desk; it makes standing feel less tiring after 60 minutes.
Avoid mounting the monitor too low while standing; you’ll end up tilting your head constantly.
12. Pegboard Organizer Wall with Minimal Shelves
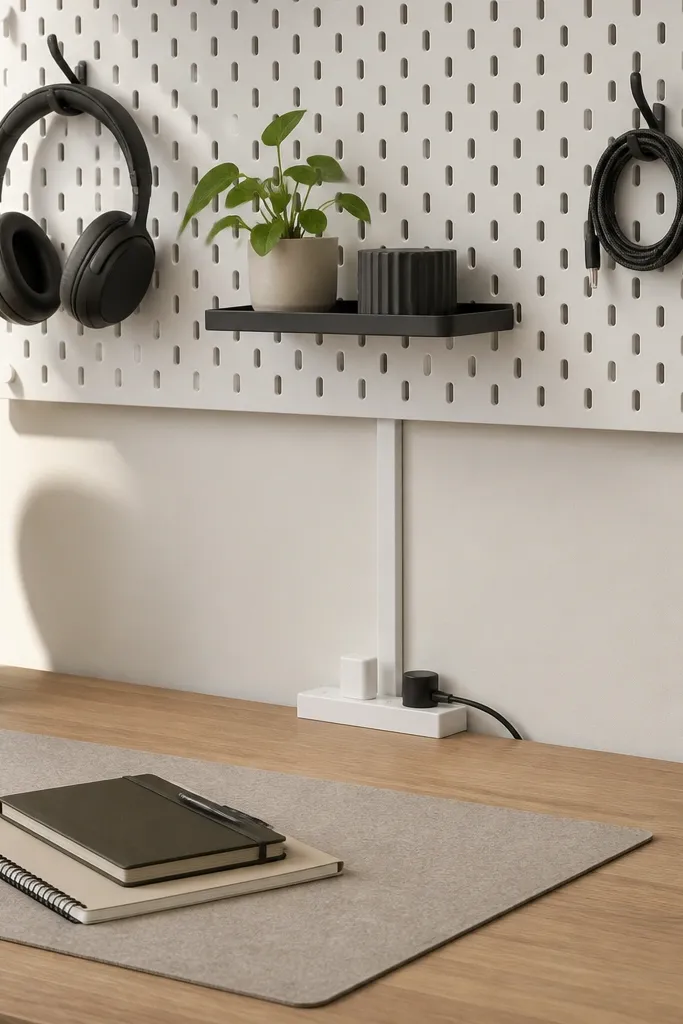
Pegboard makes a beginner work from home set up look like a real studio because everything has a spot. The hooks let you hang headphones, a cable, or a small bag so they don’t land on your desk. Minimal shelves keep the visual clutter low, and the pegboard grid gives structure to the background. It also solves the “where do I put this?” problem during busy weeks.
Use a pegboard color that matches your wall (white pegboard for white walls). Mount hooks so the hanging items don’t block your monitor view. Add one small shelf for a plant or a picture frame, and keep everything else on hooks.
Pro tipPaint or add a matte finish if your pegboard is glossy; glare from pegboard shine shows up on camera.
Watch outAvoid overcrowding the pegboard; five items max behind the desk looks clean.