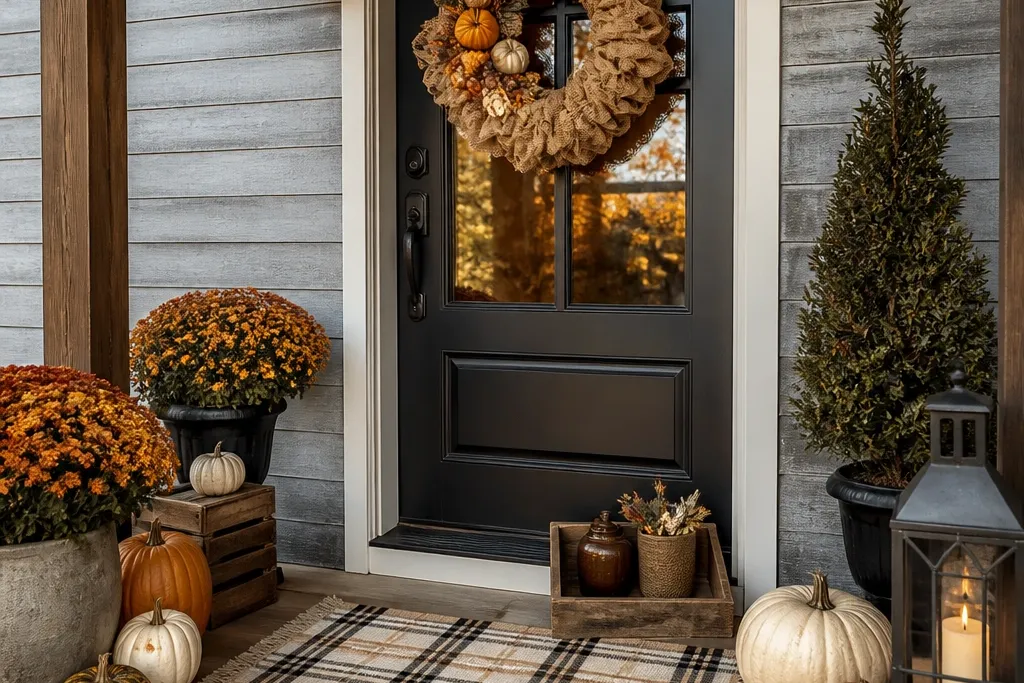
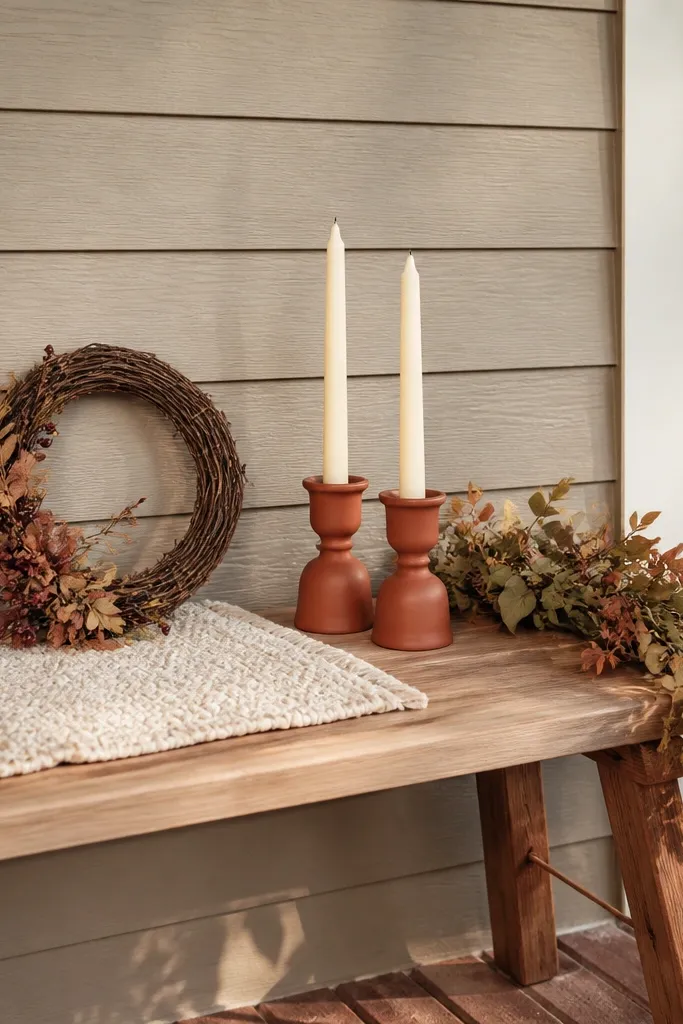
1. Burlap Wreath + Cream Plaid Door Mat Combo
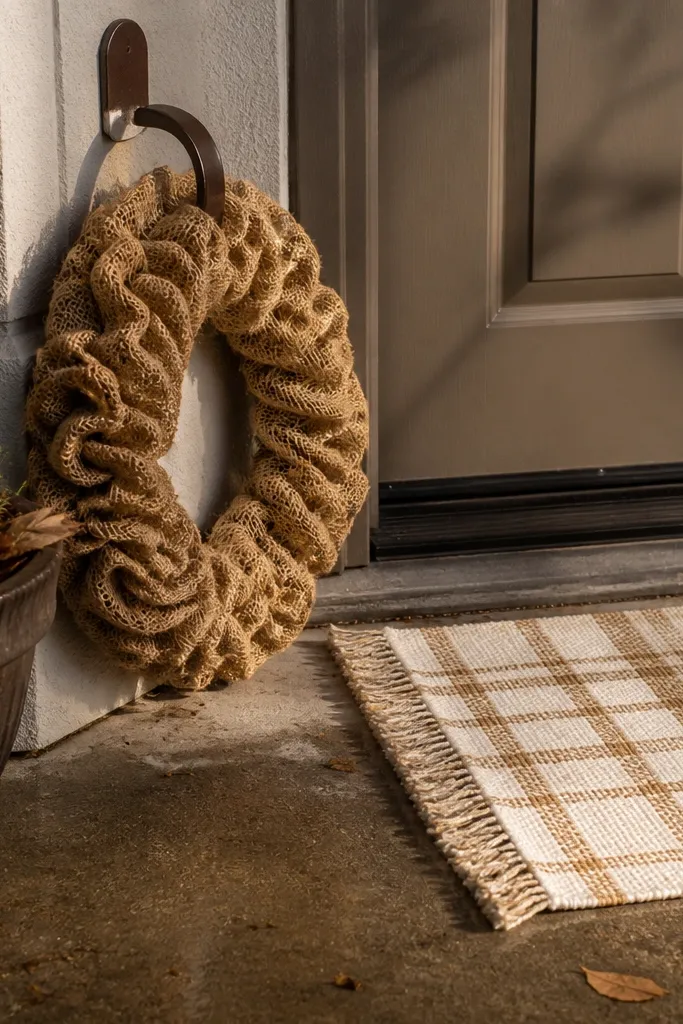
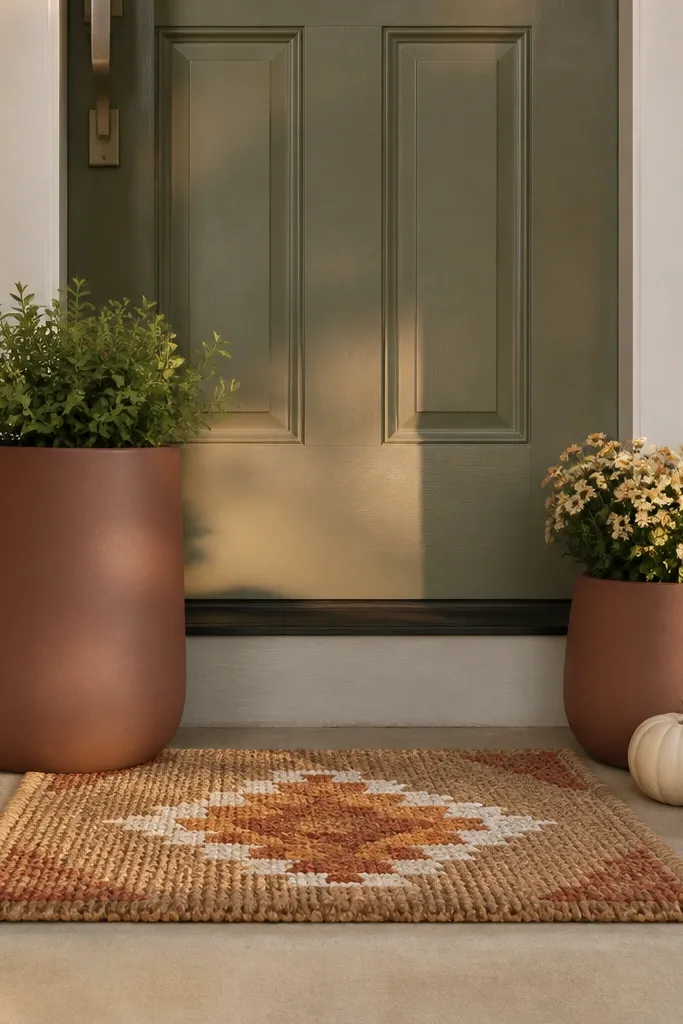
This setup works because it gives you two strong visual anchors at eye level and ground level. The burlap wreath brings that autumn texture without needing lots of extra pieces, and the cream plaid mat keeps the entry looking bright instead of muddy. I’d pair a wreath that has a simple ring shape with a mat in cream, oatmeal, or light tan so the doorway reads clean. Add one small detail — like a rust-toned ribbon or a couple of faux fall stems — only if it still looks neat from the sidewalk. It’s quick, photogenic, and easy to swap year to year.
Hang the wreath first. Center it on the door and keep the wreath’s outer edge roughly 6-10 inches above the door knob height. Then place the doormat so there’s a 1-2 inch gap between the mat and the door threshold so it doesn’t bunch up. If your porch is concrete, wipe the surface so the mat lies flat; if it’s wood, use a non-slip mat pad underneath to prevent sliding.
Use a ribbon that matches one color in the mat (rust, tan, or espresso) so the whole entry feels coordinated.
Skip wreaths with too many competing colors — if the wreath and mat both have loud patterns, it looks busy fast.
2. Two Lanterns on the Steps With Warm Amber Bulbs
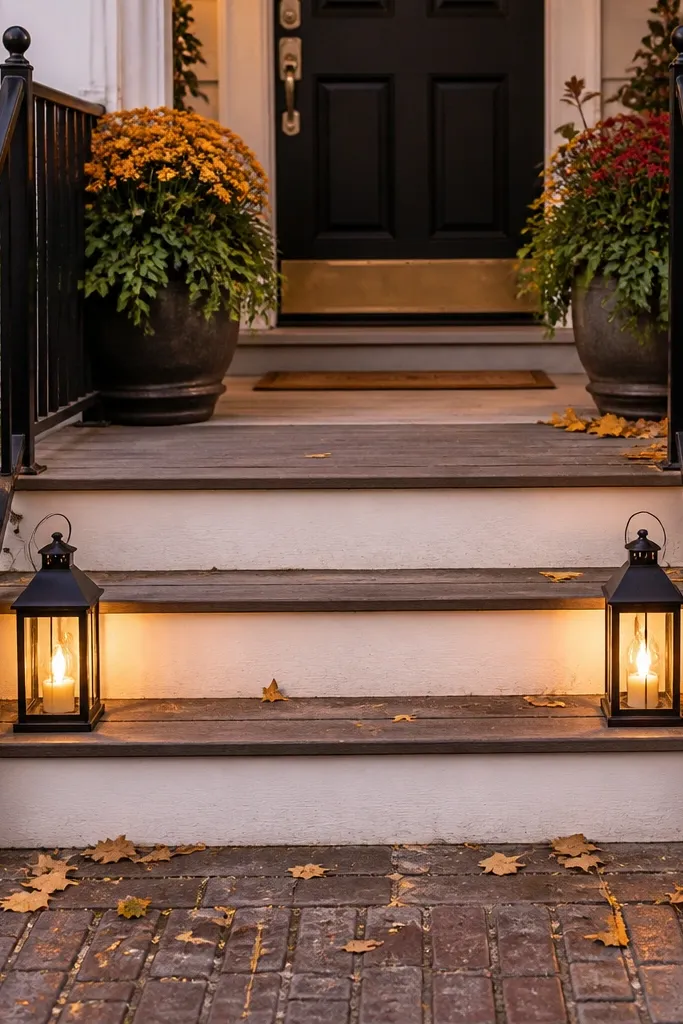
Place the lanterns first. Set them about 6-8 inches from the edge of each step so they don’t hang over and get bumped. Then add lighting: use battery candles for quick setup or warm LED bulbs if you have power nearby. Finally, choose one filler detail inside each lantern — a short strand of faux eucalyptus or a few fall leaves — and keep it small so it doesn’t spill.
Lanterns are the quickest way to make a front porch look cozy at night, and they photograph well in the daytime too. Choose two lanterns that match in finish — black metal, dark bronze, or weathered gray — so the symmetry looks intentional. Put them on the outer edges of the steps so they frame the entry and guide the eye toward the door. Use warm amber bulbs or flameless candles inside for that soft glow without worrying about flames. This is especially good if your porch feels plain or you don’t want to commit to lots of greenery.
Watch outDon’t mix lantern finishes (like one brass and one chrome) — it makes the porch look assembled, not styled.
Pro tipIf you use flameless candles, pick ones with a warm, flicker-style flame and keep the height similar between both lanterns.
3. Railing Garland in One Color With Matching Ribbon Bows
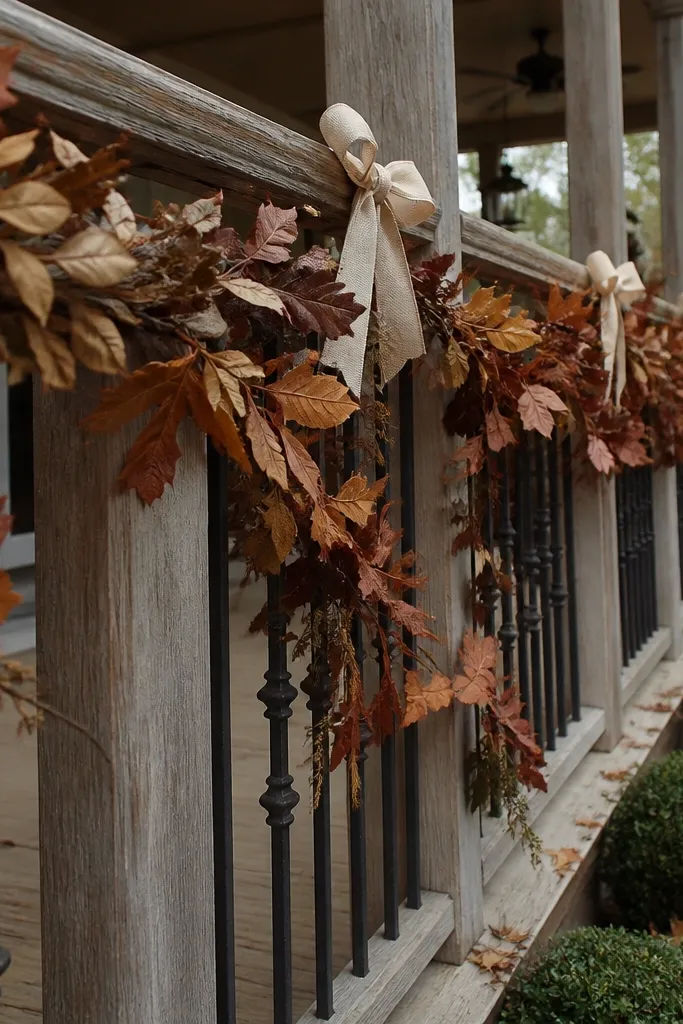
Drape the garland along the railing before you secure anything. Start at the left corner, then work across to the right, keeping the garland’s lowest points about level with the top of your doorframe (or about 12-18 inches below the top of the railing). Next, fasten with clear zip ties or outdoor twist ties hidden behind the railing. Tie small ribbon bows every 2-3 feet, then trim any long ends so the tails hang neatly.
A railing garland instantly adds “finished” energy without taking up floor space. Go for one main color family like rust-brown with small touches of cream or tan so it looks cohesive. Choose a garland that has a mix of leaf shapes and a matte finish; shiny plastic leaves can look cheap under porch lighting. Tie matching ribbon bows at consistent intervals so the look reads styled, not thrown up. This is a strong choice for porches with narrow entryways where you can’t fit big planters.
Watch outAvoid mixing too many colors in the garland — you want one autumn palette, not a craft-store assortment.
Pro tipUse ribbon in a single width (like 1.5-2 inches) so the bows look uniform in photos.
4. Step Planter Pair With Mini Pumpkins and Mums
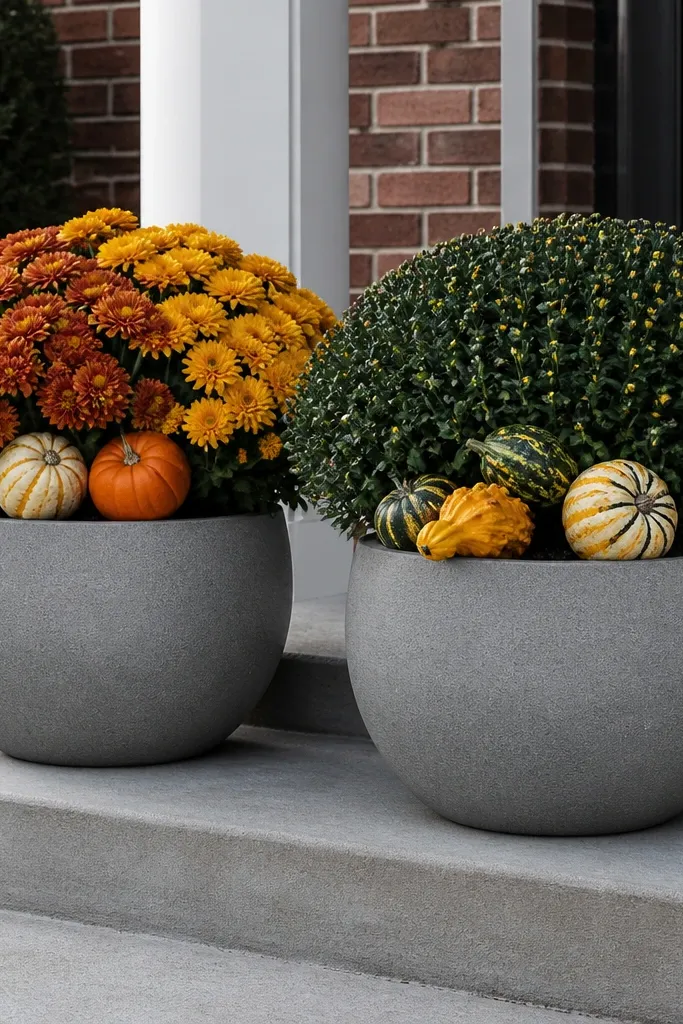
Planter pairs make a porch feel balanced in seconds, and they’re one of the easiest ways to add height and color without clutter. Use two matching planters in a similar material (stone-look resin, weathered wood boxes, or matte ceramic). Fill one side with a mix of mums and small ornamental pumpkins, and keep the other side similar for symmetry. I like a limited color range: deep orange pumpkins and burgundy or bronze mums with green stems. It’s photogenic from the sidewalk and still looks seasonal even if you don’t add a lot of decor.
Set the planters first. Put them on the lowest step or just beside the steps, spaced so there’s about 10-14 inches between each planter and the center walkway. Next, build the planting: tuck mums in first, then nestle mini pumpkins around the front edges so they don’t topple. Finally, add a thin top layer of mulch or pine bark to hide any soil and make it look “finished.”
Choose pumpkins that are matte, not glossy; matte reads more autumn and hides scuffs better.
Skip mismatched planter heights — if one is noticeably taller, the porch looks uneven.
5. Oversized Woven Basket With Faux Fall Stems at the Porch Corner
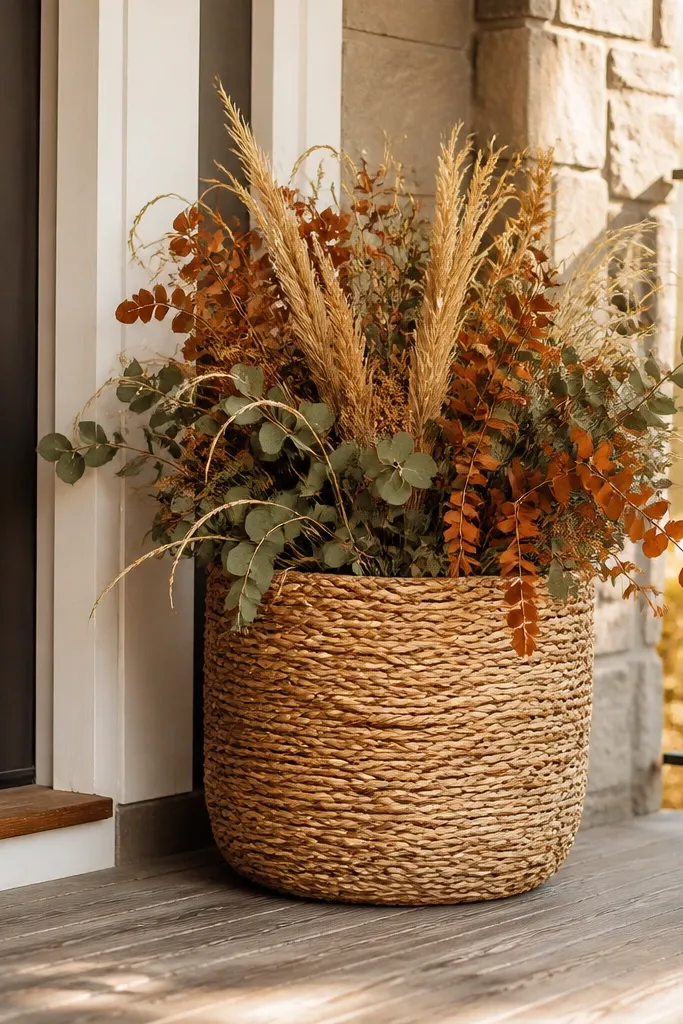
Position the basket first. Put it about 8-12 inches away from the wall so it doesn’t look pressed in. Then add stems: cluster 3-5 stems together, leaning them slightly toward the porch so they don’t look upright and stiff. Finally, stabilize the stems with hidden floral foam or a small plastic insert inside the basket so they hold shape after wind.
A big woven basket adds texture instantly and makes your porch feel layered without adding lots of small items. Place it in a corner near the door or on the side of the steps where your eye naturally lands when you arrive. Use faux fall stems like wheat, curly grasses, or eucalyptus-like greenery in warm tones (tan, rust, and soft olive). The basket’s woven pattern makes even plain stems look styled, and the height fills space without crowding the walkway. This works well for quick and easy front porch decor when you want one statement piece instead of five tiny ones.
Watch outDon’t overfill — if the stems scrape the top rim, it looks messy instead of intentional.
Pro tipPick stems with one dominant warm color (rust or tan) so the basket doesn’t look like a mixed bouquet.
6. Wooden Tray With Taper Candles and Cinnamon Sticks
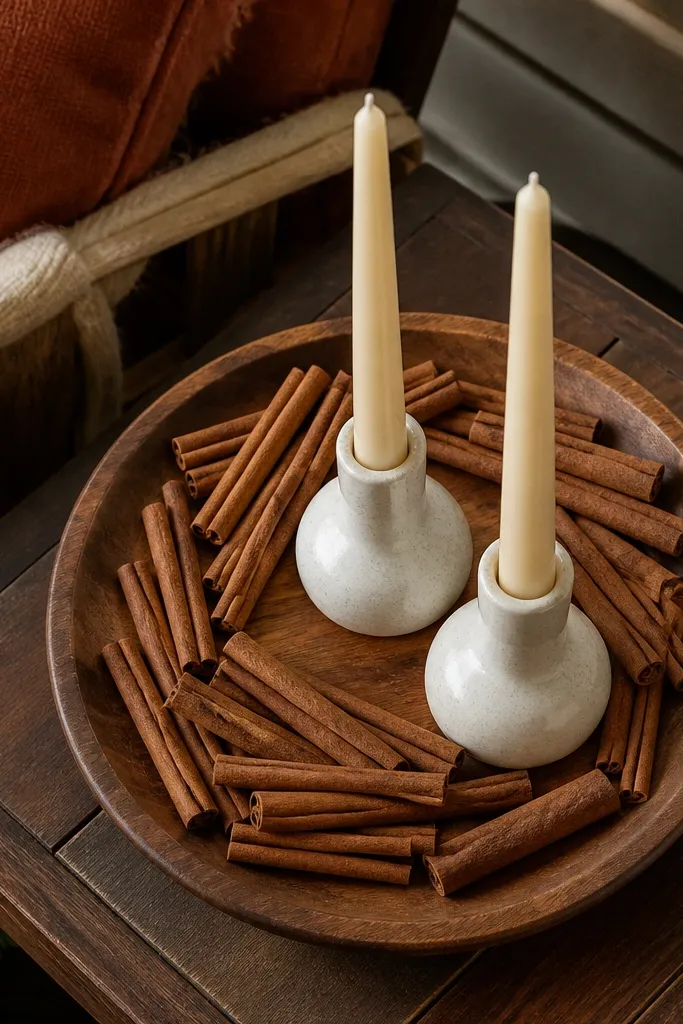
Set the tray where it will be visible. If you have a bench, center it on the bench; if not, place it on a small side table next to the door. Next, arrange candles first — two tapers spaced about 3-4 inches apart — then tuck cinnamon sticks around them in a loose circle. Finally, add one small filler element like a mini pinecone cluster or a few faux leaves so gaps don’t look empty.
A tray setup looks styled because it creates a clear boundary for your decor. Use a shallow wooden tray in a warm finish (oak, walnut, or weathered gray) and add two taper candles plus a ring of cinnamon sticks for a cozy, autumn scent vibe even without actual burning. Choose candle holders or candle colors that match your porch hardware: black metal or antique brass looks best. Place the tray near the door or on a bench so it reads from the walkway. This is great if you want quick and easy front porch decor that still feels a little elevated without being complicated.
Watch outSkip shiny trays or glossy candle holders — they reflect porch light and can look less cozy.
Pro tipUse LED tapers if you want low maintenance; they still photograph like real candles from a distance.
7. Outdoor Pumpkin Garland Across the Doorframe
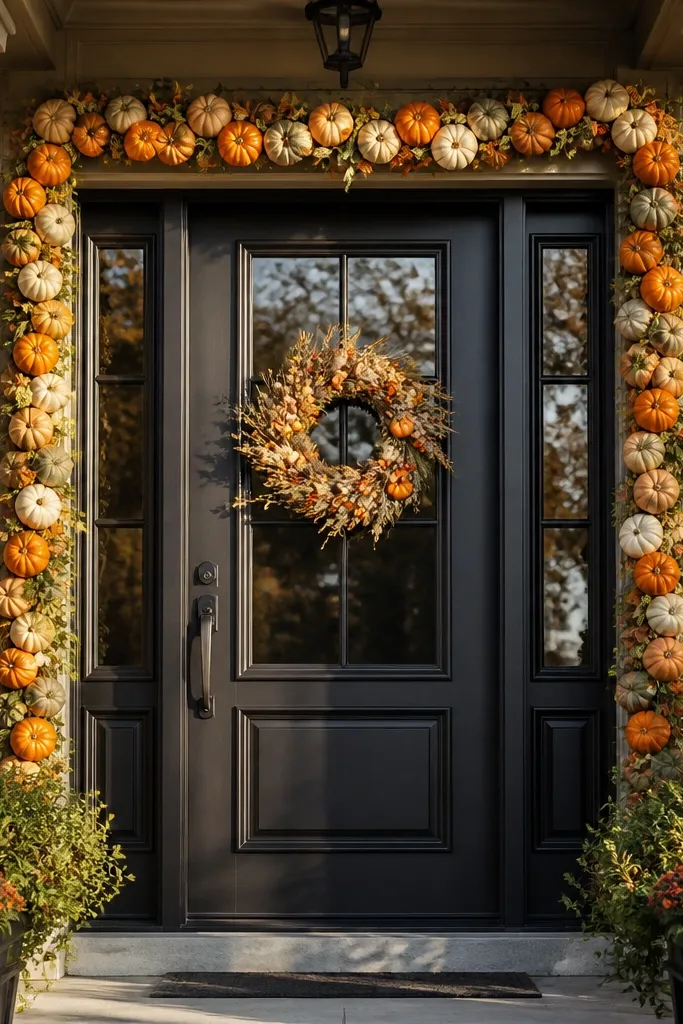
Measure your doorframe. Use a tape measure to find the width of the top door trim and cut/adjust so the garland sits evenly on both sides. Then attach with clear outdoor hooks or zip ties on the inside edge of the frame. Finally, shape the pumpkin clusters so they hang in consistent bunches — aim for 2-3 clusters across the top and 1 cluster on each side.
If you want a porch that looks festive fast, a doorframe garland creates a strong “halo” effect around the entry. Choose one that has lightweight faux pumpkins and a matte finish so it looks believable from the street. Keep the garland tight to the frame so it doesn’t sag and look sloppy. This style works best on porches with a single front door where the entry is the main focal point. It’s also a good option for renters because it’s easy to remove and doesn’t require permanent changes.
Watch outDon’t let the garland touch the door handle area — it creates clutter and gets in the way.
Pro tipMatch the garland color to your doormat: if your mat is cream and rust, keep the pumpkins in rust-orange and cream tones.
8. Coir Doormat + Outdoor Runner + Mini Fall Wreath at the Steps
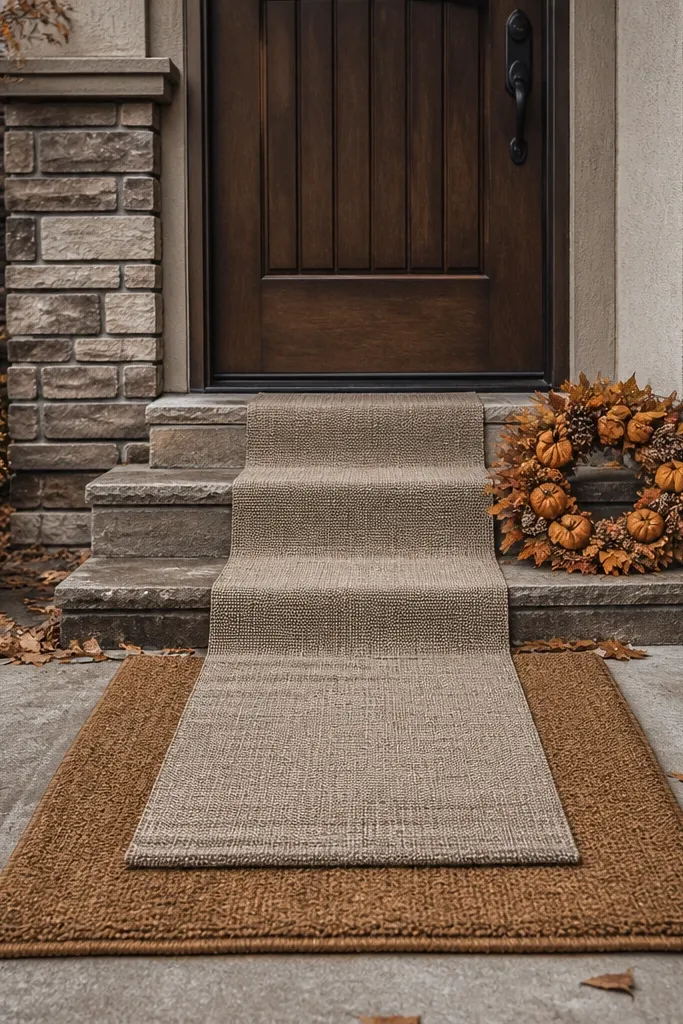
Lay the base first. Put the coir doormat centered under the door, then place the runner on top of the mat or slightly in front with a 2-3 inch offset so it doesn’t slide. Next, add the mini wreath at step height: set it beside the runner so it’s visible when you step up. Finally, secure runner corners with double-sided outdoor tape or hook-and-loop strips so it stays flat.
This is the “layered entry” look that reads expensive in photos but is cheap and quick to assemble. Start with a textured coir doormat for the foundation, then add an outdoor runner that gives you a clean path to the door. Place a small wreath on the steps or just beside them to tie the entry together at a second height. Choose runner colors like oatmeal, taupe, or muted orange so it doesn’t fight the door. The textures do most of the work, which makes this ideal for porches with simple walls and minimal trim.
Watch outSkip high-pile rugs outdoors — they trap dirt and look worn fast.
Pro tipUse a runner with a flat weave or low pile so it doesn’t bunch up when people walk over it.
9. Tall Slim Planter With Warm Faux Leaves and a Black Pot Stand
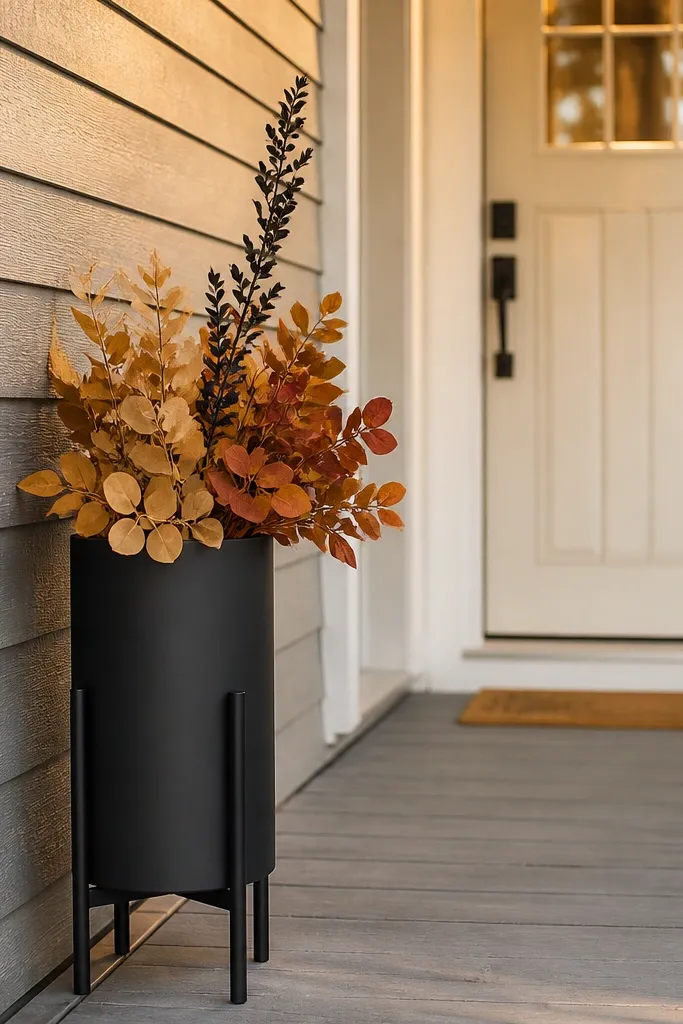
A tall slim planter is the quickest way to add presence when your porch is narrow. The shape matters: choose a slim pot that looks balanced next to the door, not a wide bucket that eats the walkway. Fill it with warm faux leaves in shades of tan, caramel, and deep rust, then add a single dark accent plant or stem for contrast. If you have black porch railings or hardware, a black pot stand underneath makes the planter look intentional and “lifted.” This setup is photogenic because it creates a vertical line that frames the entry.
Place the planter first. Set it 12-18 inches from the door on the side that doesn’t block steps, keeping the pot centered relative to the door’s vertical line. Next, build the top shape: insert stems so they fan slightly outward, then trim any that look too long so the crown sits about 6-10 inches above the pot rim. Finally, add a pot stand if you have one, and wipe the pot so dust doesn’t dull the finish.
Choose faux leaves with matte texture — glossy ones look plasticky under porch light.
Don’t overfill with too many stem colors — keep it to 2-3 leaf tones.
10. Rust and Oatmeal Throw Pillow Pair on a Porch Bench
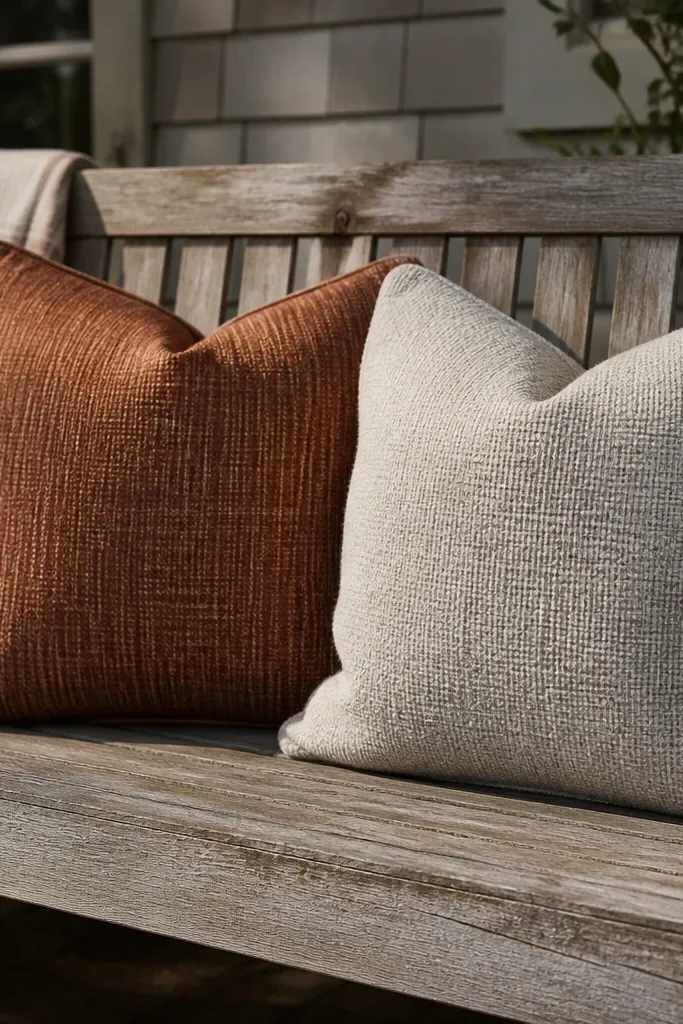
Start with the bench layout. Place the pillows at the center of the bench, with the taller pillow slightly behind the shorter one. Then set the color balance: rust on one side, oatmeal on the other, so the bench looks symmetrical. Finally, keep it tidy by adding one small tray or lantern next to the bench so the scene looks staged rather than random.
If your porch has a bench, two outdoor pillows instantly make it look cozy without taking over the entry. Pick one rust tone pillow and one oatmeal or cream pillow so the color story matches the rest of your autumn palette. Look for outdoor-friendly fabric with a matte finish, like canvas or a tightly woven textured cover. Add a simple pattern like small buffalo check or subtle ribbing so the pillows read seasonal without screaming “Halloween.” This is great for people who want quick and easy front porch decor that looks inviting from the street.
Watch outDon’t mix indoor-only velvet or silky fabrics outdoors — they look worn and flatten in sunlight.
Pro tipUse pillow covers you can wipe down; porch dust shows up fast on light fabrics.
11. Stone-Look Pot With Dried Hydrangea Heads and a Small Sign
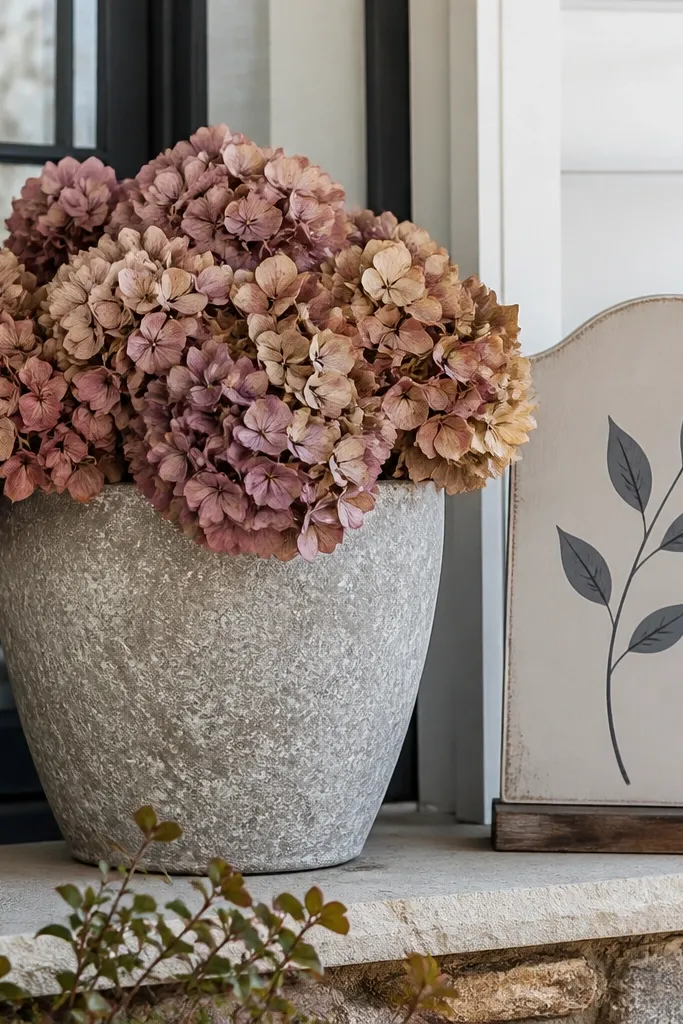
Dried hydrangea heads look autumny even when you don’t add pumpkins or garlands. Pair them with a stone-look pot in gray or taupe so the whole setup feels grounded and natural. Add a small porch sign with a simple message or a neutral graphic so it doesn’t overpower the flowers. This combination is photogenic because the hydrangea shape is large and sculptural, and the pot gives you a stable base. It’s perfect for people who want quick and easy front porch decor that feels more grown-up than cutesy.
Place the pot first. Put it beside the door or on one side of the walkway so it’s visible without blocking steps, roughly 18 inches from the doorframe. Next, add hydrangea heads: cut stems if needed and cluster 3-5 heads so they rise above the rim by 6-8 inches. Finally, place the sign on a nearby surface like a small side table or step surface, keeping it at about the same height as the hydrangea stems' midline.
If the hydrangeas look too pale, mist them lightly with a matte, fine-texture spray in warm brown tones to deepen color.
Skip tiny signs with big fonts — distance makes them look like clutter.
12. Two-Tier Shelf on the Porch: Pinecones, Votive, and a Mini Wreath
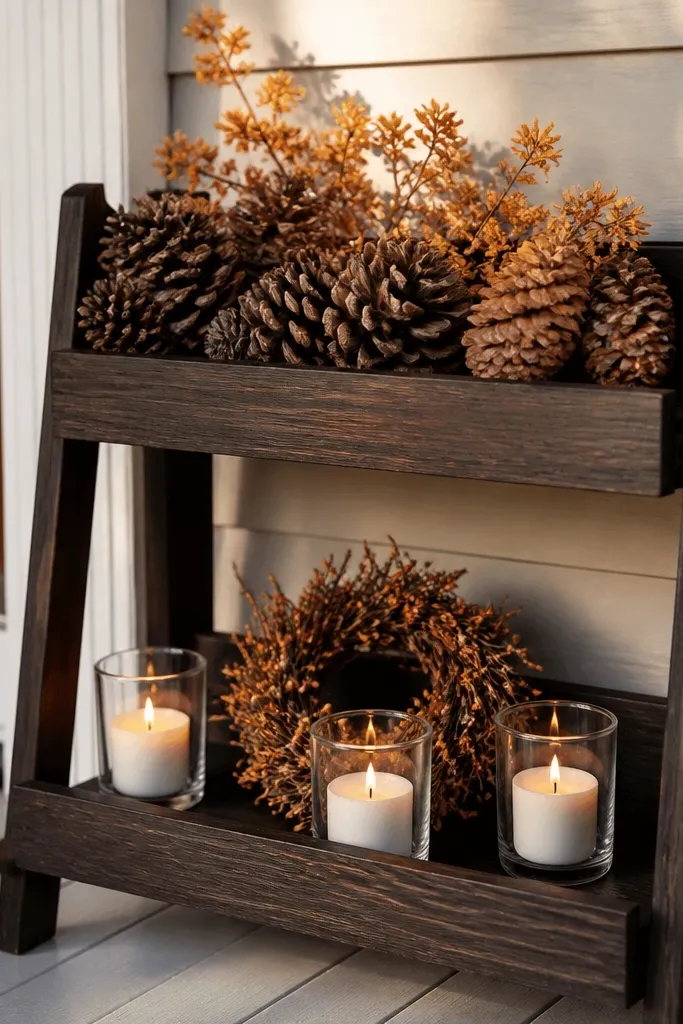
Set the shelf location first. Place it next to the door where you can see both tiers from the walkway, usually 8-12 inches away from the wall or railing. Next, build the top tier with a base of pinecones and one small stack of faux leaves so it doesn’t look flat. Then arrange the bottom tier: center the mini wreath, add two votives on either side, and keep gaps small so it looks full.
A two-tier shelf turns your porch decor into a controlled composition. It’s the best quick and easy front porch decor choice for people who like to look at details but don’t want to scatter items across the entry. Put pinecones and a few faux stems on the top tier, then add votive candles and a small mini wreath on the bottom tier. Choose a shelf color that matches your porch hardware — black or natural wood. This setup photographs well because it has clear sections and repeating shapes, which makes it look designed rather than accidental.
Watch outDon’t overcrowd every inch — leave a little negative space so the wreath and votives read clearly.
Pro tipUse battery votives with warm light so the shelf looks cozy even in the evening.
13. Porch Column Wrap Look With Neutral Knit Runner and Faux Leaf Clips
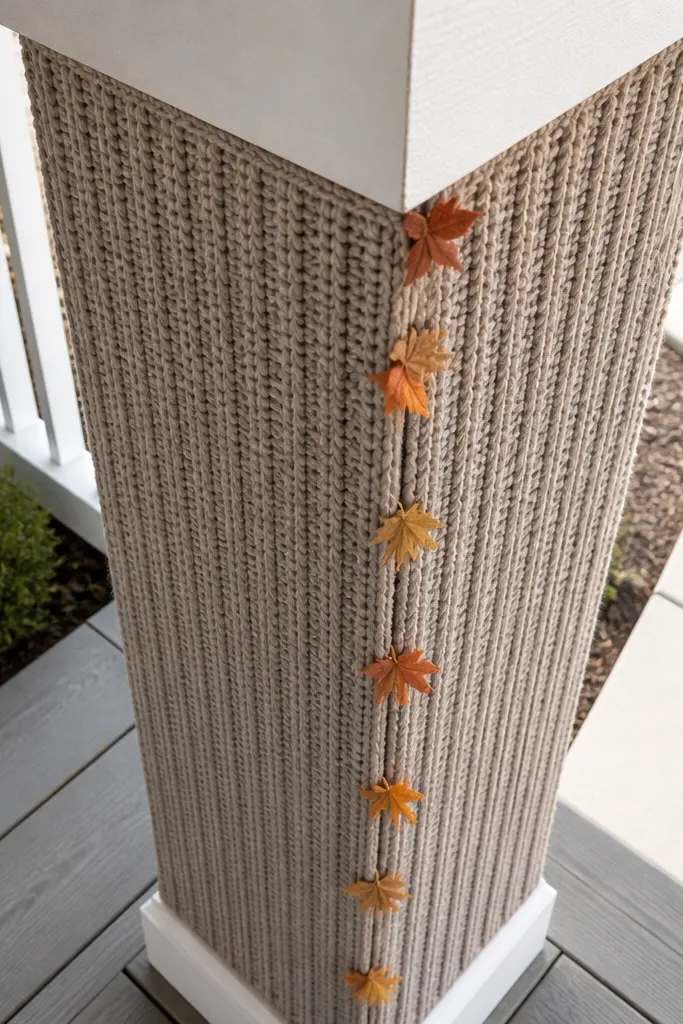
Measure the post circumference first. Wrap the knit runner around the post so the overlap is 1-2 inches, then secure the underside with hidden zip ties or Velcro strips. Next, add faux leaf clips: place 5-7 clips around the front-facing side only, spaced about 6-8 inches apart. Finally, adjust so the leaves sit at eye level — around 30-50 inches from the porch floor — so they’re visible in photos.
If you have a porch post or column, wrapping it gives you a tall, clean autumn look without covering the floor. Use a neutral knit runner in oatmeal or taupe, then clip small faux leaf bunches or mini autumn stems along the wrap. This creates a vertical pattern that feels cozy and deliberate from every angle. Keep the leaf clips spaced evenly so it looks like a planned design, not a last-minute attachment. This is the move when your porch already has enough decor but feels unfinished because the posts look bare.
Watch outSkip bulky wraps — thick knit that bunches looks sloppy and catches wind.
Pro tipPick clips in matte finishes, not shiny, so they blend into the knit texture.