
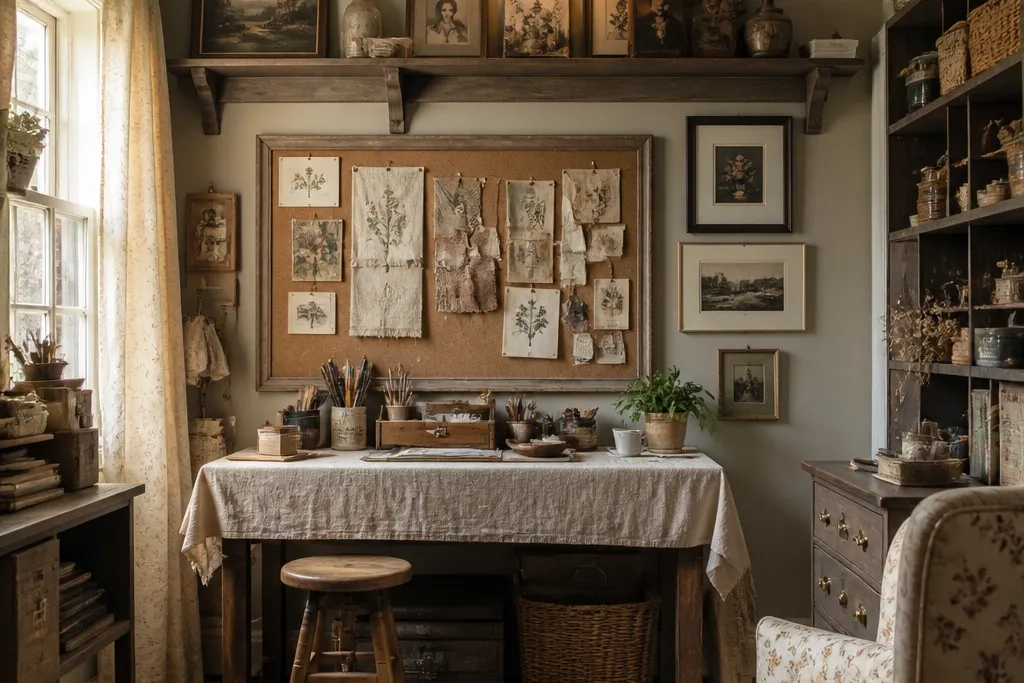
1. Aged-oak shadowbox with antique sewing patterns
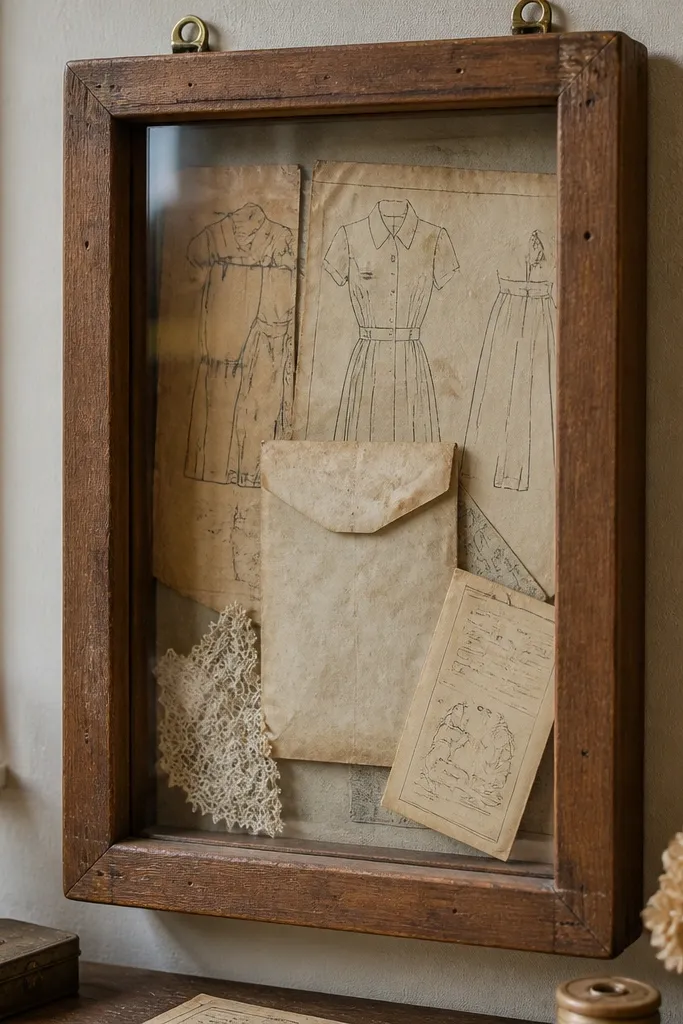
This is the cleanest way to fill a blank wall with vintage craft-room wall decor that also feels relevant. A tall shadowbox with an aged-oak frame gives you depth, so the wall doesn’t look flat behind your desk. Use real-feeling ephemera like sewing pattern tissue, old envelope labels, or faded instruction cards, then back it with neutral paper so the colors look cohesive. The result reads “collected,” but it still looks organized — perfect when your shelves already hold supplies and your wall needs a focal point. Hang it where you can see it while working, so it feels like part of your process, not just a decoration.
Step 1 — Choose a shadowbox with an internal depth of 1.5-2 inches so the paper doesn’t look squished. Step 2 — Mount 3-5 pattern pieces using acid-free photo corners or linen tape, then add small labels in the same ink tone (black or deep brown). Step 3 — Hang the frame with the center at 58 inches from the floor; if your desk is 30-32 inches high, this usually lines up nicely with your sight line. Budget-wise, expect to spend about $60-120 if you buy a ready-made shadowbox and print/restore ephemera yourself.
Pro tipUse a matte backing paper (cream or warm gray) instead of bright white — vintage ephemera looks calmer against it.
Watch outDon’t crowd the shadowbox with too many clashing papers; 3-5 pieces reads vintage, 10+ reads chaotic.
2. Linen sampler wall hanging in a simple black frame
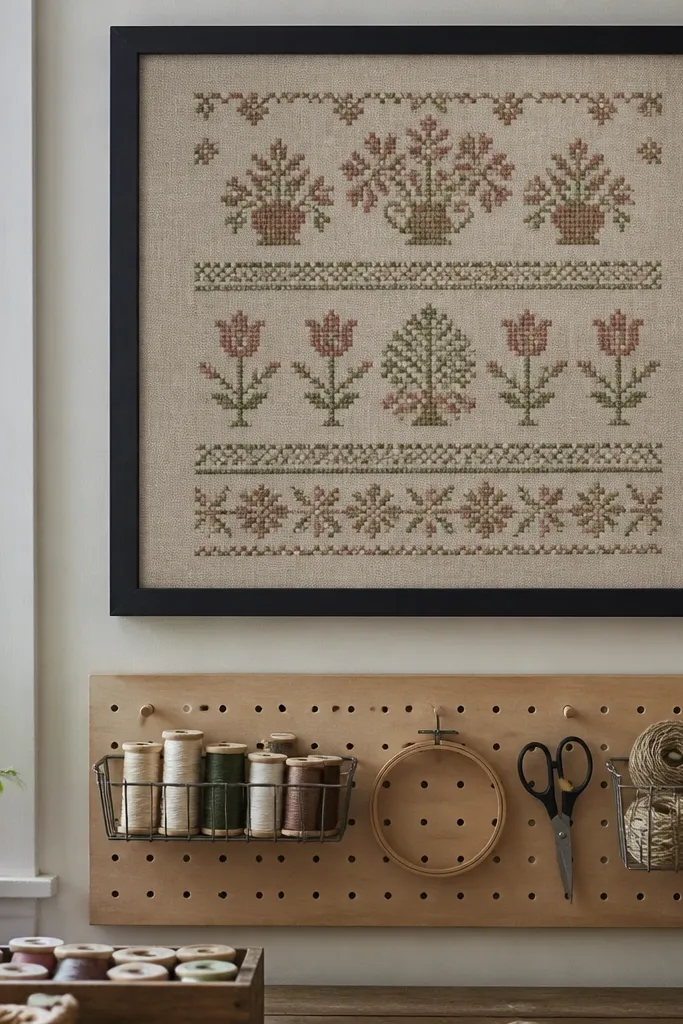
A linen sampler gives you texture and softness, which is a strong contrast to the straight lines of craft tools and pegboards. The trick is the frame: a simple black frame keeps it from looking fussy and makes the embroidery stand out like a graphic. Choose a sampler with muted colors (dusty rose, faded sage, washed navy) so it blends with most craft room palettes. This works especially well if your wall is close to a sewing machine or fabric storage, because the textile story continues from your supplies to your wall. It also photographs well because the thread texture catches light without glare.
Step 1 — Use a frame with a mat opening sized so the sampler sits with a 1 inch margin on all sides; avoid oversized openings that make the embroidery look lost. Step 2 — Mount the fabric flat with acid-free mounting tape at the corners only, then add a thin piece of acid-free tissue between fabric and glass if you use glass. Step 3 — Hang it at eye level (center around 58 inches) and keep it centered over a narrow table, shelf, or directly across from your sewing station. Cost is usually $50-100 depending on frame size and whether you source the sampler already mounted.
Pro tipIf your sampler is slightly wavy, steam it lightly through a pressing cloth before framing.
Watch outAvoid glossy glass; it creates glare that hides thread detail in photos.
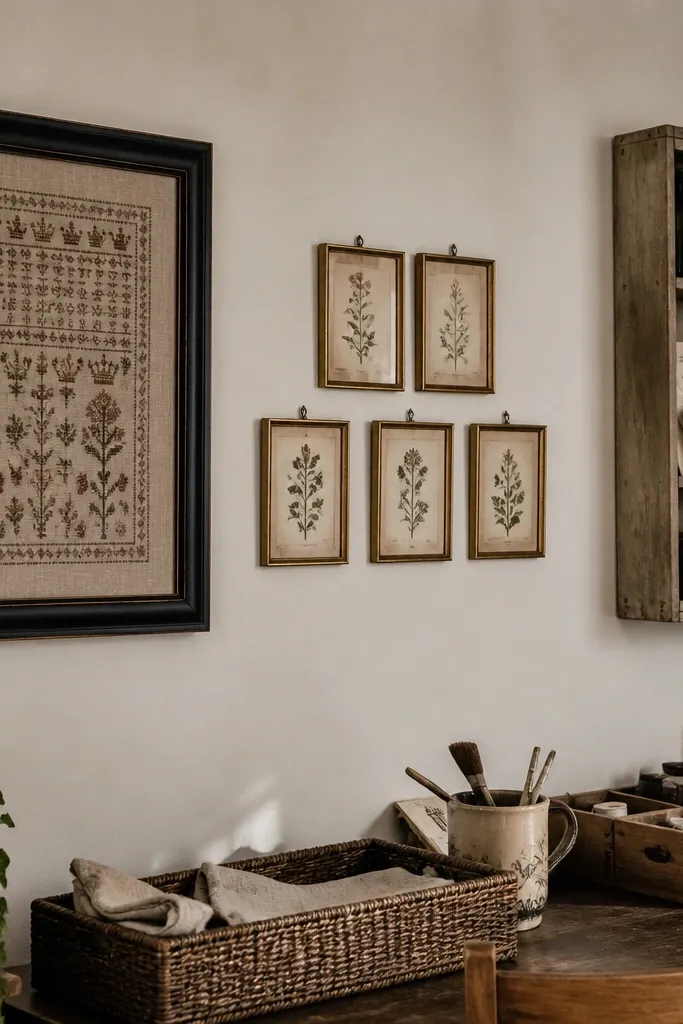
3. Vintage botanical print gallery column (3 frames)
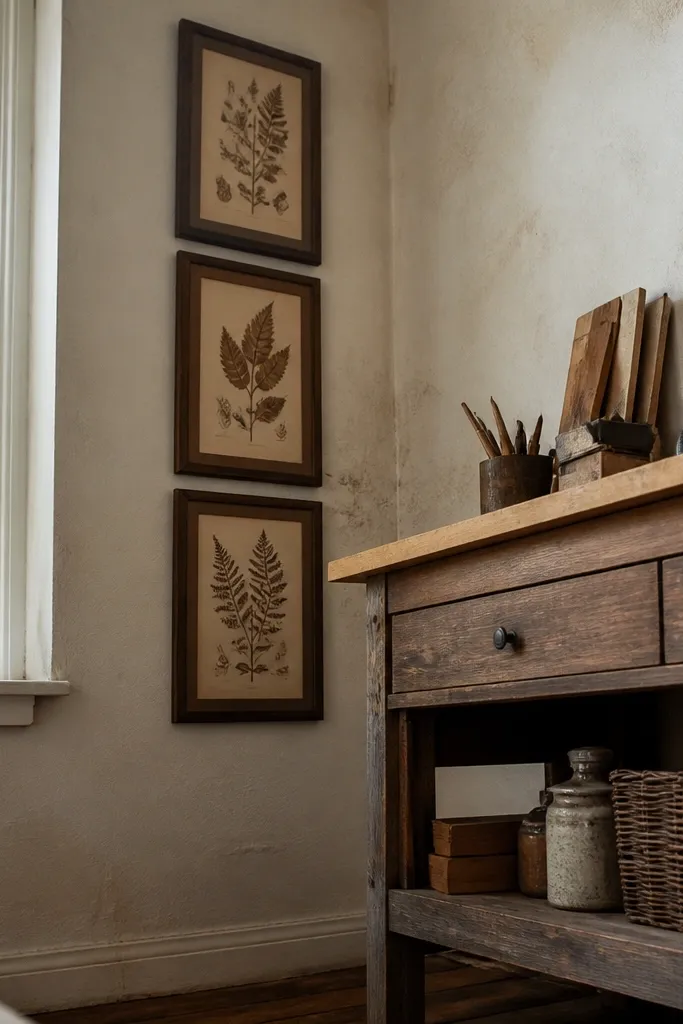
A gallery column is one of the easiest ways to transform blank walls because it creates height without needing a single huge piece. Go vintage botanical prints — they look like they belong in a craft room because they echo paper, labels, and careful work. Keep all frames the same finish (antique brass, dark walnut, or off-white) so the collection looks intentional. The prints should use a limited palette: deep greens, sepia stems, and muted reds. This idea is ideal for walls beside a worktable or along a hallway that leads to your craft space, because vertical repetition guides your eye and makes the wall feel “done.”
Step 1 — Pick three prints with matching width, then choose frames that match in color and thickness. Step 2 — Arrange them in a straight column with 2.5-3 inches between frame edges; measure from the floor so the top frame doesn’t creep too high. Step 3 — Hang the center frame first at 58 inches, then use a level to place the other two. If you’re sourcing prints digitally, plan for $30-80 per frame depending on whether you buy new frames or thrift them.
Pro tipUse matting in warm white or oatmeal — it makes botanical inks look older and reduces color mismatch.
Watch outDon’t mix frame finishes; two finishes max looks curated, three starts to look accidental.
4. Weathered tin sign above the craft desk
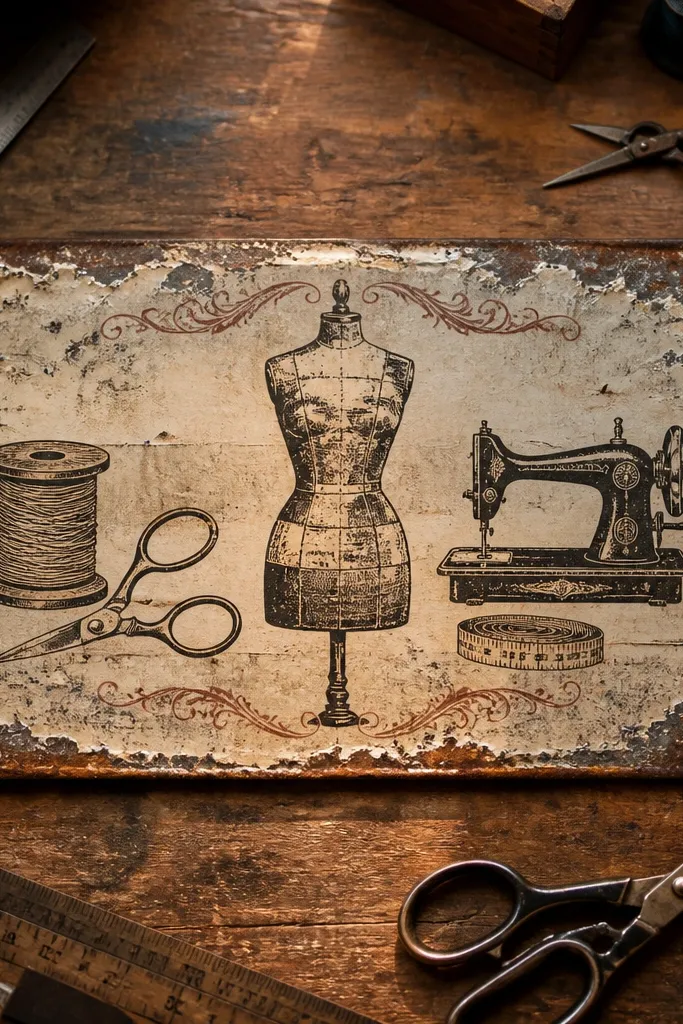
Weathered tin signs bring instant vintage energy and a little industrial edge to craft rooms. The reason it works is scale: a medium tin sign (roughly 18-24 inches wide) reads from across the room and gives you a bold focal point when the wall is otherwise quiet. Look for designs that match craft vibes — notions, sewing tools, garden dye imagery, or old typography about paper and making. Mount it so it sits slightly higher than eye level (center around 60-62 inches) if it’s above a desk, because your eye will naturally drop to your work surface. It photographs great because the rust and paint chips create texture that doesn’t flatten under lighting.
Step 1 — Choose a tin sign with mounting holes or add two D-ring hangers on the back so it hangs straight. Step 2 — Measure the desk width and aim for the sign to be 70-90% of that width, centered. Step 3 — Use wall anchors rated for the sign’s weight; keep the top edge about 6-8 inches above any shelves beneath it. Cost usually lands around $40-120 if you buy a real vintage sign or a high-quality reproduction.
If the sign is glossy, wipe it with a dry microfiber cloth; dust makes glare worse in photos.
Skip tiny signs; under 14 inches wide often looks like an afterthought on a blank wall.
5. Vintage quilt square display on a dowel rail
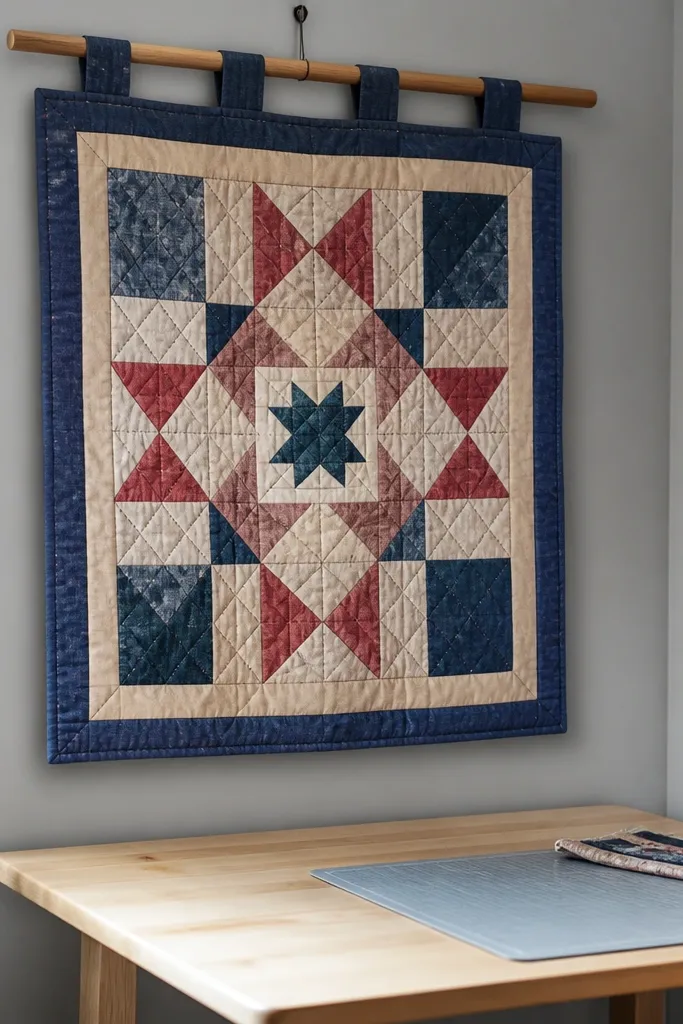
A quilt square turns your wall into something that feels handmade, not just decorated. Use a vintage patchwork square or two coordinated blocks, then hang them on a simple dowel rail with fabric tabs or a sleeve. This spreads weight gently across the textile and keeps the quilting lines visible. Choose fabrics with faded prints and clear patchwork shapes — florals, checks, and worn stripes look best and read “real vintage.” This works best for craft rooms with soft lighting or light-colored walls, because the textile color pulls warmth into the space. It also helps hide minor wall flaws since the fabric covers uneven paint spots.
Step 1 — Find or cut a quilt block about 24x24 inches or bigger, and sew a fabric sleeve on the back (1 inch wide opening works well for a 1 inch dowel). Step 2 — Mount the dowel rail using two brackets spaced about 16-20 inches apart, then slide the quilt through the sleeve. Step 3 — Hang the rail so the quilt’s center lands around 58-60 inches. Effort is low if you already have the quilt; a dowel rail setup usually costs $25-70.
Pro tipUse cotton muslin tabs if you don’t have a sleeve — they keep the fabric from twisting.
Watch outDon’t use metal clips directly on the quilt; they leave marks and can distort the shape over time.
6. Antique embroidery hoop trio with muted threads
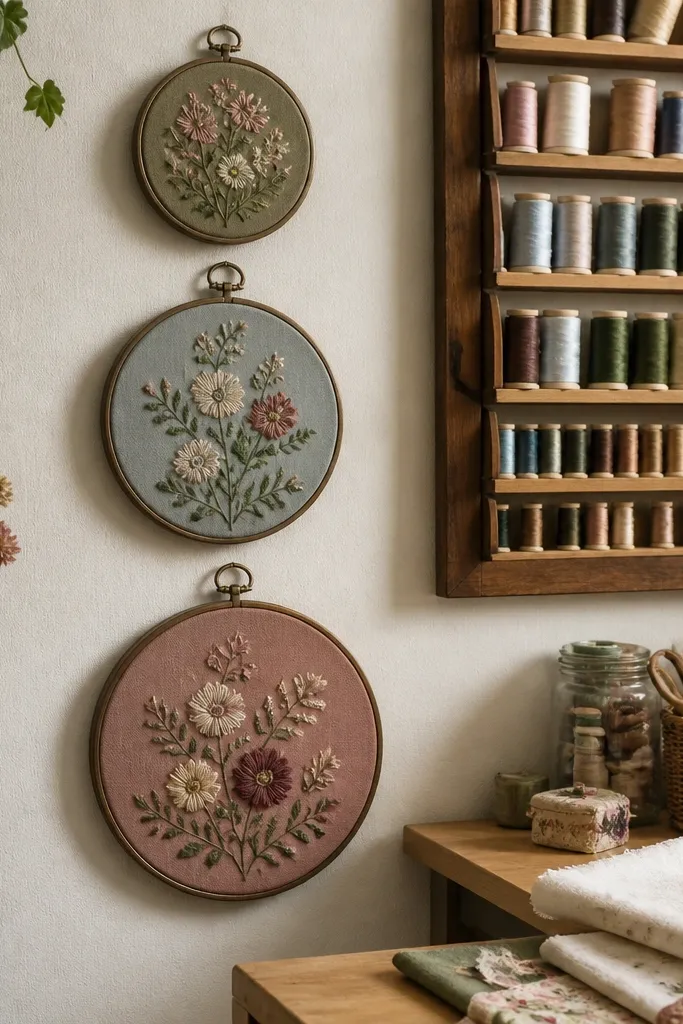
Hoops are the craft-room equivalent of jewelry for a wall. A trio looks intentional, and the vintage angle shows up in the aged wood or tarnished metal rings. Choose hoops in two sizes (for example, 8 inch and 10 inch) and hang them in a vertical arc so the smallest sits at the top. The best look is when the embroidery uses muted threads — softened burgundy, dusty blue, or faded mustard — so it blends with craft supplies instead of fighting them. This works well on walls that are too narrow for a larger frame, and it’s excellent above a pinboard or next to a paper rack where you want visual texture without bulk.
Step 1 — Select three hoops with similar aged finish and re-tighten the fabric so it looks taut. Step 2 — Mount each hoop with a small picture hook attached to the back or with a screw-in wall mount; keep the distance between hoops about 3-4 inches. Step 3 — Center the trio so the full group width fits comfortably in the wall space; start by placing the middle hoop at 58 inches. Costs are usually $20-60 if you thrift hoops and use existing embroidery or simple vintage-inspired designs.
Tie a thin ribbon loop around the hoop supports to add a little softness and hide mounting hardware.
Avoid bright, neon thread colors; they read modern and can overpower the vintage look.
7. Distressed wood shelf turned photo ledge for craft ephemera
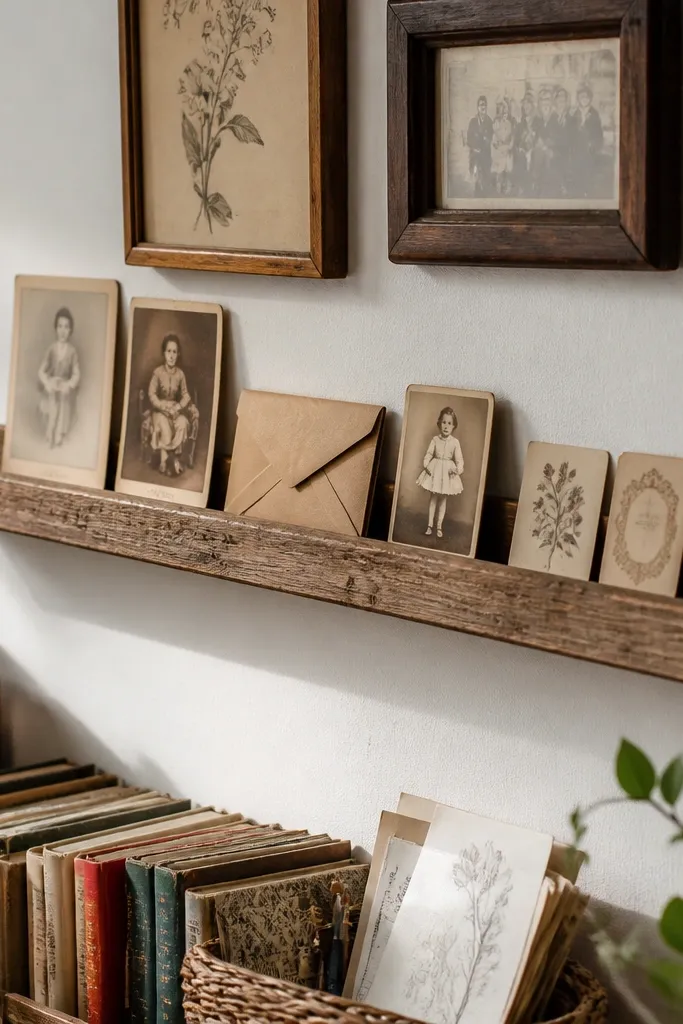
If your wall is blank because you don’t want a single big frame, use a shelf as your vintage craft room wall decor. A shallow, distressed wood ledge (about 6-8 inches deep) creates a “display line” where paper, labels, and small objects look curated instead of scattered. The vintage feel comes from the materials: antique-style photo cards, aged book pages, old spools, and small glass bottles with neutral contents (buttons, ribbon ends). This is great for craft rooms where you want your wall to contribute to organization, not just decoration. It’s also forgiving — you can adjust the arrangement when you change seasons or projects.
Step 1 — Choose a ledge with a lip so items don’t slide forward; sand the front edge lightly if it’s too rough. Step 2 — Place 2-3 taller items in the back row (small framed cards or a slim bottle) and 3-5 flatter items in front. Step 3 — Anchor the shelf into studs if possible, then set the shelf top around 60 inches from the floor so it sits above reach. Budget is typically $40-110 depending on whether you buy new or thrift the wood.
Pro tipUse one consistent label style (cream card stock with black ink) so the shelf looks like a designed display.
Watch outDon’t fill the whole shelf surface; leave 15-25% empty space so the vintage pieces breathe.
8. Vintage map panel with antique brass picture hangers
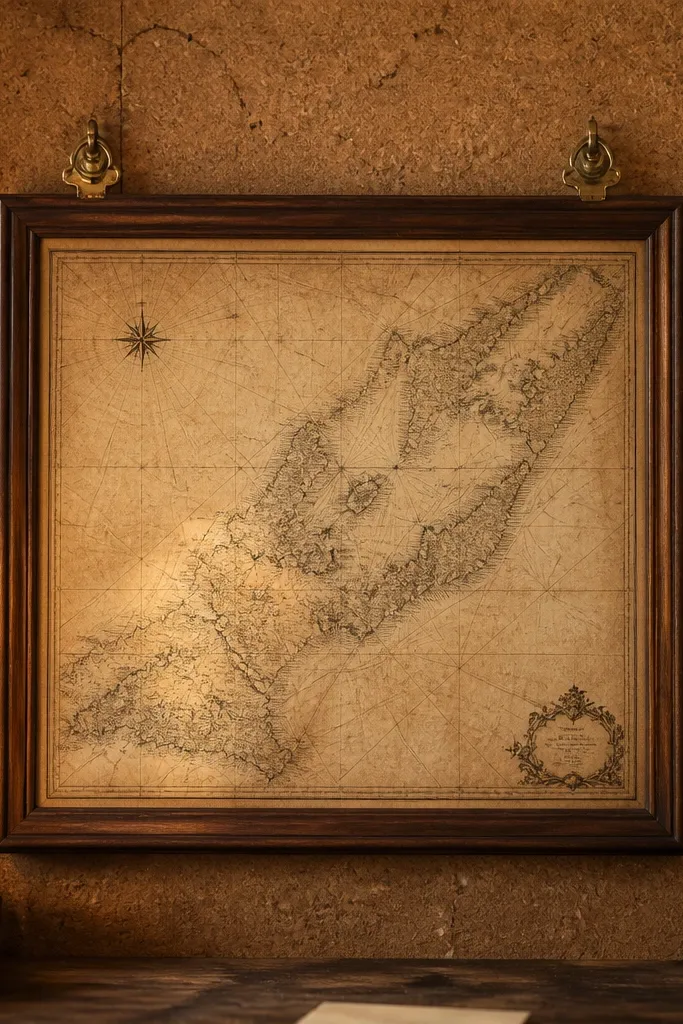
A vintage map panel adds craft-room personality without needing craft-specific imagery. It works because maps bring lots of fine line detail and typography, which looks great even from a distance. Pick a map style that matches your palette: sepia and muted blue for a soft look, or darker parchment tones for a moody room. Use antique brass picture hangers so the hardware looks intentional and aged. Hang it near a desk or cutting area so the detail doesn’t feel random — your eye reads it as part of making. This is a strong choice for blank walls that are large enough for a medium frame around 24x36 inches.
Step 1 — Print or source a map on thick paper, then mount it to foam board so it lies flat. Step 2 — Frame it in a thin, aged brass or dark walnut frame with a warm mat (oatmeal works well). Step 3 — Install two brass hooks or hangers on the back so the panel hangs level; set the center at about 58 inches. Expect $70-160 depending on frame quality and paper thickness.
Pro tipAvoid bright white mats; warm mats make the map look older and more cohesive with vintage decor.
Watch outDon’t use a glossy print finish; it glares and kills the vintage paper feel.
9. French notice board with tarnished metal clips
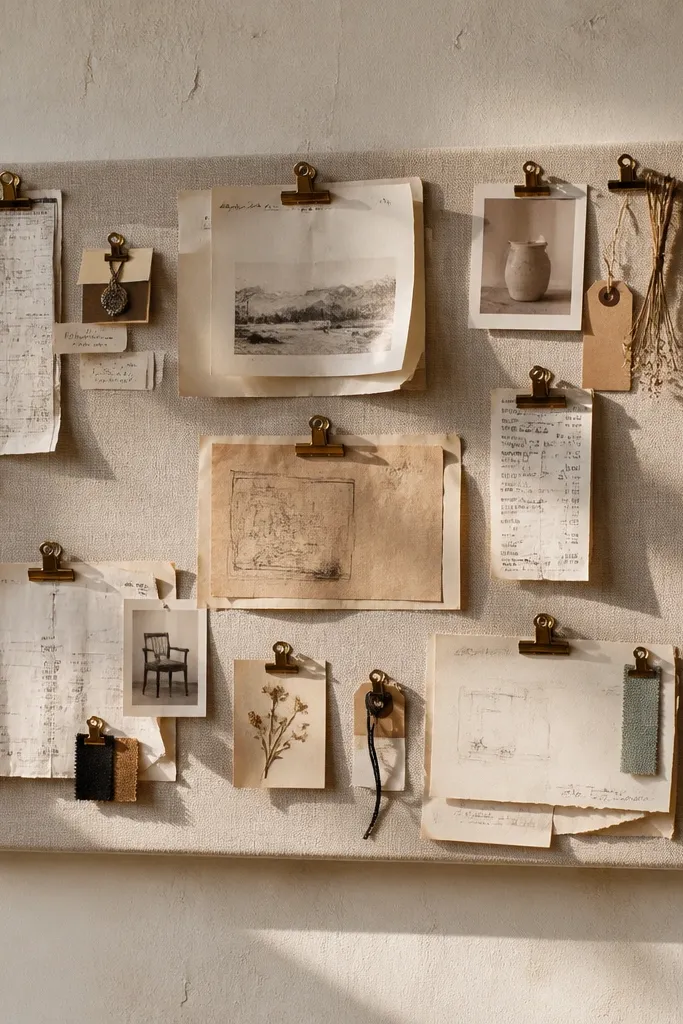
This is practical vintage craft room wall decor that still looks good on camera. A fabric notice board in linen or cotton (cream or oatmeal) paired with tarnished metal clips gives you a vintage “atelier” vibe. Load it with old receipts, typed labels, and small craft notes — the papers look like ephemera, not clutter, because everything sits on a grid. It’s ideal for craft rooms where you need to pin patterns, color swatches, or embroidery charts. The vintage look comes from the texture of the board and the patina of the clips, so even a plain wall becomes visually active.
Step 1 — Buy a fabric bulletin board or stretch linen over a thin board and staple the back; keep it taut like upholstery. Step 2 — Add 10-14 tarnished clips evenly, then create a layout: 3-4 larger papers centered and smaller scraps around the edges. Step 3 — Hang the board so its bottom sits about 10-12 inches above your desk; that puts the main area around 58-60 inches. Cost is often $60-140 depending on board size and clip hardware.
Pro tipUse one font style for printed labels (typewriter-style or simple serif) so the board reads cohesive.
Watch outDon’t pin random papers at all heights; keep the top edges aligned to prevent a messy look.
10. Vintage wooden letter monogram in a shadowy corner frame
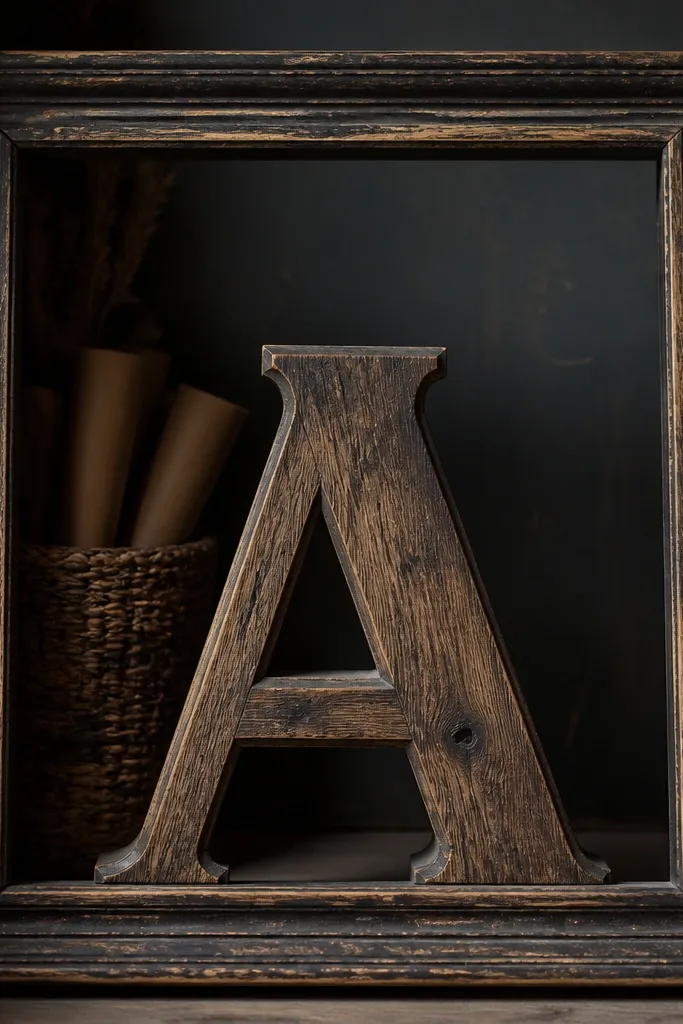
A single oversized monogram letter is a clean way to make blank walls feel designed without adding a bunch of small pieces. Use a vintage wooden letter (or a distressed wood cutout) and mount it inside a larger, empty frame so you get a “window” effect. The frame gives it structure; the letter gives it personality. Choose a letter finish that matches your craft room — warm oak for light rooms, darker walnut for moody rooms. This works especially well above a craft table, behind a sewing machine chair, or on a wall where you want a focal point that doesn’t distract from your work. It’s also photogenic because the silhouette is bold and easy for the eye to catch.
Step 1 — Pick a letter size around 12-18 inches tall and a frame that’s 6-10 inches wider than the letter on each side. Step 2 — Mount the letter to a backing board inside the frame, then attach the frame to the wall with two anchors or into studs. Step 3 — Place the center of the letter at 58 inches, and keep the frame level. Expect $50-130 depending on frame size and whether you buy the letter pre-distressed.
Pro tipAdd one small vintage paper label near the base of the letter for a subtle craft nod.
Watch outAvoid placing the monogram too high; it reads decorative but not functional once you sit down.
11. Antique stained-glass look panel with embroidery thread tassels
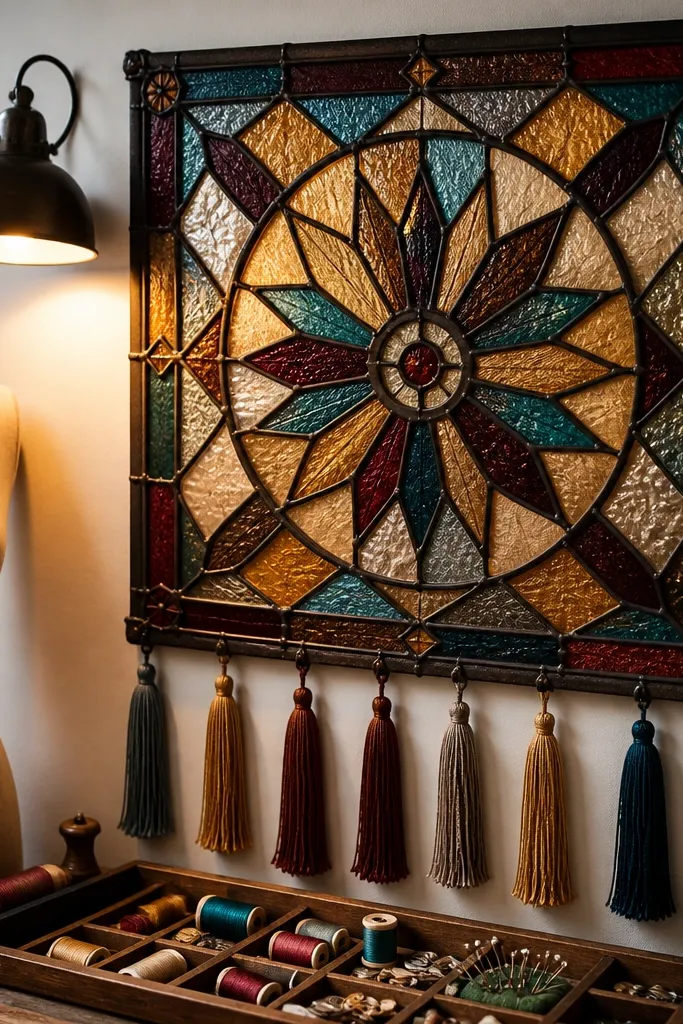
If you want something that looks like it belongs in a vintage shop window, this is it. The stained-glass look panel brings color in a controlled way, and the embroidery thread tassels add craft texture without turning into a fringe mess. Choose muted jewel tones — amber, teal, and faded burgundy — so it works with most craft room colors. Hang it near a window or a lamp so light hits the panel and throws gentle color on the wall. This idea is great for blank walls that feel too plain and need a little “magic,” but you still want the decor to look handmade and intentional.
Step 1 — Choose a panel about 16-24 inches wide and mount it with two wall hooks so it hangs flat. Step 2 — Tie 8-12 embroidery thread tassels using 6-10 strands each, then attach them along the bottom edge with small knots or a fabric loop strip. Step 3 — Hang with the center around 60 inches so the tassels sit above eye level and don’t catch on things. Cost is usually $45-110 depending on panel sourcing and thread you already have.
Pro tipUse one tassel color family (amber plus rust plus cream) so it stays vintage, not rainbow.
Watch outDon’t add tassels in every color you own; too many tones makes the panel look costume-y.
12. Oversized vintage crochet doily under a clear acrylic frame
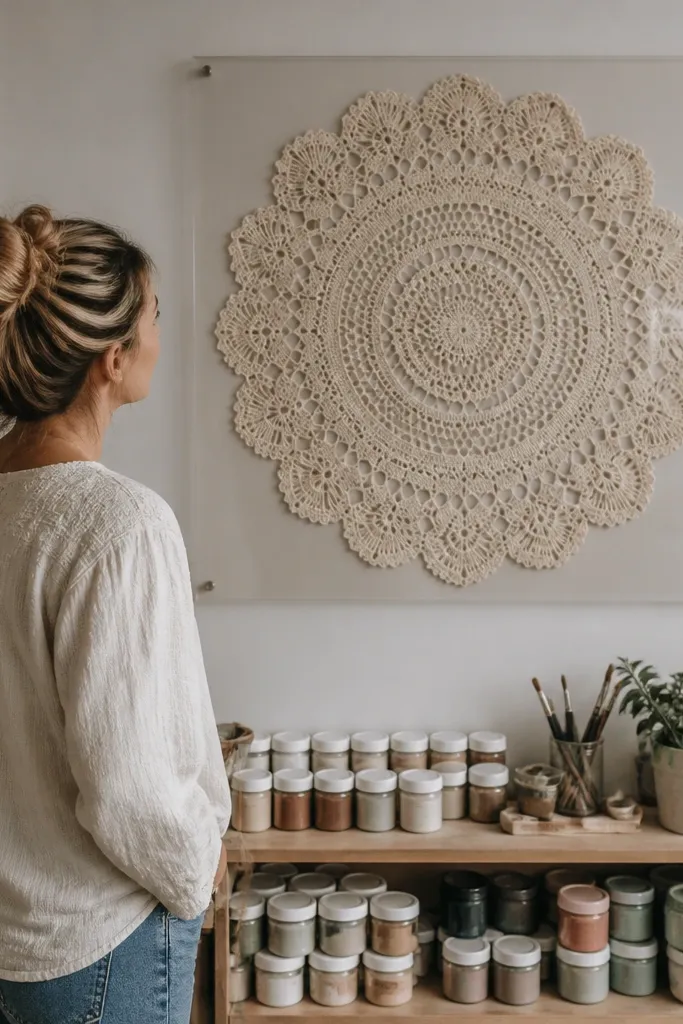
A doily gives you lace texture and a soft, vintage silhouette that looks great from across the room. The key is framing it so it sits flat and doesn’t curl — use an acrylic front or a clear cover so the crochet pattern stays crisp. Pick a doily with a pattern that has clear rings and openwork, not one that’s too dense; openwork shows up better in photos. This is a smart choice if your walls are bare but you don’t want bold color. Place it in a spot with soft light, like next to a lamp or opposite a window, so the crochet shadows create depth. It looks especially good on light walls because the lace stands out.
Step 1 — Choose a doily size around 18-26 inches across and gently steam it flat through a cloth. Step 2 — Use a frame with clear acrylic front and a backing board that supports the edges; secure with small corner tabs so you don’t stretch the lace. Step 3 — Hang with the center at 58 inches, and leave at least 4 inches of space around the frame edges so shadows don’t get cramped. Cost is usually $40-120 depending on frame size.
Pro tipIf the doily has slight stains, spot-clean carefully with a damp cloth and mild soap, then dry fully before framing.
Watch outAvoid fabric-glue solutions; they can discolor lace and ruin the vintage look.
13. Vintage fabric panel with iron-on transfer labels in a grid
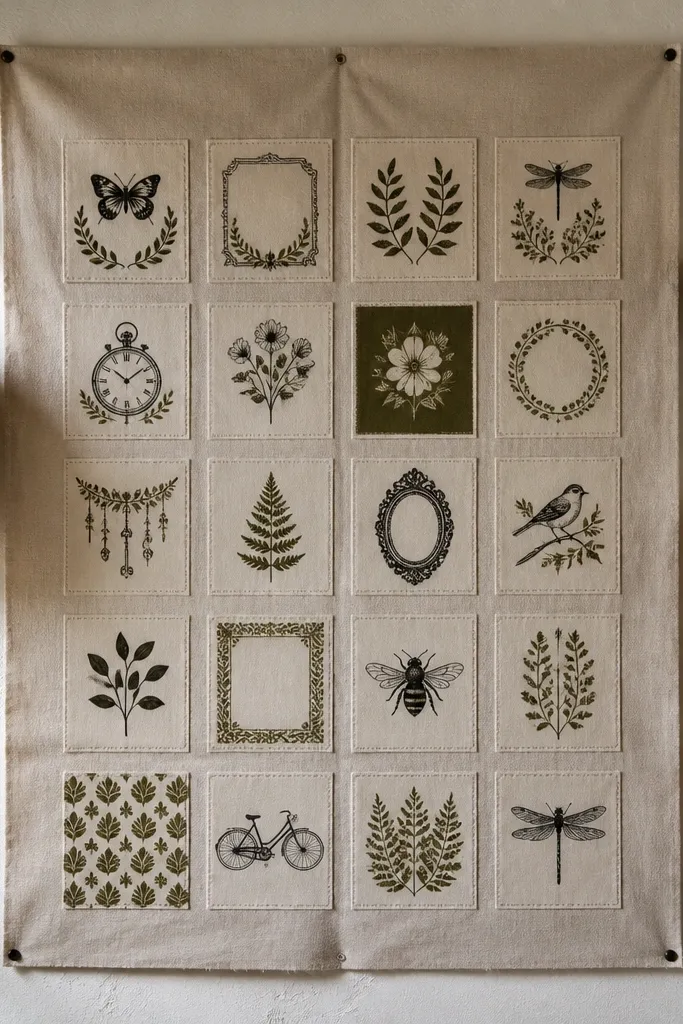
This one is for the craft room that needs both decor and organization. Stretch a vintage-feeling fabric panel (muslin, linen blend, or faded cotton) and apply a grid of iron-on or printed transfer labels using old-style typography. Keep label colors consistent: black ink with one muted accent color like deep olive. The grid makes the wall look designed, not random, and the fabric background adds softness that paper frames can’t. It’s ideal over a cutting table, near craft storage, or behind a work chair where you want visual order. It also photographs well because the label alignment creates clean lines against the textile texture.
Step 1 — Cut fabric to fit a stretched panel or a lightweight frame; pull it tight and staple the back. Step 2 — Mark a simple grid with pencil (for example, 3 columns by 4 rows) and apply transfers one at a time with a hot iron, pressing according to the transfer instructions. Step 3 — Hang the finished panel with the center at 58-60 inches; use two anchors if the panel is wide. Cost is usually $30-90 if you build a panel from fabric and iron-on transfers.
Pro tipUse slightly different label sizes for hierarchy: larger labels for your main project categories, smaller ones for notes.
Watch outDon’t cram too many labels; a 12-label grid reads vintage-organized, a 30-label grid reads clutter.
14. Antique frame mirror with paper ephemera border
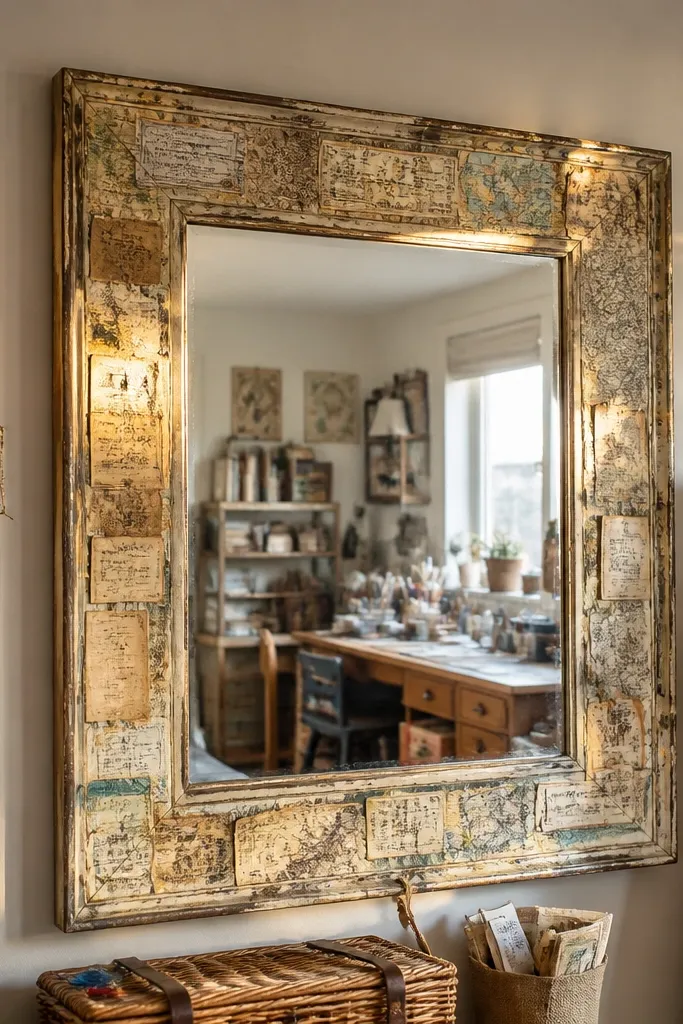
A mirror sounds like it belongs in a hallway, but in a craft room it’s surprisingly useful. An antique-style mirror with a decorative border of vintage paper ephemera adds depth and makes the room feel brighter while still giving you that “vintage collected” look. Choose a frame with distressing so it reads aged, then attach small paper scraps like old tickets, ledger snippets, or vintage label strips around the inner edge. This helps blank walls because the mirror reflects your workspace, turning the room’s activity into part of the decor. It’s great for small craft rooms or rooms with one weak light source. The vintage border also photographs beautifully because it adds fine detail around the reflective surface.
Step 1 — Pick a mirror size around 16x20 inches so it’s not too large above a desk. Step 2 — Clean the frame edge, then glue paper strips in a staggered pattern using matte decoupage medium so it dries flat. Step 3 — Seal the paper border with a thin matte topcoat and hang the mirror with the center at 60 inches. Cost usually lands around $60-160 depending on whether you thrift the mirror frame and how much paper you use.
Pro tipKeep the paper palette tight: sepia, cream, and one muted color so reflections don’t look messy.
Watch outAvoid shiny topcoat; it creates glare that makes the border hard to see.
15. Vintage craft tool shadowbox with rusted metal and twine
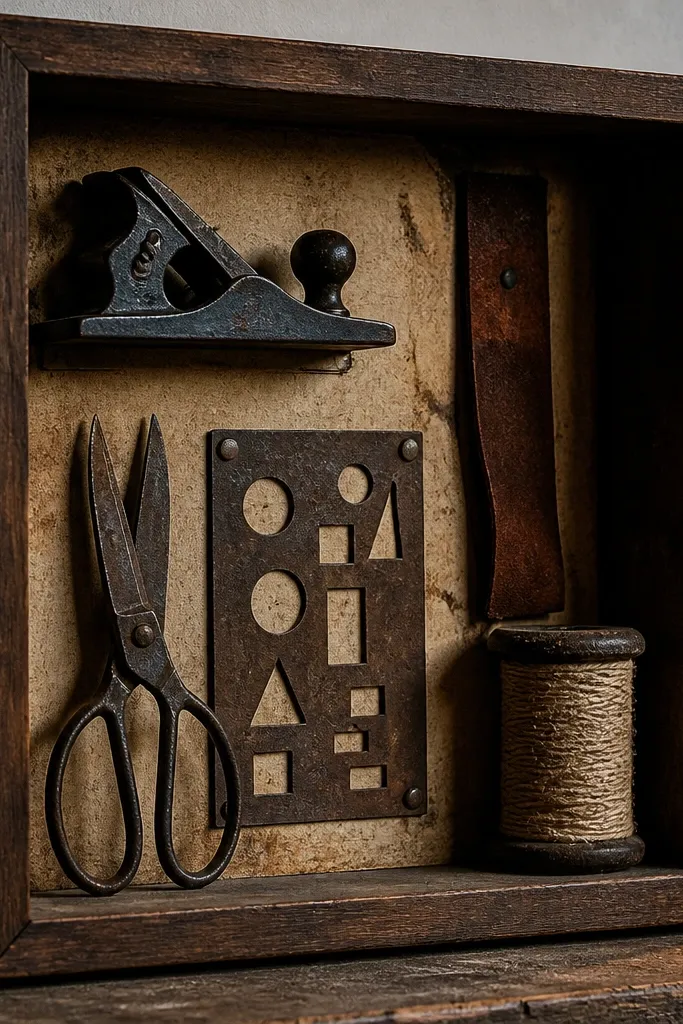
This is decor that looks like it belongs on a workbench, not inside a display cabinet. A deep shadowbox lets you arrange small vintage tools — a tiny hand plane, old scissors, a spool, or a metal stencil — and pair them with twine, washers, or a strip of aged leather. The vintage feel comes from patina: rust, darkened steel, and worn wood handles. Keep it focused: 4-7 items max so the composition reads intentional. Hang it near where you do finishing work, like near a cutting station or above your drawer of tools. It solves the blank wall problem by adding real texture and depth that flat prints can’t match.
Step 1 — Use a shadowbox with 2-3 inches depth so items don’t overlap awkwardly. Step 2 — Arrange tools on a neutral backing board (kraft paper or stained wood), then secure with small screws, hot glue dots, or museum wax depending on item weight. Step 3 — Add a simple label card in the bottom corner for a vintage touch, then hang with the center at 58 inches. Plan on $70-180 depending on shadowbox size and whether you thrift tools.
Pro tipGroup items by height: two tall pieces, two medium, and a flat base item — it looks styled, not piled.
Watch outDon’t use plastic-looking replicas; the shadowbox depends on patina texture to look vintage.



