1. Floating Shelf Desk with Hidden Cable Tray
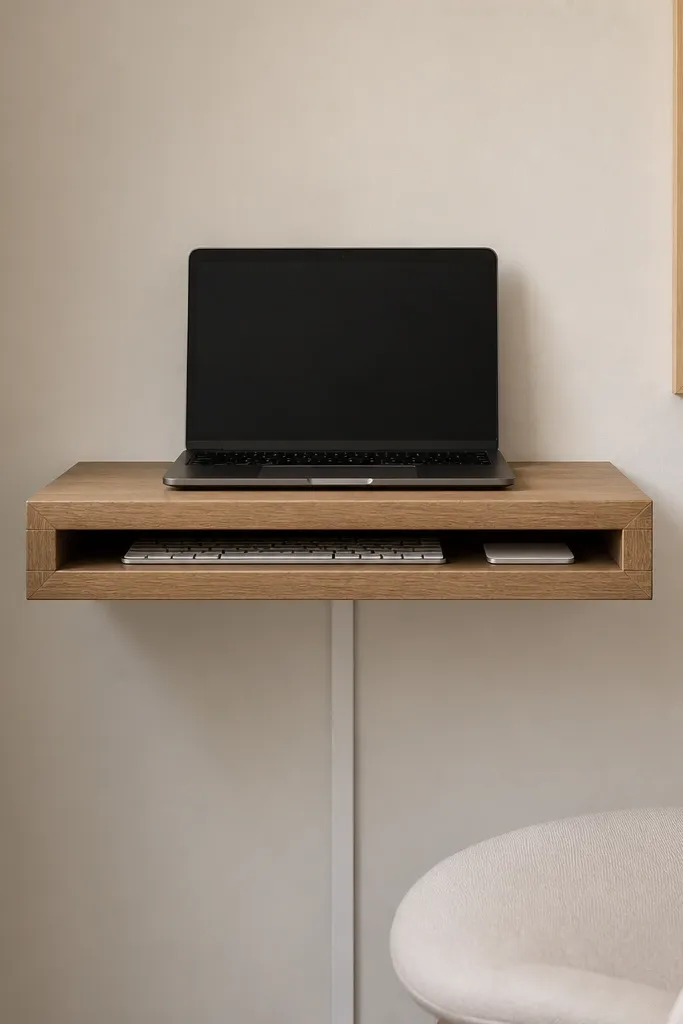
This setup works because the shelf gives you a real work surface while the wall handles the storage. The under-shelf cable channel keeps cords from hanging down in front of your legs, which is what usually makes small offices look messy. I like a warm oak shelf with a matte finish because it reads cozy next to white walls and light curtains. Add one grounding item like a ceramic mug and the whole thing looks styled instead of temporary.
Use a shelf at least 24 inches wide and 10-12 inches deep so your wrists aren’t hanging off the front. Mount it with visible brackets if you like an industrial look, or use concealed brackets for a cleaner line. Keep the chair pulled in close and position the shelf so the cable channel lines up with a power strip mounted behind the shelf near an outlet.
Run your charging brick and power strip into the cable channel before you place the laptop — you’ll save yourself from doing it twice.
Avoid using a floor cable bundle with a floating shelf — cords drape and the setup looks cheap in photos and in real life.
2. 30-Inch Table Desk with a Two-Shelf Backer Wall
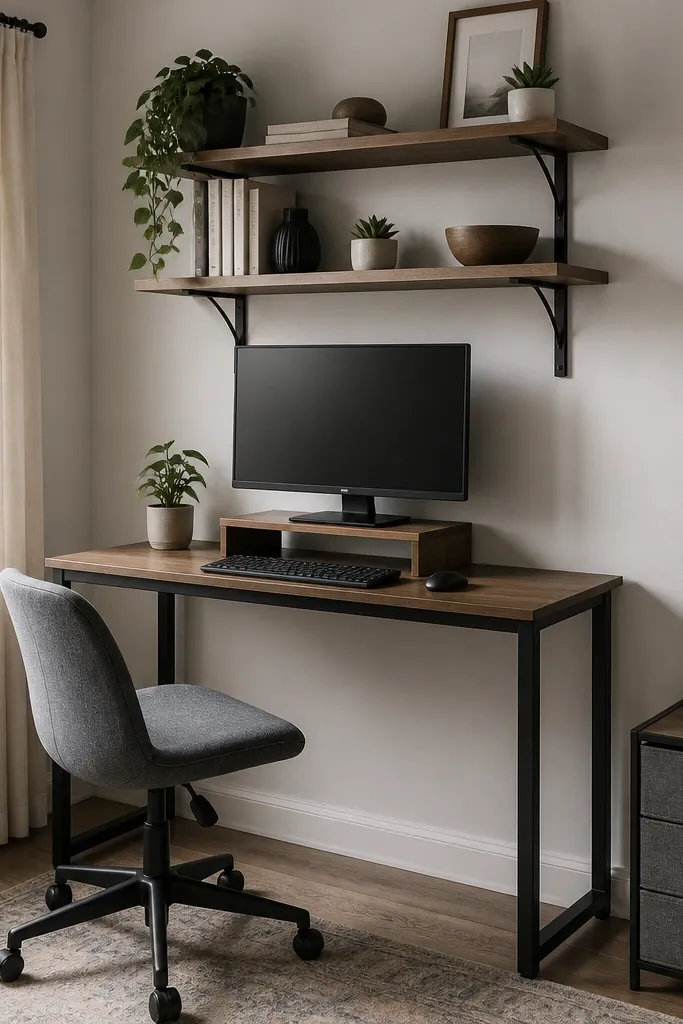
A simple table is the fastest path to a budget work from home set up that still looks intentional. The backer shelves give you vertical storage for books, printer paper, and office supplies so your desk doesn’t become a dumping ground. I like keeping the desk items in a triangle: laptop in the center, keyboard slightly forward, and a single desk organizer at one side. The shelves let you show decor — a small plant and a photo frame — without cluttering the work zone.
Choose a tabletop around 30 inches wide and 16 inches deep. Put the monitor riser on the back third of the table, then keep the front two inches clear so you can rest your forearms. Use two shelves spaced about 12-14 inches apart for easy reach and a tidy look.
Pro tipUse matching bookends or the same color book spines so the shelf looks curated even when you’re mid-project.
Watch outDon’t place a tall stack of books on the table edge — it blocks the view and makes the room feel crowded.
3. Window-Ledged Workstation with Slim Under-Shelf Bins
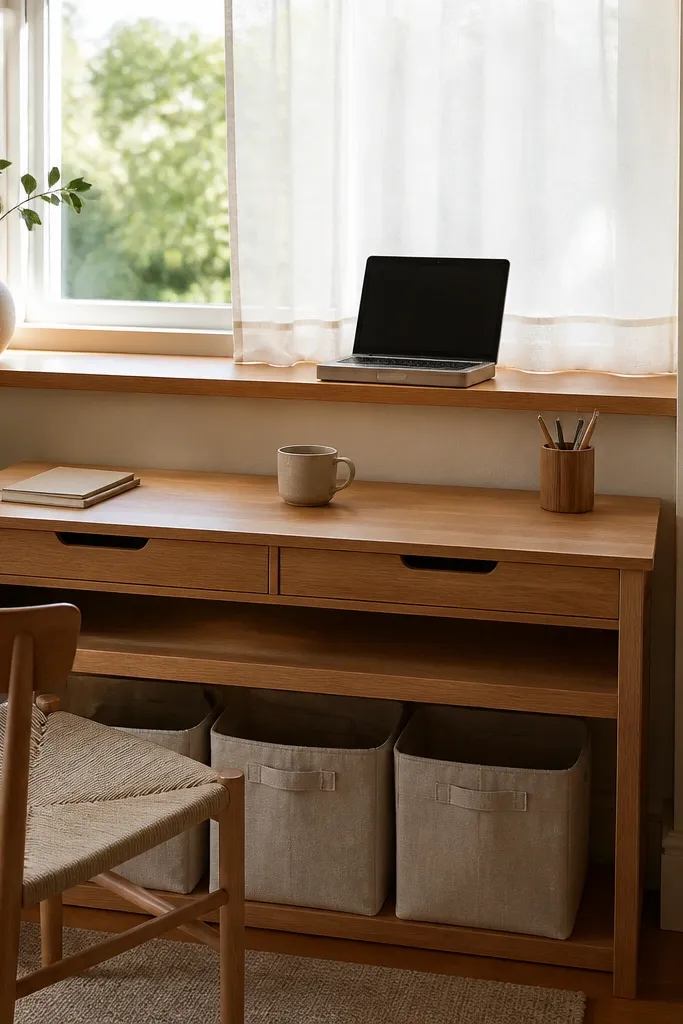
If your room has a window, this layout is a cheat code. Natural light makes the space feel bigger and calmer, and the under-shelf bins let you store cables, chargers, and paper without seeing them. I’ve used this in a bedroom office where the only good wall for a desk was short — the window ledge gave me depth without buying a bulky desk. Keep the color palette light: warm white curtain, light wood ledge, and gray or sand fabric bins.
Use a ledge or tabletop that’s 28-30 inches wide and install it at a height where your elbows are about 90 degrees when seated. Add two slim fabric bins under the lower shelf so they slide out easily. Label with small adhesive tags so they look organized instead of random.
Put your task light on a clamp arm — it keeps the desk usable after dark without taking up space.
Avoid using dark bins under a bright window — the contrast makes the setup look heavy.
4. Rolling Cart Desk with a Fold-Down Wall Shelf
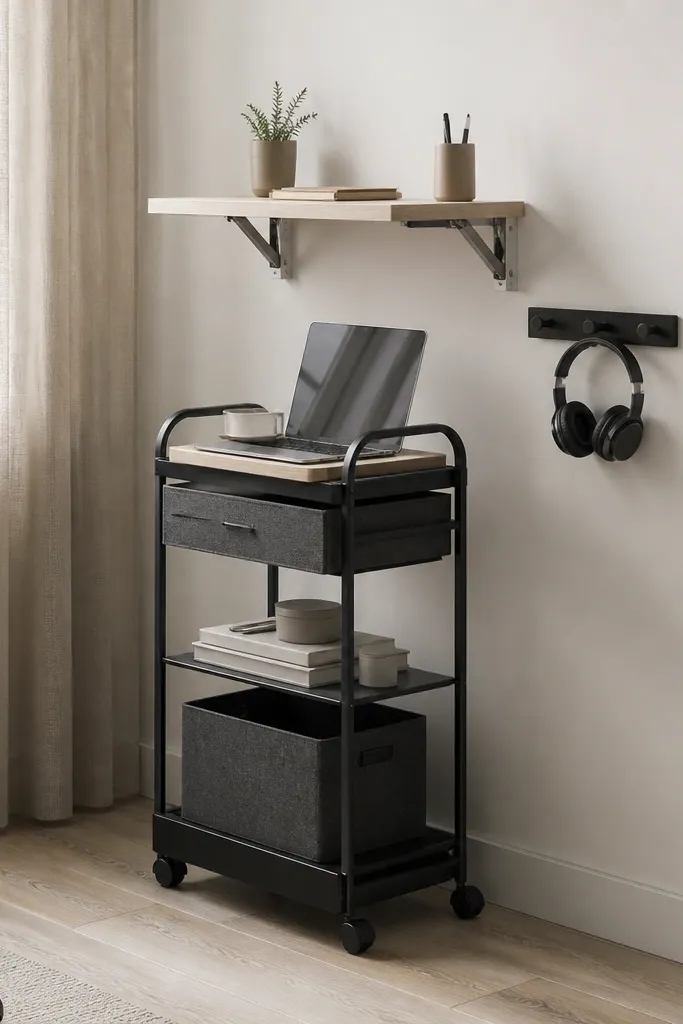
This is one of my favorite budget work from home set up tricks because it gives you a full work surface only when you need it. The rolling cart handles the “always on” items like pens, a notepad, and chargers. The fold-down shelf acts like a second surface for paperwork, so your main area stays clean. I like carts in black metal with light wood shelves because the combo looks modern and doesn’t swallow the room visually.
Choose a cart with at least two shelves and a top that’s around 16-18 inches deep. Mount the fold-down shelf above it at roughly elbow height and swing it down only during work sessions. Keep one drawer or bin for cables and another for paper so you can find things in seconds.
Pro tipAdd adhesive felt pads to the cart shelves — it reduces rattle and makes the whole setup feel quieter.
Watch outDon’t put your printer on the top shelf if the cart is narrow — paper jams get annoying fast.
5. IKEA-Style Cube Storage Wall with Desk in Front
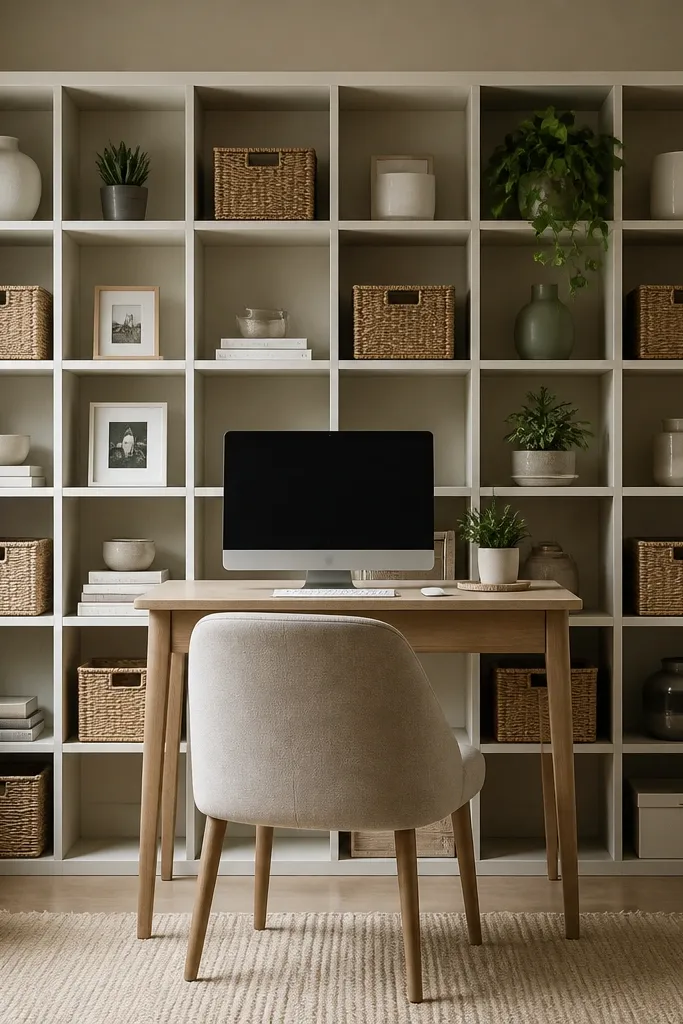
Cube storage makes a small office look organized because it creates a grid and gives you defined spots for everything. The desk in front stays simple, while the cubes hide mess with baskets. I’ve done this in a tiny living room corner where the office had to disappear when guests came over. Keep the cubes mostly uniform in color — white or light gray — then use two basket colors only.
Set up cubes first and leave a 30-inch-wide “open lane” for the desk. Place your desk so the chair can slide in without bumping the cube edges. Use baskets that fit the cube openings exactly so you don’t get gaps that collect dust.
Pro tipStore printer paper in a single lidded bin at the bottom cube — it stops that “paper pile” look.
Watch outAvoid leaving cubes empty or filled with random sizes — the grid stops looking intentional.
6. Corner Desk with a Ladder Shelf Above
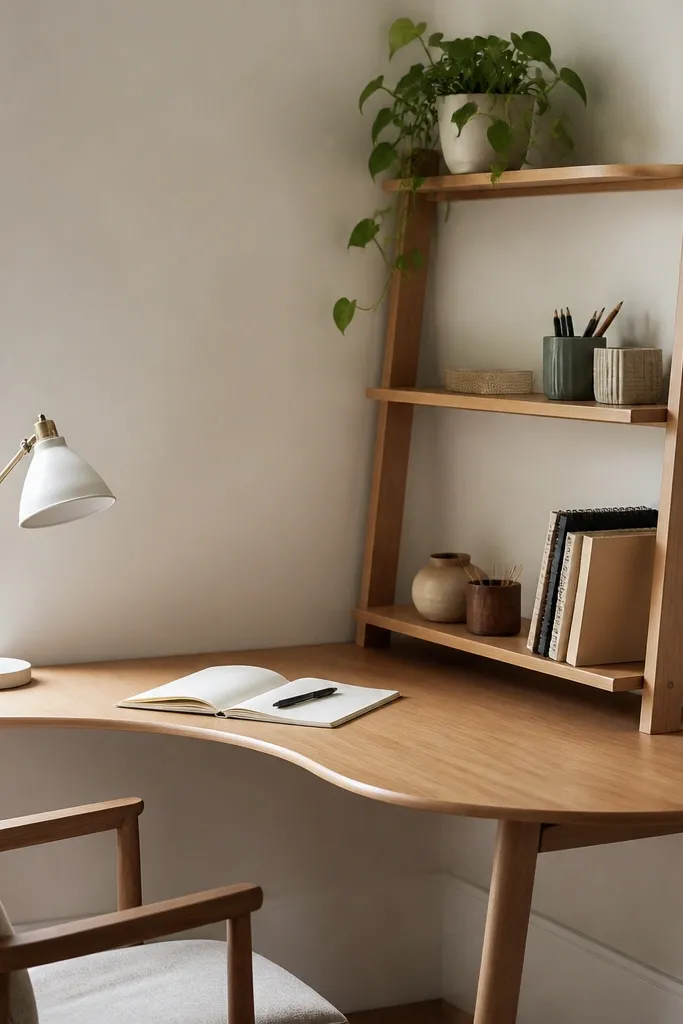
Corners are where small rooms usually lose — but they’re also where this setup wins. A corner desk uses two walls, and the ladder shelf sits above without blocking your sightline like a bulky cabinet. I like an open ladder shelf because it adds height and keeps the room airy. The open shelves are perfect for a few decor pieces and labeled office supplies, which keeps your work area from looking bare.
Choose a corner desk with a depth around 20 inches so you can fit a monitor and still have room for a keyboard. Position the ladder shelf so the bottom rung is high enough that your chair doesn’t hit it. Use a small planter and one stack of books per shelf to avoid visual clutter.
Hang a small cable organizer on the side of the desk — it keeps cords from wrapping around the chair legs.
Avoid placing the ladder shelf too low — you’ll keep bumping your head or chair.
7. Matte Black Monitor Riser with Cork Board Behind
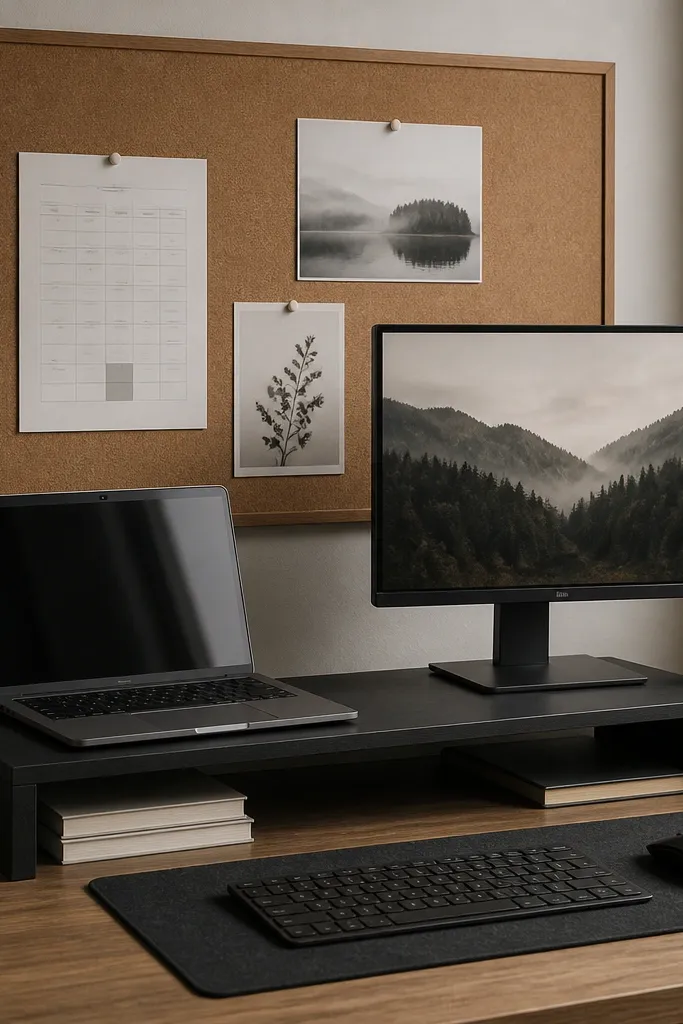
This setup looks expensive because it creates a “command wall” behind your screen. The cork board gives you a place for notes, cables diagrams, and a few prints without taking desk space. I’ve used matte black risers with cork because the contrast hides wear and fingerprints better than glossy surfaces. It also makes your budget work from home set up feel designed, not assembled.
Mount cork board on the wall behind the desk at about screen height. Add a thin tray on the desk for pens so you don’t scatter them across the surface. Use pushpins sparingly — I stick to 6-10 items so it stays clean.
Write your weekly calendar on one paper sheet and swap it every Sunday — it keeps the board fresh without collecting junk.
Avoid a cork board covered in loose papers — it reads chaotic and cheap.
8. Fabric Dresser as Office Credenza
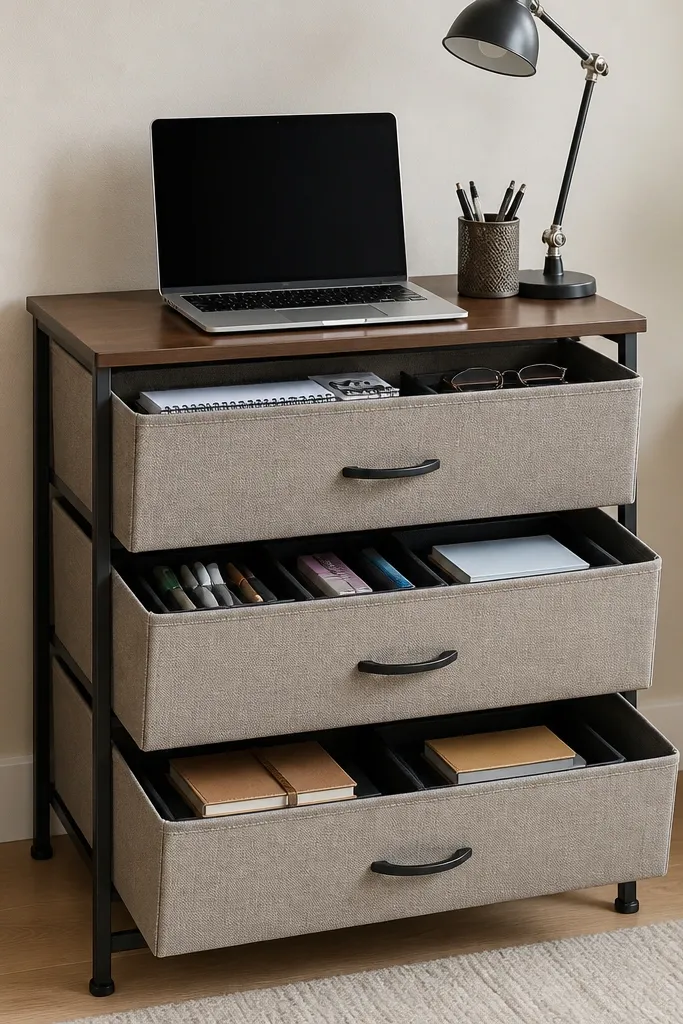
A fabric drawer dresser is a sneaky way to get storage without a bulky cabinet. Put a tabletop on top and you get a desk surface that still hides mess. I like this for a budget work from home set up because you can upgrade the top later — swap in a wood board when you want it to look more solid. Keep drawer labels consistent and use matching pen cups so everything reads intentional.
Pick a dresser width around 36-42 inches if you can, and add a tabletop that’s slightly larger so it overhangs by about an inch. Choose drawers with smooth pulls so you don’t fight them daily. Store cables and charger bricks in one drawer, and paper and notebooks in another.
Pro tipAdd a thin anti-slip mat under the tabletop so it doesn’t shift when you open drawers.
Watch outAvoid leaving the top bare — one lamp and one organizer make the whole thing look like furniture.
9. Book-Ledge Desk with Adjustable Legs
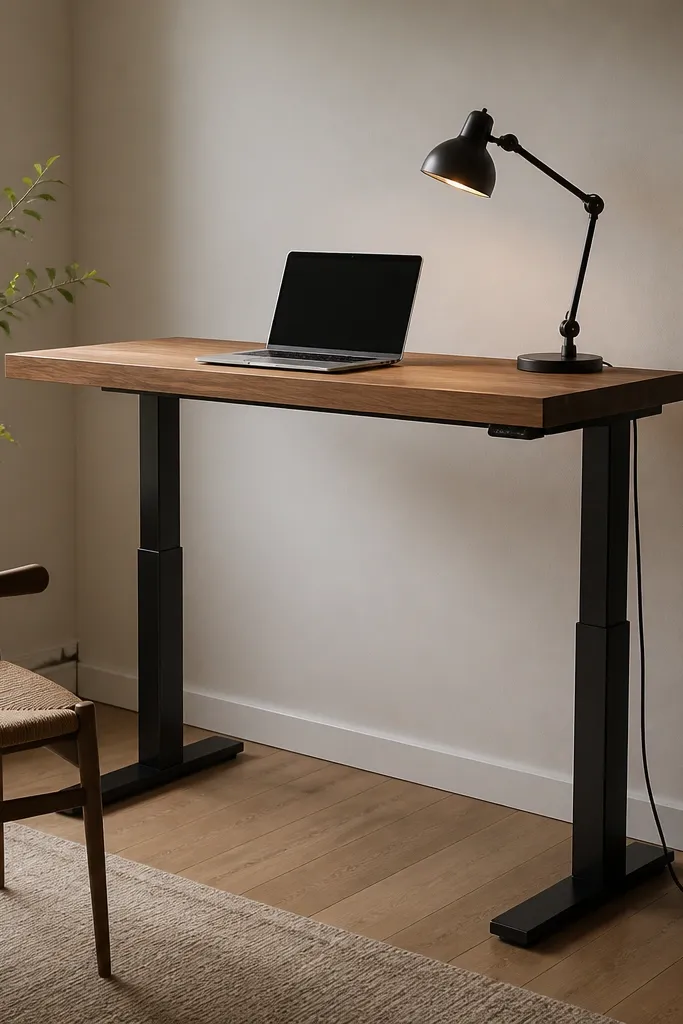
This is the setup I use when I need a desk that fits an awkward wall. The thick ledge gives you a sturdy surface, and adjustable legs let you match your chair height perfectly. When you get the height right, your back stops complaining and you work longer without feeling “off.” The look stays clean because the desk is simple — just one surface plus a cable path.
Use a ledge around 30 inches wide and 10-12 inches deep. Measure from the floor to your chair’s seat height and aim for elbow height when seated. Route a power strip along the back edge and use a cable sleeve to keep it straight down the leg.
Put a small rug under the chair — it stops the chair from sliding and makes the space feel finished.
Avoid setting the desk too high — you’ll end up leaning forward and it ruins the whole point.
10. Pegboard Wall with Desk Hook System
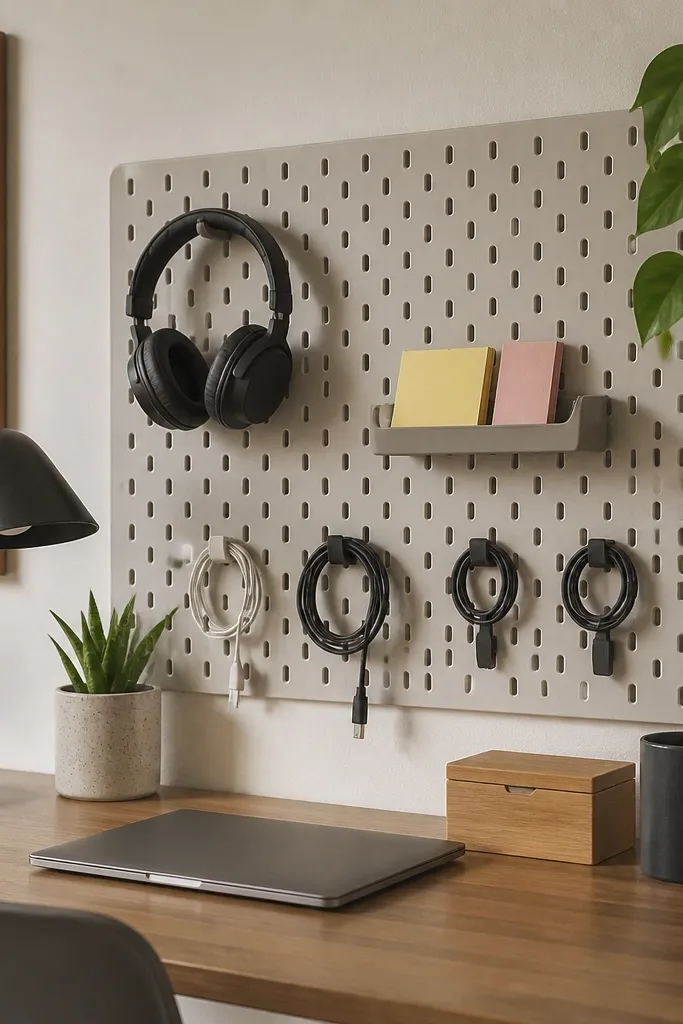
Pegboard is one of the fastest ways to make a budget work from home set up look organized. It turns your tools into decor — hooks, clips, and small shelves look intentional when they’re spaced evenly. I like pegboard because you can move things around as your workflow changes. It also keeps your desk surface clear, which makes the room feel larger.
Mount pegboard centered behind your desk so your eyes land on it instead of empty wall. Use two cable clips at the height of your charging area and one small tray for scissors and tape. Keep hooks for daily items like headphones and a spare mouse.
Pro tipPaint the pegboard matte white or a warm off-white so it doesn’t look harsh next to wood and linen.
Watch outAvoid random hook placement — spacing is what makes it look styled, not messy.
11. Slim Door Table Desk with Overhead Shelf
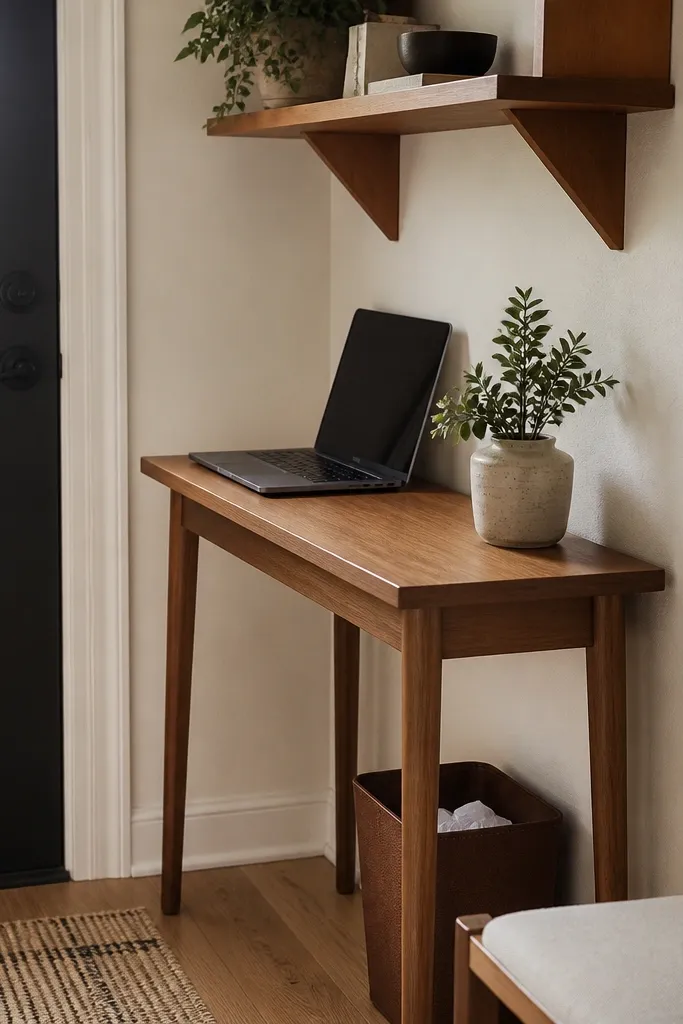
When your room layout has no straight wall space, a door-adjacent table desk is a lifesaver. It gives you a work zone without blocking the door swing, and the overhead shelf adds storage where you already have vertical space. I like this setup because it’s compact but still feels stable. Choose a slim table with a solid top so the laptop doesn’t wobble.
Pick a table depth around 12-14 inches and check door clearance so the chair doesn’t bump the swing. Place the overhead shelf 10-12 inches above the desk surface so you can reach without leaning. Use a single under-table bin for notebooks and paper.
Pro tipAdd a small felt strip on the table edge where your wrist rests — it reduces sliding on smooth tops.
Watch outAvoid a wobbly folding table — it makes typing feel off immediately.
12. Gallery Wall Above Desk with Built-In Shelf Ledge
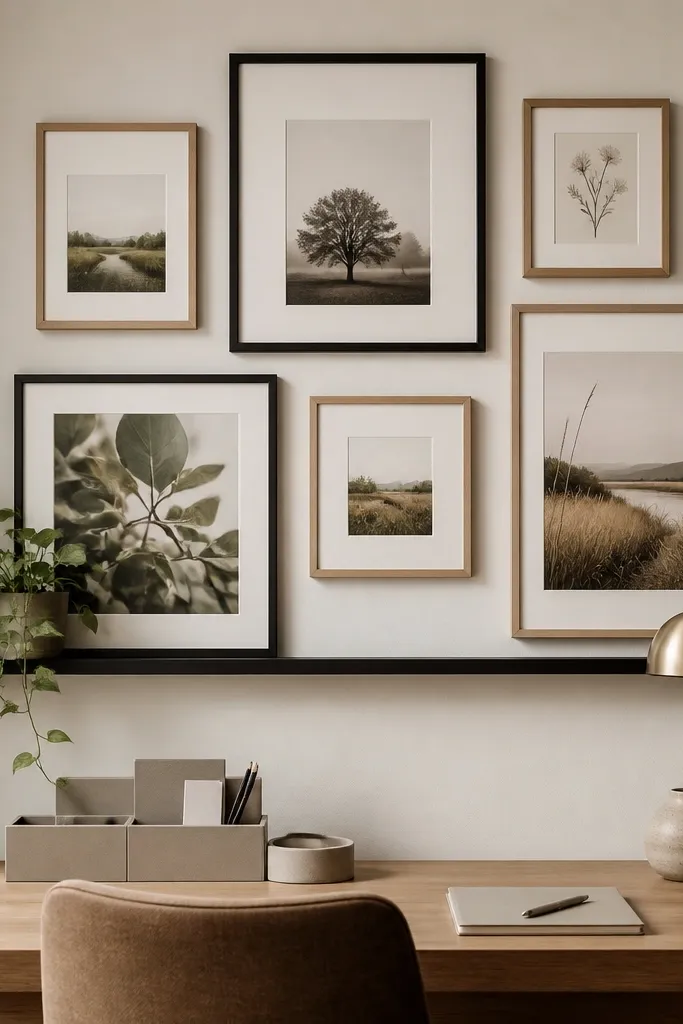
A gallery wall makes your office look like part of the home, not a separate utilitarian room. The key is keeping the desk area simple and letting the wall do the decorating. I’ve used a narrow ledge shelf above the desk for one plant and one small tray, then kept all other supplies inside a drawer or basket. This keeps the setup visually calm while still feeling personal.
Use frames in two finishes only — black and natural wood works well. Keep the gallery height so the center is around eye level when seated. Add a narrow ledge shelf just above the desk line with a plant in a ceramic pot and a small tray for keys or headphones.
Use a template paper for frame spacing — the wall looks straight even on a budget.
Avoid mixing too many frame sizes — it turns into clutter fast.