
1. Under-Desk Drawer Wall for Headset + Notes
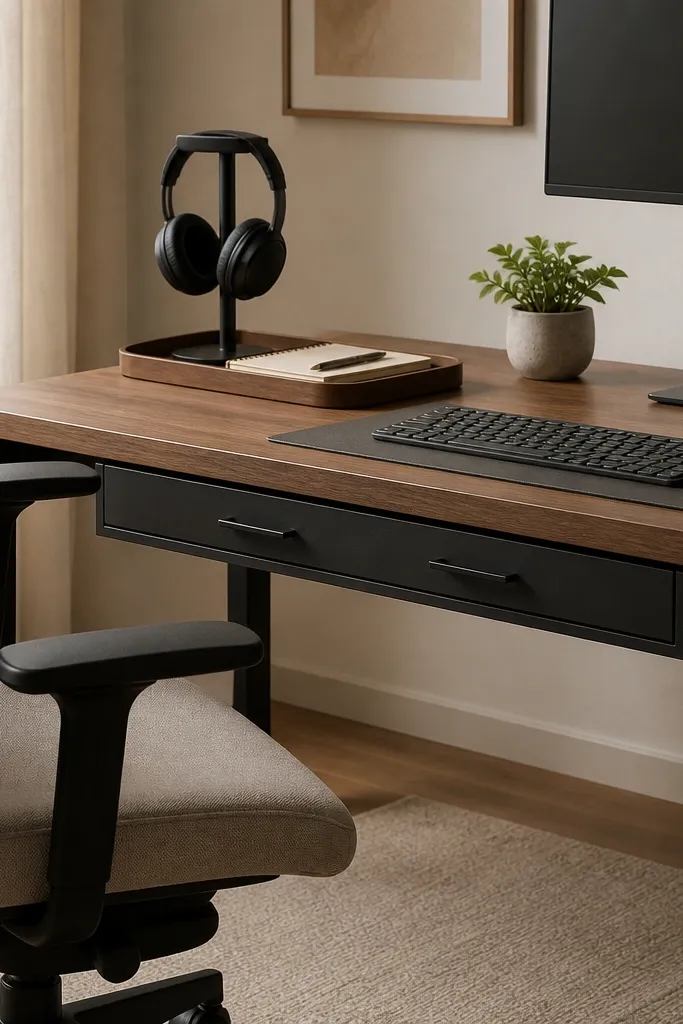
This layout keeps call essentials off the desktop without making you dig. I like a drawer unit that slides smoothly and sits low enough that you can open it with your right hand while the mouse stays in your left. Put your notepad, extra pens, and a spare headset ear pad inside the drawers so you never “set it down for a second.” The top tray is shallow so the visual clutter stays contained.
Pro tipAdd a small strip of painter’s tape inside the drawer front edge to label “Daily” so you don’t reorganize every Monday.
Choose a drawer unit with at least two compartments so pens don’t swim with paper clips. Match the finish to your desk (matte black or warm oak looks best with neutral walls). Keep the tray top clear except for one notepad stack and one headset stand.
Watch outAvoid a single big drawer with no divider — it turns into a junk drawer by day three.
2. Vertical File Cabinet Behind the Chair
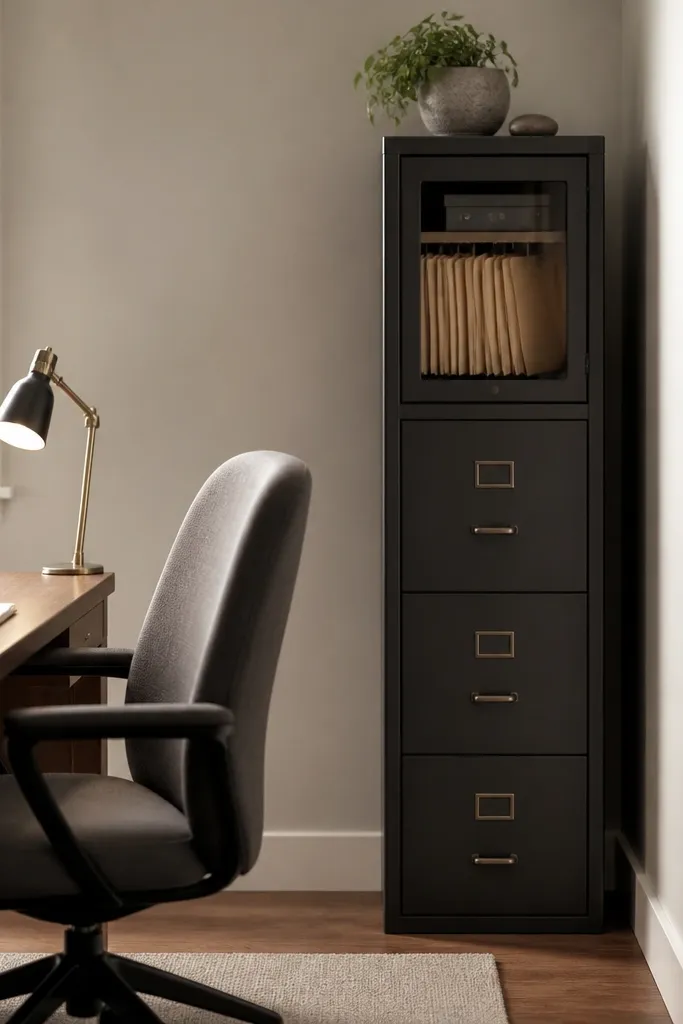
A vertical cabinet behind your chair is the easiest way to keep paper from migrating onto the desk. The hanging file system is fast — you can pull the exact folder during a call if you need to reference a script. It also keeps documents out of sight, which makes your workstation look calmer even when you’re actively handling paperwork.
Pro tipLabel folders by process step, like “Intake,” “Verification,” “Escalation,” instead of by person or client name.
Pick a cabinet depth around 14-18 inches so it doesn’t bump your chair when you pull it in. Use letter-size hanging files or legal-size depending on what your company sends. Add one small door basket for sticky notes and tape so small supplies stay grouped.
Watch outSkip open shelves for paperwork — paper stacks grow into a mess fast.
3. Pegboard Wall with Closed Bins for Micro-Supplies
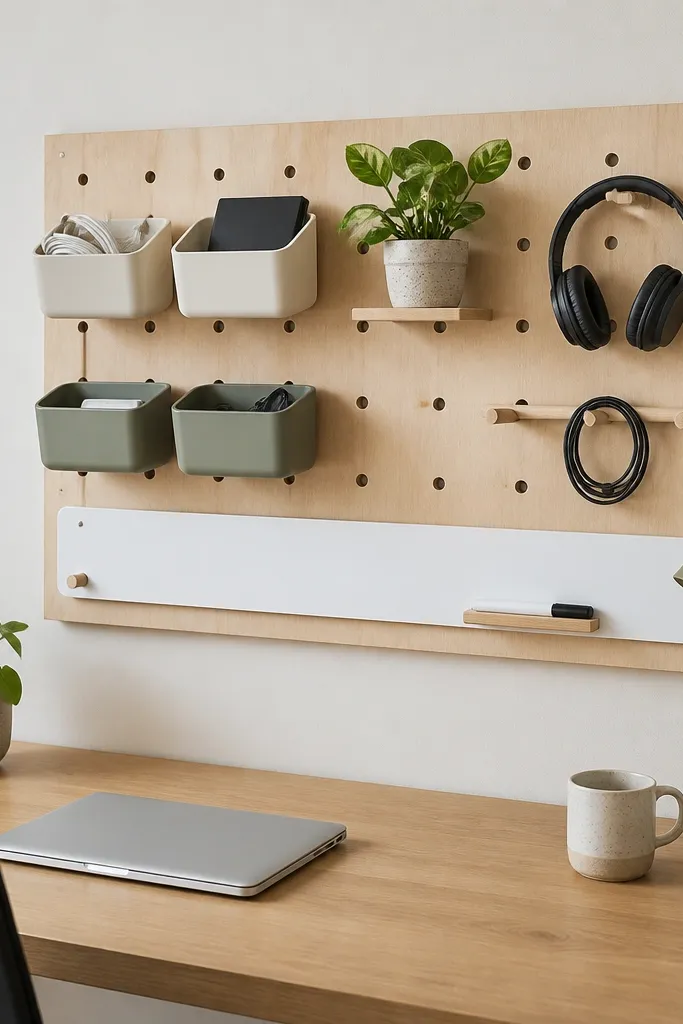
Pegboard is one of the few storage systems that looks intentional instead of “garage.” I use closed bins for micro supplies like paper clips, binder clips, spare batteries, and charging adapters. The pegboard lets you place items exactly where your hands land during work, so you stop rummaging through desk drawers. It also gives you a clean backdrop without covering the entire wall in bulky furniture.
Pro tipRun a small Velcro cable tie to the rail so your phone charger never drops behind the monitor.
Mount it so the bin bottoms sit about 10 inches above your desk surface. Use bins that are all the same size and color for a tidy look. Keep only one row of bins at eye level; everything else goes below or stays in the drawer system.
Watch outDon’t hang random items directly on hooks — it looks messy and you’ll hate dusting it.
4. Bookshelf with a Closed Door Section for "Call Scripts"
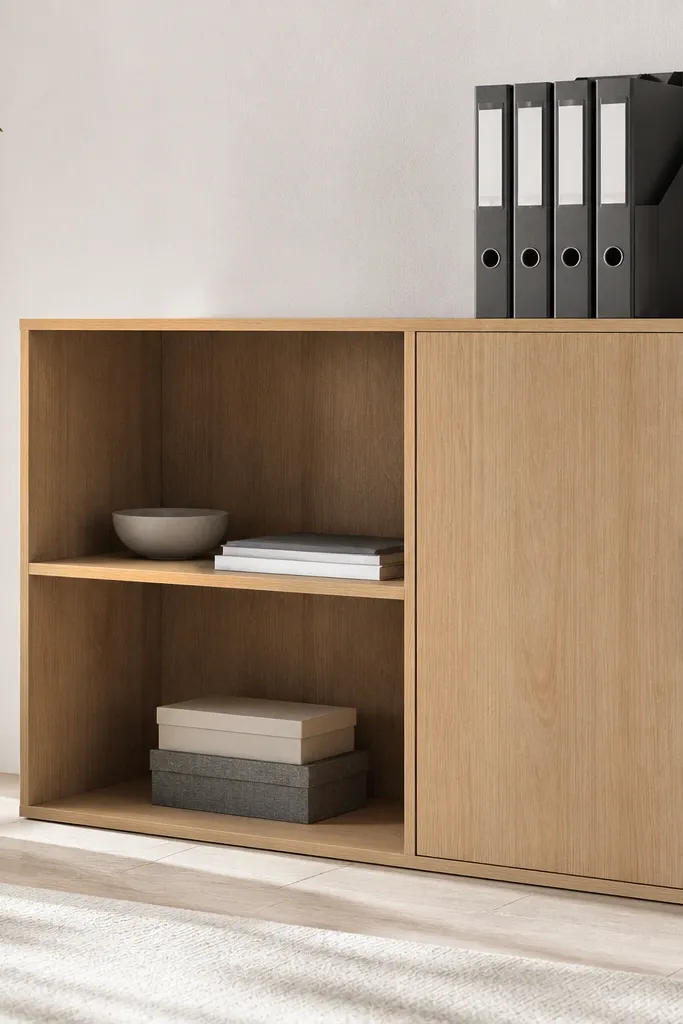
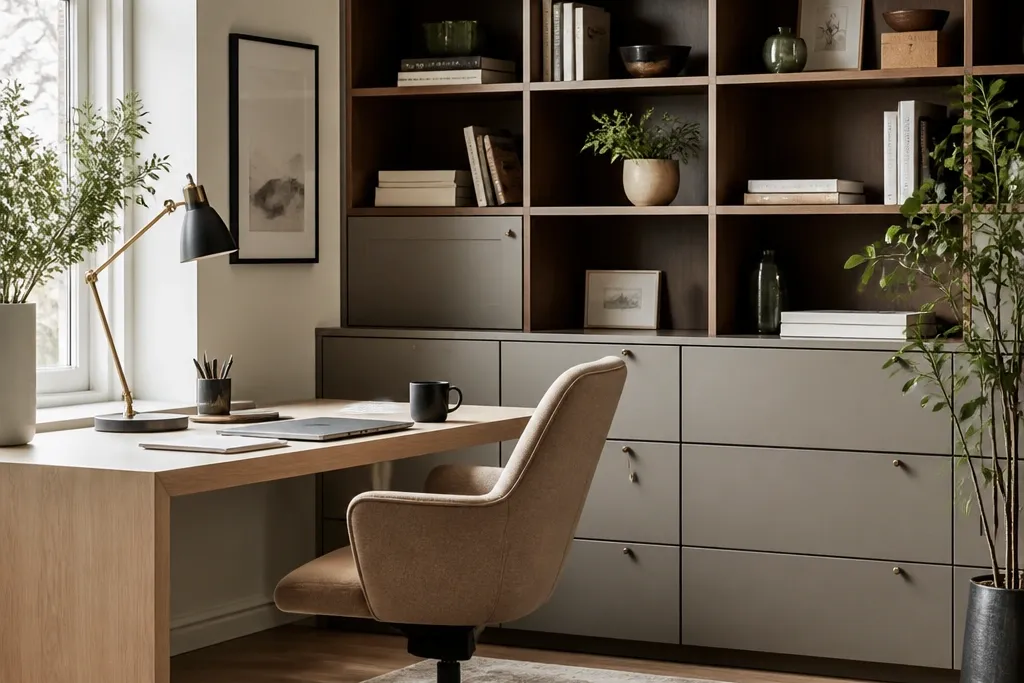
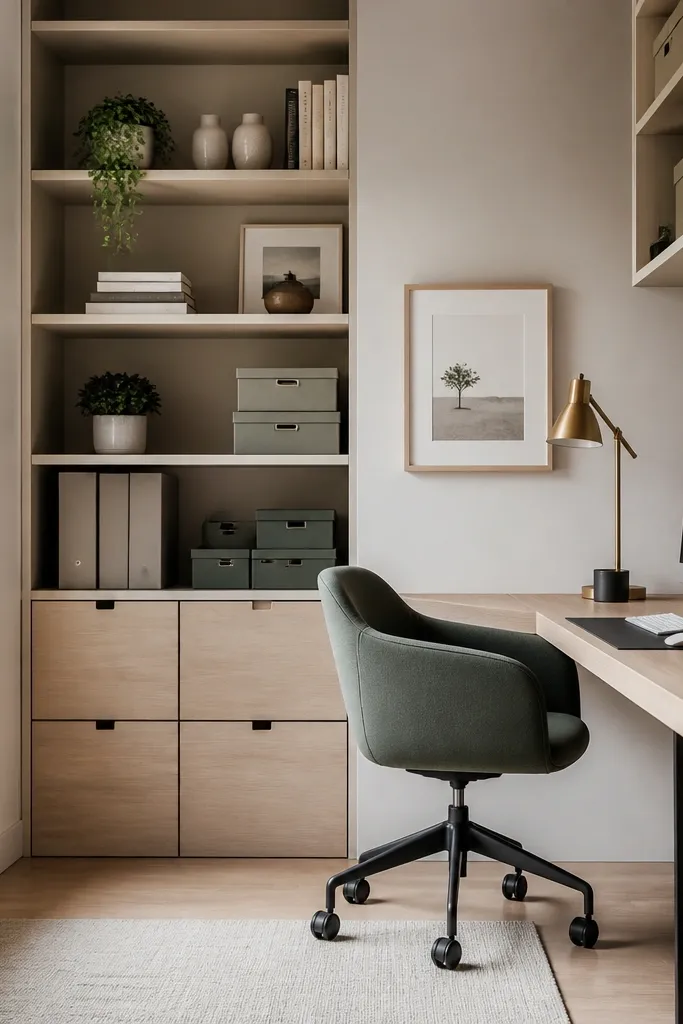
Open shelving looks nice, but it’s the closed section that saves you. Store your call scripts, training binders, and any compliance manuals behind a door so the room stays visually quiet. Use open shelves only for things you’re okay seeing — like a small plant, a notebook stack, and one pen cup. This combo keeps your desk area from becoming the storage zone by accident.
Pro tipUse label maker strips on binder spines with short names like “QA Review” and “New Hire FAQ.”
Choose a bookshelf height that keeps the door section handles within 60 inches of the floor. Put binders spine-out so you can scan titles quickly. Keep your open-shelf items to three categories max — stationery, one decor object, and one tech item.
Watch outAvoid filling every open shelf space — overcrowding makes even tidy items look cluttered.
5. Rolling Cart with a Top Tray for "Live" Work
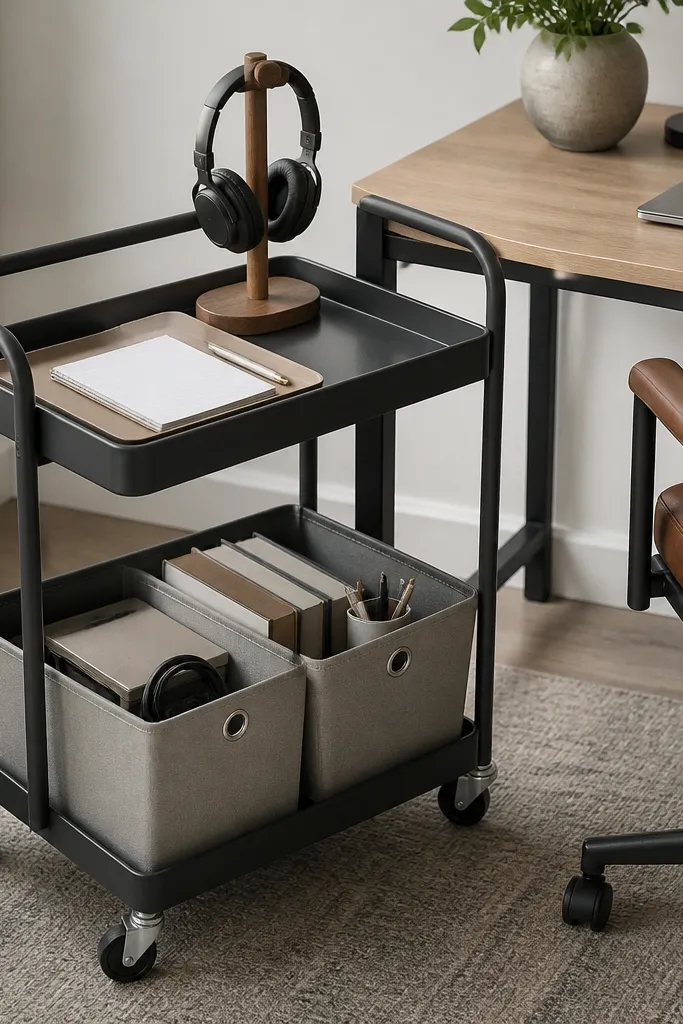
A rolling cart gives you storage that moves with you during busy weeks. I like putting the “live” items on the top tray so you can roll the cart closer when you’re training or doing a heavy admin day. The lower bins hold things you don’t need mid-call — like extra forms and printer paper. Because it’s on wheels, you can reposition it to keep your desk surface clear.
Pro tipStore one pair of backup headphones in a bin so you never scramble during a call.
Use a cart with caster wheels that lock. Top tray should be about the same width as your monitor base area so it doesn’t crowd your desk. Keep bin sizes consistent and label them with marker on the front.
Watch outSkip carts with wobbly shelves — the tray items slide and you’ll stop using it.
6. Desk Extension Shelf with Hidden Cable Channel
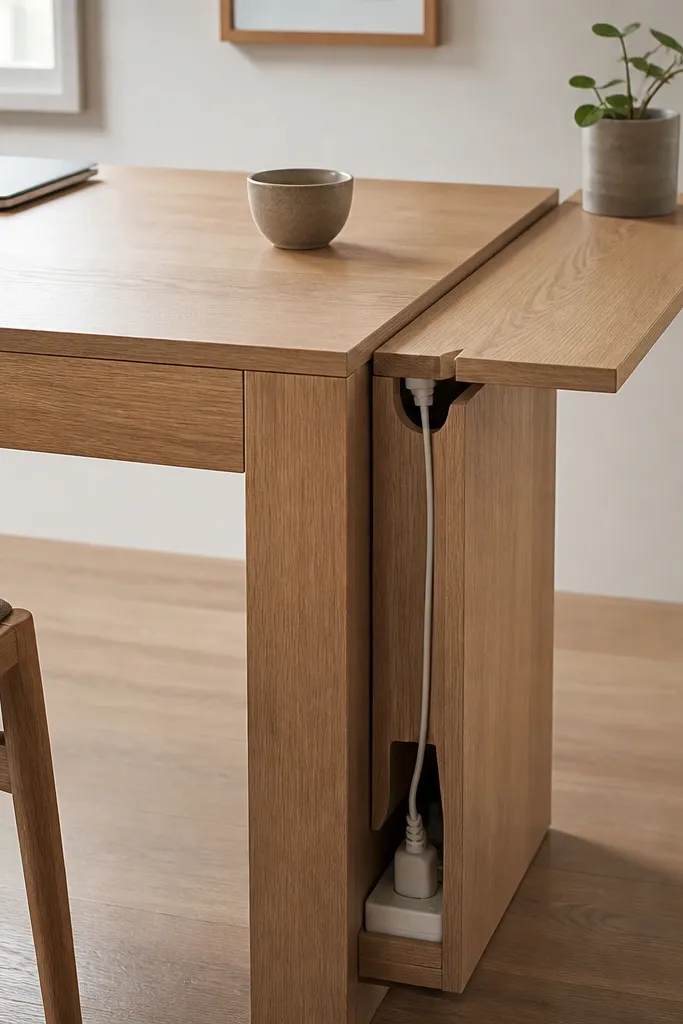
When I added a side extension shelf for my laptop and a hidden cable channel, my desk instantly looked calmer. The shelf gives you extra workspace for a laptop stand, and the channel keeps the charger and headset cable from draping over the desk edge. This is especially helpful if you’re on a headset all day and hate tangled cords. The storage part is that the power strip and small adapters live in a compartment under the shelf.
Look for a shelf that has at least a 2-inch lip so your devices don’t slide. Under it, mount a power strip with a cable channel cover. Keep the channel width wide enough for your thickest cord so you don’t pinch it.
Use Velcro cable ties and group cords into one bundle per device so you can unplug fast.
Don’t run cables across sharp desk edges — it frays cords and makes the setup look worn.
7. Storage Ottoman Under the Desk Front
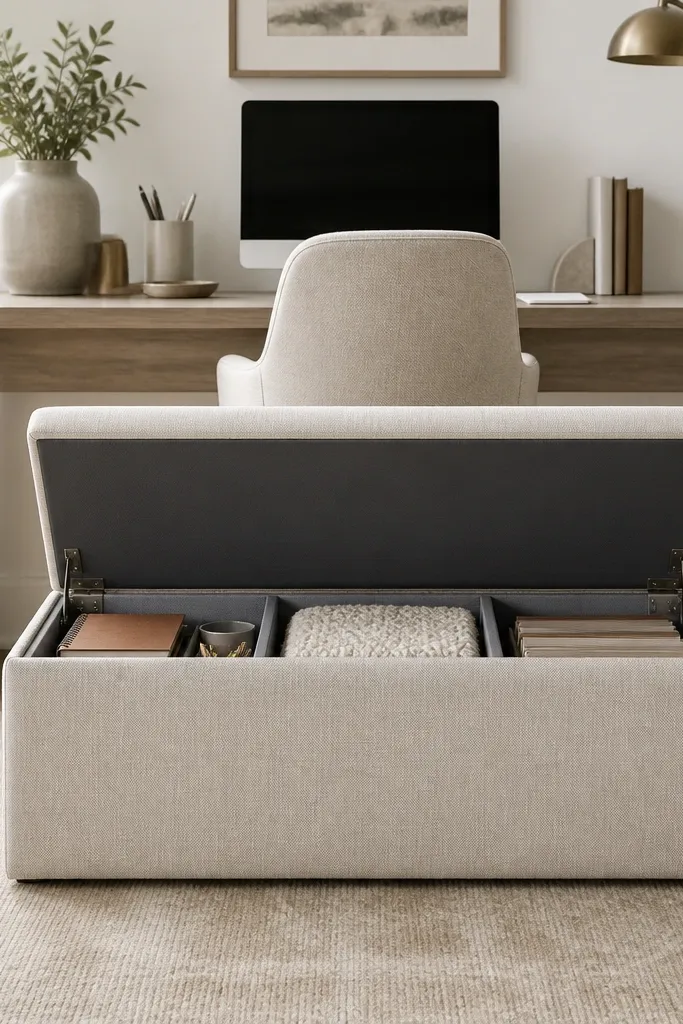
A storage ottoman is a sleeper pick for call-center setups because it hides stuff without taking wall space. I keep spare stationery, extra charging cables, and a small emergency kit inside. It also gives you a place to rest your feet or prop a bag when you’re working from home, so your setup feels more “finished” than a bare chair-and-desk scene.
Choose an ottoman with a hinged lid and a clean inner liner. Make sure it fits under your desk clearance so your knees don’t hit it. Use two small bins inside for cables and paper so you can grab one thing without dumping everything.
Put a small flashlight or keyring inside one bin — you’ll find it fast when you need it.
Avoid ottomans with loose lids that slam — the noise is distracting mid-call.
8. Closed Filing Cabinet + Monitor Stand Combo
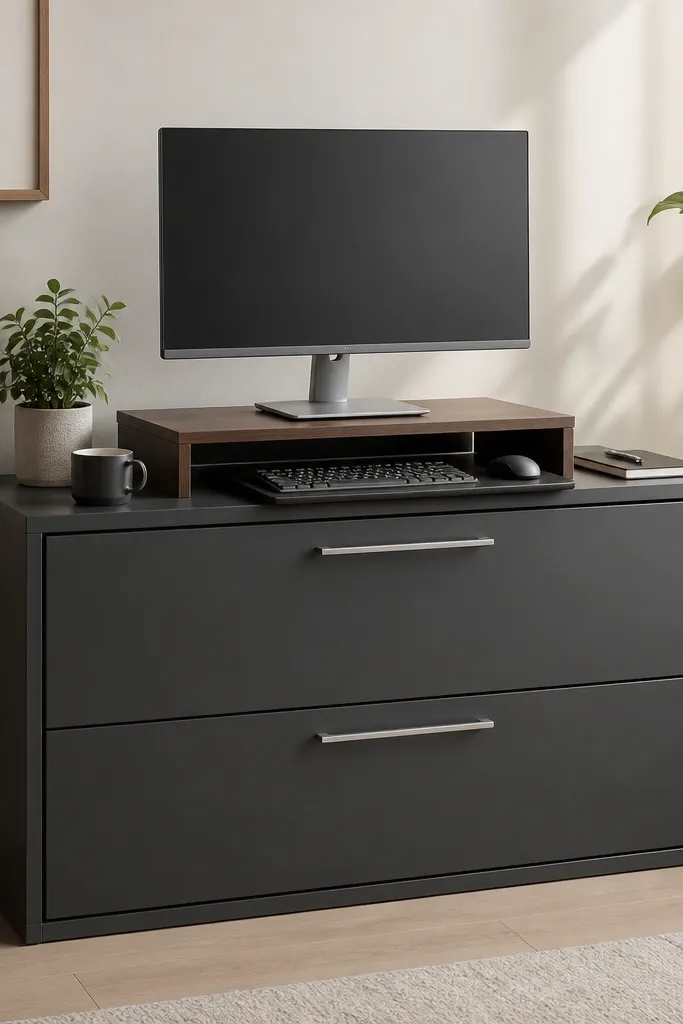
This combo uses vertical space and keeps paper hidden. The cabinet body stores documents and supplies, while the monitor stand lifts your screen so you can sit comfortably. On top of the stand, I keep only the mouse and one small tray for sticky notes. It feels like a call-center control room because everything you need is in one block.
Pro tipUse cable clips on the back of the stand to keep the cord run straight down.
Pick a monitor stand height that brings the top of the screen to about eye level. Use a cabinet width that matches your desk width so you don’t create awkward gaps. Store paper and bulk items in the cabinet drawers; keep quick-grab items in a shallow top tray.
Watch outDon’t stack a tall cabinet with a short monitor stand — your neck will pay for it.
9. Labeled Drawer Inserts for "Admin Days"
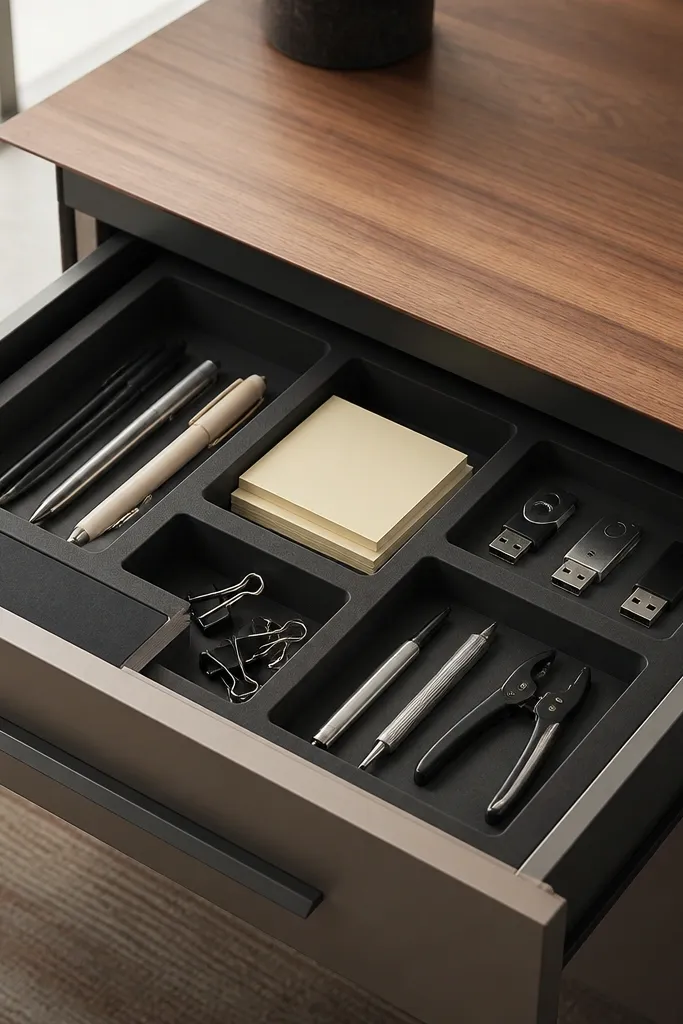
Drawer inserts are the difference between “storage” and “a drawer full of chaos.” I use inserts to separate pens, sticky notes, USB drives, and small tools like a tape dispenser. When the drawer is divided, you stop tossing things in and hoping you’ll sort later. It also makes your workstation look intentional even when you’re mid-project.
Pro tipKeep one section empty so you can drop a new item in during calls without breaking the system.
Measure your drawer width and depth before buying inserts. Use foam for a snug fit if your drawer is irregular; use plastic trays if you want easy wipe-clean. Label each section with short text and a small icon (like a headphone for extra cords).
Watch outSkip generic organizers that don’t match your drawer — the gaps turn into junk landing zones.
10. Wall Shelf Above Desk with a Door-Front Supply Box
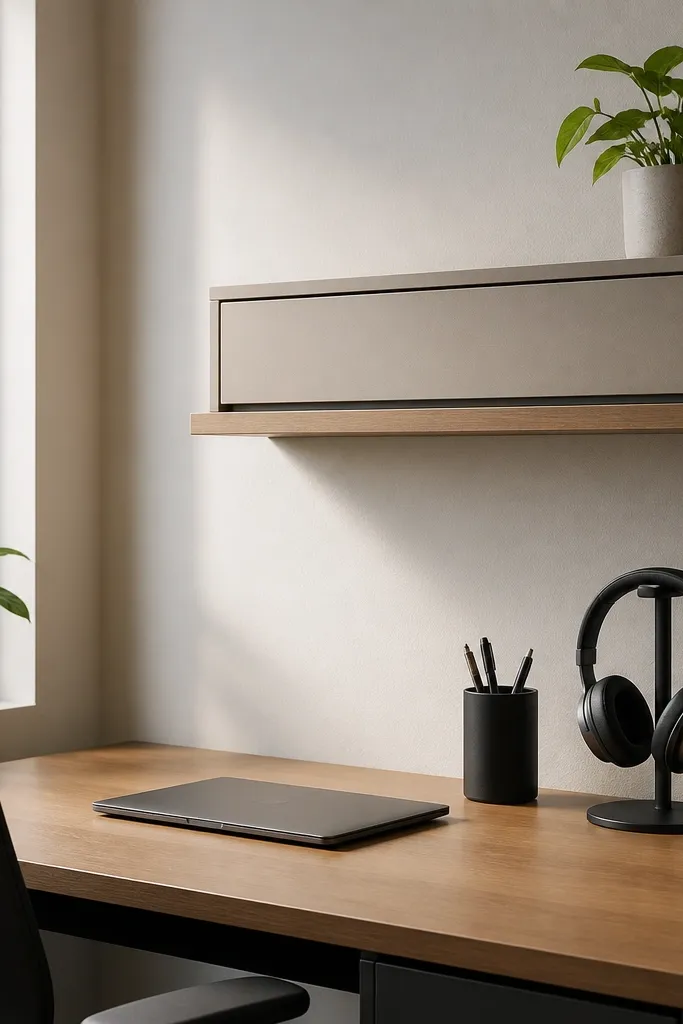
A wall shelf above your desk keeps reference items and backups from taking up desk space. I pair it with a door-front supply box so the shelf can hold what you need without looking cluttered. This is perfect for call scripts, training handouts, and a spare charger that you don’t want lying around. The shelf also helps you keep the desk surface clean, which makes your work zone feel calmer.
Pro tipStore only “offline” items up there — anything you use every hour belongs within drawer reach.
Mount the shelf so the bottom edge is about 6-8 inches above your monitor. Use a box with a lid or door so it doesn’t collect dust. Keep it to one box plus one small tray on the shelf — no stacks of random papers.
Watch outAvoid shelves that are too low — you’ll bump your head or knock items when you stand up.
11. Cabinet Side Table with Pull-Out Tray for Laptop + Docs
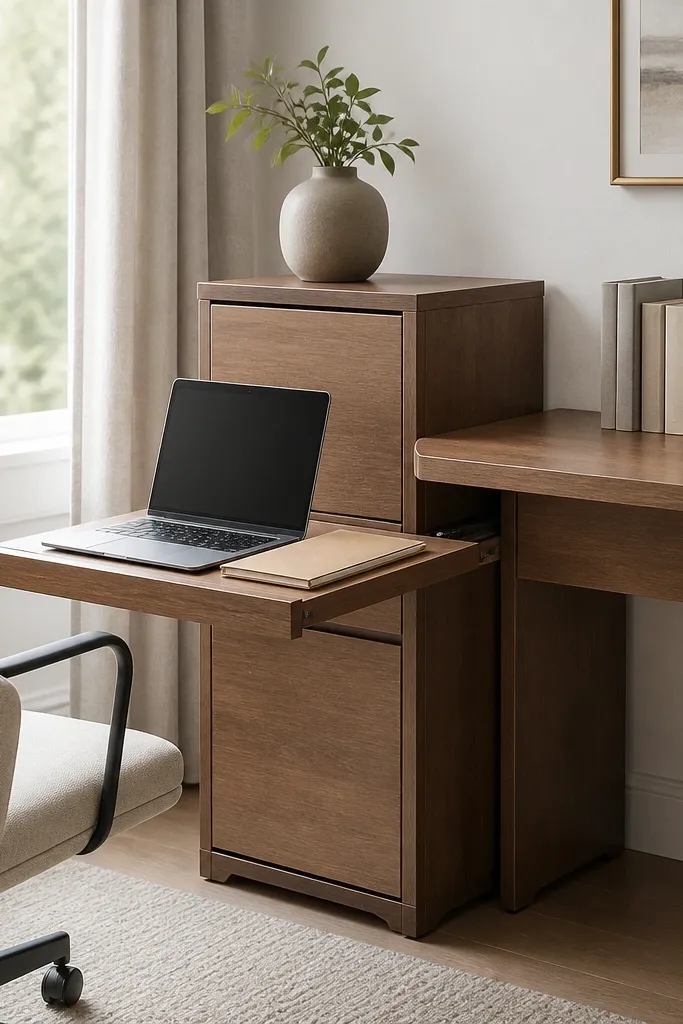
If you juggle a desktop monitor and a laptop, a side cabinet with a pull-out tray keeps your workflow from turning into a desk pile. The pull-out tray is where I place documents during admin tasks, then I slide it back in so the desk stays clear for calls. The cabinet stores chargers, extra paper, and small tools behind closed doors. It looks tidy because the visible surface stays minimal.
Choose a side table width around 16-20 inches so it fits without blocking your chair. Make sure the tray extends far enough to comfortably place your laptop without reaching. Store folders upright in the cabinet so they don’t slump and curl.
Use a folder with an elastic strap for your daily paperwork so it doesn’t slide off the tray.
Skip trays with shallow sides — your folder edges slide off during quick moves.



