1. Window Sill Laptop Station With a Clip-On Task Lamp
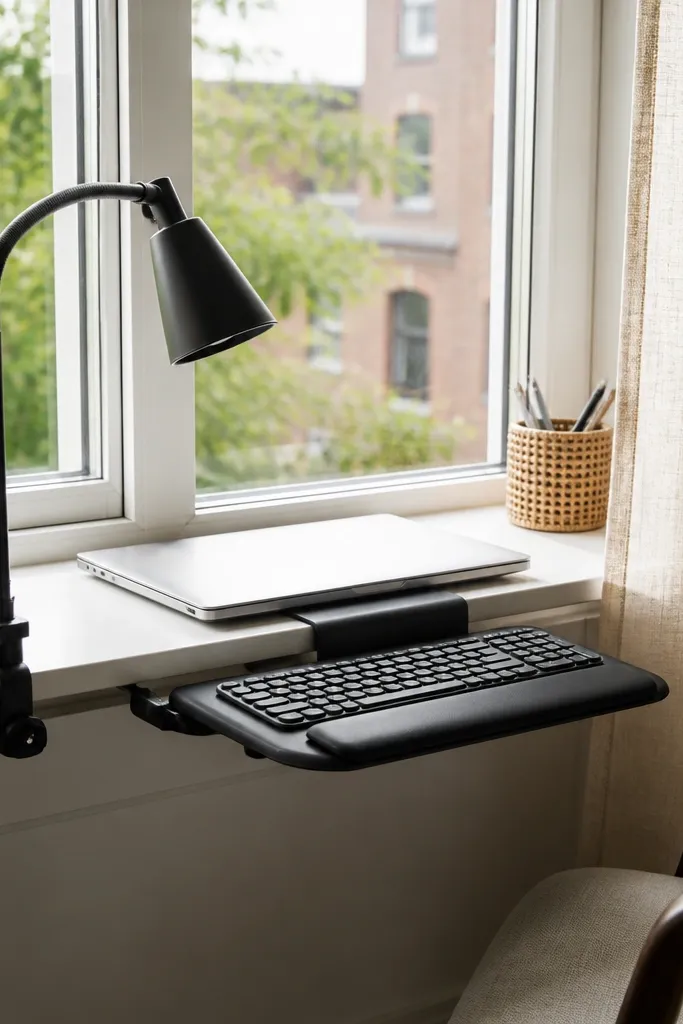
This works because daylight gives you instant softness and makes the corner feel bigger than it is. I keep the laptop centered and add a keyboard support so wrists aren’t hovering. The key visual trick is the clip-on lamp — it points light where you need it without adding bulk. Warm linen nearby makes the whole work zone feel like part of the living space, not a temporary setup.
Use a thin desk mat or a flat tray on the sill so the laptop doesn’t slide and you get a defined boundary. Choose a lamp with a clamp and a metal shade in matte black or brushed brass. Keep the curtain pulled to the side so you still get light while you work.
Pro tipPut your mouse on a small mousepad that matches the desk mat so the workstation looks “designed,” not pieced together.
Watch outAvoid placing the laptop directly on a glossy surface that reflects the screen — you’ll get glare and it looks messy fast.
2. Ikea-Style Narrow Desk + Monitor on a Stack of Books (Yes, Really)
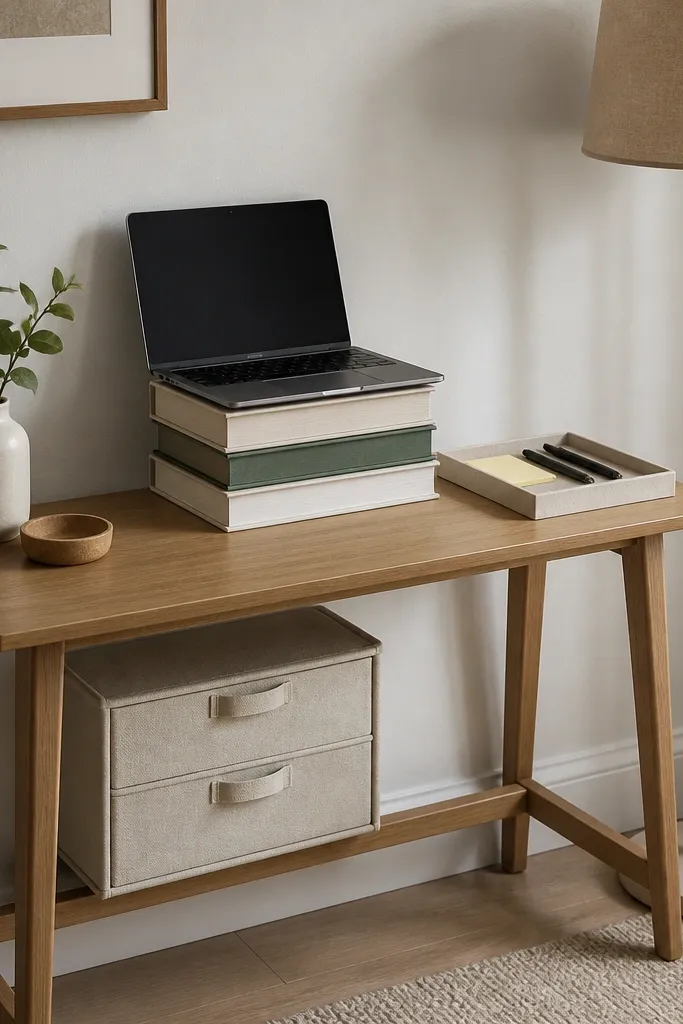
The monitor riser is the whole move. When your screen sits at eye level, your posture improves and the corner feels calmer. Books are cheap, easy to swap when you change decor, and they add texture without looking like a generic monitor stand. I pair warm wood tones with cream accessories so the setup looks cozy even during busy workdays.
Stack two to three books with similar height and cover colors, then place a thin monitor stand or directly set the laptop on top. Keep the books centered behind the keyboard, leaving 2-3 inches of space at the front for your hands. Under the desk, use a fabric organizer with 2-3 compartments so cables and chargers don’t show.
Pro tipCover the book stack with a thin neutral tray or a slim fabric runner so the top looks intentional from across the room.
Watch outSkip tall stacks that push your screen too high — if your chin lifts, the setup stops feeling comfortable.
3. Floating Shelf Desk for a Clean Apartment Corner
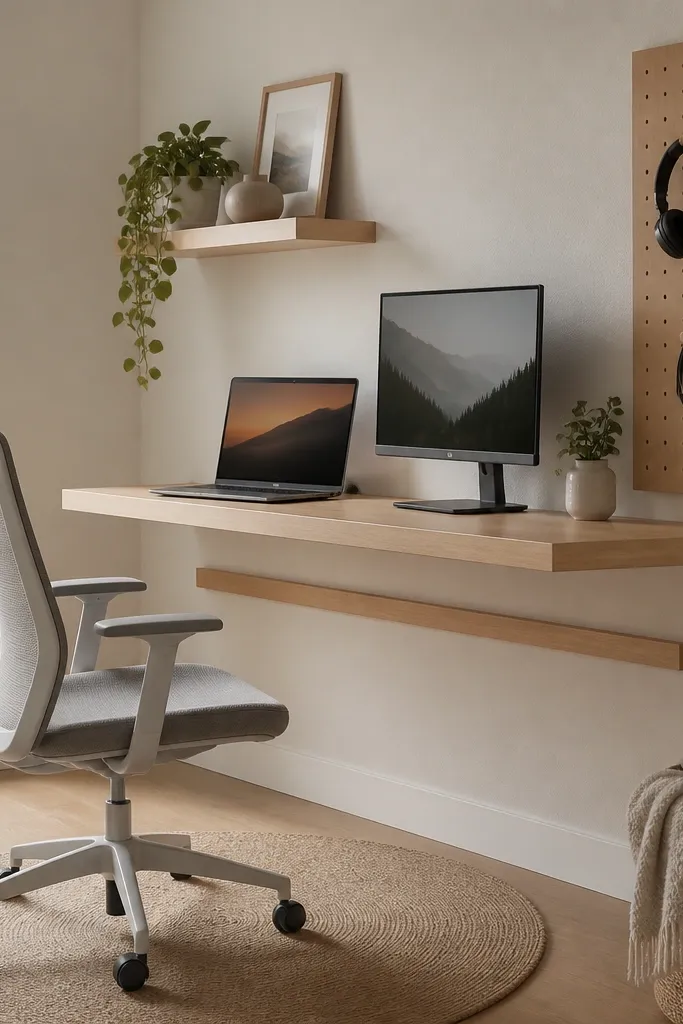
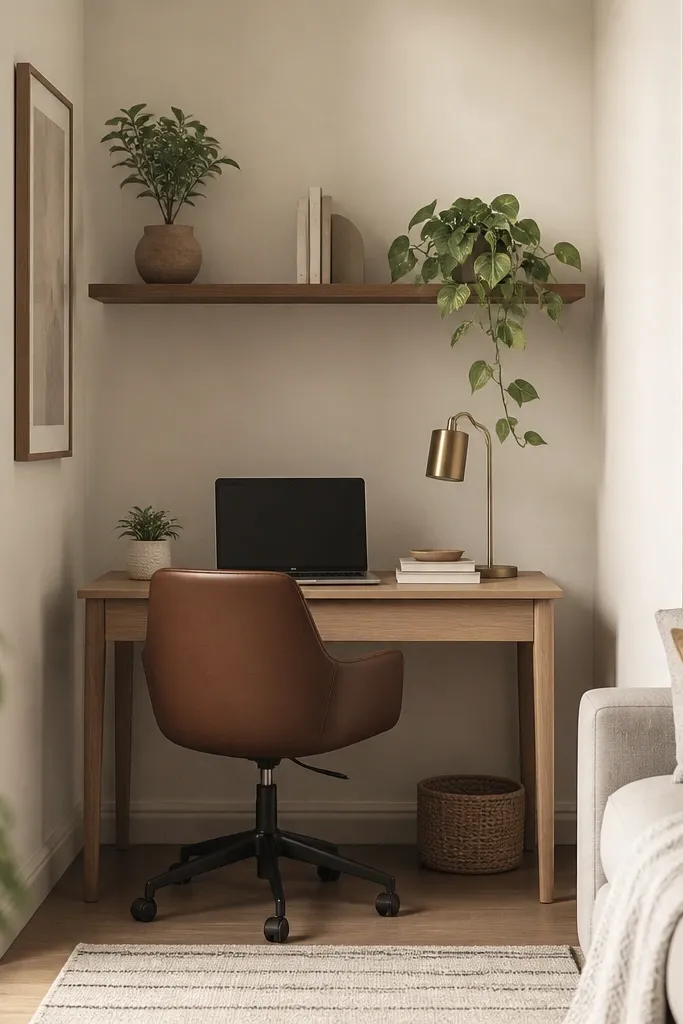
A floating shelf gives you desk space without eating floor space. I like it when the room is narrow because the visual line stays open. Add a cable rail and everything looks planned instead of improvised. This style also makes your background for calls look neat since the cables disappear behind the shelf line.
Choose a shelf depth around 10-12 inches so you still have room for a mouse without items hanging over. Mount it at a height where your forearms land flat when you sit. Run cables along a wall rail or inside a cable channel painted the same color as the wall.
Pro tipUse a small lip on the shelf by adding a thin desk mat with raised edges so your mouse doesn’t drift.
Watch outDon’t mount it too low. If your wrists angle upward, you’ll hate working there by day three.
4. Bookshelf-Desk Hybrid With a Sliding Tray
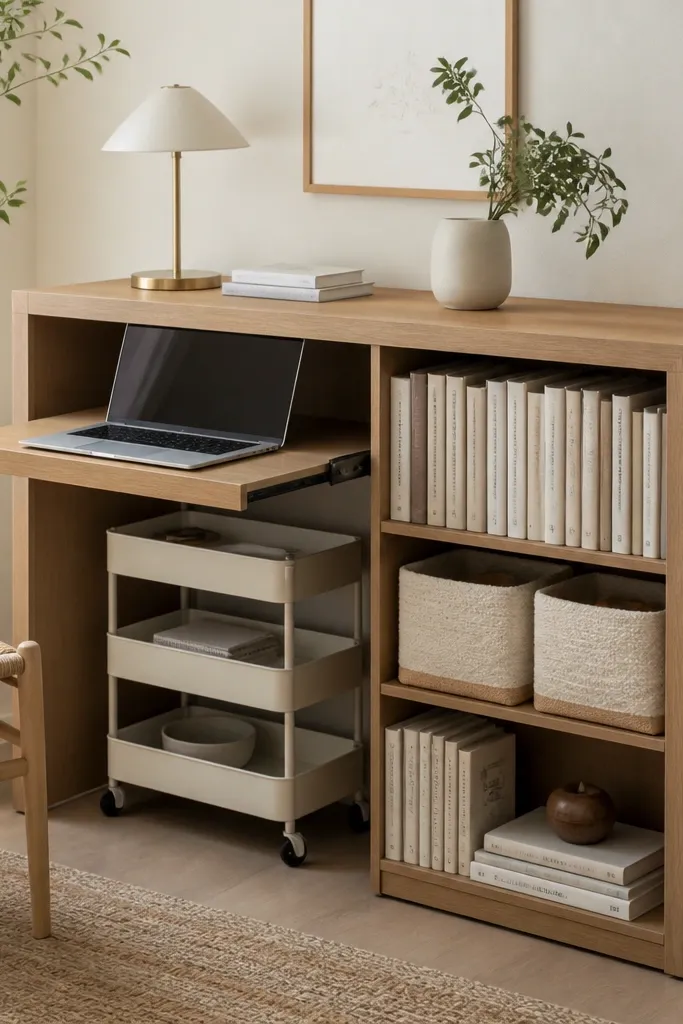
This setup is great when you need storage and work space in the same footprint. The sliding tray gives you a clear “desk is open” moment, which stops clutter from spreading. I keep books stacked upright and use matching baskets to make the shelves look tidy even when the desk is closed. The visual payoff is a workstation that looks like furniture, not a temporary table.
Look for a shelf unit with enough side clearance to slide a shallow tray (about 14-16 inches deep). Mount the tray hardware securely so it glides smoothly. Add two baskets for cables and small supplies so the open desk looks clean during calls.
Hide your power strip inside the shelf cavity and route a single cable to the tray so you never deal with tangled loops.
Avoid trays that wobble. If the tray flexes when you type, you’ll stop using the setup.
5. Corner Desk With a Round Jute Rug and a Low Storage Bench
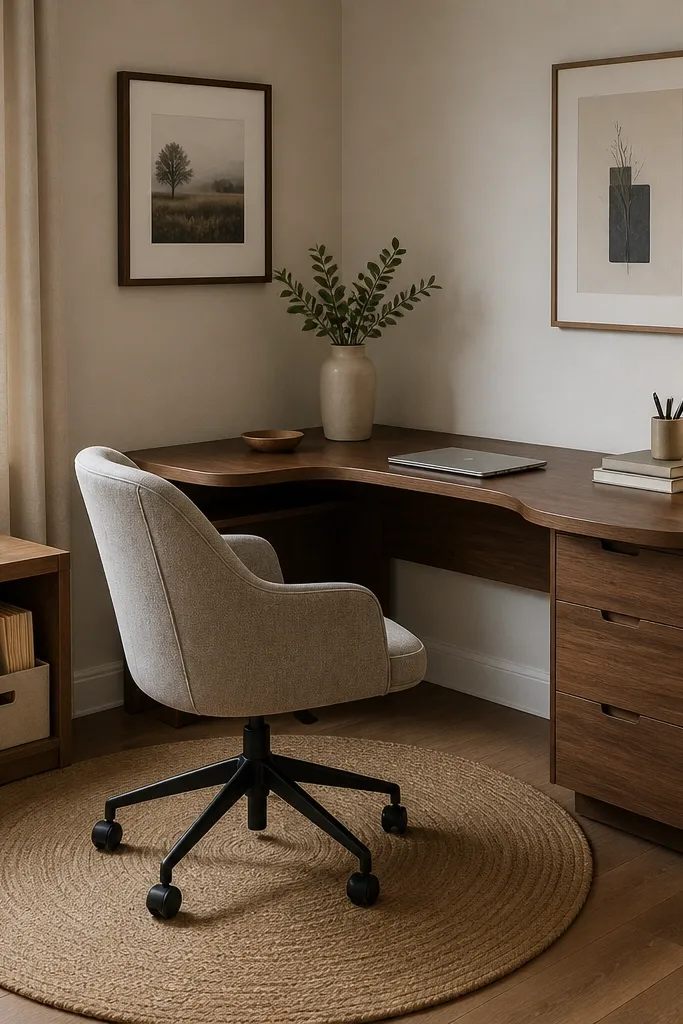
Corners are tricky because they feel tight and visually busy. A round rug softens the angles and makes the workspace look intentional. I also like a low bench/cabinet because it lets you store paper and chargers out of sight. When you keep your desk surface clear and your chair area grounded with texture, the space feels cozy even in a studio.
Use a desk with a rounded corner or soften the sharpness with a rounded tray and a mousepad with curved edges. Choose a jute rug with a tight weave so it looks neat, not shaggy. Keep your storage bench within arm’s reach so you don’t leave the chair to grab basics.
Pro tipLabel the bins with a simple label maker and put only one type of item per bin — it keeps the corner from looking chaotic.
Watch outSkip thin rugs that slip. A slipping rug makes the whole setup feel unstable.
6. Bookshelf Backdrop for Calls With a Cable-Controlled Work Surface
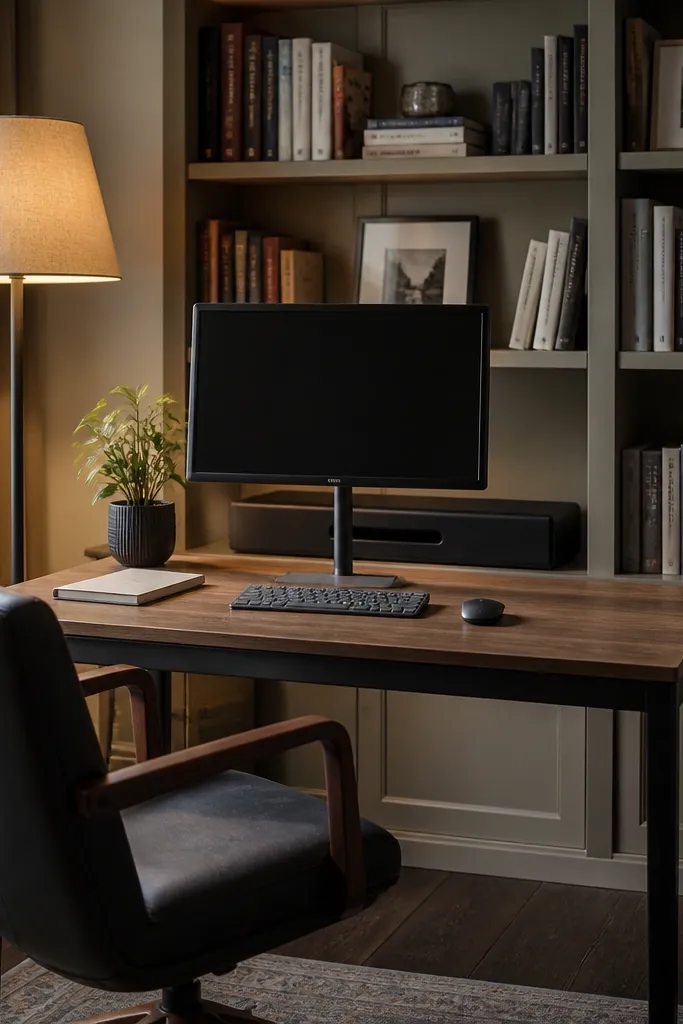
If you do video calls, your background matters more than your desk brand. A tidy bookshelf with consistent color spacing makes you look put-together instantly. I keep the work surface controlled by using a cable organizer box so you don’t see cords hanging into the frame. This also gives you a place to store meeting notes without stacking papers on the desk.
Arrange books by height in small groups, and leave one or two empty spots so it doesn’t look crowded. Put framed photos at eye level for the camera height you use most. Use a desk cable tray under the shelf edge so cords travel straight down.
Pro tipSet your camera so the shelf sits behind your shoulder, not directly behind your head — it looks cleaner on Zoom.
Watch outAvoid random book stacks. If the bookshelf looks messy, your work area looks messy too.
7. Rolling Cart Workstation That Matches Your Living Room Colors
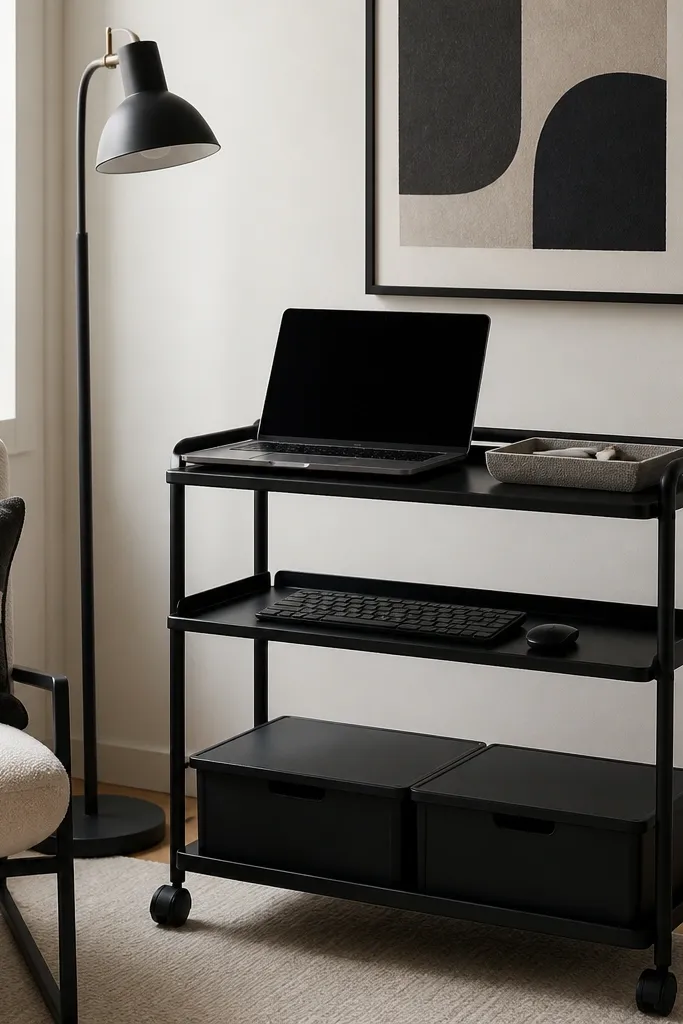
A rolling cart is a lifesaver in small space work from home set up situations where your room changes daily. I like carts with closed bins because the mess stays inside. The visual trick is color matching: if your room has black frames or a black lamp base, the cart disappears more. When you roll it next to the couch, your desk still looks like part of the room.
Pick a cart width around 16-20 inches so it fits beside a sofa or in a narrow walkway. Add a desk mat on the top shelf for grip and a tray for chargers. Keep the keyboard on the middle shelf so you don’t feel like you’re typing on a moving platform.
Use felt pads under the cart wheels to stop the cart from sliding when you pull out the tray.
Don’t leave open baskets on the cart. Open bins make clutter visible immediately.
8. Bedside Desk Turned Work Zone With a Narrow File Drawer
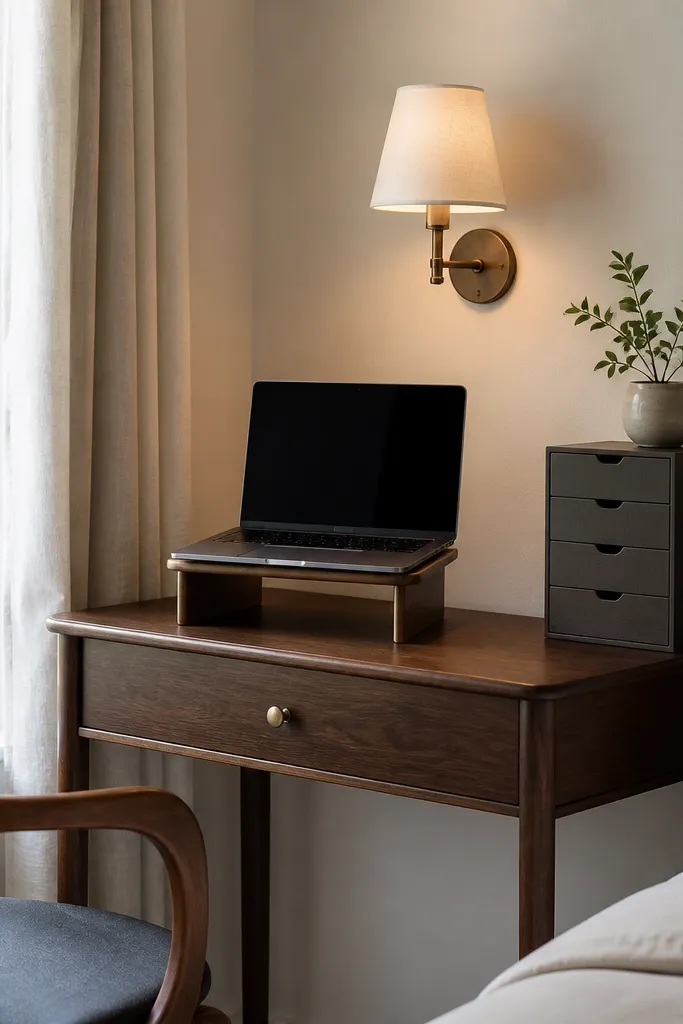
When an apartment layout forces you into a bedroom corner, a bedside table is the most realistic size. The trick is adding a narrow file drawer or magazine holder so papers don’t pile on the floor. I also like a wall sconce because it keeps light off your screen and frees up the surface for a plant and a pen cup. This setup looks cozy because it’s using furniture that already belongs in a bedroom.
Choose a table with a top at about 28-30 inches height for most chairs. Use a laptop stand that adds a few inches so your eyes level up. Keep cables behind the table using a small cable box that sits in the drawer space.
Pro tipUse a slim desk organizer with vertical slots so pens and sticky notes stand upright, not scattered.
Watch outAvoid working with papers on the floor. It makes the space feel temporary and stressful.
9. Linen Panel Divider to Hide the Desk From the Door
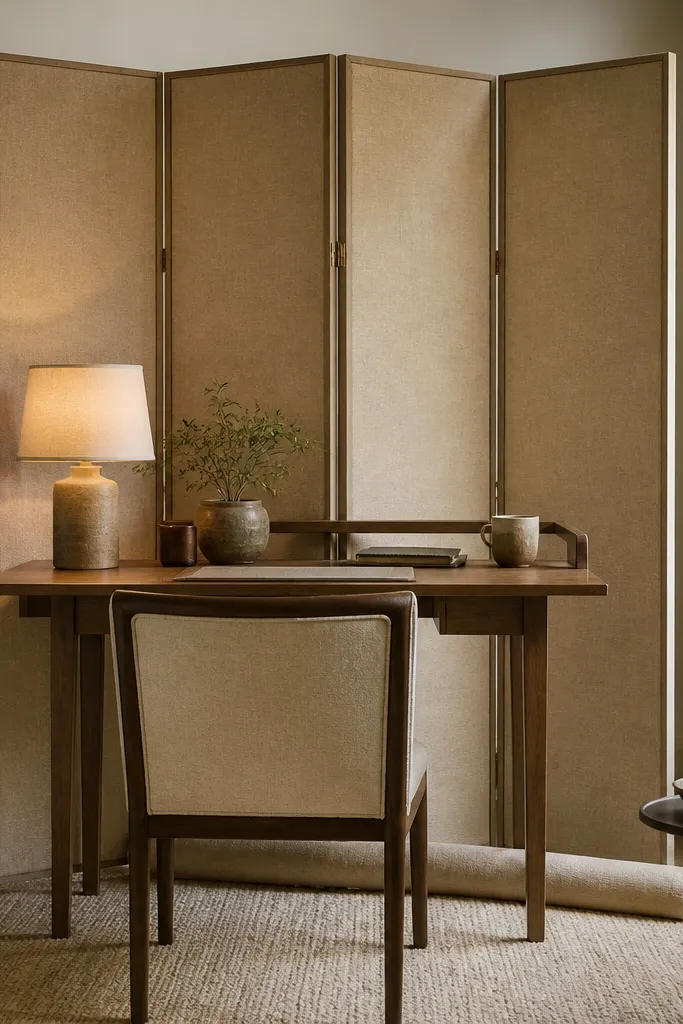
This is the fastest way I know to make a small space work from home set up feel intentional. If your desk faces the door, it becomes the first thing people see, and that’s when it feels “messy.” A linen divider softens sightlines and adds texture without blocking light too much. I pair it with warm neutrals — oatmeal, cream, and soft wood — so the divider reads like decor, not a barrier.
Place the screen 2-3 feet behind the desk so you still get airflow and light. Mount or place your monitor so it sits closer to the divider side, away from the door line. Use fabric cord organizers that clip along the screen frame to keep charging cables tidy.
Pro tipHang one small framed print on the screen edge to make the setup look styled from across the room.
Watch outSkip dark blackout curtains for this purpose. They make the corner feel boxed in.
10. Slim Desk + Under-Desk Drawer With Keyboard Pull-Out
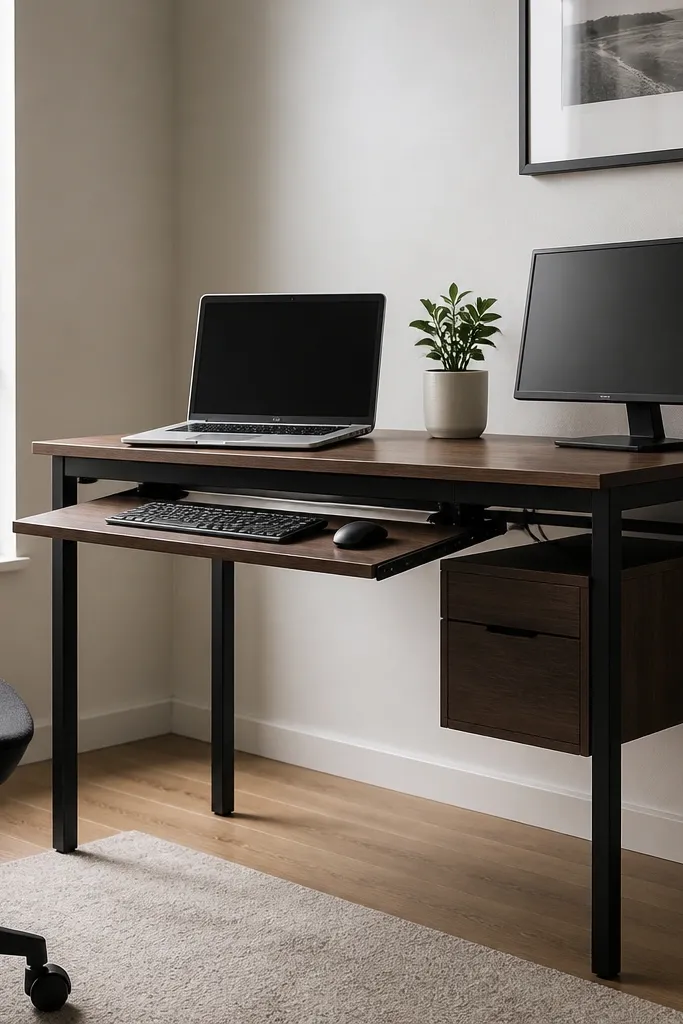
A pull-out keyboard tray is one of the best ways to keep desk clutter down. When the keyboard is hidden, your desk surface looks calmer and your laptop area feels more like a proper workstation. I use a closed drawer for chargers, extra cables, and notebooks so nothing is visible. It also helps with the “small surface” problem because you can still use the top for writing and reading.
Install the tray so the keyboard sits just below elbow height when you type. Choose a desk depth of at least 20 inches if you want to keep a mouse comfortably. Store a spare notebook and a pen set inside the drawer so your daily supplies stay together.
Pro tipMeasure your chair clearance before buying. You need room for the tray to slide without hitting the chair legs.
Watch outAvoid trays that stick out too far when closed. If it catches your knees, you’ll stop using it.
11. Two-Tier Desk Shelf Over a Small Table
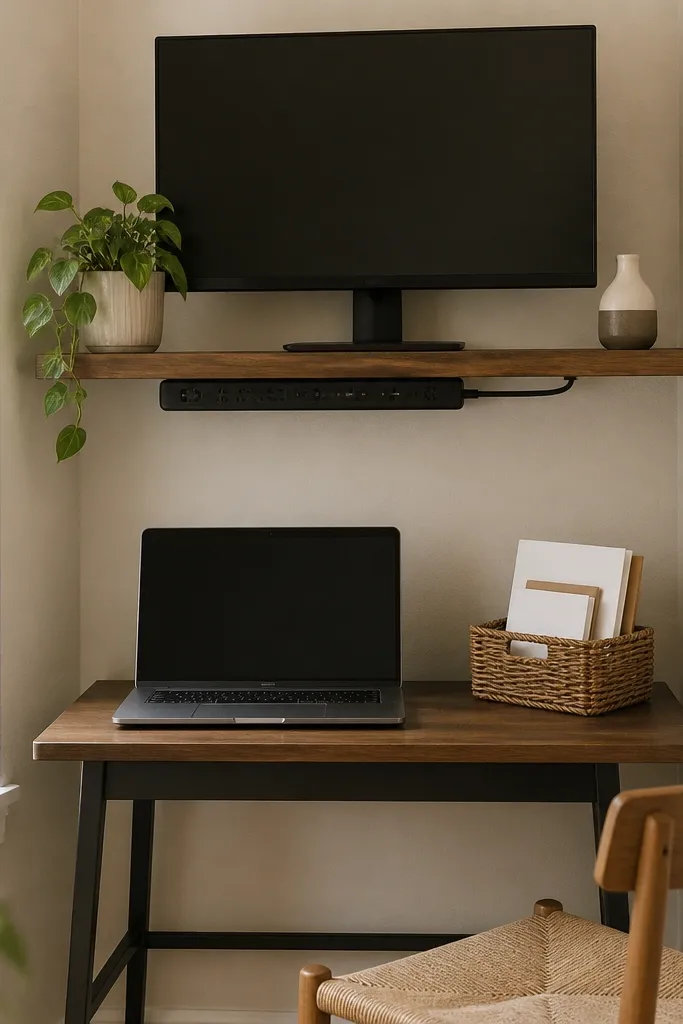
When you can’t change your table size, change the vertical layout. A two-tier shelf lets you place the monitor higher while keeping your keyboard and mouse on the lower surface. This cuts the “cramped” feeling because your eyes get a clear horizon line. I like pairing matte black metal shelves with warm wood accents so the setup looks modern but still cozy.
Set the lower surface for writing and mouse use, and use the upper shelf only for the monitor. Keep the upper shelf depth shallow so the monitor doesn’t overhang your face. Use a cable strip or adhesive clips under the shelf to keep wires from drooping into the workspace.
Pro tipAdd a small vertical book stand near the keyboard so you can keep one open document off the desk.
Watch outSkip shelves that are too close together. If your shoulders feel squeezed, the setup feels cramped even if it’s technically bigger.
12. Soft-Edge Desk Setup With a Round Tray and a Fabric Cable Sleeve
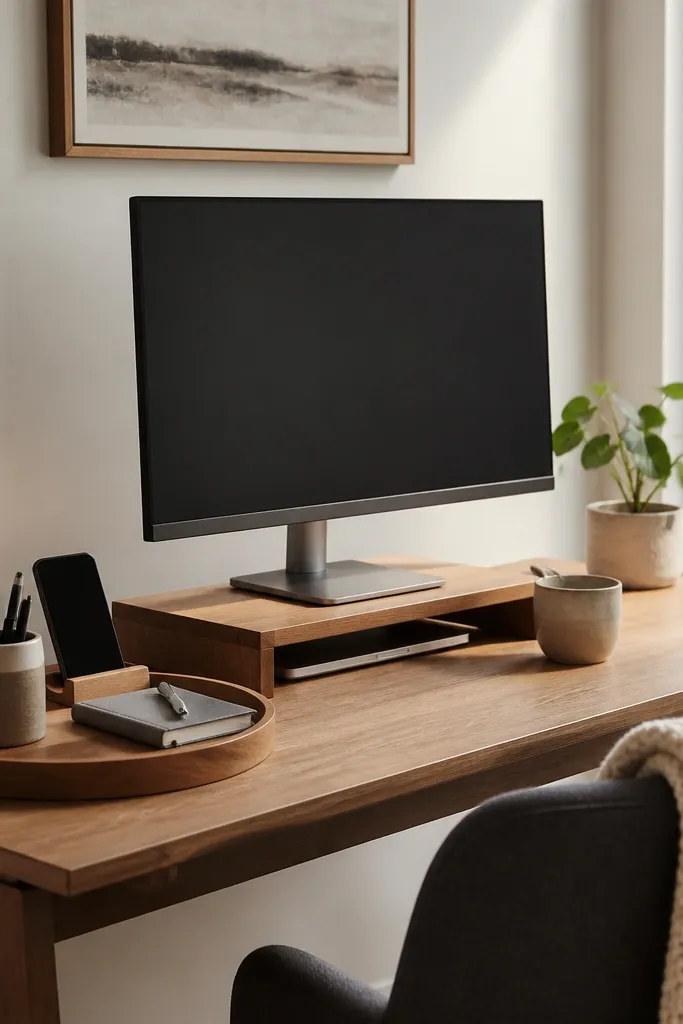
This is the “cozy but functional” look I use when I want my workspace to blend with the rest of the apartment. A round tray creates a visual boundary for small items so your desk doesn’t turn into a catch-all. Fabric cable sleeves hide the ugly part — the cords — and they also make daily setup faster. Soft textures like knit and wood keep the corner from looking sterile.
Pick a tray that’s about 10-12 inches wide for small items and one charging block. Use a monitor stand low enough that your chin doesn’t jut forward. Run the cable sleeve along the desk back edge and tie it at one point so it stays straight.
Use one charging station location. Put phone, headphones, and laptop charger in the same tray every day.
Avoid leaving loose cables in a pile. A small pile still looks messy from across the room.