1. The Monitor-First Corner Setup
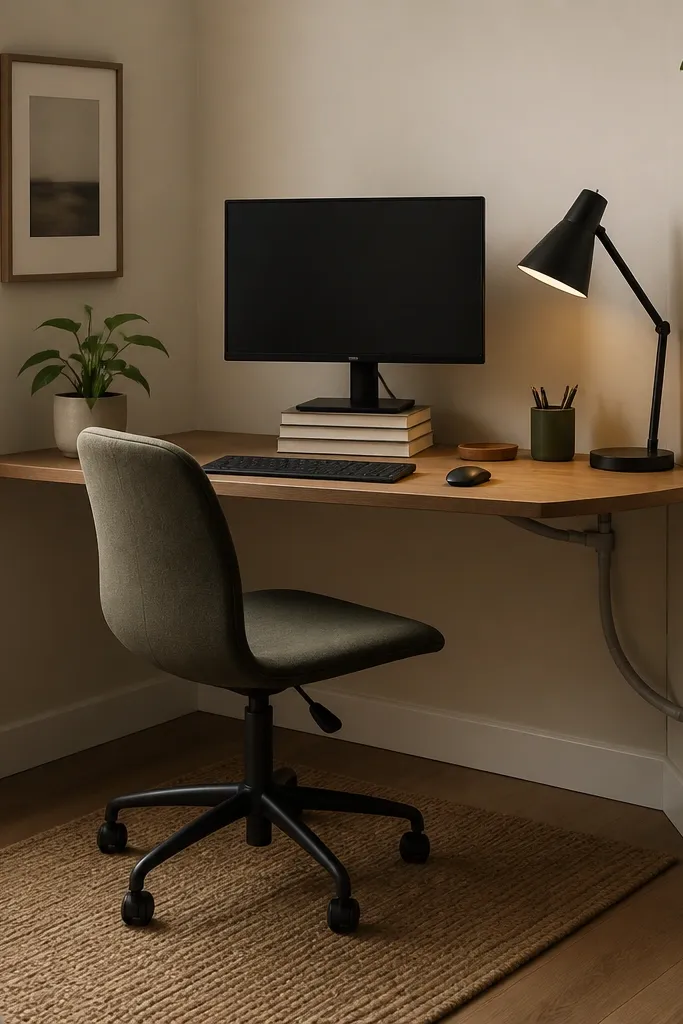
This layout makes your for renters work from home set up look intentional because your eye lands on the monitor, not on the room. Centering the monitor on a raised platform also improves screen height so you’re not craning your neck. The matte black lamp reduces reflections compared to shiny metal shades. A woven rug adds warmth and quiet, so the chair doesn’t look like it’s floating on hard flooring.
Use a desk that fits the corner without blocking the door swing. Raise the monitor 3-5 inches with books or a slim riser, then keep the laptop/keyboard at the same height. Aim the lamp so the light hits the desk surface, not the screen.
Pro tipSet your monitor so the top of the screen is about level with your eyes when you sit back.
Watch outAvoid placing the lamp so it bounces off the monitor — it makes the whole setup look messy fast.
2. No-Drill Wall Shelf Over Desk
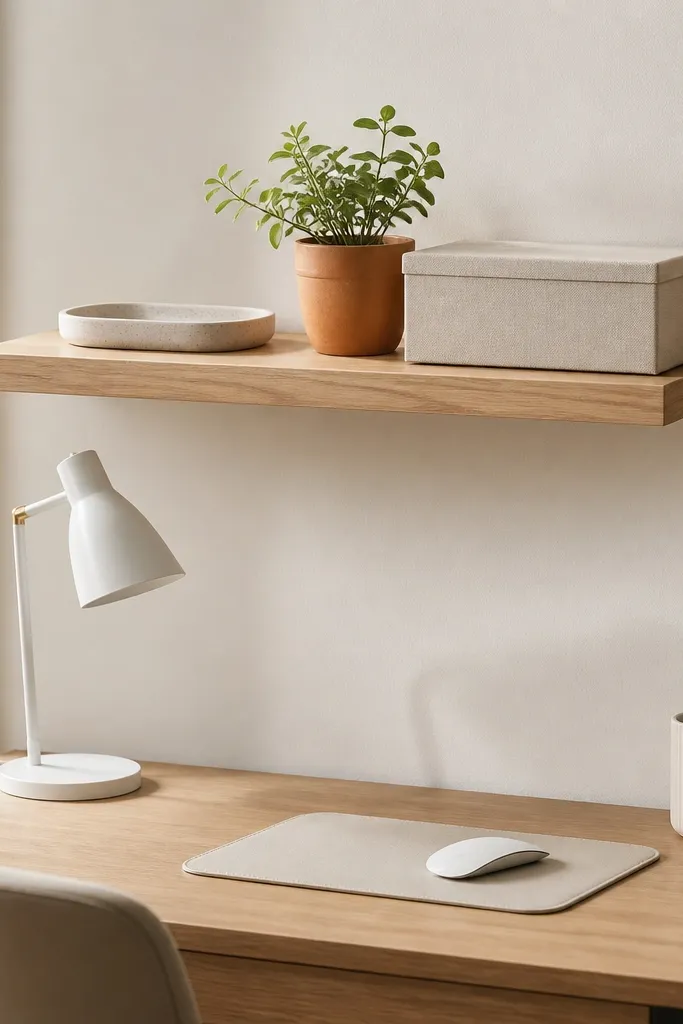
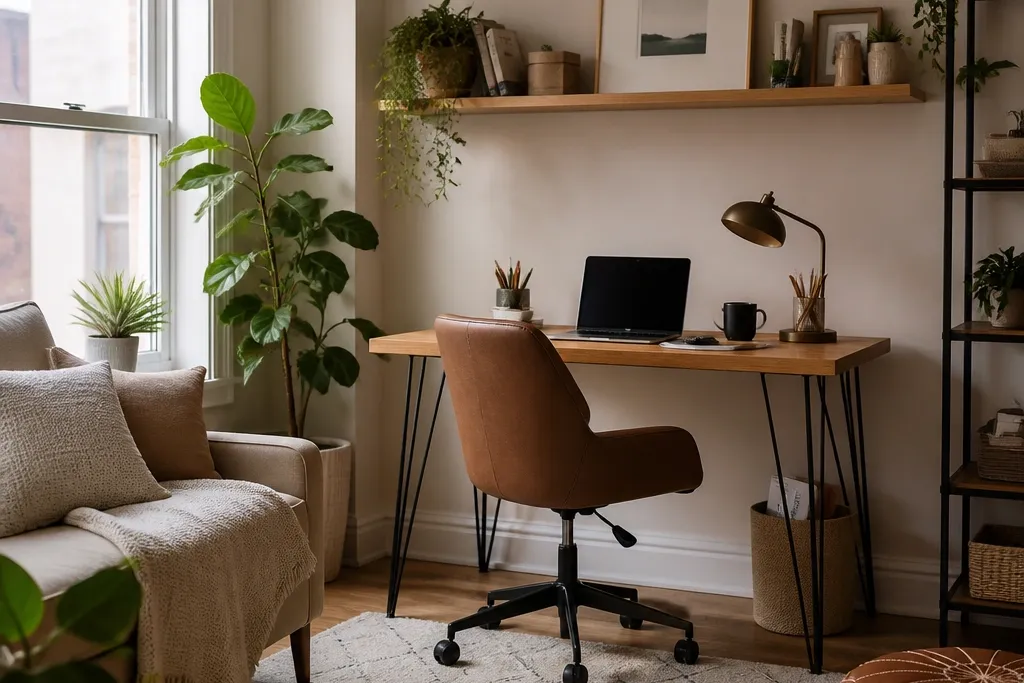
A shelf above the desk gives you vertical storage without landlord arguments. It also frames the workspace visually, which matters in rentals where the rest of the room is unfinished-looking. I like closed fabric boxes up there because paperwork and chargers don’t become decor clutter. Terracotta plus cream plus one muted green gives a warm, lived-in look that doesn’t scream “office.”
Pick a shelf depth around 8-10 inches so it doesn’t eat your headspace. Use adhesive mounting strips rated for the shelf weight plus a little cushion. Keep items low and front-facing so the shelf looks tidy even when you’re mid-project.
Pro tipStore only two categories on the shelf: daily tools (pen cup, notebook) and “out of sight” items (fabric box).
Watch outSkip open stacks of folders on the shelf — they look temporary and make the desk area feel crowded.
3. Fold-Flat Desk With Rolling Cart Station
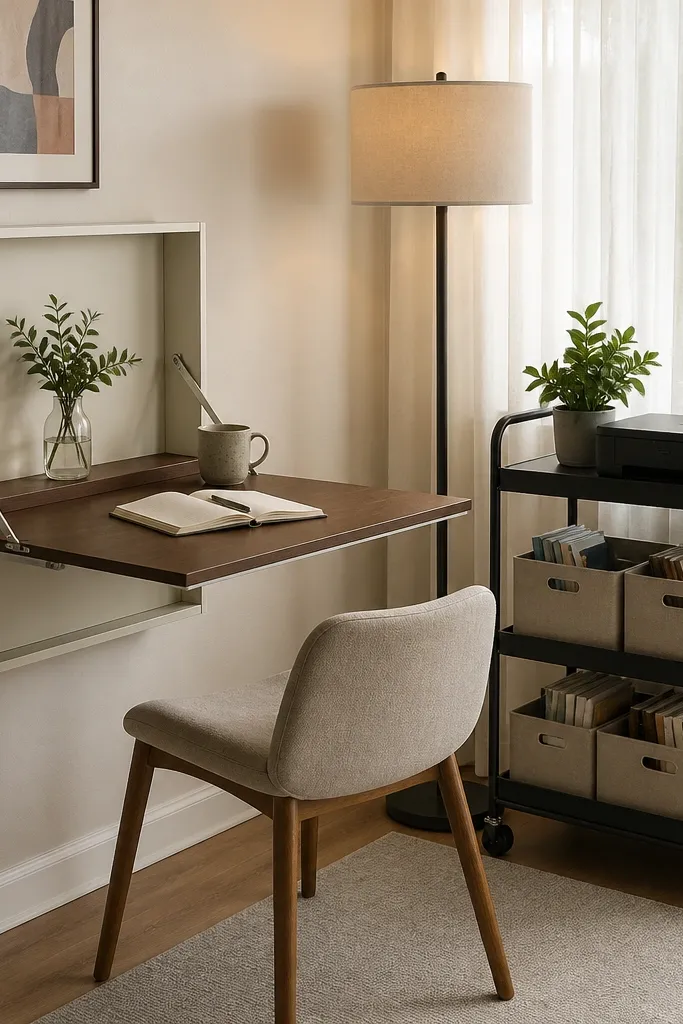
When your desk is small, the cart becomes your “work zone” so your for renters work from home set up doesn’t feel cramped. I use the cart for the stuff that changes by task: scanning materials on one shelf, reference books on another, and charging gear in a third. Rolling wheels keep it flexible if you need to clear the area for guests. The look stays clean because everything has a home.
Choose a cart with a width close to your desk depth, around 14-16 inches. Use matching bins in one color family (cream or sand) so the cart reads like decor, not storage. Put the heaviest items on the bottom shelf to keep it stable.
Label bins with a simple label maker or painter’s tape — it keeps the cart from turning into a junk drawer.
Don’t mix random bin sizes — the cart looks chaotic even when it’s technically organized.
4. Curtain Rod Light Baffle Trick
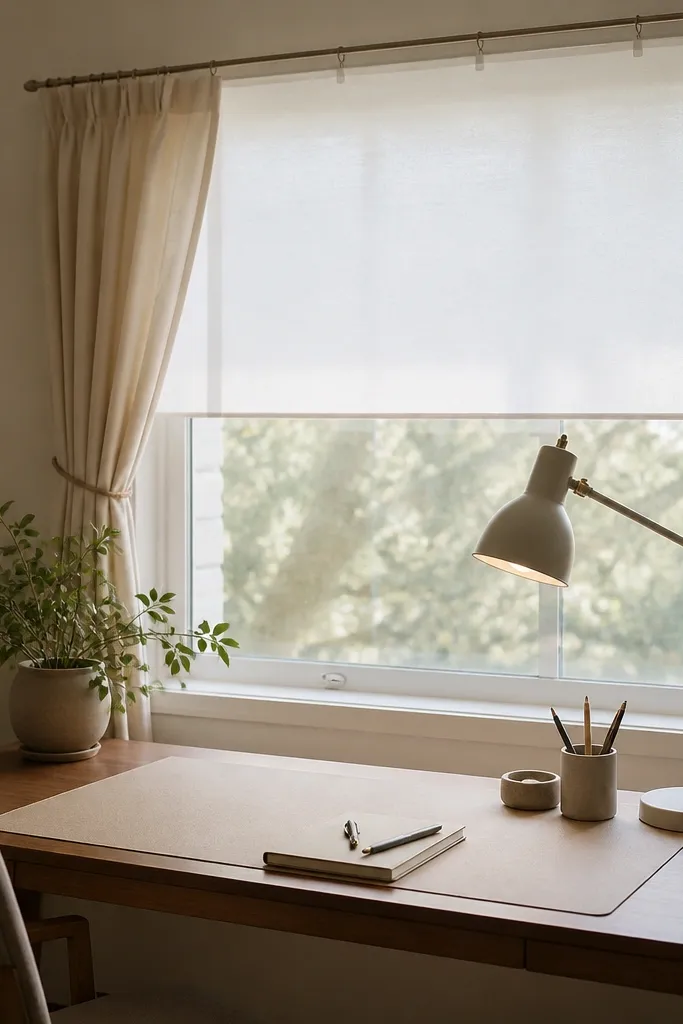
Glare is the fastest way a work setup looks “uncomfortable.” I’ve used a fabric baffle clipped to the rod to soften bright afternoon light on the screen. The desk mat in a neutral tone helps the surface reflect less than glossy wood. When the light is controlled, your setup looks sharper in photos and you feel less eye strain.
Use a task lamp with a shade that points down and has a matte finish. Clip a thin white or off-white fabric panel above the desk to block direct sun angles. Keep the curtain color light so the room still feels airy.
Pro tipTest your glare at the exact time you work. Move the baffle a few inches rather than changing the whole setup.
Watch outAvoid placing a glossy desk mat — it turns daylight into glare.
5. Linen Desk Mat + Matching Tray
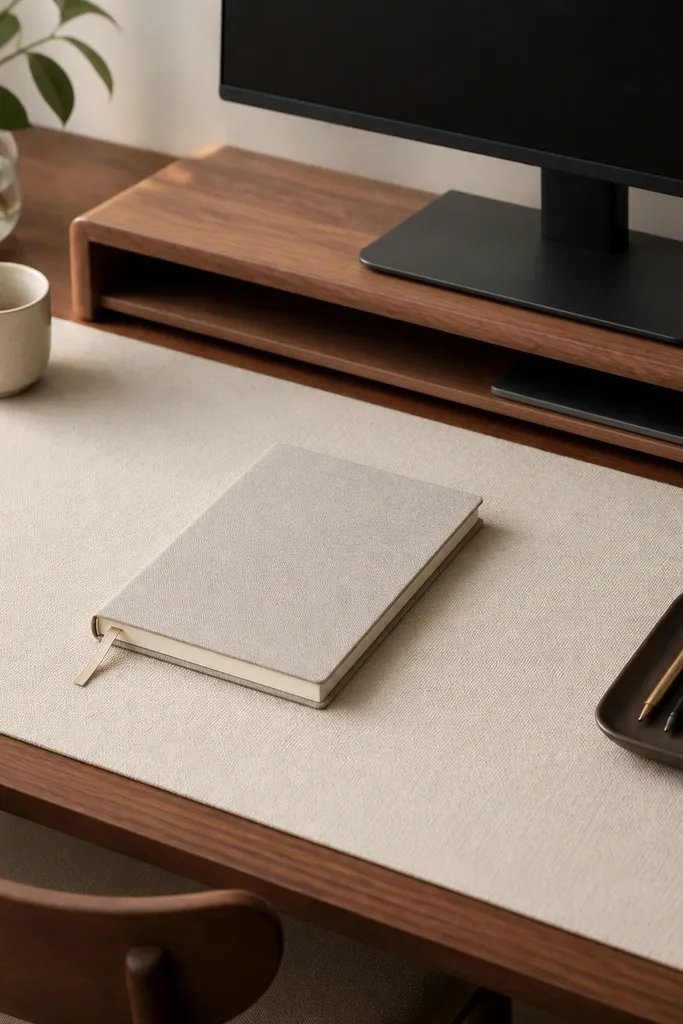
This is the simplest “styled” move I’ve done for for renters work from home set up: cover the desk with one soft base and add one matching landing zone for small items. Linen hides minor mess and makes the desk look more expensive than it is. A ceramic tray gives weight and keeps your everyday items from scattering. The warm cream tone plays nicely with wood, black frames, and soft green accents.
Choose a mat that fits the desk top with at least a 2-inch margin around the edges. Use a tray in dark brown, charcoal, or black to anchor the color. Place the tray on the right or center so you’re not constantly reaching across paper.
Pro tipKeep only five items on the tray. When you add a sixth, one has to go.
Watch outSkip mixed patterns on the desk mat and tray — it reads busy, not intentional.
6. Slim Bookshelf Divider for Privacy
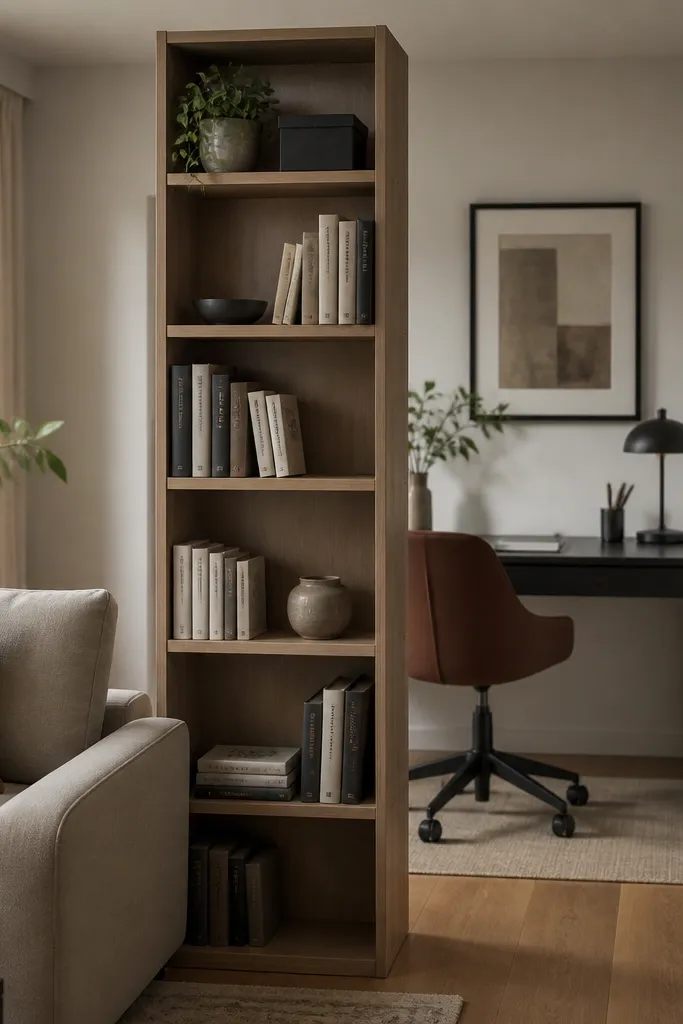
If your workspace is visible from the couch, a slim divider makes it look like a real “room within a room.” I like shelves with open sides because they don’t block light, but the books create visual separation. Put your most attractive books forward and hide cables or folders in closed bins. This trick makes your for renters work from home set up look calmer even when you’re switching tasks.
Pick a divider depth around 10-12 inches so it doesn’t dominate the space. Use two closed boxes total — one for documents and one for tech accessories. Keep the plant near the top third so the divider feels balanced.
Pro tipUse book spines in one color direction — like cream and tan first, then a few sage/blue spines as accents.
Watch outAvoid stacking books randomly with no front alignment — it looks like a storage shelf.
7. Task Lamp on a Dimmable Smart Plug
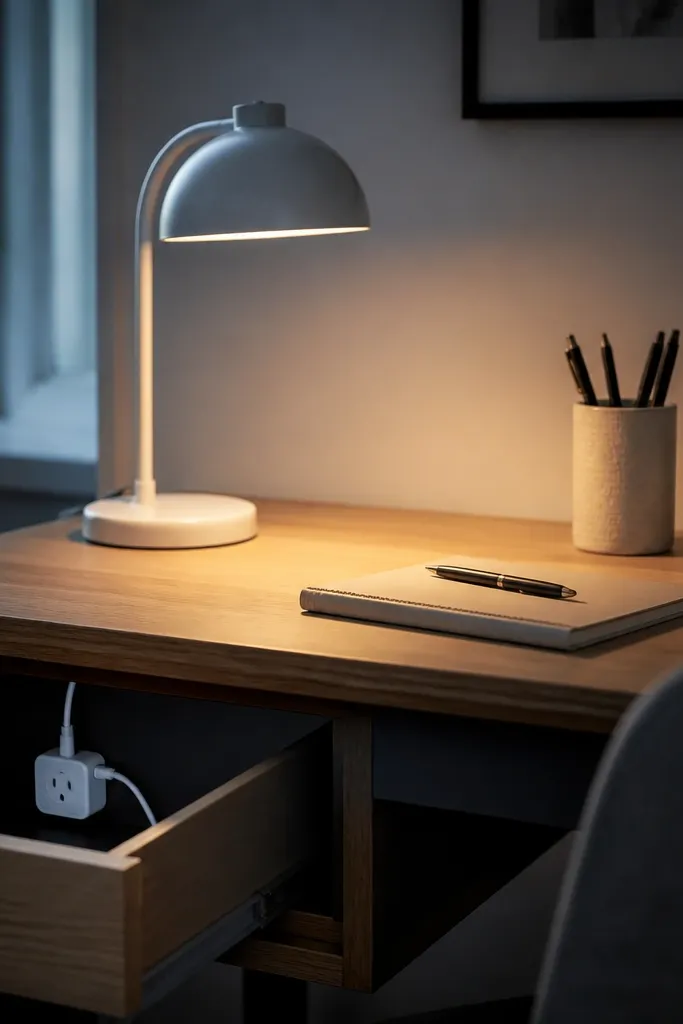
I learned the hard way that the “right lamp” is really about light level. A dimmable smart plug lets you drop brightness for late-night reading without turning on overhead lights that reflect off screens. The matte shade also reduces glare compared to chrome. Warm light makes your desk area feel cozy, which helps if you’re working in a living room.
Choose a lamp with a shade that blocks direct bulb view. Mount the smart plug where you won’t see it — inside a drawer corner or behind a cabinet. Set a default brightness for mornings and a lower one for evenings.
Use the dimmer to match the room brightness. If the rest of the room is bright, keep the lamp higher; if the room is dark, lower the lamp.
Don’t rely on overhead light plus lamp — the mix creates harsh shadows on your keyboard.
8. Rolling File Cabinet With Fabric Wrap
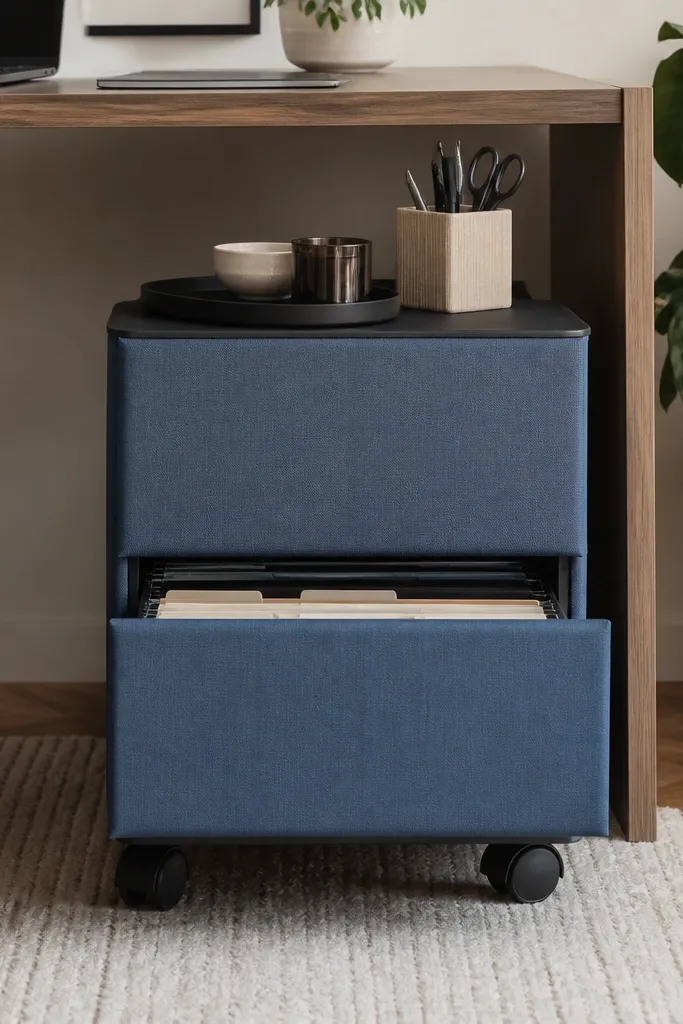
Metal cabinets can look like a landlord left behind the previous tenant. Wrapping the front with fitted fabric instantly makes it look like part of your style. For renters work from home set up, this gives you hidden storage for papers, printer supplies, and spare cables. Dusty blue is forgiving and looks good with cream walls and warm wood desks.
Pick a cabinet that fits under your desk height with clearance for the drawers. Use a fabric wrap that is tight and smooth, held with removable Velcro strips so you can remove it later. Label drawers inside so you don’t lose time hunting for things.
Keep the cabinet cover in a single solid color. Patterned covers show wrinkles and look homemade fast.
Avoid stretchy jersey fabric — it sags after a few weeks.
9. Woven Runner to Anchor the Chair
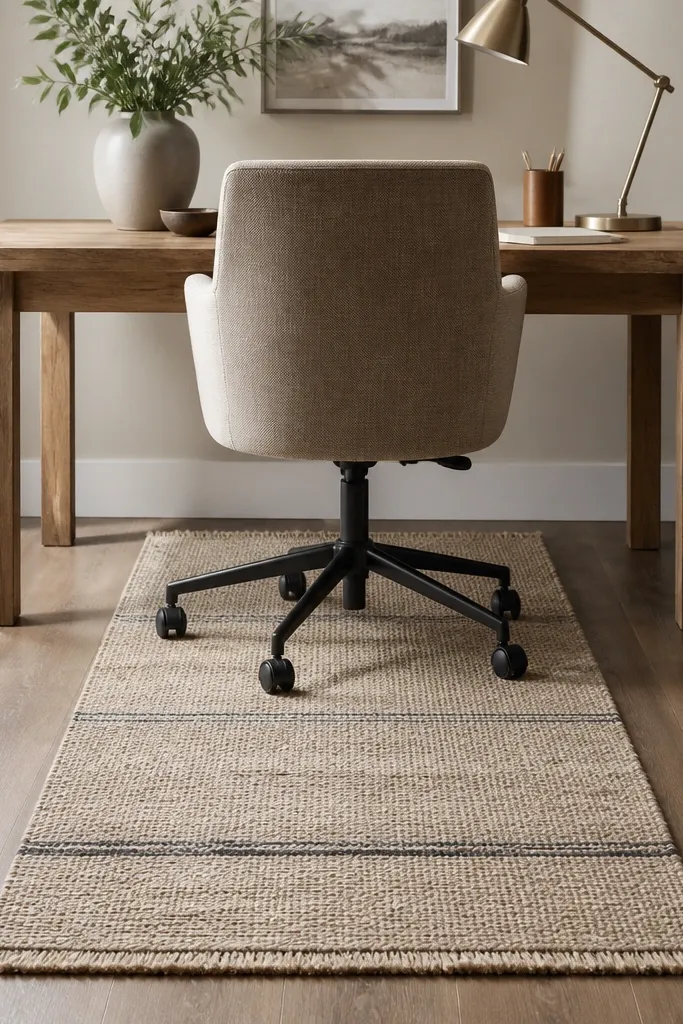
Hard floors make a desk setup feel harsh. A woven runner creates a visual anchor and makes the chair glide more quietly. I like subtle stripes because they guide the eye toward the desk rather than pulling attention away. In a for renters work from home set up, a runner also hides minor scuffs and keeps the room from looking like it’s staged for moving.
Choose a runner wide enough so the chair wheels stay on the rug, not the floor edge. Use a rug pad underneath so it doesn’t creep. Keep the runner length long enough that the chair can roll forward without leaving the rug area.
Pro tipTrim nothing if you can help it. If the runner is too long, fold it slightly under the front edge of the desk so it stays flat.
Watch outSkip thin rugs without a pad — they slide and look cheap within a month.
10. Pegboard Without Drilling Using Adhesive Hooks
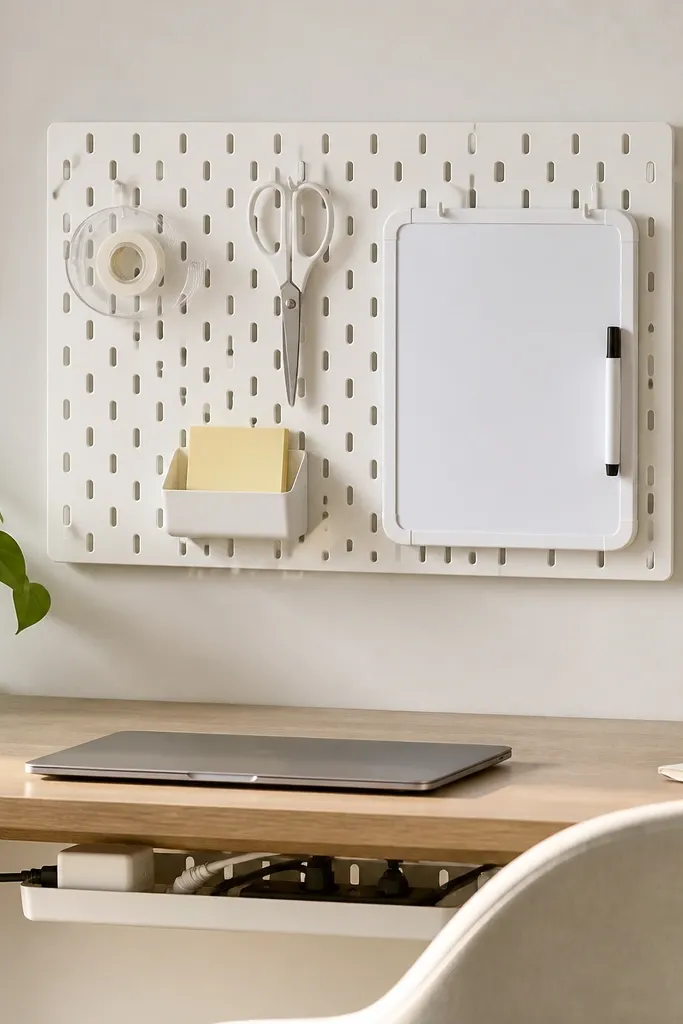
A pegboard makes your desk feel like a command center, but drilling is the dealbreaker for renters. I mount a small pegboard using removable strips, then hang only light items so nothing pulls loose. Sticky notes, scissors, and a tape dispenser create a “grab zone” that speeds up everyday tasks. When the wall is organized, your for renters work from home set up looks tidy even when you’re busy.
Use a pegboard size around 16x20 inches so it’s easy to mount and doesn’t sag. Keep items under 1-2 pounds each. Hang heavier items like a mini whiteboard only after testing the adhesive holding power.
Pro tipAdd a small mail slot or letter tray under the pegboard to keep incoming papers off the desk.
Watch outAvoid hanging heavy keys or a heavy organizer — adhesive mounts fail when overloaded.
11. Side-Table Keyboard Shelf Look Using a Slab Tray
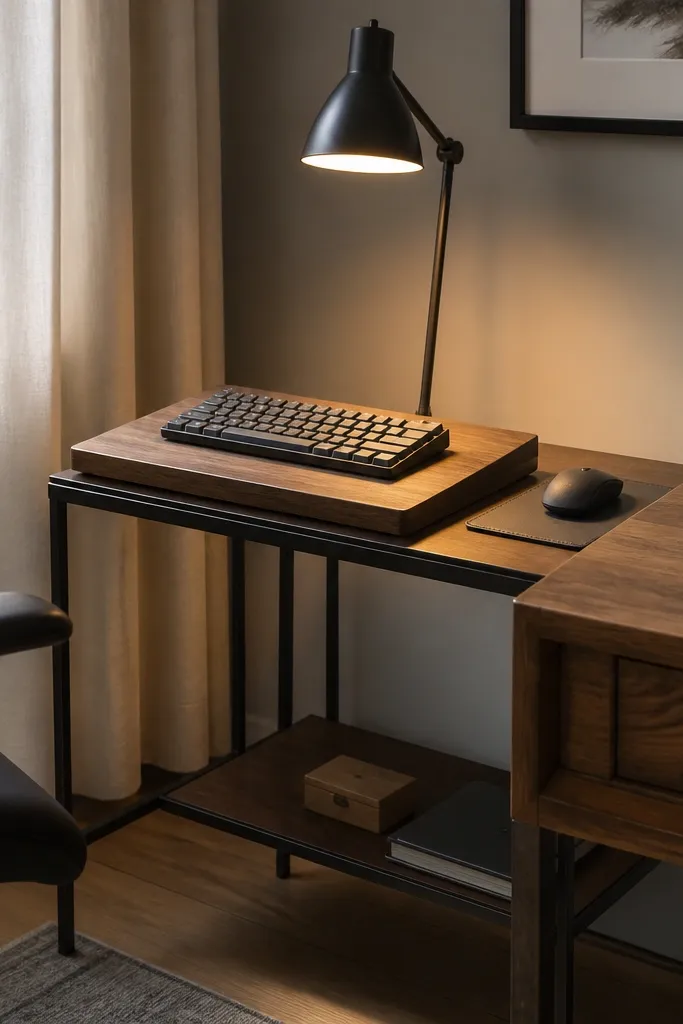
If your desk top is cramped, you can steal space by creating a dedicated keyboard zone. A slab tray raises the keyboard height slightly and creates a cleaner visual separation between writing space and tech space. It also frees the main desk surface for notebooks and a mug. This is a good fix for for renters work from home set up in narrow apartments where you can’t fit a full standing desk.
Choose a tray with a lip so the keyboard doesn’t slide. Keep it about the width of your keyboard plus 2 inches on each side. Position it so your forearms stay level with the desk when you type.
Pro tipUse a mouse pad that matches the tray wood tone so the whole tech area looks intentional.
Watch outSkip unstable trays on wobbly side tables — the keyboard drift makes the setup feel sloppy.
12. Gallery Wall Frame Cluster Behind the Desk
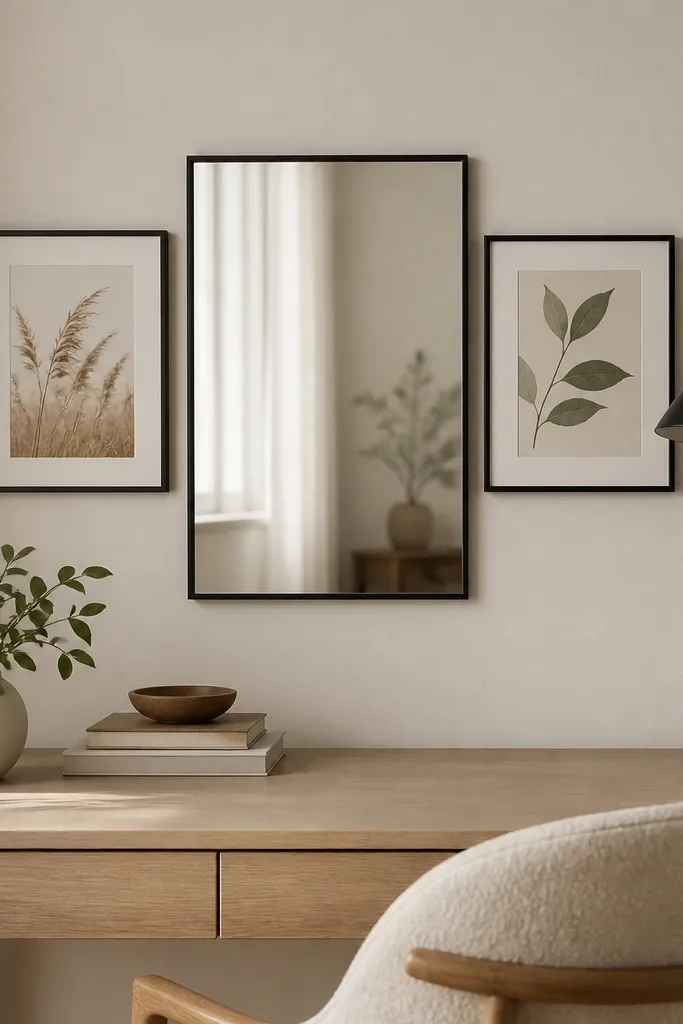
A background that looks good on camera makes a work-from-home setup feel more “real.” I use a small frame cluster behind the desk so your Zoom view looks styled without adding clutter on the desk itself. The thin black frames tie into many monitor stands and desk lamps. A mirror in the cluster bounces light and makes a small rental feel bigger.
Use removable wall mounts or painter’s tape templates for spacing. Keep the cluster centered behind the monitor, not off to one side. If you include a mirror, keep it angled slightly so it reflects the room light, not the overhead bulbs.
Pro tipChoose frames all the same finish, even if the art is different. That rule alone makes it look expensive.
Watch outAvoid mixed frame finishes like brass next to chrome next to silver — it looks like random thrift finds.