
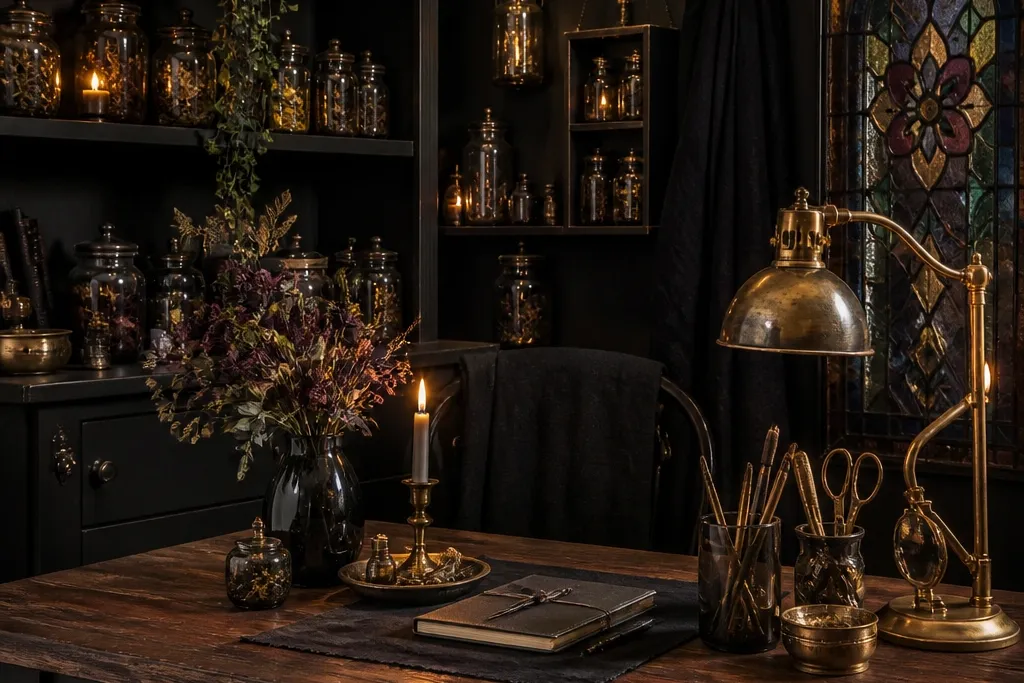
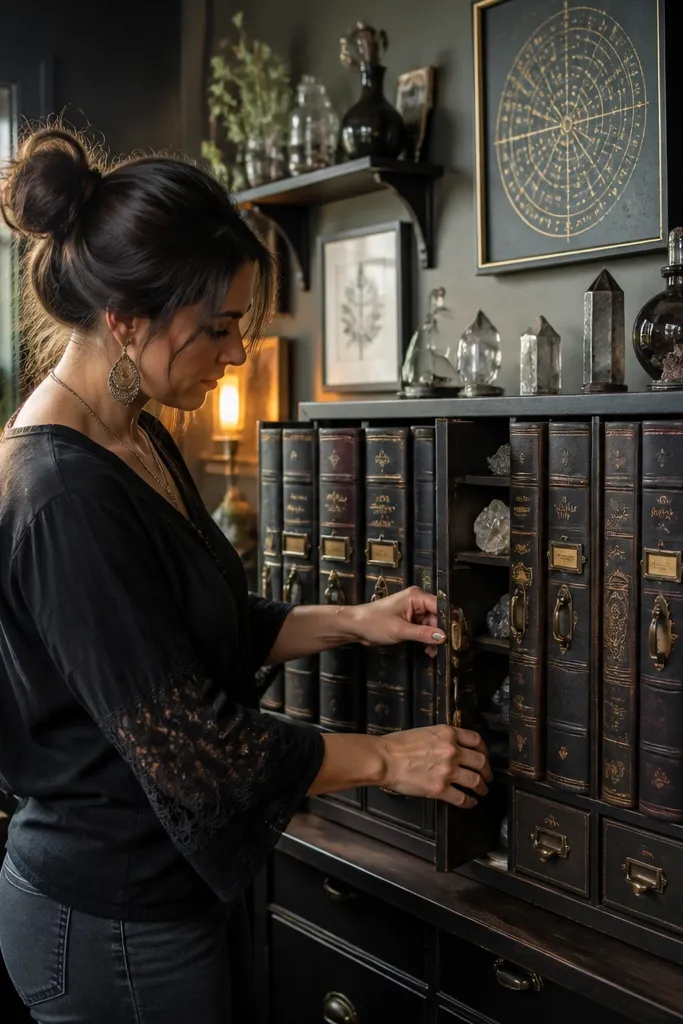
1. Blackened brass apothecary shelves with labeled jars
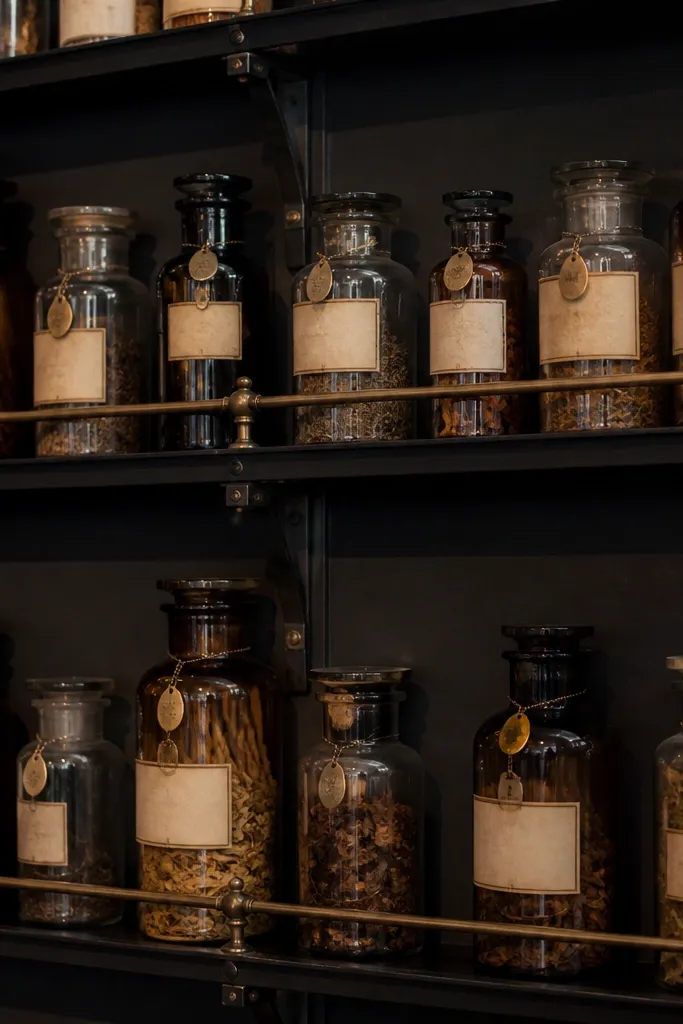
If your craft room has witchy vibes but feels random, apothecary shelves fix that fast because they create a single visual system. Go for blackened brass or matte black shelf brackets with multiple levels, then fill them with matching glass jars. Labeling is where it turns from cute to high-end: use thick cream paper tags, black ink, and a consistent font size so everything looks curated. Choose contents that photograph well — dried herbs in small bundles, mica powders, ribbon spools, or cotton balls in clear jars. Place the shelf near your work surface so jars become functional storage, not just wall decor.
Measure your wall first: pick a section about 48-60 inches wide so the shelves don’t look squeezed. Install two shelves with 10-12 inches between tiers, using a stud finder and a level — keep the brackets perfectly straight. Buy 8-16 identical glass jars with lids, then cut tags from cardstock and punch a hole for string or a small brass ring. Fill jars with visually consistent materials and keep labels facing outward. Cost level is moderate: expect to spend more on the shelves and jars than on paper labels.
Use the same label size on every jar, even if some jars are slightly different heights. That consistency reads expensive in photos.
Avoid mixing random jar shapes and label styles — it turns into “craft clutter” instead of a deliberate apothecary.
2. Oxblood leather task chair with brass nailhead trim
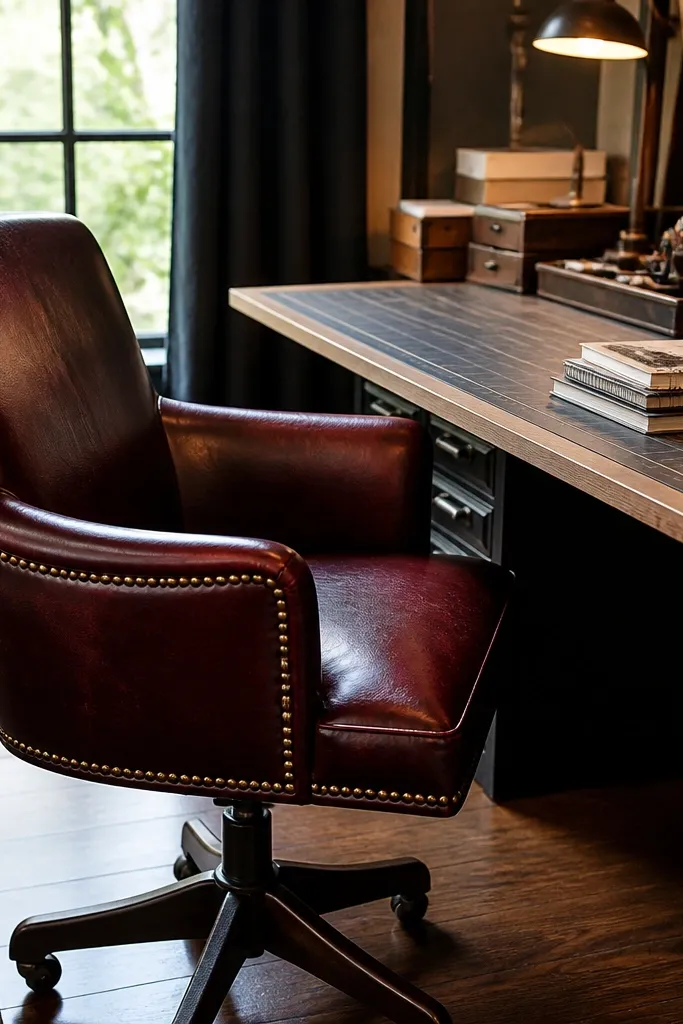
A craft room chair is one of the most photographed items because your body and tools sit around it. Oxblood leather (or a leather-look fabric with a real grain) gives you that witchy, old-world feel without looking costume-y. Brass nailhead trim adds a high-end shine that pairs naturally with black shelving and warm lamps. Keep the silhouette clean: a slightly curved back and sturdy arms look better than a fluffy, decorative chair in a working space. This idea solves the “my room looks themed but not finished” problem because the chair anchors the whole scene.
Pick a chair height that makes your work table feel right: aim for seat height around 18-20 inches if your table is 30-32 inches tall. Choose oxblood or deep plum, then check that the seat cushion is firm enough for cutting and drawing. Position the chair so you have a straight line to your main wall decor — usually 6-10 inches from the wall if you want wall art to frame your workspace. Add a small wool or faux fur throw in charcoal or black on the chair back for extra texture. This is a single spend that upgrades the whole room look.
Match one small brass detail nearby — for example, a brass pen cup or drawer pulls — so the chair doesn’t feel like a lone statement.
Avoid a chair with loud patterns or bright colors. Witchy craft rooms need deep tones and controlled shine.
3. Moon-phase wall grid with pegboard and mini trays
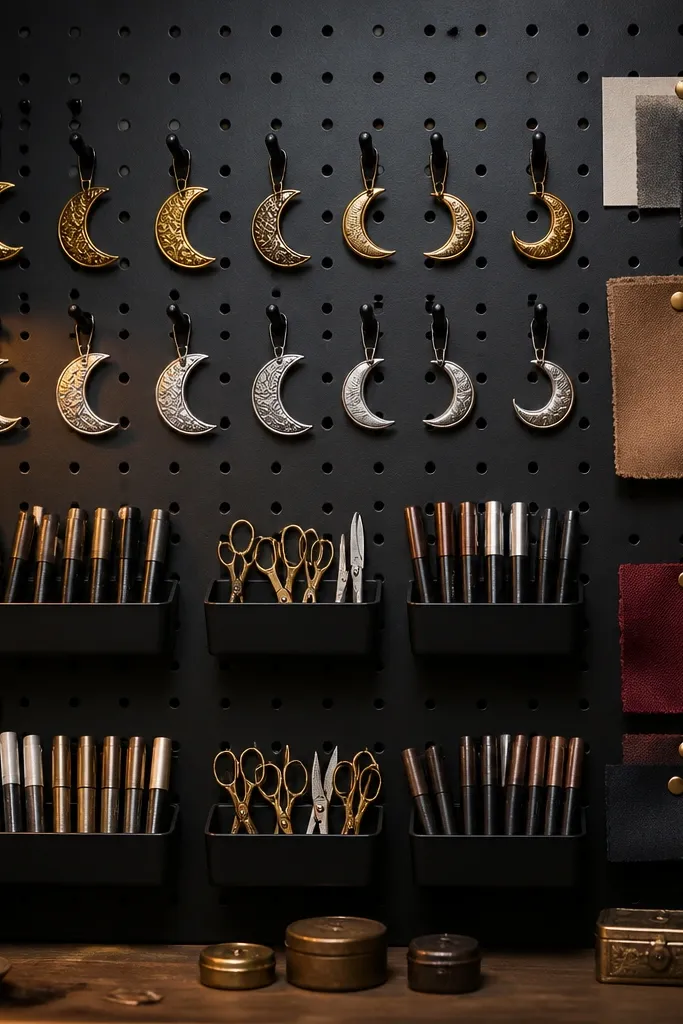
Pegboard is the smartest way to keep tools visible without cluttering the entire room, and adding moon-phase styling makes it witchy instead of industrial. Use a matte black pegboard or paint it black, then attach small moon icons in a subtle finish like aged brass or silver. Add mini trays for scissors, paint pens, wax sticks, and label stickers so everything looks intentional. The grid gives you structure — the witchy theme lives in the decorative pieces, while the organization keeps the room photogenic. This is ideal for crafters who work daily and need fast access.
Mount the pegboard on a wall section about 36-48 inches wide so it’s a feature but not overwhelming. Space your hanging points so you can reach tools comfortably: keep the most-used items between 42 and 60 inches from the floor. Install 6-10 mini trays and 4-6 hooks, then group tools by type (cutting, writing, adhesives). Paint or add moon-phase decals above the tray row — one set of three phases is enough. You’ll spend time here, but the result looks sharp and organized.
Use two tray finishes only — black and brass, for example. Too many finishes makes pegboard look messy.
Avoid hanging every tool you own. A curated pegboard with empty hooks looks more high-end than a fully packed one.
4. Tall stained-glass-style window panel beside the desk
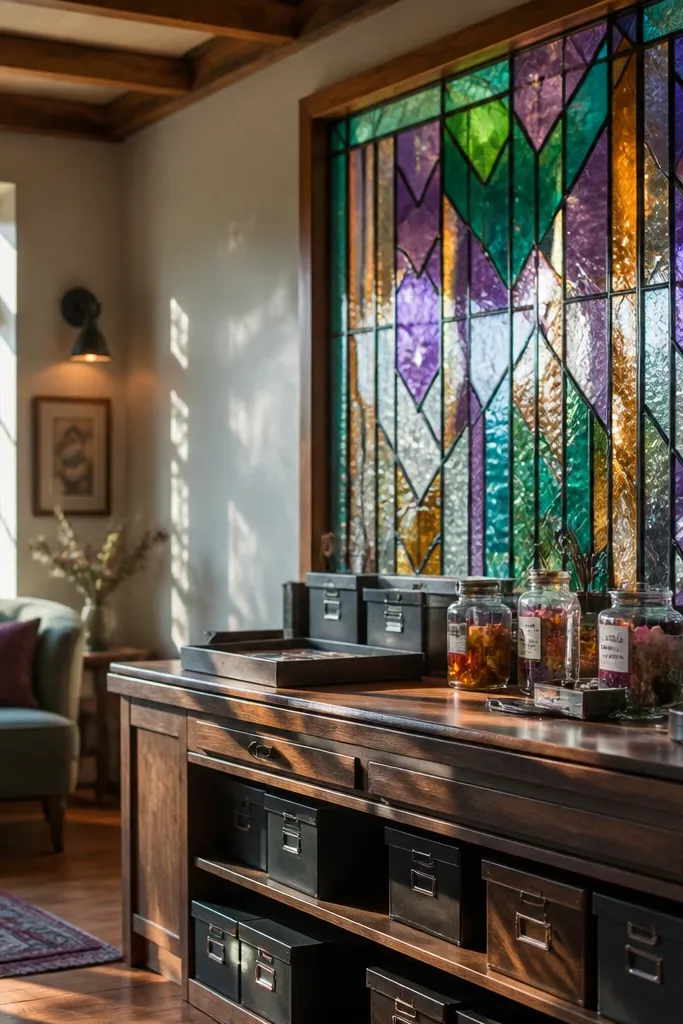
A tall stained-glass-style panel gives you instant witchy atmosphere and makes your desk area feel like a scene, not just furniture. Pick jewel tones that harmonize with your storage: deep teal, amethyst purple, and warm amber highlights. The panel should be mostly vertical and tall — think 60-72 inches — so it frames the work zone in photos. It solves the problem of “my walls are blank,” and it also adds a soft glow effect when light hits the colored sections. Put it beside your desk rather than behind it so you don’t fight glare.
Choose a panel size that covers at least the height of your standing eye line: aim for 65-70 inches if you’re seated at a typical desk. Position it 2-6 inches from the wall if it’s a freestanding panel, or mount it as a wall accent if it’s designed for that. Use warm lighting near it — a floor lamp with a 2700K bulb works best for jewel tones. Add one small matching detail nearby: a teal glass jar or an amber candle holder. This is a medium-cost statement that changes how the whole corner feels.
Test it in the evening with your lamp on. If the colors wash out, switch to warmer bulbs before you add more décor.
Avoid panels with bright cartoonish colors. Witchy decor looks expensive when the palette stays deep.
5. Cabinet with apothecary doors and black glass inserts
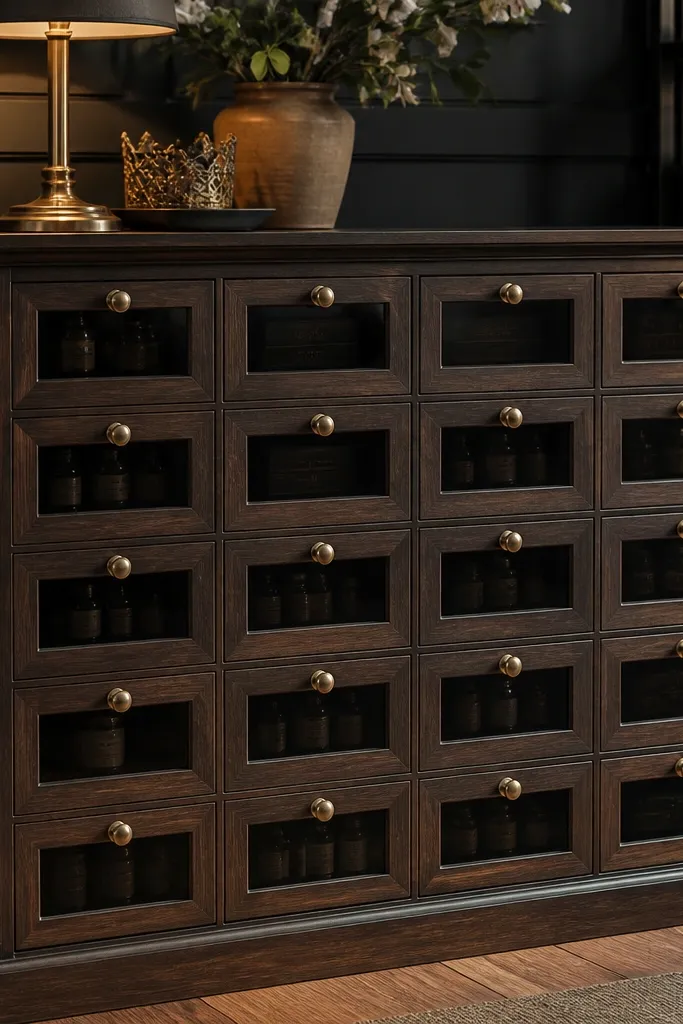
High-end witchy craft rooms hide clutter behind controlled surfaces. A dark cabinet with black glass inserts lets you store supplies without losing the vibe — you still see hints of labels and jar silhouettes. Choose cabinets with solid wood or wood-look panels and hardware in aged brass or matte black. Black glass is the trick: it mutes visual noise while keeping the room moody. Inside, keep contents consistent — labeled jars, stacked craft paper, and a few decorative tins. This solves the “my decor looks messy the moment I start a project” problem because storage disappears visually.
Pick a cabinet width that matches your wall space: 30-36 inches wide works well for most craft rooms. Install it so the top edge sits around 72-78 inches from the floor if you want a comfortable sight line while working. Use black glass inserts or tint to reduce reflections, then add interior shelves if needed. Style the top with one tray and one lamp, not five objects. This is a higher spend, but it upgrades the room’s look every day.
Put the most photogenic items at eye level inside the cabinet. The rest can be plain storage.
Avoid clear-glass-only cabinets with mixed clutter. Clear glass shows everything and kills the high-end illusion.
6. Candle-bowl centerpiece on a dark marble-look tray
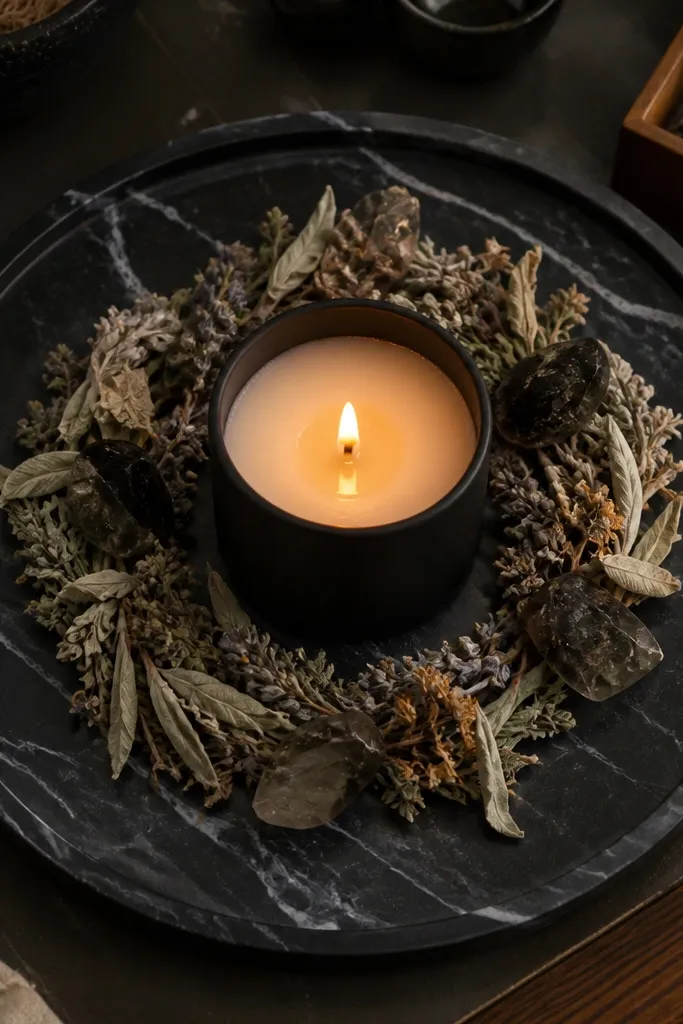
A candle-bowl centerpiece is the easiest way to make craft work feel like magic. Use a dark marble-look tray (charcoal or deep black with gray veining) so your centerpiece looks expensive even when you’re not actively “styling” it. A candle bowl in matte black or smoked glass adds texture, and you can surround it with small, flat objects that won’t look messy: dried orange slices, cinnamon sticks in a bundle, or a few smooth stones. This idea is photogenic because it creates a warm glow and a tight color palette. It also helps your craft room feel intentional, not temporary.
Choose a tray size that fits your surface without crowding: 18-22 inches long for a desk or sideboard. Center a candle bowl in the middle, then arrange 4-6 surrounding items in a loose ring so it looks composed. Keep items low — under 3 inches tall — so the layout doesn’t block your work view. Use real taper candles or LED candles with a warm flicker if you need safety. Add one small brass element like a tiny dish for matches.
Use the same candle color every time — black or deep burgundy. Consistency makes the whole room look styled, not random.
Avoid tall stacks of decor. You need the glow and the tray, not height that blocks your workspace.
7. Black linen curtain panels for a craft alcove
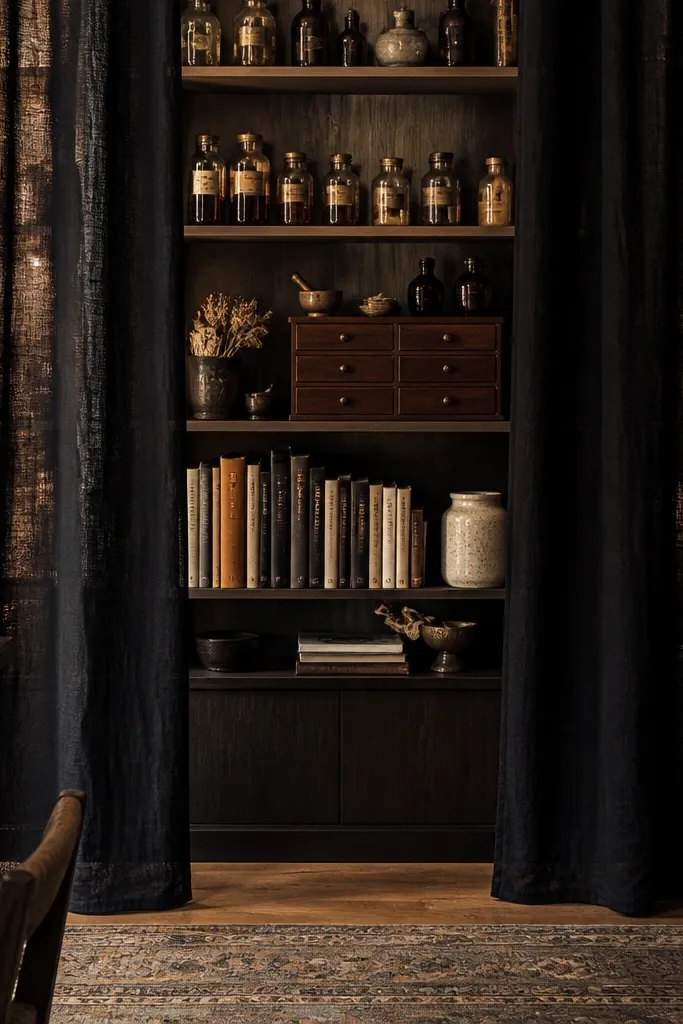
Curtains make craft rooms look high-end because they add soft, expensive fabric where you’d normally see plain walls. Black linen panels with a natural texture feel witchy without looking like Halloween. Use them to frame a small alcove, bookcase area, or the space behind your work table. When the curtains hang in clean folds, they hide visual clutter and give you a dramatic backdrop for photos. This solves the problem of ugly sight lines — open shelving, bins, and cords — because the fabric turns everything into a calmer scene.
Pro tipIron or steam the panels before hanging. Wrinkles read cheap next to brass and glass.
Hang two panels wide enough to pool slightly: aim for 1.5x the width of the opening. Install a rod at about 2-4 inches above the ceiling line if you want height. Choose linen in true black or near-black charcoal so it doesn’t look flat. Add tiebacks in black leather or braided cord to keep the alcove open while you work. This setup is moderate cost and big impact.
Watch outAvoid polyester “blackout” curtains that look shiny. Matte linen texture is the part that sells the high-end look.
8. Wall-mounted floating shelves for "spell display" objects
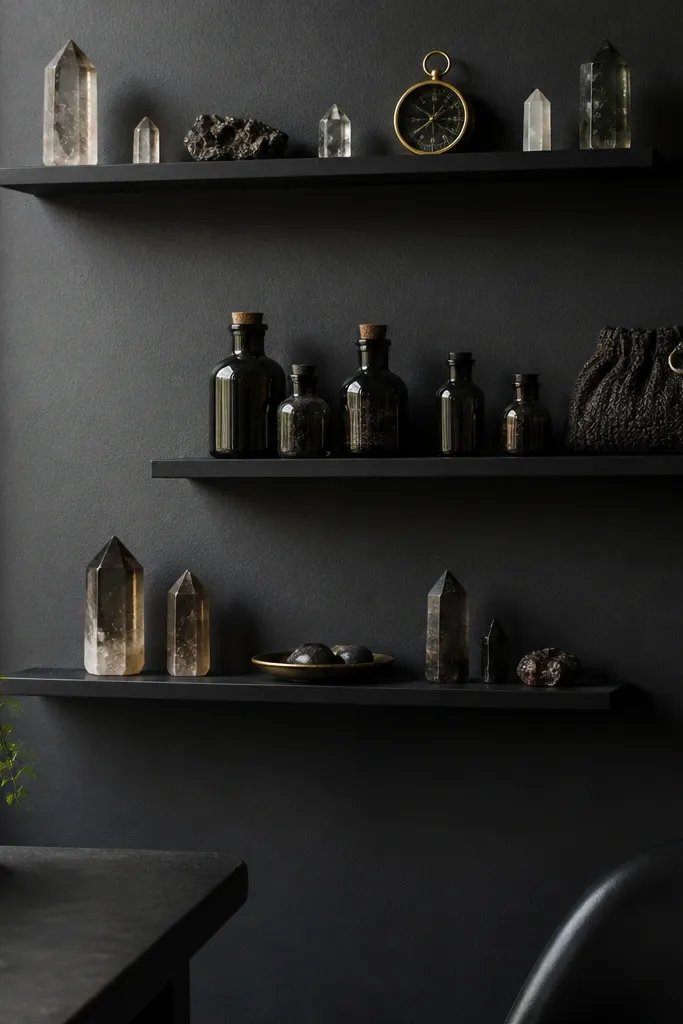
Floating shelves create a gallery wall without the heaviness of full picture frames, and they’re perfect for witchy craft room décor because you can swap items as projects change. Use matte black shelves with a thin profile so they don’t compete with your display objects. Keep the objects cohesive: crystals in dark trays, small brass candle holders, ink bottles, and framed prints with witchy motifs. The display should include one “hero” piece — a large jar, a tall candle, or a crystal cluster — then several smaller supporting items. This gives you a curated look that stays photogenic even when your craft room is in use.
Install two shelves at different heights. Put the bottom shelf so its center is about 60 inches from the floor, and the top shelf around 78-80 inches. Use a level and anchors for a clean line — crooked shelves ruin the high-end illusion. Arrange 5-7 objects per shelf with at least one open space between them so your eye has room. Use dark trays or risers so objects don’t sit flat and blend into the shelf.
Stick to trays for small items. A tray edge makes everything look intentional, not scattered.
Avoid putting loose items directly on the shelf. Without grouping, it reads like random craft leftovers.
9. Smoked-glass pendant over the cutting table
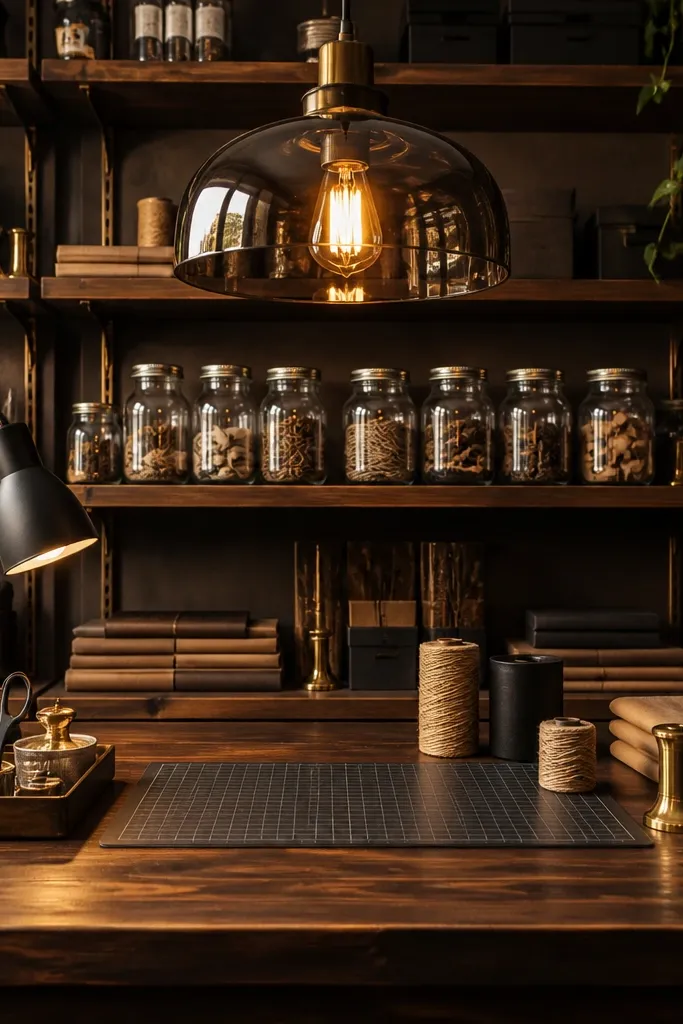
Lighting is where witchy craft rooms go from “theme” to “high-end.” A smoked-glass pendant gives you moody diffusion and makes your jars, labels, and metal hardware look richer. Place it directly over the cutting table so you get the glow where you work, not just in the corner. Choose a pendant with a warm bulb and enough width to cover the work surface — it should visually frame the table. This idea solves harsh overhead lighting that makes craft materials look flat and washed out.
Measure your cutting area and pick a pendant diameter that covers at least 60-70% of it. Hang the light so the bottom of the shade sits about 30-34 inches above the tabletop for comfortable visibility. Use a 2700K warm bulb and dimmer if you can — dimming makes the witchy mood show up. If wiring is a hassle, use a plug-in pendant kit designed for hard use. Then style one small brass accent near the pendant so the light reflects nicely.
Keep the cord and canopy matte black. Glossy hardware catches light and looks less refined.
Avoid cool white bulbs. 4000K makes witchy tones look gray instead of magical.
10. Wall mirror with black frame and antique finish
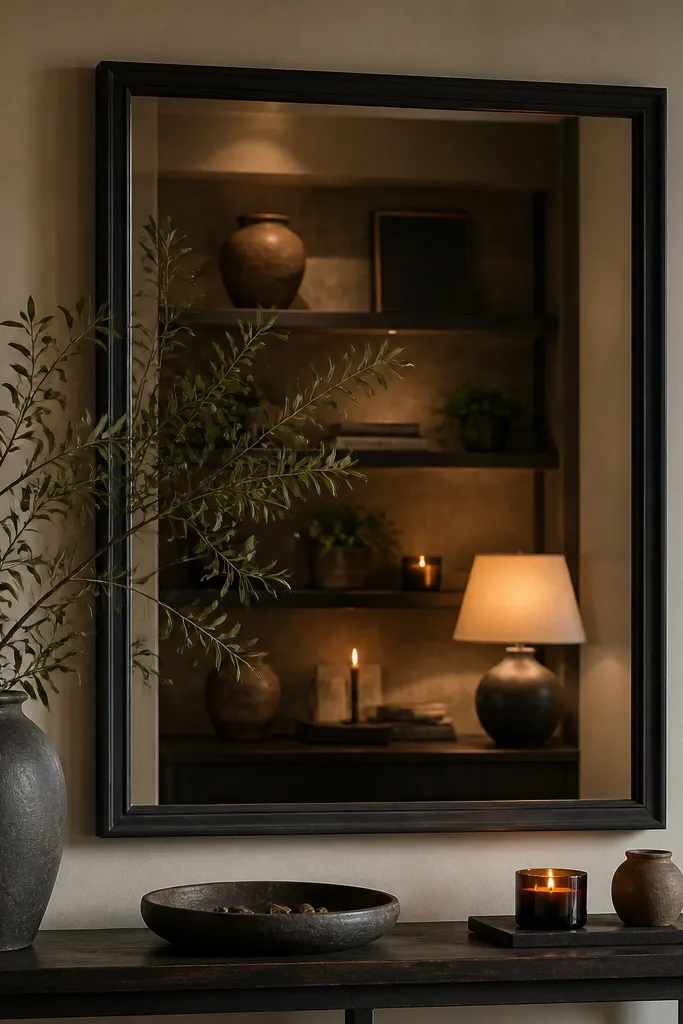
A black-framed mirror makes the room feel bigger and adds a “secret room” vibe, which is exactly what witchy craft rooms need. Choose a mirror with a slightly antique finish — a subtle texture or soft edge — so it looks like it belongs. Place it so it catches warm lamp light and reflects your best décor zone: the candle tray, apothecary jars, or your moon-phase wall. The mirror solves a common problem: craft rooms look cramped because all the details sit on one wall. With a mirror, the room gains depth and your witchy styling looks more intentional.
Pick a mirror height that frames your workspace: 48-60 inches tall works great. Hang it so the bottom edge sits around 8-12 inches above the tallest drawer or shelf nearby. Place it across from your main display so the reflection shows something curated, not cords. Use a black frame or dark wood frame with hardware that matches your shelves. Add a small tray on the sill or console below if you have one, but keep it to two items.
Test the reflection at night. If it reflects clutter, move the mirror or clean that wall before you commit.
Avoid mirrors with ornate gold that clashes with blackened brass. Keep the metal family consistent.
11. Charcoal cork pinboard with pinned spell cards and thread lines
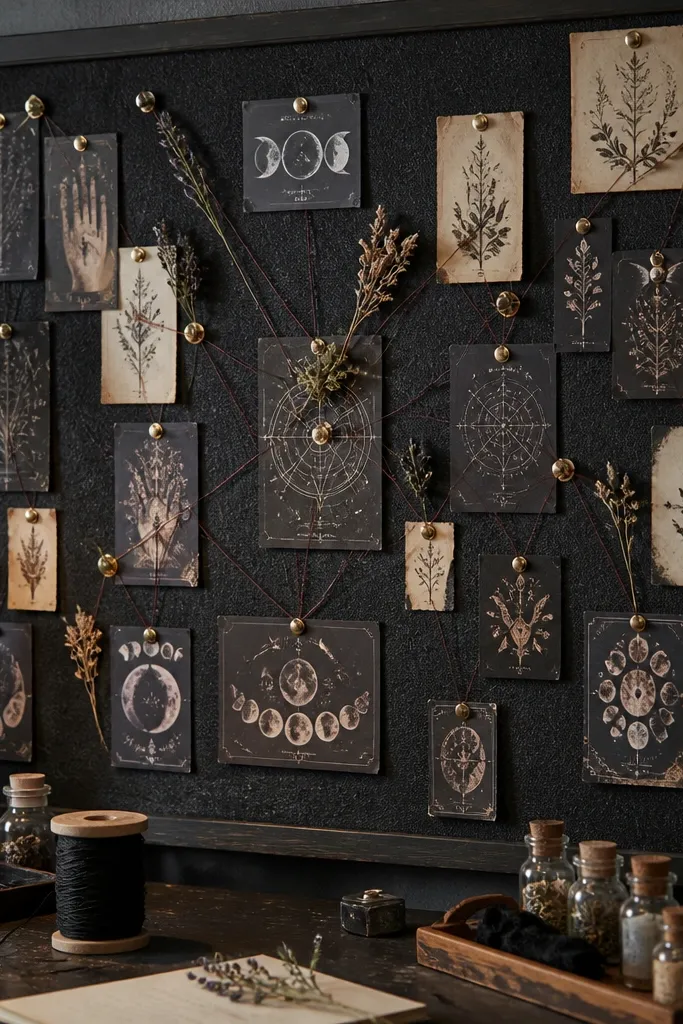
This is witchy craft room decor that also helps you work. A charcoal cork pinboard gives you texture and lets you pin spell cards, project plans, patterns, and color swatches so the room looks alive instead of static. Use spell cards printed on heavy paper with subtle witchy motifs — moons, herbs, sigils — then keep the pinned layout consistent. Add thread lines with tiny brass clips to connect ideas like a ritual map. The cork background grounds the look and keeps it from feeling like a random collage. It’s especially good for makers who do mixed media, sewing patterns, or label design.
Pro tipPin a “current project” card at the top corner and leave the rest open. That gives you a repeating composition every time you update it.
Choose a cork board size that fills a wall section: 24x36 inches is a strong starting point. Mount it at eye level so you can read cards while working — usually the center is about 60 inches from the floor. Use brass thumbtacks and small brass clips for thread lines. Pin cards in rows, then add 2-3 thread lines that cross between them for visual structure. Keep card colors to two families: cream and deep ink, plus one accent like plum.
Watch outAvoid bright neon cards or too many fonts. The board looks cheap when the typography is chaotic.
12. Black ceramic herb planters on a side table
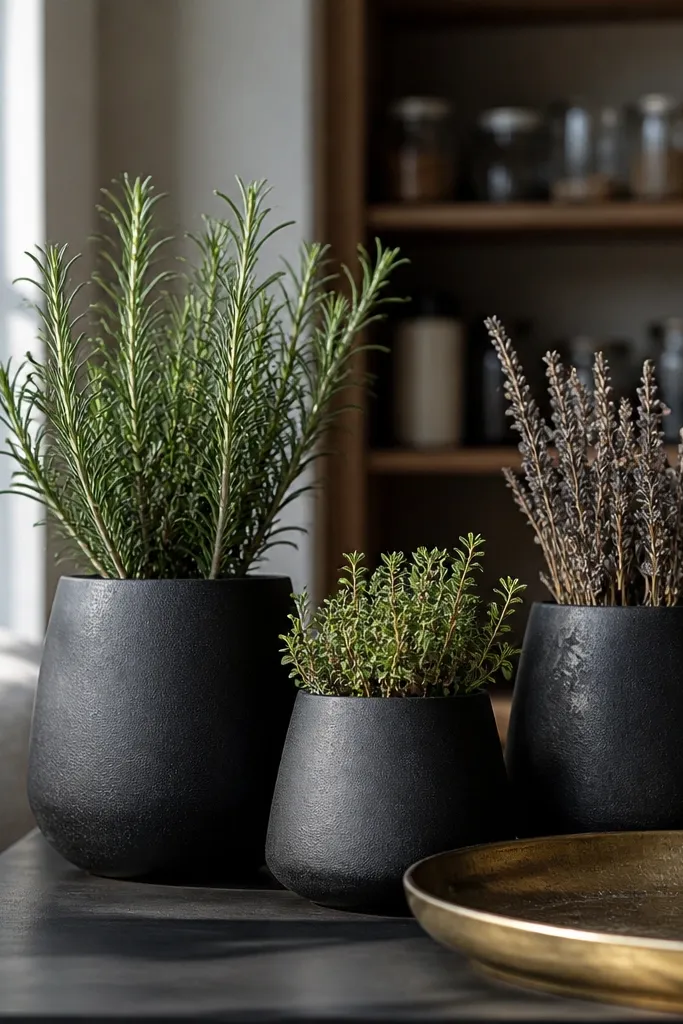
Planters are witchy decor that doesn’t feel like junk because they connect to everyday use. Use black ceramic planters with a matte glaze, then style them with dried herbs, faux greenery, or small live plants like rosemary if you want real function. Keep the planters grouped on one side table or shelf corner so they read as a designed vignette. Add one candle and one small brass item like a spoon rest or match dish so the scene has metal shine. This idea solves the “my decor is only objects, not texture” problem because ceramic and plant matter add organic softness.
Pro tipWipe the planter glaze with a dry microfiber cloth before photos. Matte ceramic looks richer when it’s not dusty.
Pick a side table surface about 24-30 inches wide so the group doesn’t spread out. Arrange 3 planters: one tall, two smaller, with the tall one in the back. Use matching planter colors (black or near-black charcoal) and similar shapes to keep it cohesive. Add dried herbs in a way that looks purposeful — tie bundles with twine and tuck them into the top layer. Place a small candle holder in front so the light hits ceramic texture. Cost is low to moderate depending on whether you choose live plants or decorative greenery.
Watch outAvoid random plastic planters. Ceramic weight and texture are the whole point.



