


1. Boucle pegboard cover in warm gray
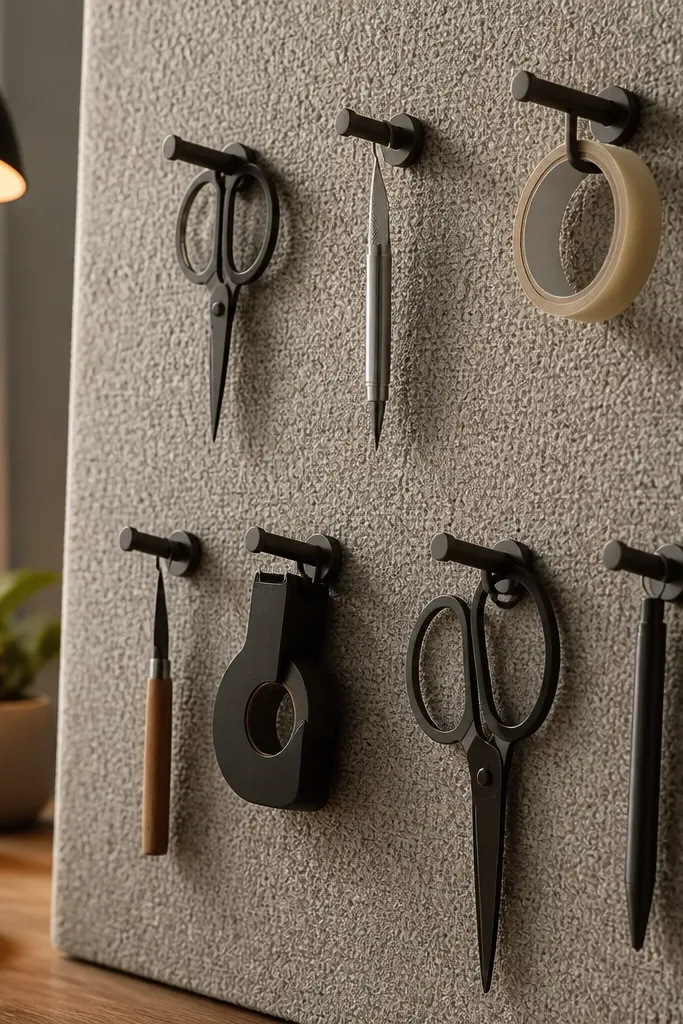
A pegboard is practical, but it can look harsh and busy. Cover it with a boucle fabric panel (or a boucle-look board cover) in warm gray so the background becomes soft and cozy. Keep the tools organized with a limited hook set: 6-10 hooks for the things you grab daily, like scissors, a craft knife, and tape. The result looks styled even when tools are out, because the fabric background hides the “busy” vibe.
Measure your pegboard width and height, then buy a fabric panel with a backing that can be stretched over (or use adhesive-backed upholstery foam plus fabric). Attach the fabric to the board with a staple gun around the back edges, pulling tight so it looks smooth. Add hooks after the fabric is secured, spacing them evenly so the tools form clean vertical lines. For cost, plan about $25-60 for fabric and $10-25 for foam if you need it.
Stick to one metal finish for hooks (black or brushed brass) so the pegboard reads cohesive.
Don’t mix bright hook colors or you’ll lose the calm, cozy look.
2. Cream linen slipcover for a craft rolling chair
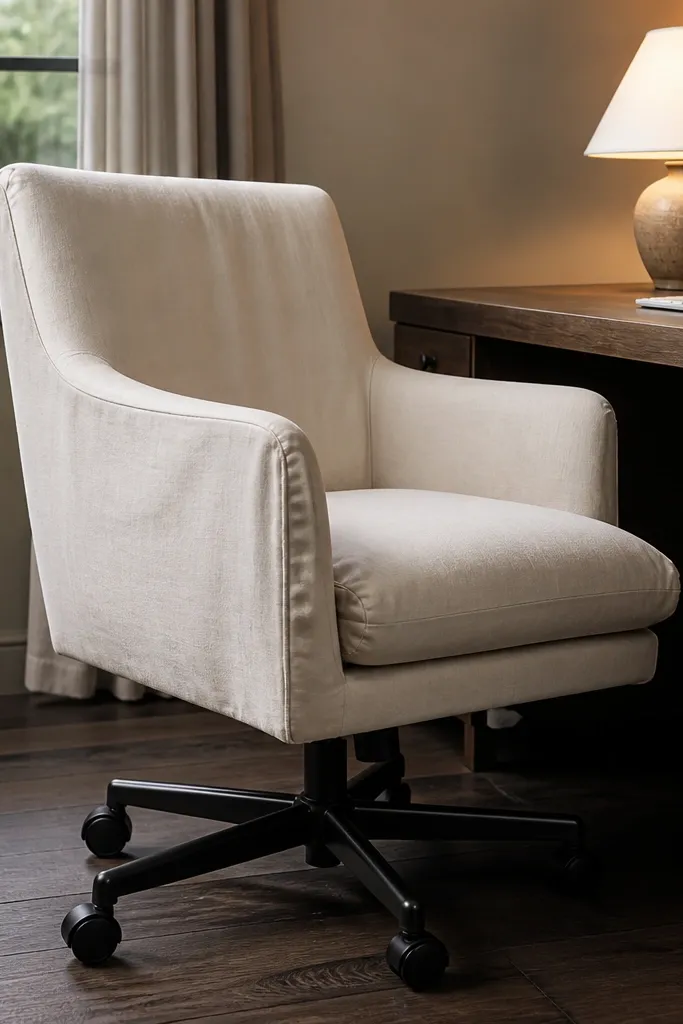
Pick a slipcover sized for your chair seat width and back height, then confirm it has a snug fit at the base so it doesn’t shift. Remove the cover and wash it according to the tag, aiming for cold water and a gentle cycle. Place the chair near your main work surface so it visually anchors that zone. Expect $40-120 depending on the cover and chair size.
A craft room chair gets used hard, so it needs to look good even when it’s scuffed or slightly rumpled. A cream linen slipcover brings softness and warmth without making the chair look “decor-only.” Choose a slipcover with a smooth arm and clean seams so it reads tailored. This is a low-maintenance way to warm the room because chairs sit in your line of sight whenever you work.
Watch outSkip high-shine faux linen; it reads cheap and doesn’t soften the room.
Pro tipUse a removable cushion pad in the same cream tone for a thicker, more cozy silhouette.
3. Terracotta framed fabric art above the cutting table
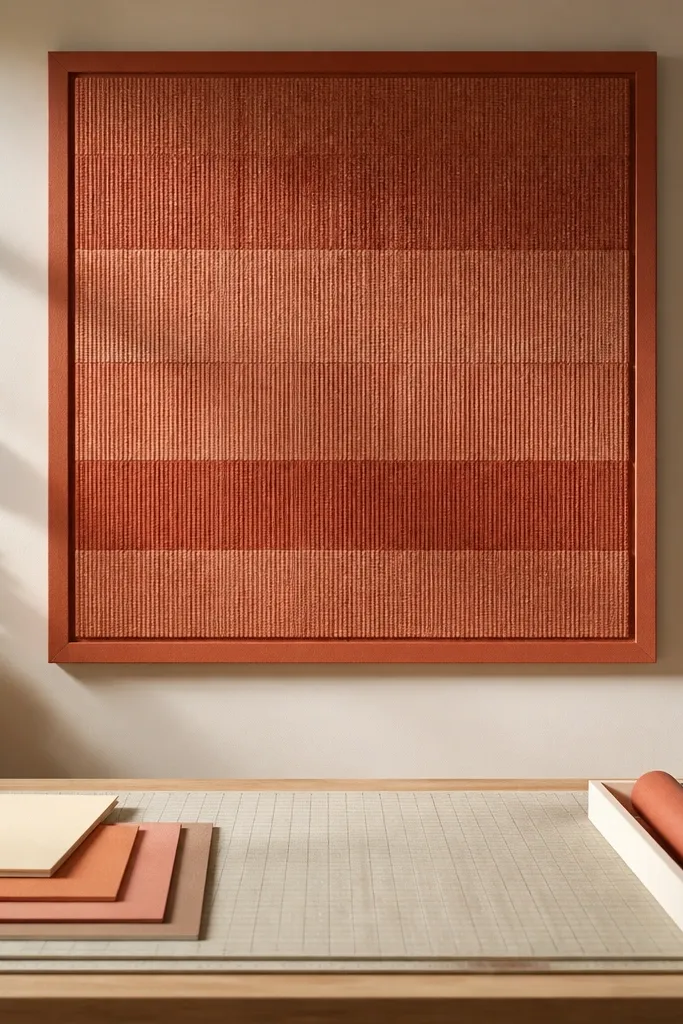
Fabric art is warm, and it hides small imperfections in your wall. Put one framed fabric piece above the cutting table so your eye has a cozy focal point that doesn’t feel like clutter. Choose terracotta or rust tones with a simple pattern — think subtle stripes or a textured weave — so it pairs with paper, vinyl, and paint. The frame adds structure, and the fabric keeps the room from feeling cold or overly practical.
Measure the empty wall space above your work table and choose a frame that fills about 60-75% of that width. Use a matte or satin frame finish (black, dark walnut, or brass) so it doesn’t glare. Stretch fabric over a backing board or use ready-made fabric art kits, then hang at eye level for the seated position. Costs are usually $30-120 depending on frame size and materials.
Match the terracotta to one other element in the room, like a bin label holder or a small ceramic tray.
Don’t pick a loud pattern if your shelves already have lots of labels and bins.
4. Matte black task light with warm 2700K bulb
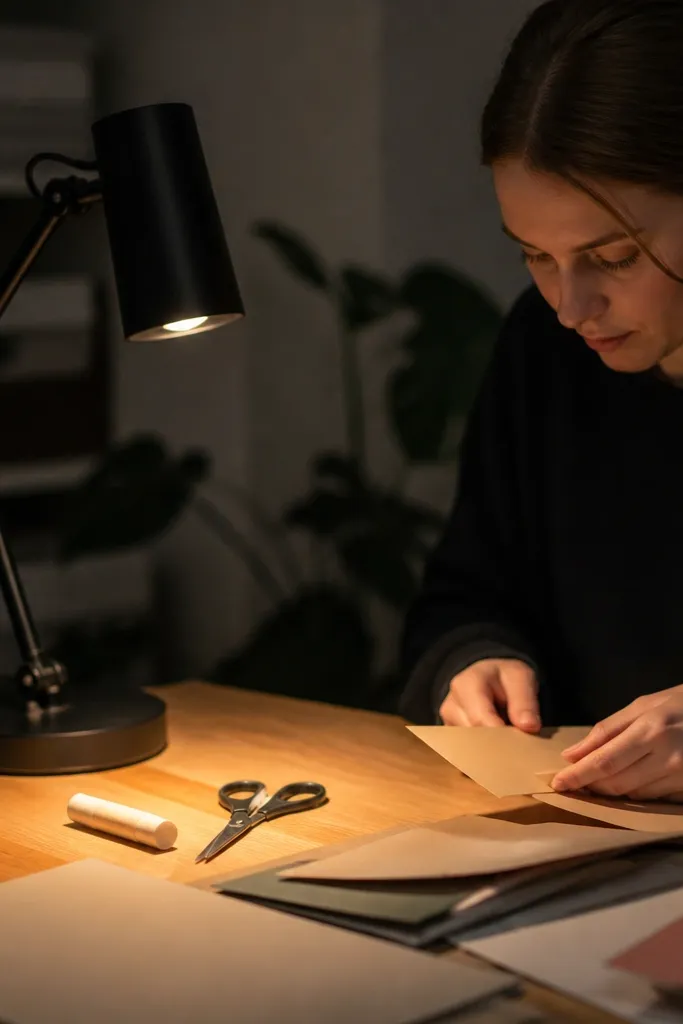
Choose a task light with an adjustable arm or head so you can aim it at the work surface without casting glare. Install it near your cutting mat or attach it under a shelf if you want the cleanest look. Replace the bulb with 2700K warm white and keep the wattage moderate so it doesn’t overheat fabric or cause harsh shadows. Plan $25-90 for a good lamp.
Lighting changes how everything looks, and craft rooms often have harsh overhead bulbs that make paper and fabric look dull. A matte black task light with a warm 2700K bulb gives you focused brightness where you cut and glue, while keeping the rest of the room soft. Matte finishes also hide fingerprints better than glossy metal, which matters in a room that gets touched constantly. You get a cozy glow that still supports accurate work.
Watch outDon’t use 5000K daylight bulbs; they make the room feel more like a workshop than a cozy space.
Pro tipAdd a small diffuser shade or use a bulb with a frosted cover to soften the light edges.
5. Chunky knit throw ladder for yarn and small finished items
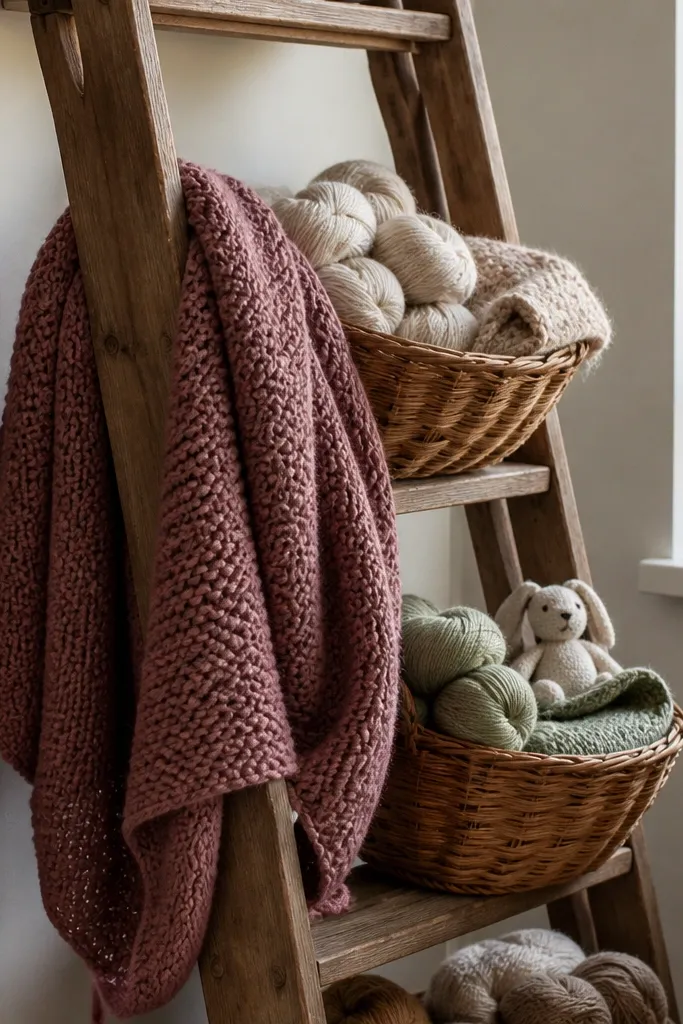
A throw ladder looks styled, but it also solves a storage problem. Drape a chunky knit throw over a small wooden ladder and use the steps for neatly stacked yarn or small finished pieces in baskets. Choose a throw in oatmeal, sage, or muted rose so it works with most craft supplies. This turns “stuff that lives on chairs” into a deliberate display that reads cozy every day.
Pick a ladder size that fits your space — aim for about 3-4 feet tall for tight rooms. Secure the throw so it doesn’t slide by folding the end and tucking it around a rung. Add two small woven baskets on the steps for yarn and finished item storage, keeping colors grouped. Expect $60-180 depending on ladder and throw.
Use one basket color for the ladder steps so it looks curated rather than accidental.
Don’t hang loose skeins everywhere; it looks messy even when the ladder is pretty.
6. Matte ceramic catch-all tray by the desk
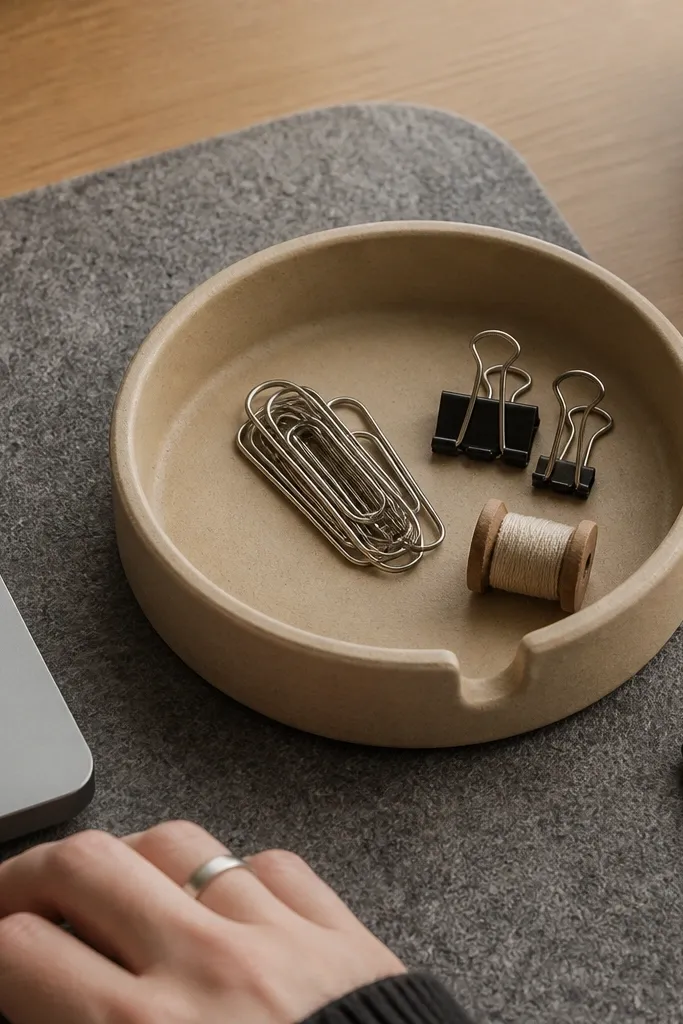
Pick a tray size about 10-14 inches long so it fits your desk corner without taking over. Place it near your dominant hand side, not in the center of the work area. Sort items into two categories only: frequently used (pens, scissors) and “grab next” (spare needles, small clips). Clean with a damp cloth; costs usually run $15-45.
Craft rooms get cluttered fast because tiny tools multiply: pens, clips, spare buttons, and tape rolls. A matte ceramic catch-all tray keeps the most-used items in one visually calm spot. Choose a neutral glaze like sand, warm white, or soft clay, and keep the tray shape simple (round or oval) so it doesn’t fight with busy patterns. This makes your desk look styled even between projects.
Watch outDon’t use a tray with a glossy mirror glaze — it reflects overhead light and looks messy.
Pro tipUse felt dots under the tray to prevent sliding and reduce scratches on the desk.
7. Hanging fabric organizer with matching neutral pockets
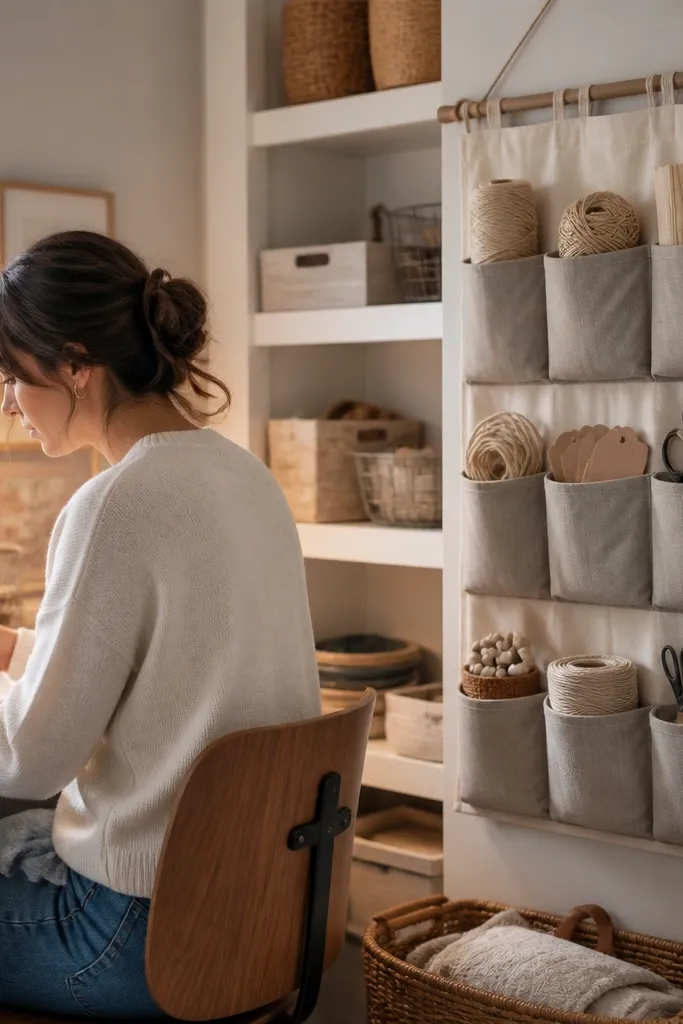
Open shelving shows every label, spool, and paper stack, which kills the cozy look. A hanging fabric organizer adds soft structure and keeps small supplies visible but controlled. Choose a neutral fabric organizer in cream or warm gray, then use pocket colors that match your palette. Hang it beside your desk or on a door hook so supplies are reachable without cluttering your main surface.
Measure the vertical space next to your desk or door and choose an organizer height that reaches about 2-3 inches above the floor or trim. Install using a sturdy hook or tension rod system depending on your wall type. Assign each pocket one category (tape, adhesives, ribbon) so you’re not moving items constantly. Look for organizers with washable fabric; expect $20-70.
Label pockets lightly with fabric tape in the same color family for a clean look.
Avoid bright patterned organizers; they read chaotic next to craft paper stacks.
8. Warm wood floating shelf with fabric bin bottoms
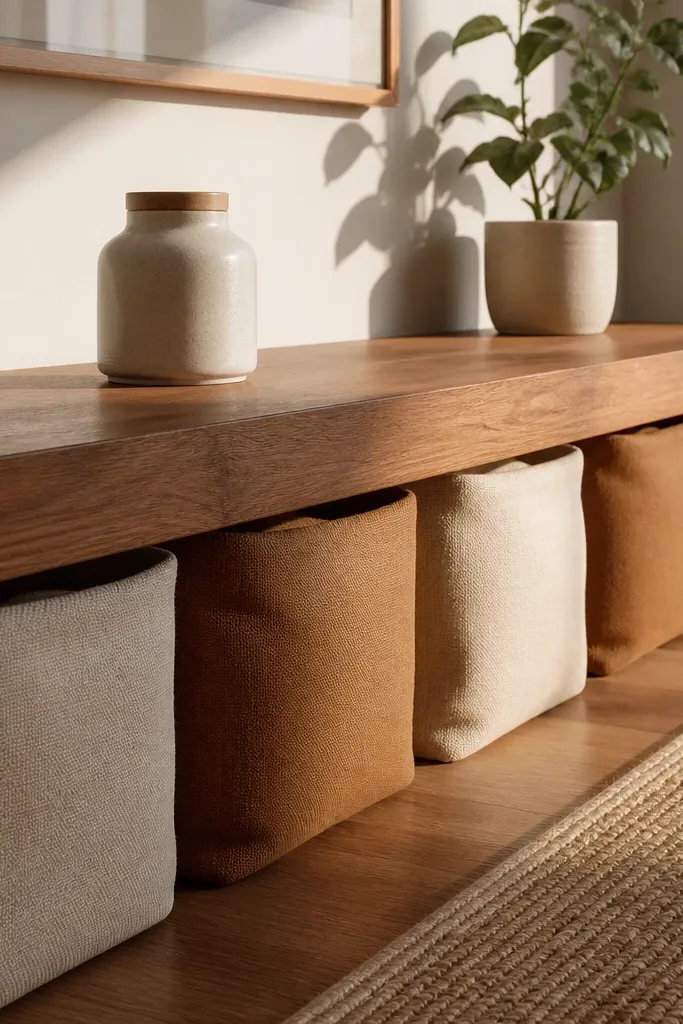
Install one shelf wide enough to hold 2-3 decorative items plus a few books, leaving at least 30% of the shelf surface empty. Below it, use fabric bins in matching sizes that fit the shelf footprint. Group supplies by type and hide them inside the bins so paper stacks don’t spill out. For materials, expect $80-250 depending on shelf length and bin set.
Floating shelves make walls look finished, but the real trick is what goes underneath. Add a warm wood floating shelf, then keep the shelf face mostly decorative and store the messy parts in fabric bins on the lower level. Choose bins in one color, like caramel brown or oatmeal, so the room looks uniform. This gives you a styled top and low-maintenance storage below, without constant rearranging.
Watch outDon’t fill the shelf edge-to-edge; negative space makes it feel cozy.
Pro tipUse book spines vertically with matching orientation so the shelf looks intentional from the doorway.
9. Felt desktop mat with color-blocked sections
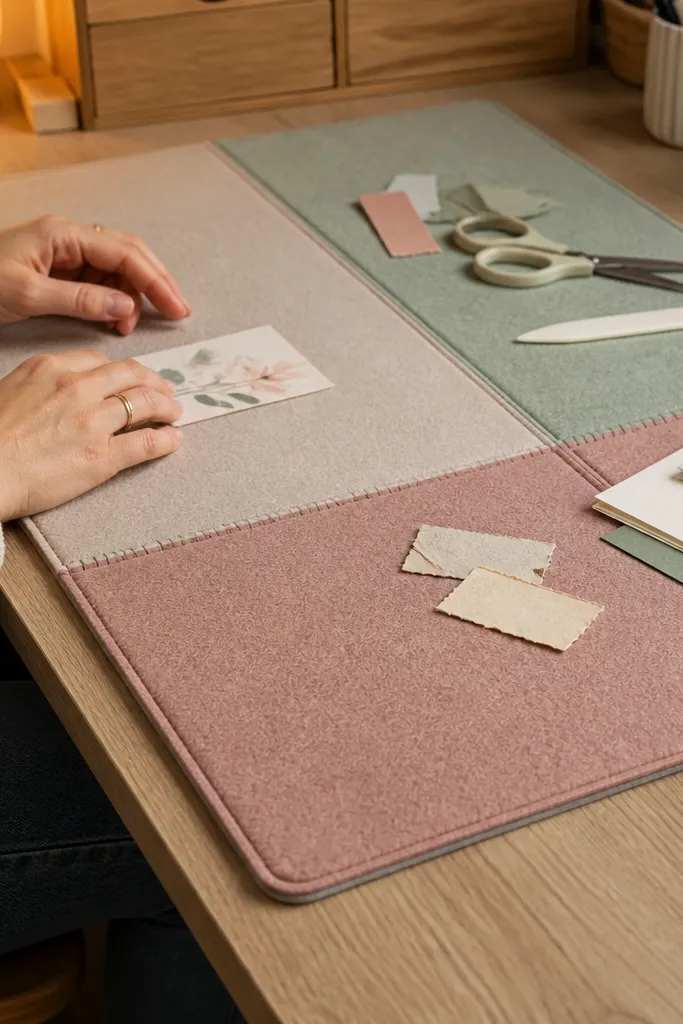
Measure your desk work area and buy a felt mat that covers about 70% of the surface so you still have space for trays and cutting. Choose thickness around 3-6mm for stability without feeling too bulky. Place the mat centered with a clear edge margin so it looks deliberate, then use small removable tool cups on top. Costs are usually $25-90.
A desk surface that shows scuffs and adhesive stains makes the whole room feel neglected. A felt desktop mat hides that and creates a soft work zone that looks cozy in photos. Use one large mat in warm gray or oatmeal with 2-3 color-blocked sections for paper cutting, gluing, and tool staging. The felt also dampens tiny noise when you set down scissors or rulers.
Watch outDon’t choose thin felt that wrinkles; it looks sloppy and catches scraps.
Pro tipAdd a small roller or lint brush nearby and clear paper fuzz before it builds up.
10. Linen curtain panels for a craft supply nook
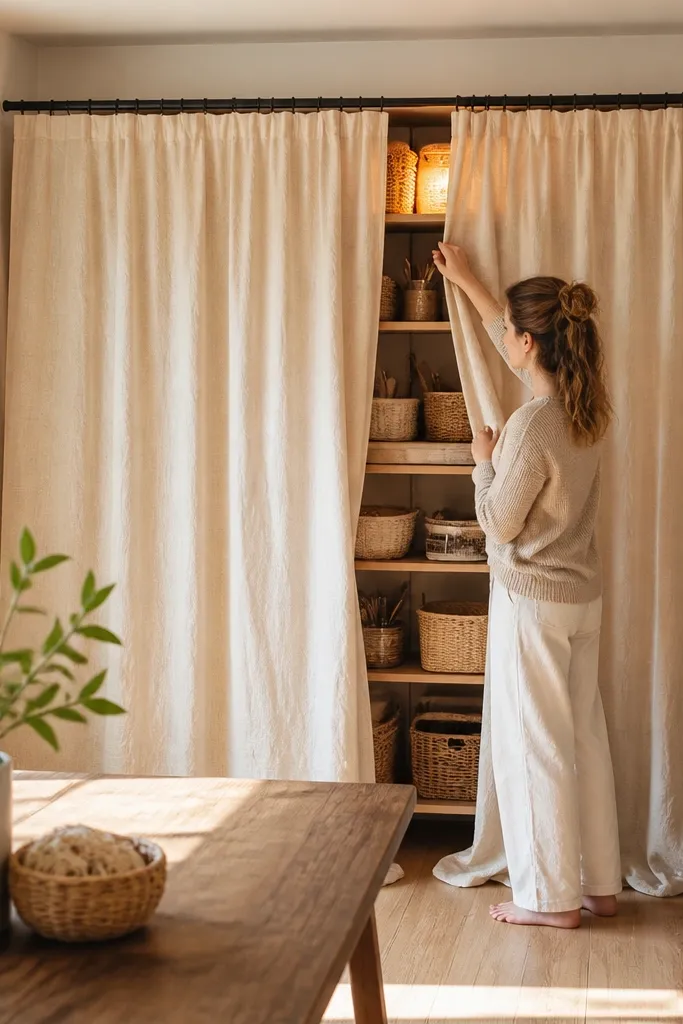
If your craft room has shelves or a craft closet area, curtains are the easiest way to hide the visual mess. Linen panels soften the space and add warmth without needing careful styling every day. Choose two panels in cream or oatmeal and hang them high and wide so they look intentional. When the room looks “done,” the shelves are still there — they’re just background, not the first thing you see.
Use a curtain rod mounted 4-6 inches above the shelf height and extend it 6-12 inches beyond the nook width. Choose panels that reach near the floor or stop just above it, depending on your furniture height. Install simple tiebacks in the same fabric to open it up during work. Linen panels typically cost $40-140 for a pair.
Steam the curtains before hanging so the folds look crisp and expensive.
Avoid sheer polyester; it looks plasticky and doesn’t bring the cozy texture.
11. Woven seagrass bins with matching labels
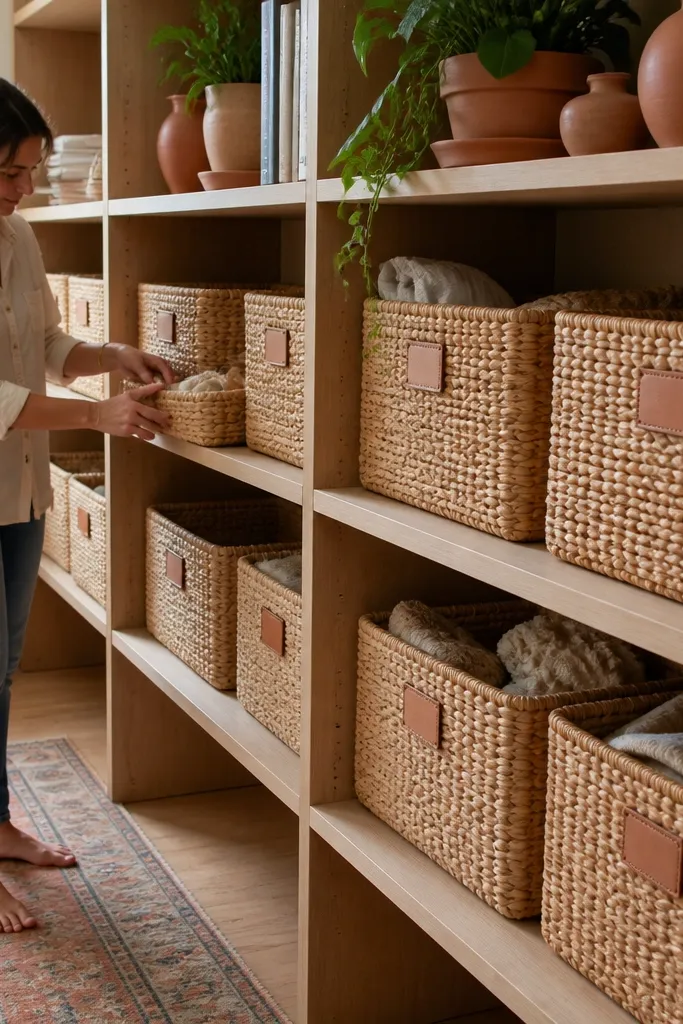
Pick bin sizes that fit your shelf depth so they don’t wobble — measure shelf width and buy bins that leave 1-2 inches of clearance. Add label cards in the same font style and color (matte black or terracotta ink on cream paper). Fill each bin with one supply type so you’re not constantly re-sorting. Plan $25-80 per bin depending on size and material.
Woven bins look warm, and they hide visual clutter better than open baskets. Seagrass in a honey tone reads cozy and pairs with terracotta, cream, and charcoal. The labels matter: keep them consistent and small so they look like part of the decor instead of a paperwork project. This setup makes your craft room feel organized even when you’re mid-craft, because everything has a container.
Watch outDon’t mix different weave styles; it reads random and less intentional.
Pro tipStore paper pads flat in one larger bin and keep small supplies in smaller bins for better rhythm.
12. Dark denim curtain panels for instant cozy warmth
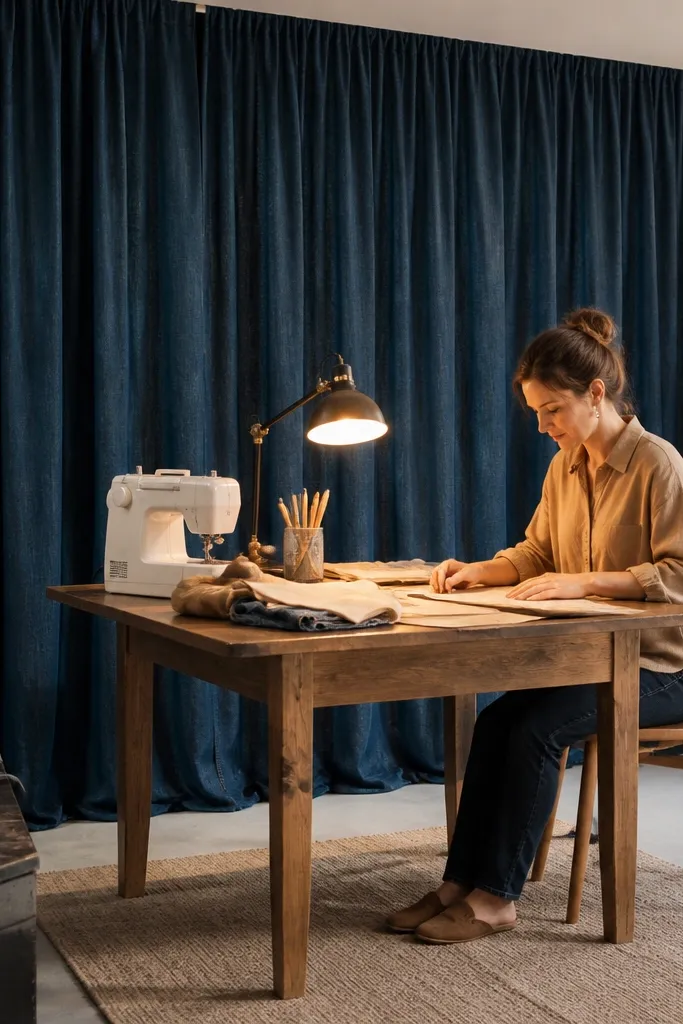
If your room is light and airy but feels cold, dark fabric can make it feel cozy fast. Dark denim panels add texture and absorb glare from craft lights, making the whole space look warmer. Hang them high and let them pool slightly at the bottom if your floor allows, or keep them just above the floor for a cleaner line. Pair with light wood and warm metals so the denim reads grounded instead of heavy.
Choose denim panels in a deep indigo or charcoal-blue and confirm you have enough width to stack folds (aim for 1.5-2x rod width). Mount the rod 4-6 inches above the window or corner and extend it past the sides. Use simple black rings or grommets for smooth movement. Expect $60-200 depending on panel size and whether you sew.
Add a cream lamp shade nearby so the denim doesn’t darken the room too much.
Don’t pair dark denim with cool white walls; you’ll fight the temperature visually.
13. Gallery ledge with 3-piece art rotation
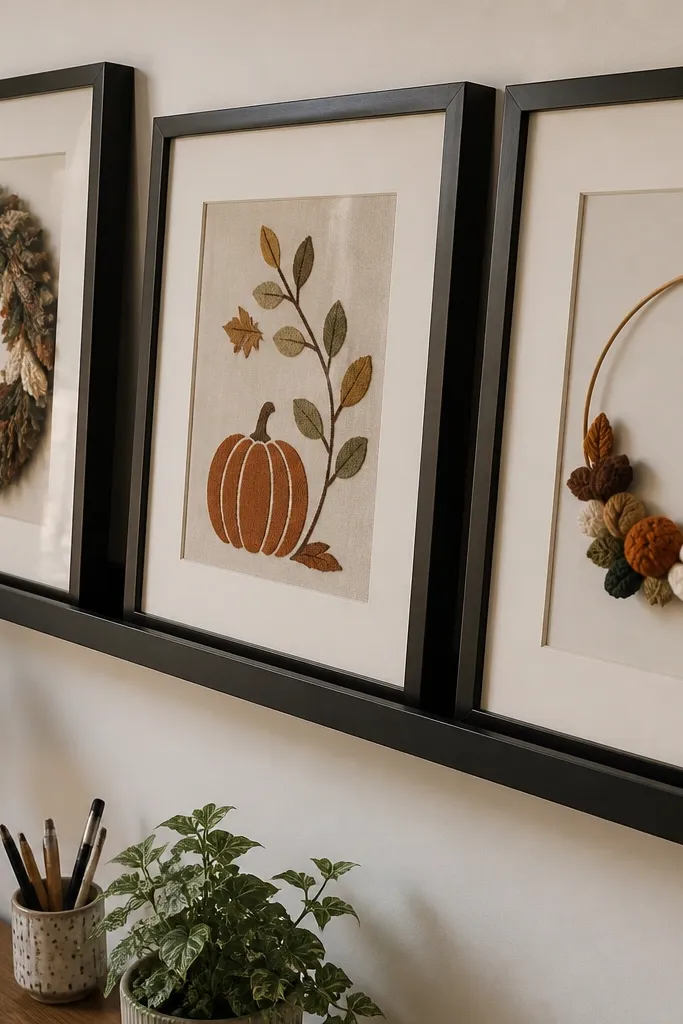
A craft room needs visual interest that can change with seasons and finished projects. A gallery ledge gives you a place for 3 framed pieces, which keeps the look consistent and cozy without constant clutter. Choose frames in one finish (black or warm wood) and use mat boards in cream. Rotate finished work or seasonal prints so the room feels alive, but the display stays controlled because there are only three slots.
Install a narrow ledge about 2-3 inches deep above your desk or wall storage area. Set three frames so the total width spans about 70% of your wall zone and keep equal spacing between them. Use picture hooks that allow easy swaps without taking the whole frame down. Costs are $40-160 for ledge plus frames depending on size.
Keep the mat color the same even when the art changes; consistency is what makes it look designed.
Don’t add extra frames on the floor or shelf; three pieces is the magic number for calm.
14. Oatmeal area rug under the main work zone

A rug is the fastest way to make a craft room feel like a place you want to hang out in. Choose an oatmeal or warm cream area rug with a low pile so scraps and paper bits don’t catch. The rug softens echo from the room and makes lighting look gentler. Place it under the main work zone so the chair and desk feel like one cozy setup rather than separate furniture.
Measure the desk plus chair footprint and choose a rug that extends at least 12 inches beyond the desk on the sides where you move. Opt for low pile or flatweave for easy vacuuming, and keep a small lint roller nearby for paper dust. If you spill glue or ink, choose a rug with a stain-resistant finish and spot-clean with mild soap. Typical cost is $80-300 depending on size.
Use a rug pad to prevent sliding and make the floor feel warmer underfoot.
Don’t choose a high-pile shag; it looks cozy but traps craft debris.
15. Woven pendant light with warm shade
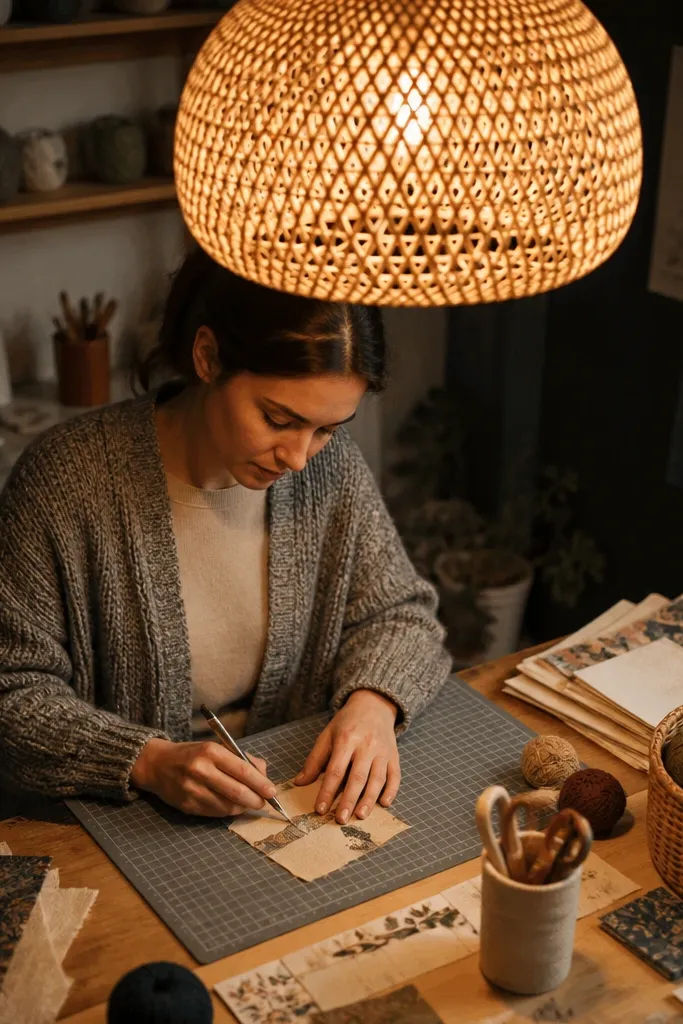
Overhead lighting can make craft rooms feel clinical, especially when you’re cutting paper under a bright bulb. A woven pendant light adds warmth and a softer glow that flatters textures like fabric and yarn. The basket weave also breaks up glare, so you see fewer harsh reflections on glossy paper or laminate desks. Hang it above your main table so your work surface gets usable light while the room stays cozy.
Choose a pendant with an open weave but a shade size large enough to cover your table area, usually 14-18 inches wide. Hang it so the bottom of the shade sits about 30-36 inches above the work surface. Use a 2700K bulb and consider a dimmer if your wiring supports it. Cost usually lands around $50-180.
Keep the pendant cord short enough that it looks intentional, not like it’s dangling in midair.
Avoid super-thin metal shades; they reflect light and look harsh in a craft room.



