
1. Satin black behind the bed with warm white trim
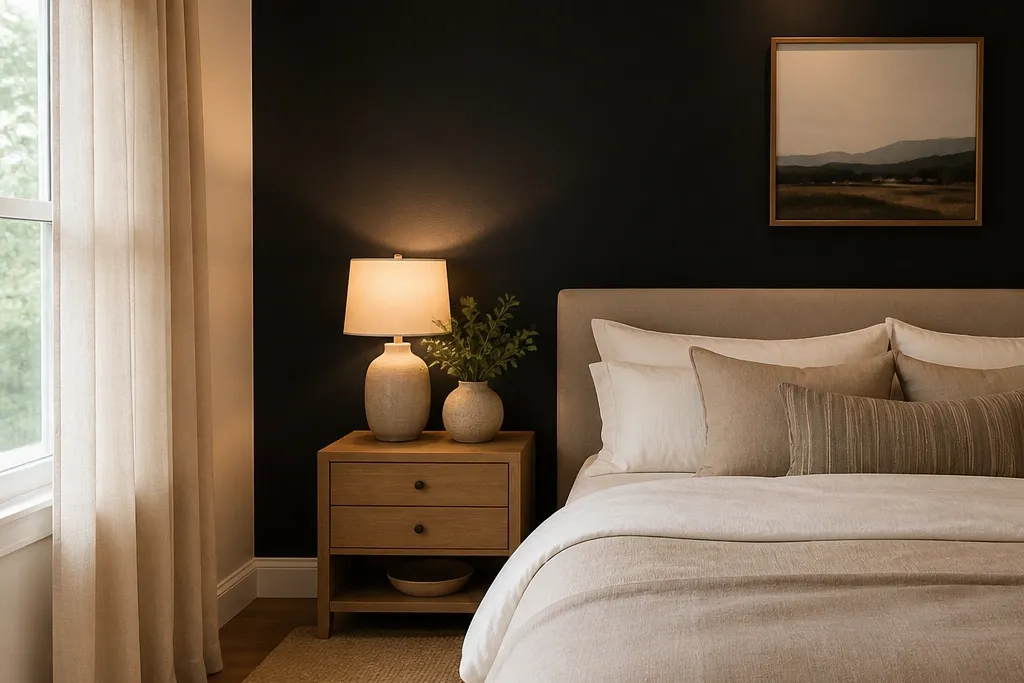
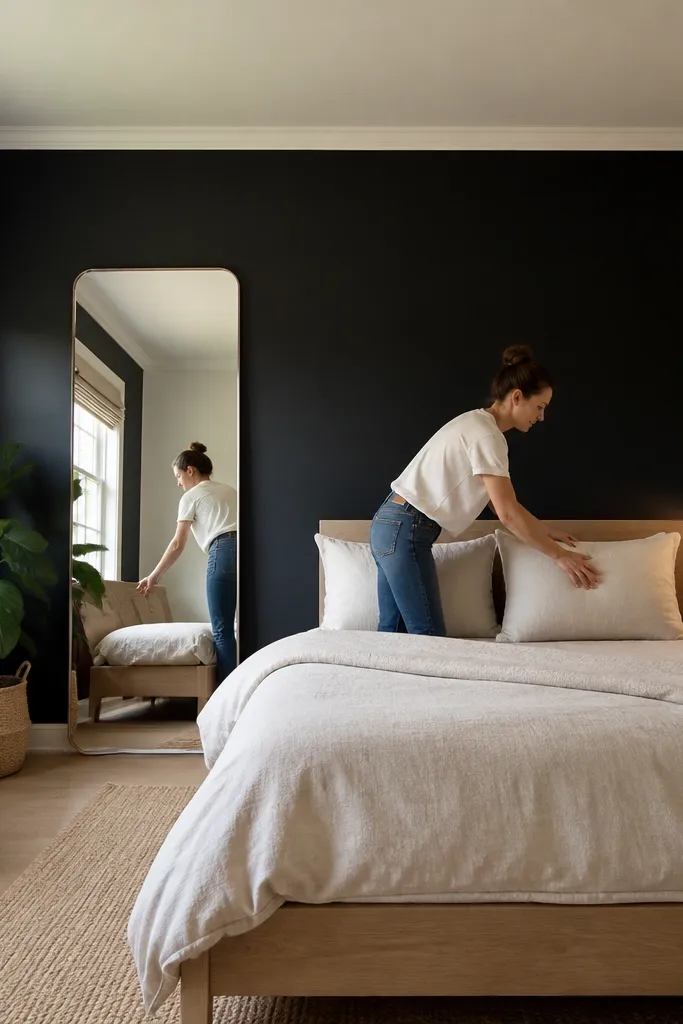
This is the cleanest way to go bold in a small room. Satin black behind the headboard reads modern and crisp, but the sheen keeps it from looking flat and heavy. Use warm white trim around the black area so your eye has an exit point; cool white can make black feel harsher in low light. Keep bedding in ivory, oatmeal, or light gray so the contrast looks intentional. This works best when your bed has a defined headboard shape and you want a sharp focal point for photos.
Start by masking a rectangle that matches the headboard width plus 4 to 8 inches on each side. Paint the wall area with satin black and cut the edges cleanly with warm white trim paint or pre-primed trim boards. After it dries, add a plug-in wall sconce or a bedside lamp aimed up at a slight angle so the black catches light instead of swallowing it.
Pro tipChoose caulk that matches the trim color and wipe it smooth — messy edges show up fast in small rooms.
Watch outDon’t use flat black with no lighting upgrade; it can look chalky and dull in tight spaces.
2. Matte black paneling with thin vertical grooves
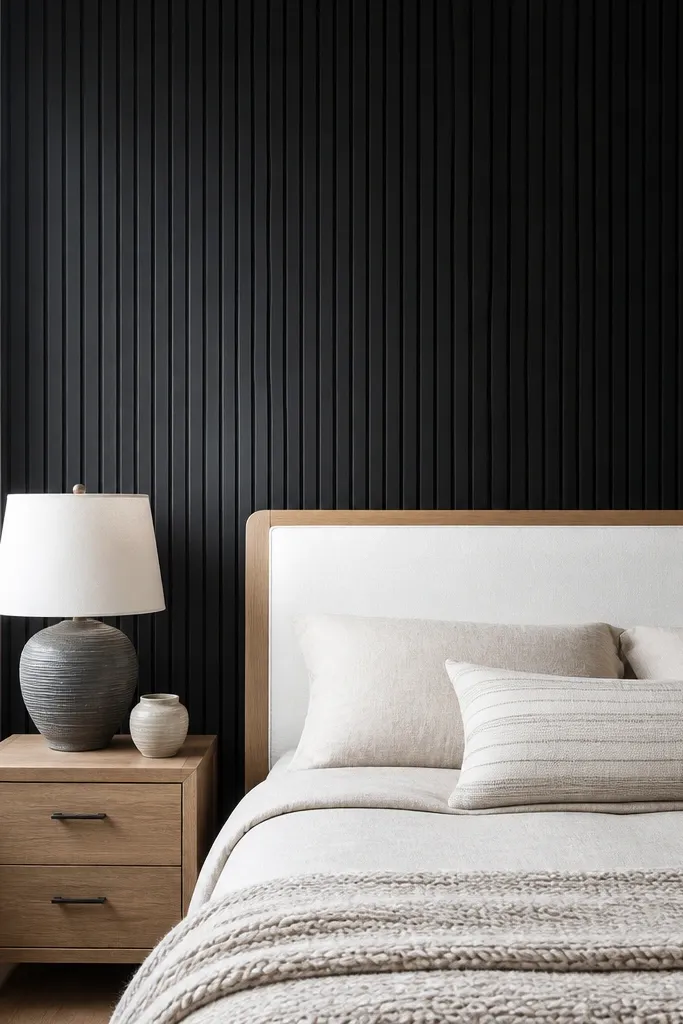
If you want black to feel designed, add paneling. Thin vertical grooves in matte black create subtle shadow lines that make the wall look deeper without adding visual clutter. Matte keeps it calm, so it doesn’t glare in small rooms, especially if your window is bright. Pair it with a light wood bed frame or a white upholstered headboard so the grooves show clearly. This style is great for renters who want impact without mixing too many colors.
Install pre-made MDF wall panels or slat-style sheets with 2 to 3 inch spacing, or use removable wall panel strips if you need to avoid heavy work. Paint everything matte black, then lightly sand any edges that look too sharp. Finish by adding a thin molding border around the panel area and place the bed so the panel lines start near the headboard ends.
Pro tipUse a leveling laser or long spirit level — straight grooves make the whole wall look expensive.
Watch outSkip thick, wide panels; in small rooms they can make the wall feel like a block.
3. Black peel-and-stick grasscloth wallpaper look
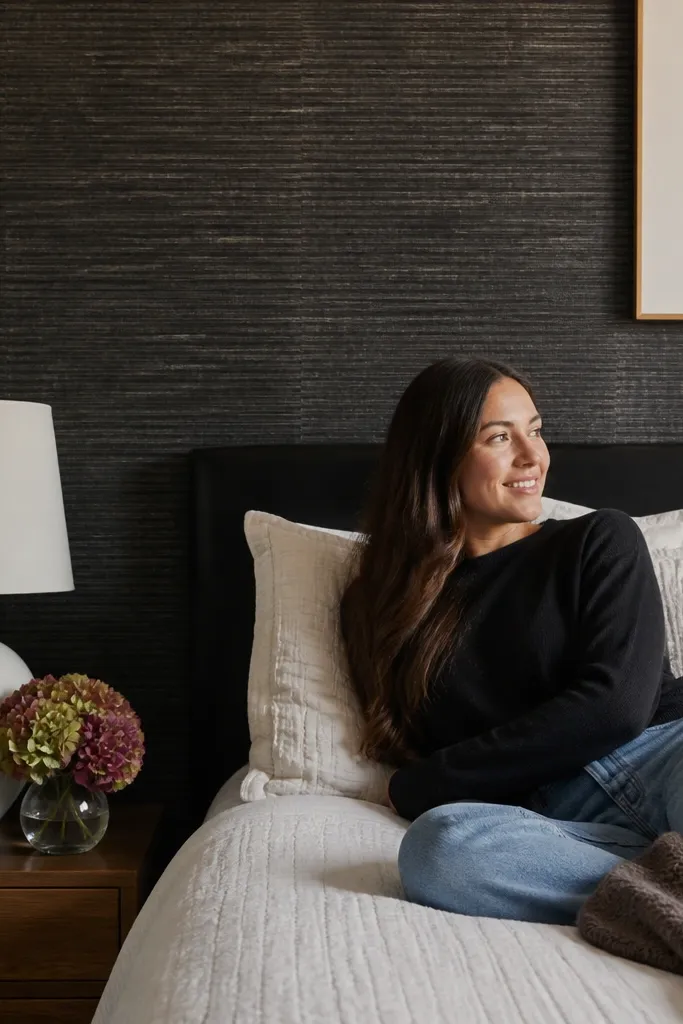
Textured black wallpaper is the easiest way to get depth in a small bedroom. A grasscloth-style surface has tiny variations that catch light, so black looks like fabric instead of paint. That matters in small spaces because flat black can feel oppressive when you’re close to it. Choose a black with warm undertones (slight espresso) so it works with oak, walnut, and cream linens. This idea is best when you want a bold accent without painting or long dry times.
Measure the wall behind the bed and buy one extra roll for pattern alignment. Clean the wall, then apply peel-and-stick starting at the center line so seams fall where you least notice them. Smooth with a plastic squeegee from the middle outward, and trim carefully around outlets and baseboards with a sharp utility knife.
Press seams with a firm roller — textured wallpaper hides flaws better, but only if seams lie flat.
Don’t match the wallpaper to a dark comforter — you need at least one light fabric nearby to keep the room airy.
4. Black faux-brick half-height with white upper wall
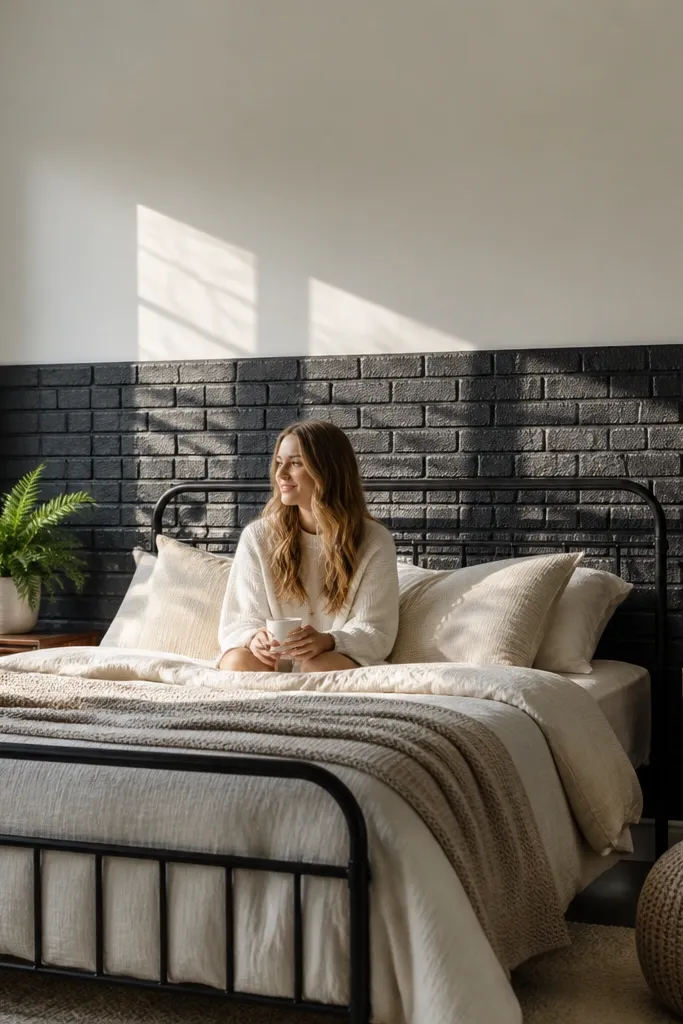
This is a smart compromise when you love black but worry about weight. Faux-brick in black on the lower half adds texture and drama, while the white upper wall keeps the ceiling feeling higher. The brick pattern creates a rhythm that looks modern, especially with a clean white ceiling edge. It also helps hide minor wall imperfections, which is common in older apartments. Use this when your bed sits close to the wall and you want the accent to feel architectural instead of full-wall heavy.
Pick a black faux-brick sheet that is designed for wall panels or peel-and-stick, and plan the split about 24 to 36 inches from the floor. Install the panels on the lower section first, then paint the upper wall crisp white or warm off-white. Add a matching black picture rail or simple floating shelf so the brick area feels intentional, not like a random cutoff.
Pro tipKeep the white upper wall glossy or satin — it reflects light and makes black look cleaner.
Watch outDon’t carry the brick pattern all the way up if your room has low ceilings.
5. Black geometric mural with off-white shapes
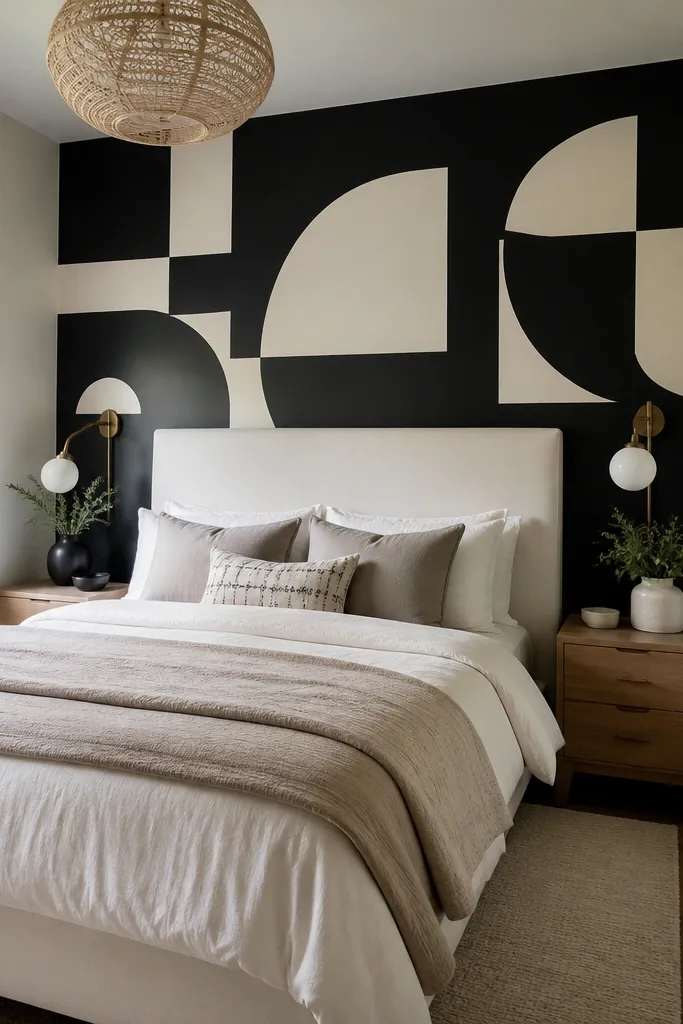
A geometric mural gives you bold without turning the whole wall into a flat block. Choose a design with large off-white shapes inside the black so you get breathing room visually. The contrast makes the wall look graphic and modern, and it photographs well because the lines read clearly from a distance. Stick to two colors: black and off-white. Add one black element in the room (frame, lamp base, or bedding piping) so the mural looks like part of a set.
Start by taping a grid on the wall using painter’s tape and a level, then map the mural shapes so they align with the headboard center. Paint black first, let it cure, then fill the off-white shapes with a satin off-white paint. Remove tape slowly at a 45-degree angle to avoid peeling edges, then add a simple bed-side light that points at the wall.
Pro tipUse painter’s tape for crisp edges, but press it down firmly along the line — fuzzy edges kill the geometric look.
Watch outDon’t add a third color; small rooms look busy fast with extra tones.
6. Black slat wall with light oak backer
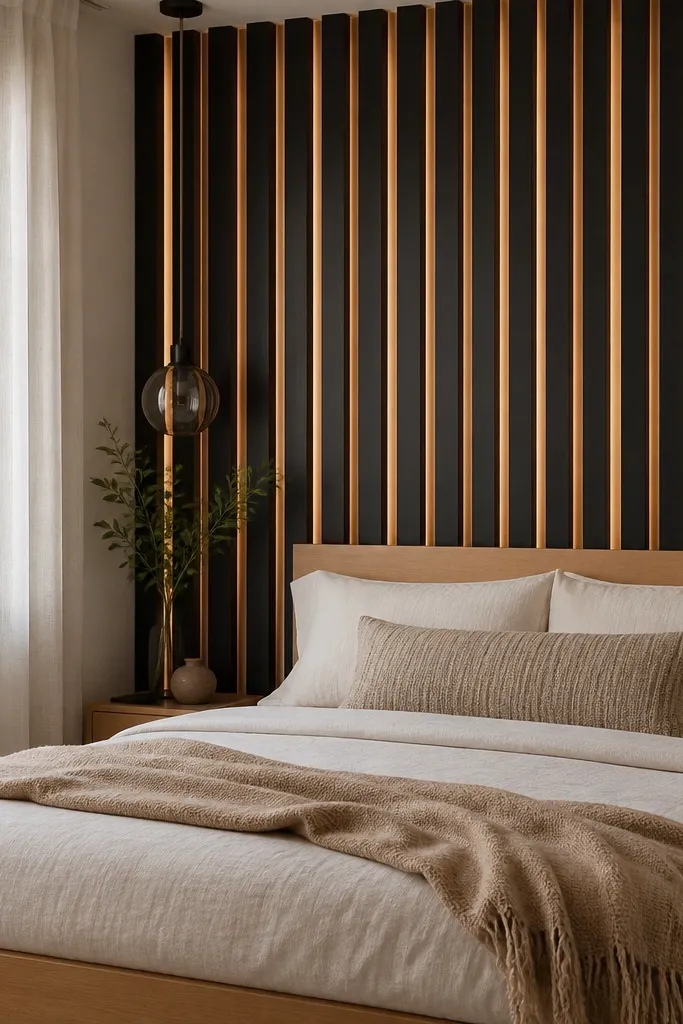
Slats make black feel warm instead of harsh. The trick is using a light backer behind the slats (like pale oak or whitewashed wood) so the gaps glow when light hits them. This is a modern look that also hides uneven drywall because the slat spacing distracts the eye. In a small bedroom, the vertical direction makes walls feel taller. Pair with linen bedding in oatmeal and a low-profile bed frame so the slats stay the star.
Install vertical slats spaced about 1.5 to 2 inches apart on a solid backer panel, then paint the slats matte black and leave the backer light. If you’re using wood slats, sand smooth, prime, then spray or roll paint for even coverage. Mount the bed so the slats align with the headboard width, and add one sconce or track light to create shadows between slats.
Aim your light so shadows fall down the slat grooves — that’s where the depth shows.
Avoid glossy black on slats; reflections can look cheap and highlight uneven installation.
7. Black marble-look contact film behind the headboard
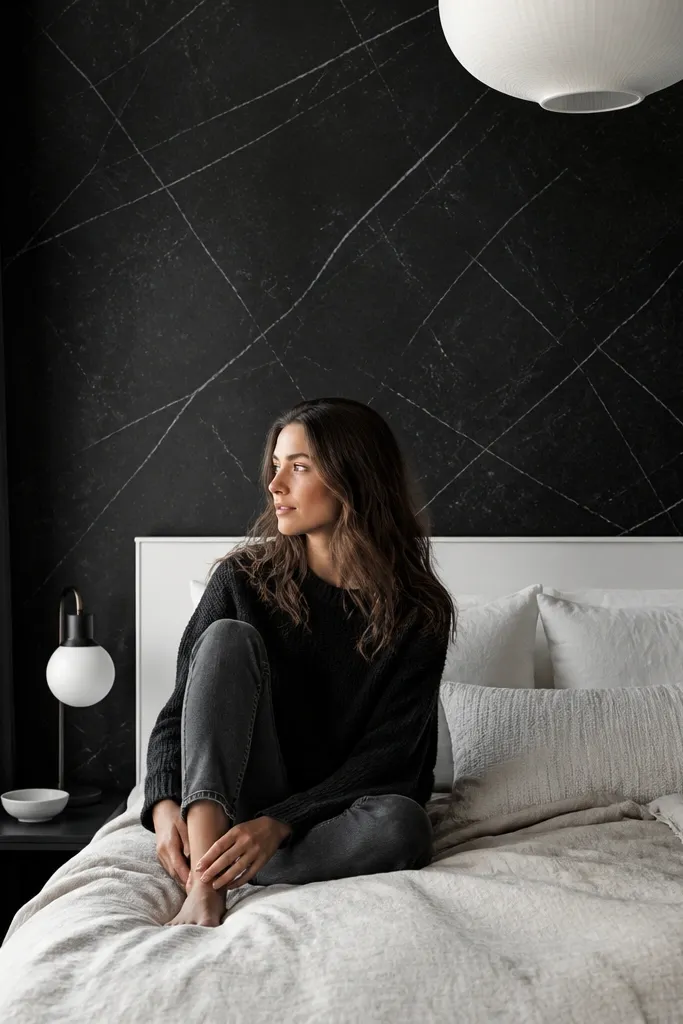
Marble-look film gives you high-end contrast with minimal labor. Choose a black marble pattern with thin gray veining, not chunky gold — gold can overpower small rooms. The veining adds motion so black doesn’t feel flat, and it looks clean in photos because the pattern reads from a distance. This works best with white bedding and chrome or black metal accents so the wall pattern stays the hero. It’s also practical if you rent or you want to change the look later.
Clean and dry the wall, then cut the contact film into panels slightly larger than your accent area. Apply starting at the top center and smooth outward with a plastic squeegee while pulling the backing off slowly to avoid bubbles. Use a craft blade to trim around outlets and baseboards, then seal the edges with a thin clear trim strip if your film tends to lift at corners.
Pro tipBuy a film roll with a repeat pattern and plan seams near the edges of the headboard for a cleaner look.
Watch outDon’t use this on dusty walls — the film will trap grime and show it as dark spots.
8. Black chalkboard wall with clean framing
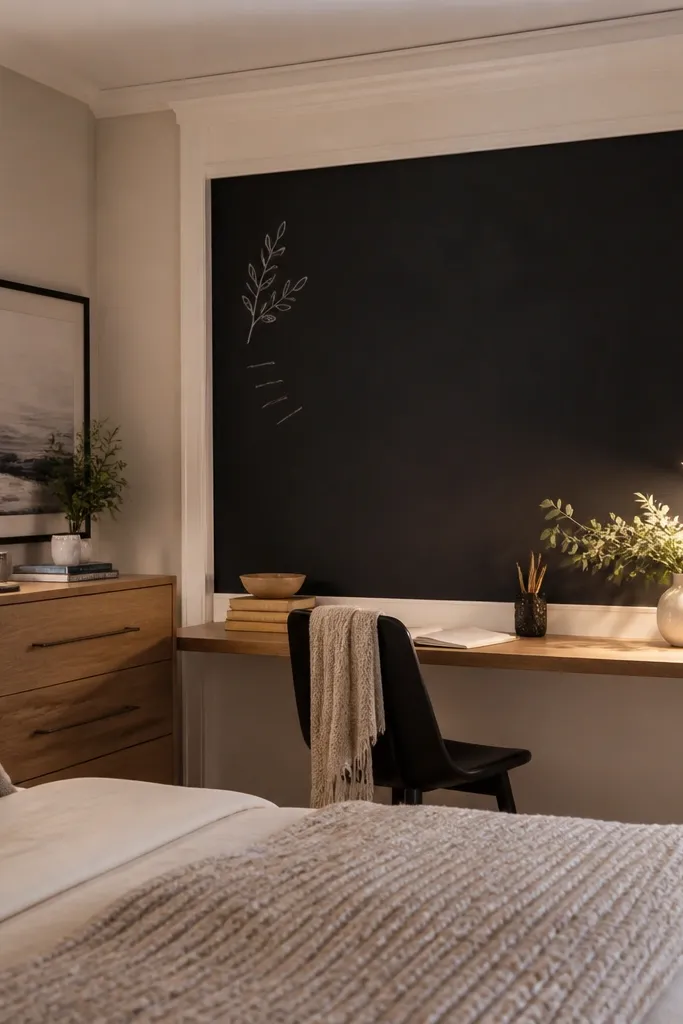
A black chalkboard wall is bold, but it stays light because it’s functional. The matte surface absorbs glare, and the white frame edges keep it crisp in a small bedroom. This is great if you like changing your space — you can add simple quotes, a habit list, or a weekly menu for yourself. Keep your writing minimal: thin white or light gray chalk. Pair with light wood or white furniture so the board feels like part of the design, not a schoolroom wall.
Paint a chalkboard coating or use chalkboard panels in a rectangle sized to the headboard width plus a few inches. Let it cure fully for the chalkboard surface (follow the product label timing), then frame it with white trim boards or painter’s tape lines and paint. Add a small chalk holder or a magnetic ledge so you’re not hunting for chalk when you want to refresh the look.
Pro tipPrime the board with chalk and rub it in before you write — it improves how your lines look.
Watch outDon’t cover the whole room in chalkboard; one wall behind the bed is enough.
9. Black shiplap with a white ceiling line break
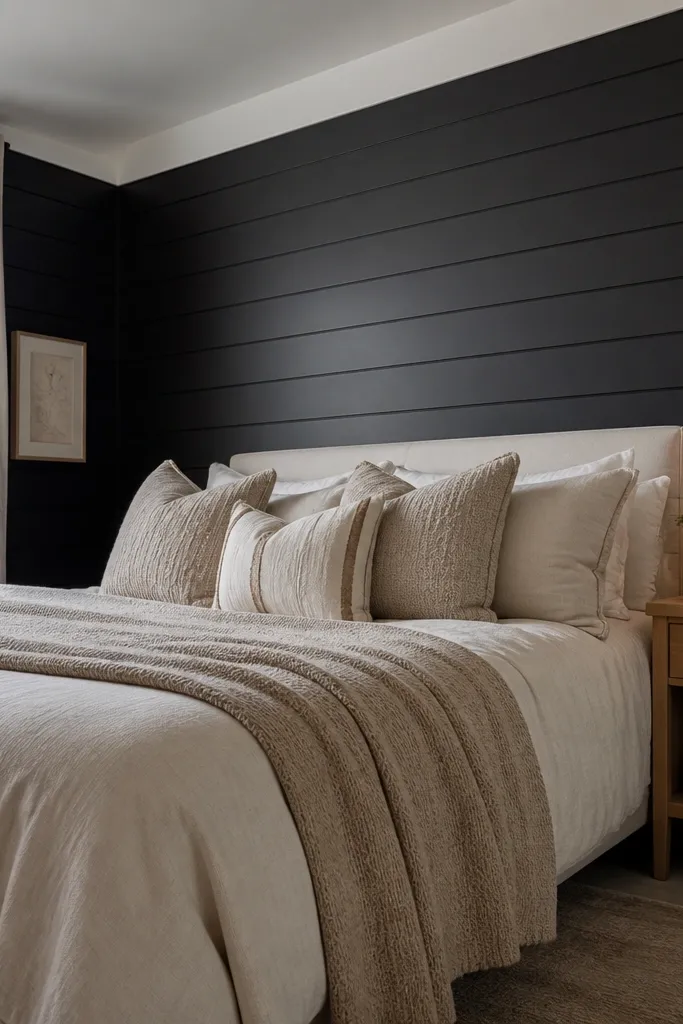
Shiplap adds structure, and black keeps it modern. The key in a small bedroom is the ceiling line break: run a crisp white band where the shiplap meets the ceiling so the wall doesn’t feel like it drops down. Use black paint on the shiplap boards and keep the gaps consistent so the texture looks intentional. Pair with a light ceiling fan or simple flush mount so the ceiling stays bright. This works well when your bedroom has a lot of horizontal surfaces and you want vertical texture behind the bed.
Mark a level line for the top of the shiplap so the boards don’t wander. Install shiplap boards tightly, caulk the seams lightly, then paint black with a satin or eggshell finish for smooth coverage. Paint a white band along the ceiling edge (about 1 to 3 inches wide) before you do the final touch-up so the boundary is sharp.
Pro tipSand edges between boards before painting; rough seams show up in black.
Watch outAvoid uneven board spacing — it reads as sloppy, not handmade.
10. Black ombre wall fading toward the ceiling
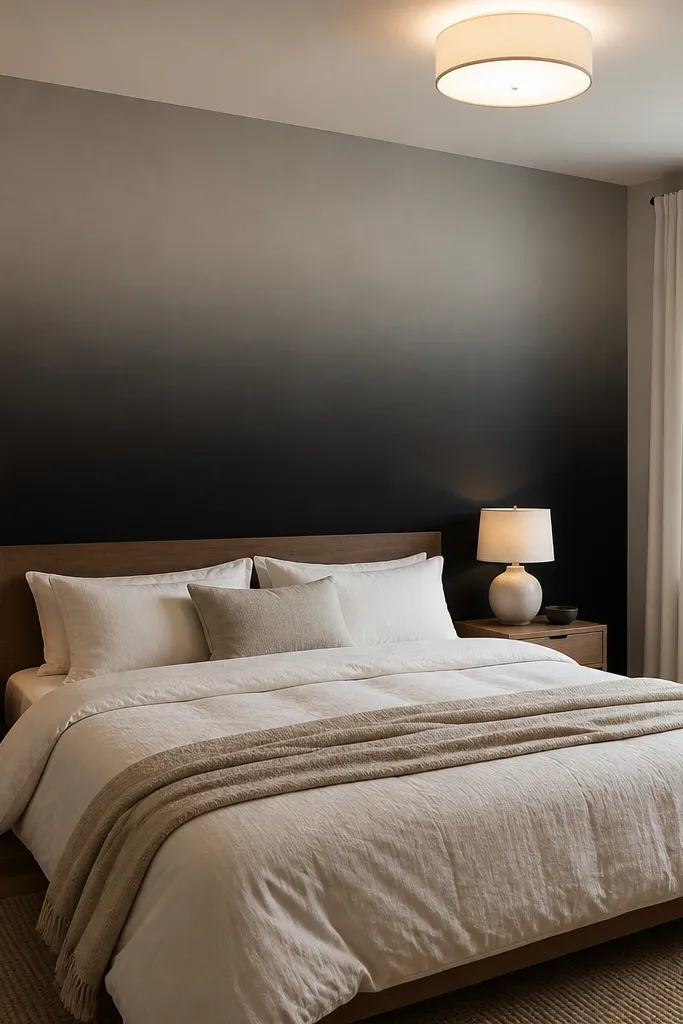
Ombre is one of the best tricks for small rooms because it controls how dark the wall feels. Keep the bottom darker near the headboard height and fade upward to charcoal or gray near the ceiling. That gives you the drama of black where you want focus, without making the entire wall feel heavy. Use a smooth paint finish so the fade looks like a gradient, not a streak. Pair with white bedding and a light rug so the room stays airy.
Paint a base coat of light gray first, then apply black in horizontal bands starting around headboard height. Blend each band with a wide roller using light pressure, working in small sections so the gradient stays smooth. Finish by glazing lightly with a matte clear glaze if you need extra softness on the fade line, then add a bedside light aimed upward to emphasize the transition.
Pro tipUse painter’s tape to mark the top of the darkest zone — it keeps the fade from creeping down.
Watch outDon’t skip the base coat; painting black directly over light drywall makes patchy blotches.
11. Black leather-look wall panels in a centered rectangle

Leather-look panels bring a bold, modern texture that feels intentional in photos. The surface is matte with a subtle grain, so it reads luxurious without being glossy. Keep the accent as a centered rectangle behind the headboard instead of full-wall coverage, especially in small spaces. Add light bedding and a simple headboard shape so the panel looks like a custom design. This is a strong choice if you want black to feel soft and cozy, not harsh.
Choose peel-and-stick or fabric-backed leather-look panels and measure the headboard width plus 6 to 10 inches. Apply the panel in the center line, smoothing from the middle outward to prevent bubbles. Frame it with thin molding or paint a narrow off-white border around it so the rectangle looks designed instead of stuck-on.
Pro tipUse a handheld roller on the panel surface — it helps the adhesive grab evenly.
Watch outAvoid large seams in the middle behind the headboard; place panel joins near the edges instead.
12. Black paint with a thin gold line border
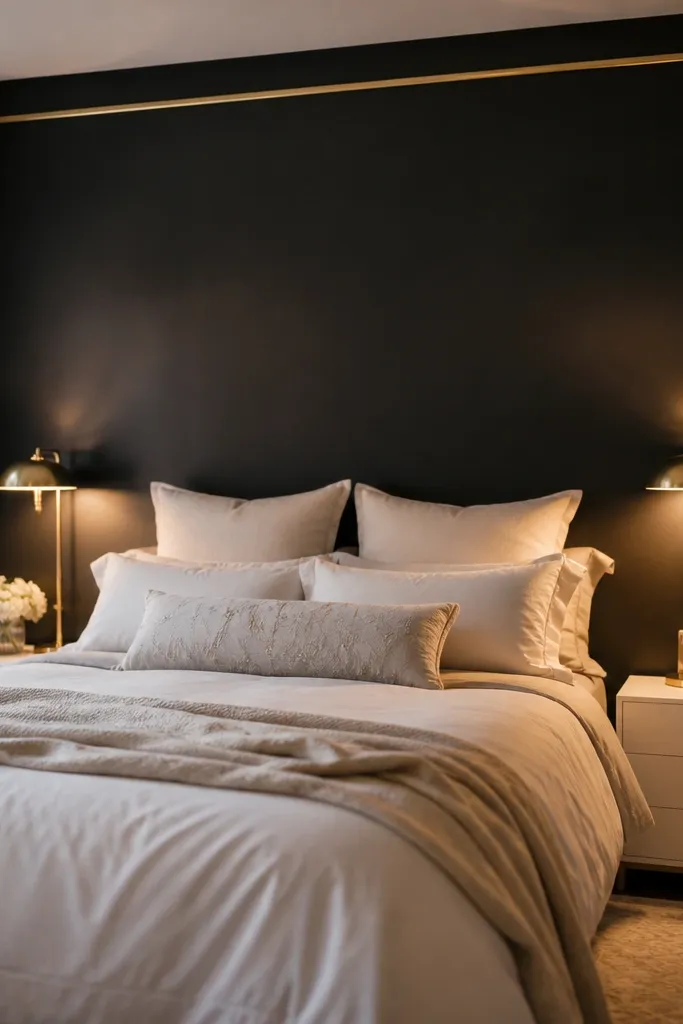
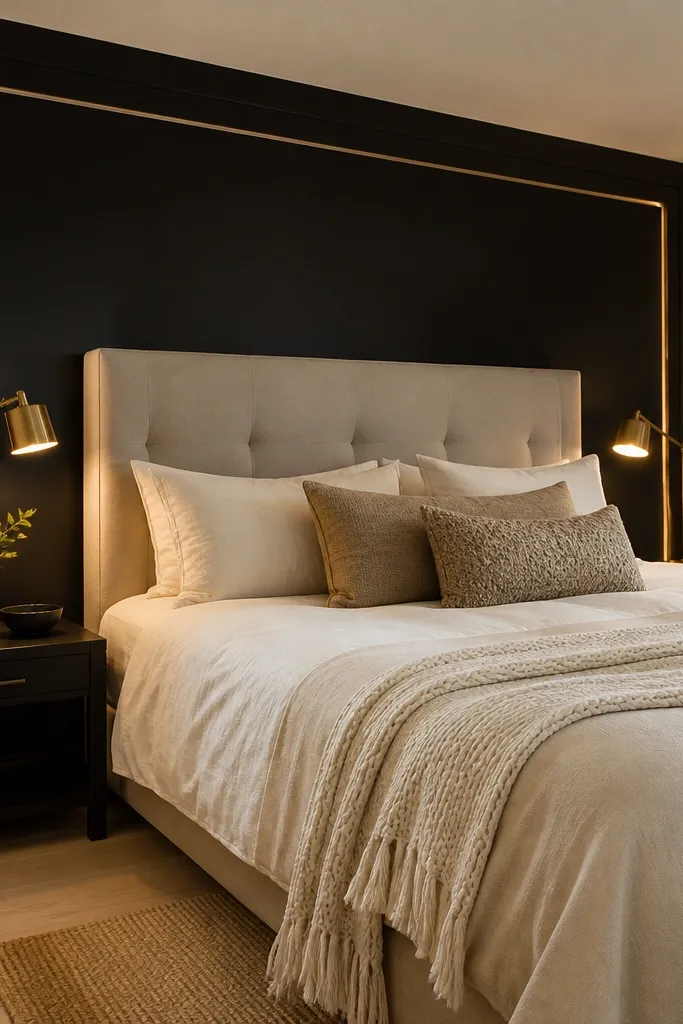
This is for people who want bold black but still want the room to feel bright and premium. The thin gold line border gives the wall a “framed art” look, which is perfect in small bedrooms where you can’t add extra decor. Use black paint as the main field, then apply a 1/4 to 1/2 inch gold metallic line around the perimeter or in a simple inner frame. Keep the rest of the room in crisp whites, warm woods, and black hardware so the gold doesn’t fight your furniture.
Paint the wall black first with eggshell or satin for a smooth finish. Once dry, tape the border lines and apply metallic gold paint or gold foil trim tape using a steady hand. Remove tape when the paint is slightly tacky so the edges stay clean, then hang a mirror or framed print centered on the wall to echo the border shape.
Pro tipUse matte black, not super-gloss — it makes the gold line look sharper and less flashy.
Watch outDon’t go thick on the gold; wide metallic borders can overpower a small wall.
13. Black gallery wall with oversized framed prints
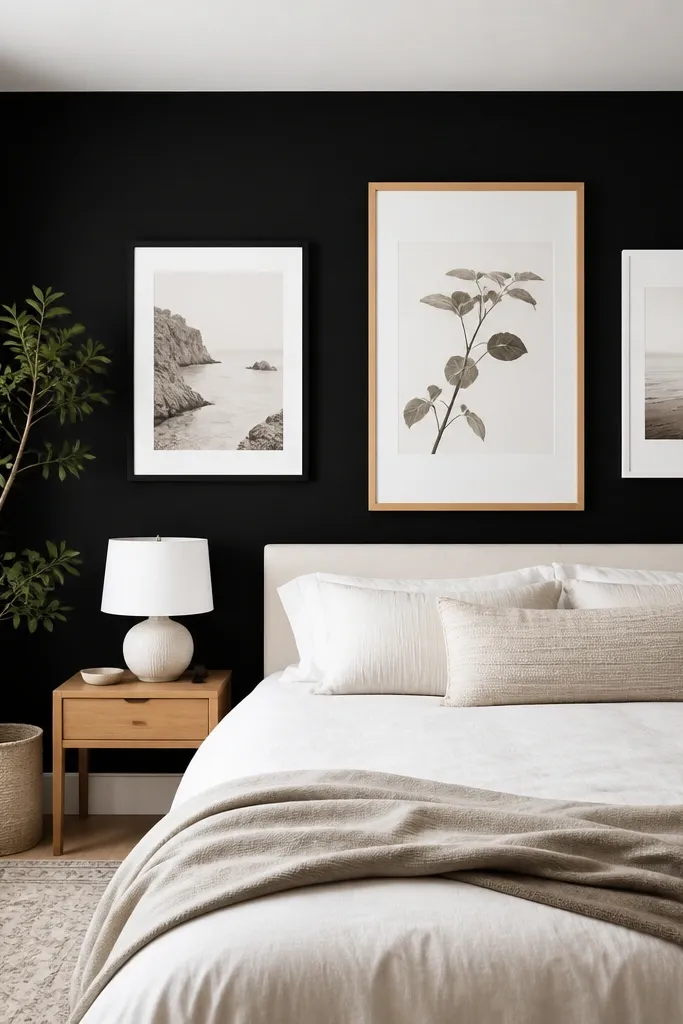
Instead of one block of black, you get black as the background that makes art pop. This is a modern approach: paint the wall black, then hang 2 to 3 oversized frames so the composition reads bold from across the room. Choose frames in white, natural oak, or matte black to match the wall. Keep the art palette mostly light so the room doesn’t go dark-dark. This works especially well when your bedroom layout has a weird wall behind the bed and you want the accent to be flexible and decorative.
Paint the entire wall black (or at least the area covered by frames) and let it dry fully. Pick 2 large frames and one medium frame, then lay them out on the floor to find a balanced grid. Mark hanger points with a level, mount the frames, and finish by adding one small sconce or lamp to create a highlight across the frame glass.
Pro tipUse frames with thick mats or light borders so the art edges stay crisp against black.
Watch outAvoid small, crowded frames; tiny art becomes messy on a black background.
14. Black mural with subtle starburst texture
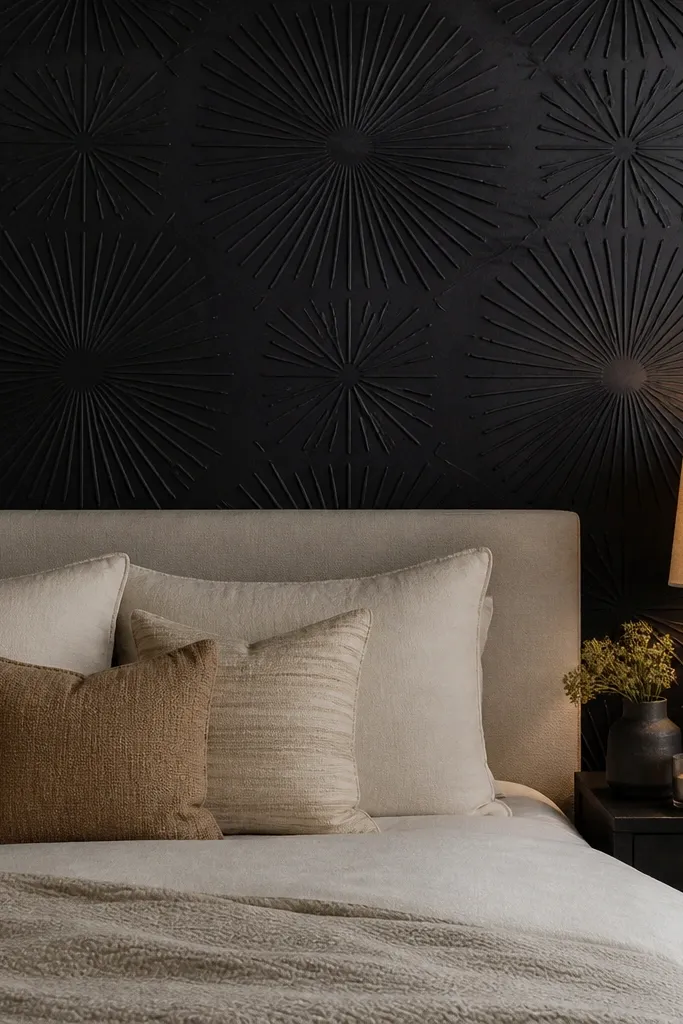
A starburst pattern gives you motion without loud colors. Keep it subtle: a black-on-black raised or stencil starburst that catches light lightly. In a small bedroom, this creates a focal point behind the headboard and makes the wall feel deeper when you move around. Pair it with a simple headboard and neutral bedding so the texture is the main visual. This is a great pick if you want black to look modern and slightly artistic without turning into a graphic mural.
Use a stencil starburst pattern or raised texture paint, centered behind the bed. Tape off a stencil area roughly the headboard width plus 6 inches, then apply the raised texture or stencil paint in thin layers so it doesn’t look chunky. Paint the base wall black first, let it dry, then apply the texture and finish with a satin clear coat for consistent light reflection.
Test the stencil on cardboard first; raised textures show every mistake at close range.
Don’t overdo the pattern density; too many starbursts makes the wall look busy.



