
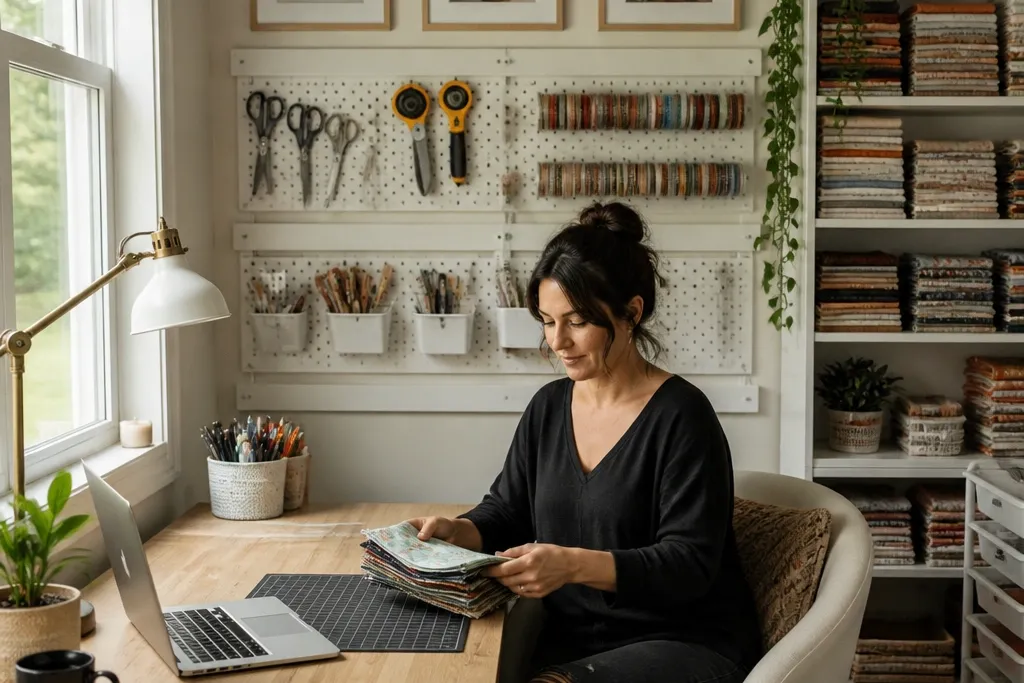
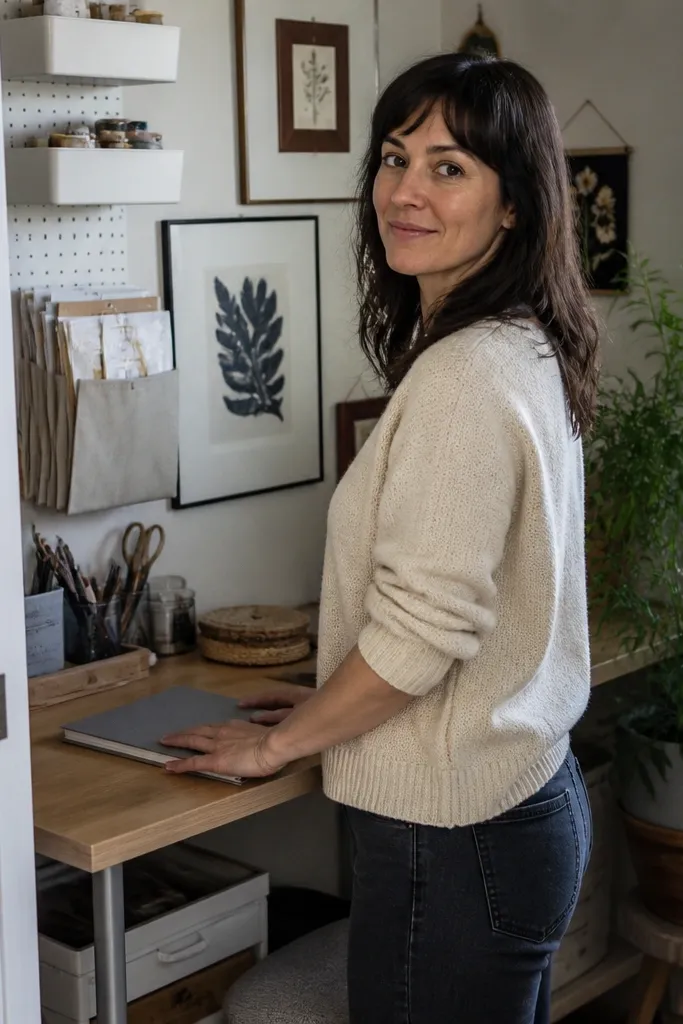
1. Pegboard + Color-Coded Tool Rail Wall
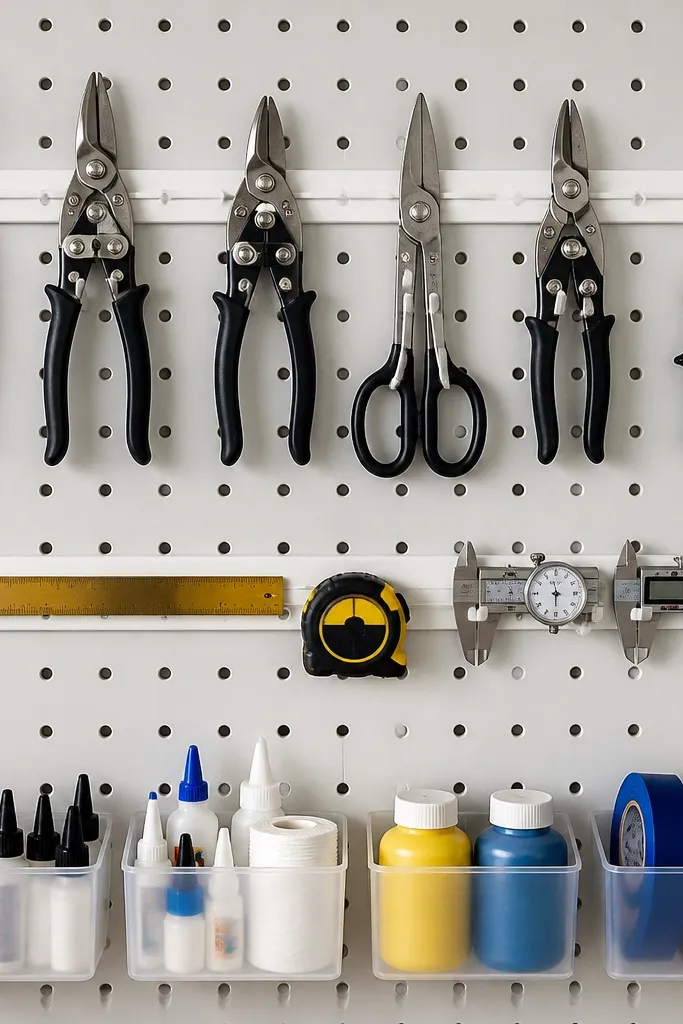
A pegboard wall is the fastest way to turn small-space craft room decor into a clean, styled backdrop. The trick is color-coding by function: cutters and scissors on one rail, measuring tools on another, and adhesives in small bins below. Use a light pegboard and white rails so your tools pop without making the wall look darker. Add a few decorative elements too — like a narrow tray for twine and a small framed set of crafting rules — but keep everything aligned to the same grid so it looks designed, not stuffed. This solves the common problem where tools drift onto every surface and the room starts to feel chaotic.
Start by marking a straight grid on the wall and planning for at least 12 inches of clear space above your working surface. Install pegboard (or cover an existing wall area) and mount rails at eye level; keep the top rail about 60 inches from the floor so you can reach comfortably. Paint the rails and any hooks in one accent color (matte sage, matte terracotta, or matte black) and group tools by color or type. Finally, add two small bins for adhesives and labels, then hang a slim tray for twine so small items don’t spill onto shelves. Budget-friendly hardware kits usually run $20-60 depending on size.
Use the same label font on every bin — a simple black vinyl label strip looks more “styled” than handwritten chaos.
Don’t mix finishes like chrome hooks with brass rails unless you commit to both across the whole wall.
2. Floating Ledge Gallery for Fabric Swatches
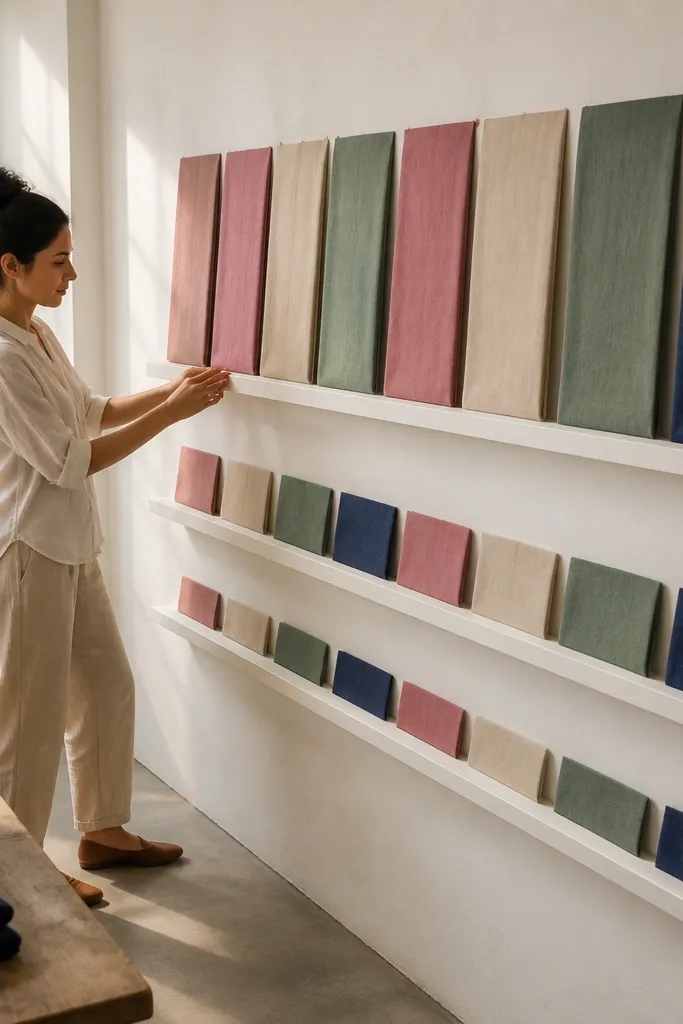
Floating ledges turn fabric scraps into a visual system, which is exactly what small-space craft room decor needs. Instead of piles that look messy, you display swatches in uniform sizes so the wall reads like a curated collection. Use three ledges: one at about 50 inches from the floor for taller items, one around 32 inches for medium swatches, and one near 14-16 inches for small samples. Stick to cotton or linen textures and repeat an accent color across bins or clips. This gives you a personal look without eating desk space, and it photographs clean because edges stay aligned.
Buy or build three shallow ledges no deeper than 5 inches so they don’t look bulky in tight rooms. Fold swatches into rectangles about 8x10 inches, then store each inside a clear-lid bin or clip them with clothespins on the underside of the ledge. Place the highest shelf directly above your main work area so the wall becomes the visual anchor. Use painter’s tape to line up brackets before drilling, then mount with level marks so each ledge sits straight. Expect to spend $60-150 depending on ledge material and bracket style.
Pro tipChoose bins with matte sides or frosted lids. Clear glossy plastic creates glare that makes photos look cluttered.
Watch outDon’t display random swatches of wildly different sizes; uniform folding makes the whole wall look intentional.
3. Linen Pinboard Wall Panel with Framed Grid
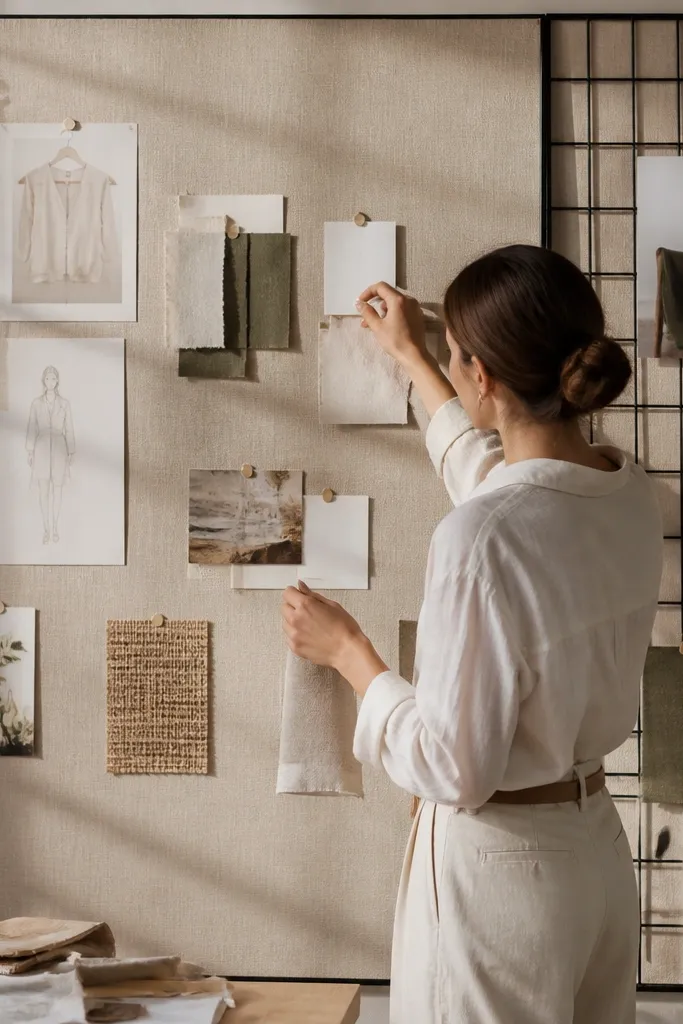
A linen pinboard panel looks soft and styled while still doing real work — pinning patterns, reference sheets, and seasonal project cards. The panel becomes decor because linen has that matte texture that hides pin marks and blends with home interiors. Add a thin framed grid on top or alongside it (like 1x1 inch squares) so your pinned items line up. Keep pins and clips consistent: brass or black, not mixed. In a small room, this solves the “paper on every surface” problem by giving you one place for planning that still looks pretty.
Stretch linen over a plywood panel cut to fit your wall space, leaving a snug 1-2 inches of wrap on the back for stapling. Frame it with a narrow molding so it reads like wall art, not craft supplies. Paint or stain a simple grid frame section (you can use thin wood strips) and attach it over the linen with small brads. Pin your cards in straight rows; use corner clips for thicker patterns so edges stay neat. A linen panel plus framing usually lands around $40-100 depending on panel size.
Use two pin colors only: one for active projects and one for “waiting.” It makes the wall readable in seconds.
Don’t pin everything at once. Leave negative space so the linen texture still shows.
4. Magnetic Spice-Jar Organizer for Small Notions
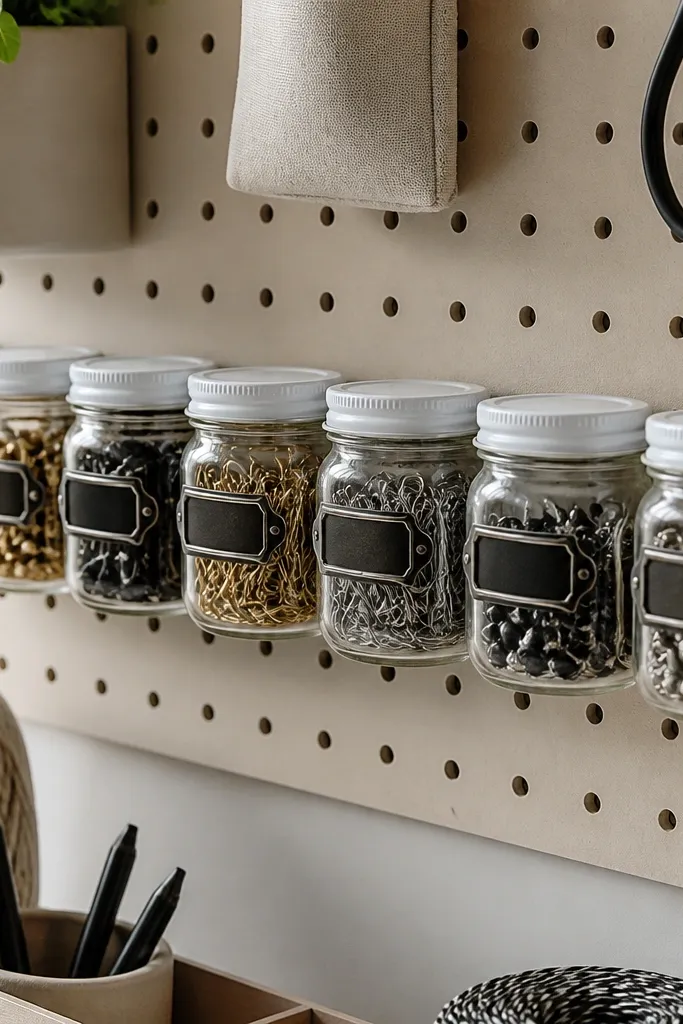
Tiny jars make small-space craft room decor look tidy because they turn loose notions into visible, countable units. Magnetic jars are especially good if your desk area is crowded; mount them on the side of a shelf or on pegboard so you don’t lose wall clarity. Use uniform jar sizes for a clean row and label each jar with a simple category: buttons, beads, brads, eyelets, or bristle tips. Choose matte labels and a consistent label color so the wall stays calm. This fixes the classic issue where tiny items scatter into drawers you never open.
Pick a mounting surface first: pegboard, the side panel of a cabinet, or a metal sheet attached to drywall. Install a strip of magnetic backing or use magnetic jar bases; keep jars spaced about 2 inches apart so you can grab them. Fill each jar no more than 2/3 full so lids don’t jam and so the contents don’t look messy. Label with vinyl and apply labels straight across the front — not angled. You’ll spend roughly $25-70 for jars and a backing strip depending on how many you mount.
Pro tipMount jars at 45-55 inches from the floor, not too high. You want a “grab without reaching” height that stays functional.
Watch outDon’t mix jar heights and label styles. That’s what turns a neat system into visual clutter.
5. Framed Thread-Color Swatch Board
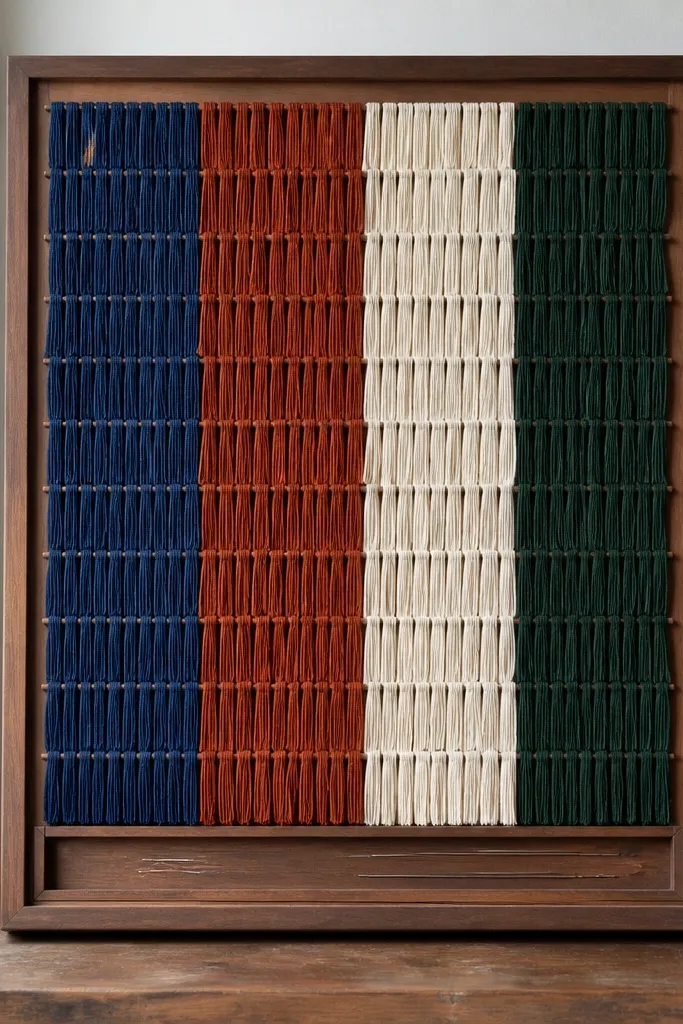
A framed thread swatch board looks like craft art and helps you find the right color fast. It’s perfect for small spaces because it turns a necessary supply (thread) into a display panel instead of stacked spools on a shelf. Use a frame about 18x24 inches for a noticeable look without overwhelming the wall. Arrange threads in color bands with labels underneath each band: neutrals, warm tones, cool tones, and seasonal pops. The result is personal and photogenic because the color story reads clearly even from a distance.
Start with a backing board inside a picture frame — cork, foam board, or thin wood works. Glue or pin small thread loops to the board, then label each color with small black text on white paper. Add a clear craft grid overlay if you want extra neatness; 1 inch spacing makes it look intentional. Keep thread ends tucked behind the backing so the front stays clean. Build time is about an hour or two for a medium frame, and materials usually cost $15-50.
Pro tipUse 1-2 thread brands or finishes only. Mixed sheen (matte plus shiny) looks messy on a tight color grid.
Watch outDon’t tie loose thread ends in front. A clean front face is what makes it feel like decor.
6. Corner Shelf with Rolling Cart Insert
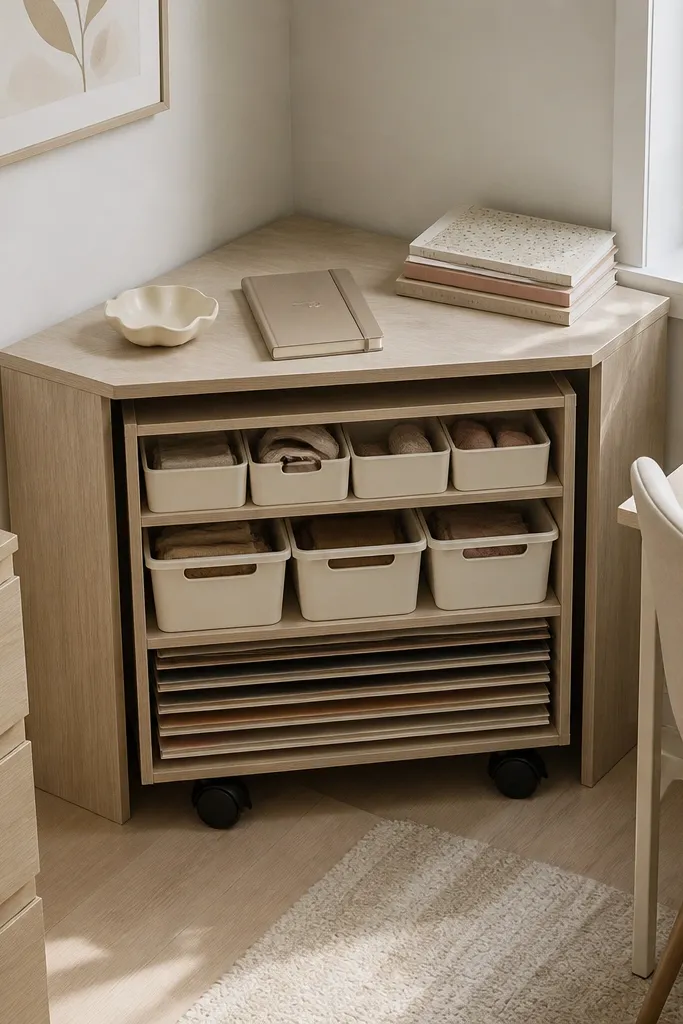
Corner storage is where small-space craft room decor wins, because corners are wasted real estate. A corner shelf with a rolling cart insert gives you a staged look on top and hidden supplies below. Choose a shelf with a simple profile — white oak look laminate or painted wood — so it matches your room. On the top shelf, display only three items: a patterned organizer tray, a plant in a small ceramic pot, and one framed art piece. Under the shelf, slide in a cart with removable bins for paper, vinyl, or glue. It keeps your most-used stuff close without turning the room into a storage unit.
Measure the corner footprint and choose a shelf that leaves at least 2 inches of clearance from the wall molding or baseboard. Mount the shelf with corner brackets so it holds weight; aim for a cart height that tucks under the shelf lip by 1-2 inches. Add two bins to the cart: one for flat materials (paper, cardstock) and one for small tools (rulers, blades, pens). Style the top with a tray and one vertical element so the corner looks intentional. Expect $70-200 depending on shelf size and cart quality.
Pro tipUse a single bin color across the cart. White or light gray makes the corner look calmer than mixed plastics.
Watch outDon’t stack supplies on the cart top. Corners look messy fast when anything sits out.
7. Decoupage Tray for Markers and Scissors
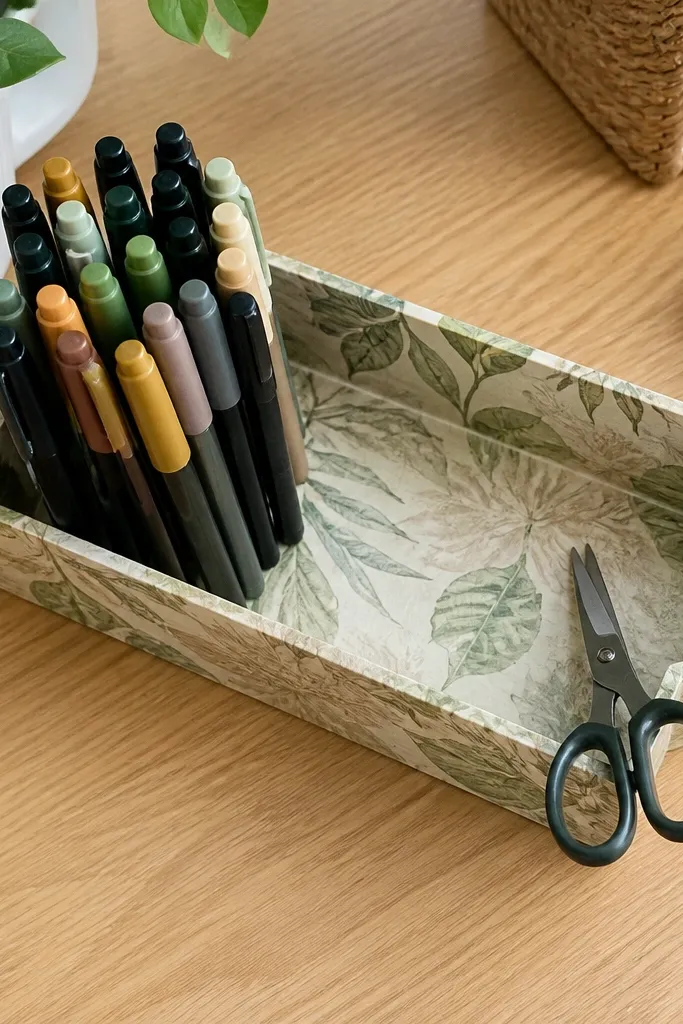
A decoupage tray makes desk clutter look planned because it creates a defined “landing zone” for tools. Choose a tray about 10x14 inches and cover it in paper that matches your room palette — like neutral botanical prints or solid color blocks. This works in small craft rooms because it keeps markers, scissors, and small cutting tools from spreading across your tabletop. Seal the surface so craft glue and marker smudges wipe off. The tray becomes a photo-friendly centerpiece that still does practical work.
Sand the tray lightly, then clean it with rubbing alcohol so the paper sticks. Cut decoupage paper to fit panels; overlap edges slightly and keep seams crisp. Brush on a thin decoupage medium or Mod Podge-style sealer in layers, letting each coat dry before the next. Finish with a clear topcoat (matte or satin) so it doesn’t look sticky. Cost is usually $15-35 for paper, sealer, and the tray.
Pro tipPick paper that has a clear direction (like stripes or a repeating motif). Random prints look messy when confined to a tray surface.
Watch outDon’t use too many paper sizes. One coordinated print wins for a small space.
8. Magnetic Curtain Rod for Lightweight Craft Tools
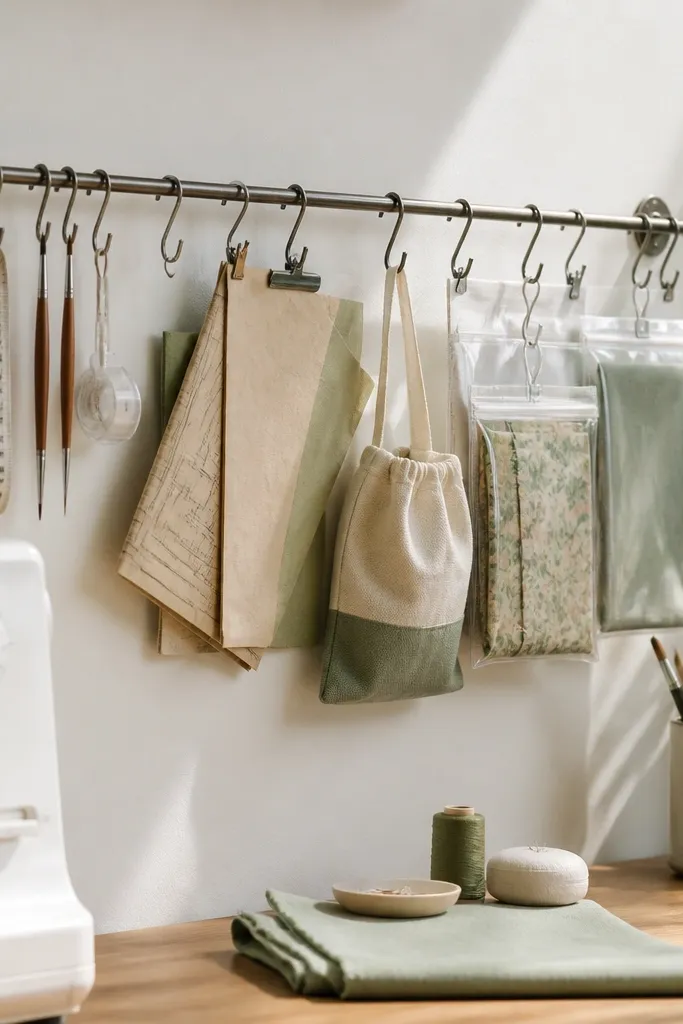
A magnetic curtain rod is a sneaky upgrade for small-space craft room decor because it creates hanging storage without bulky shelves. Use it for lightweight tools and supplies you grab daily: measuring tapes, small paintbrushes, tape dispensers, and pattern envelopes. Hang small fabric pouches or clear zip bags so items stay contained but visible. Choose a rod finish that matches your other hardware — matte black or brushed nickel. The wall looks styled because the pouches line up and have labels, not because the tools are scattered.
Find a metal-friendly wall area or attach a metal strip to the wall panel. Mount a thin rod horizontally at about 58 inches from the floor for easy reach. Sew or buy two to four pouches sized around 5x7 inches; label each pouch with vinyl. Hang pouches in a row, keeping weights similar so the rod stays level. You’ll spend $20-60 depending on rod and pouch materials.
Use one pouch color for the whole row and label in black text. It looks like a deliberate storage wall, not a DIY afterthought.
Don’t hang heavy items like full paint jars. This is for lightweight tools only.
9. Wall-Mounted Fabric Cutting Mat Holder
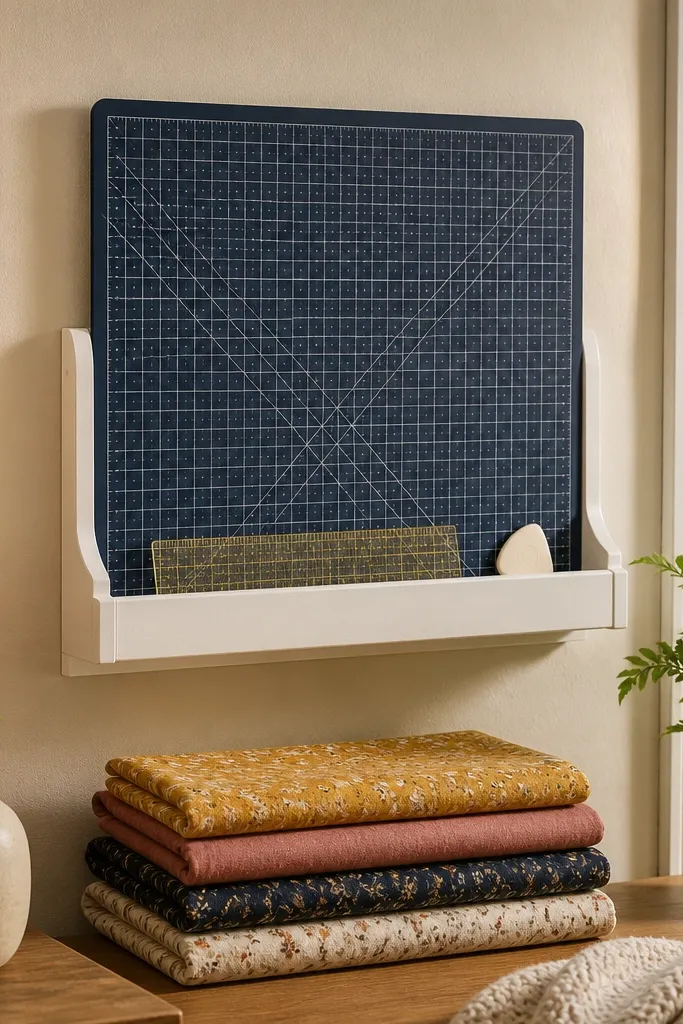
Storing a cutting mat on the wall turns a bulky item into clean decor. In small craft rooms, cutting mats end up leaning against chairs or piled on tables, which makes the space look temporary. A wall-mounted holder keeps it flat and ready, and you can style the area with matching fabric bundles in front. Use a holder made from two narrow wood rails with a fabric sleeve or a roll-up strap system, so the mat is held securely. This looks good because the mat is flat, the holder is straight, and the surrounding items are controlled.
Measure your cutting mat thickness and add 1/2 inch clearance to the holder depth so it slides in without bending. Build two vertical rails and attach a bottom lip to stop the mat from slipping down. Add a fabric sleeve or straps on the inside so the mat doesn’t scratch the wood. Mount the holder near your work table but leave at least 10 inches of clearance so you can pull the mat out without snagging. Costs run $25-80 if you use scrap wood and basic webbing or fabric.
Pro tipPaint the holder in the same finish as your pegboard rails or shelf brackets so the whole wall reads cohesive.
Watch outDon’t mount it too high. If you have to reach overhead, you’ll leave the mat out.
10. Stair-Step Shelf for Books + Cricut Tools
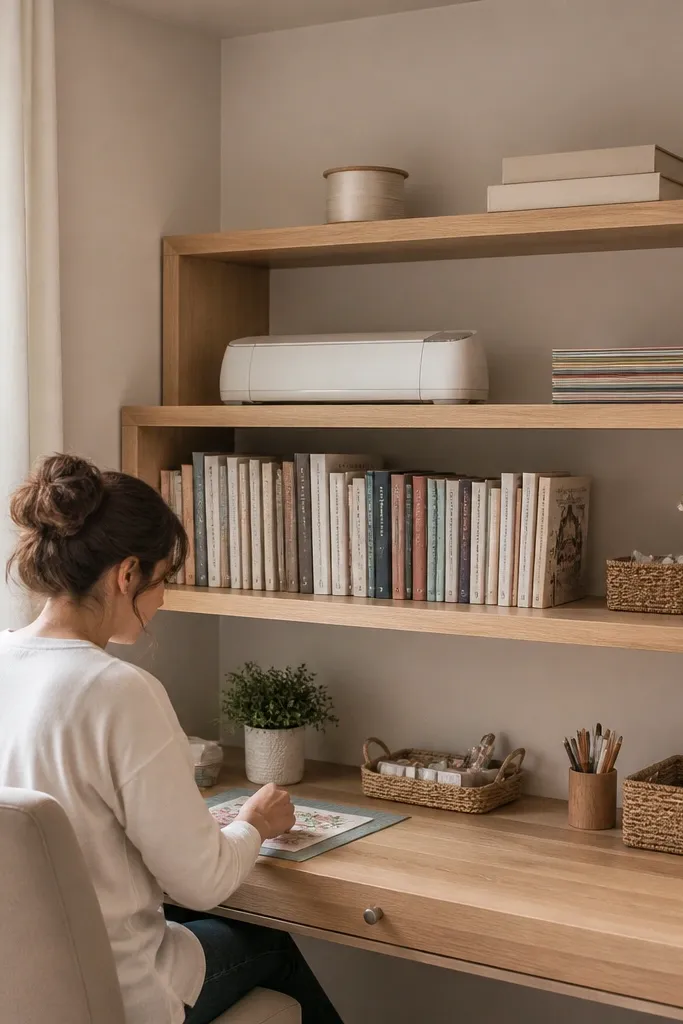
A stair-step shelf creates depth in a small wall area and makes craft supplies look like a display. The stepped design lets you place books upright, keep tools visible, and still leave empty space where your wall can breathe. Choose a shelf with three levels and keep the largest items on the bottom tier so the top doesn’t look crowded. This is great for small-space craft room decor because it turns “how do I store this?” into a neat visual rhythm. When done right, it looks like home decor with a craft function, not a storage shelf.
Pick a shelf width that fits your wall segment — 24-30 inches is a good range for most small rooms. Mount it so the top tier sits around eye level (about 60 inches from the floor). Style by height: books and sturdy binders on top, open tool cases in the middle, and bins on the bottom. Use two bin sizes only so the shelf doesn’t look like random containers. Expect $60-180 depending on whether you buy or build.
Pro tipUse bookends in the same color as your other hardware so titles form a neat line instead of a scatter.
Watch outDon’t place small loose items directly on the shelf surface. Put them in bins or trays so the shelf stays clean.
11. Vinyl Label Color System for Drawers and Bins
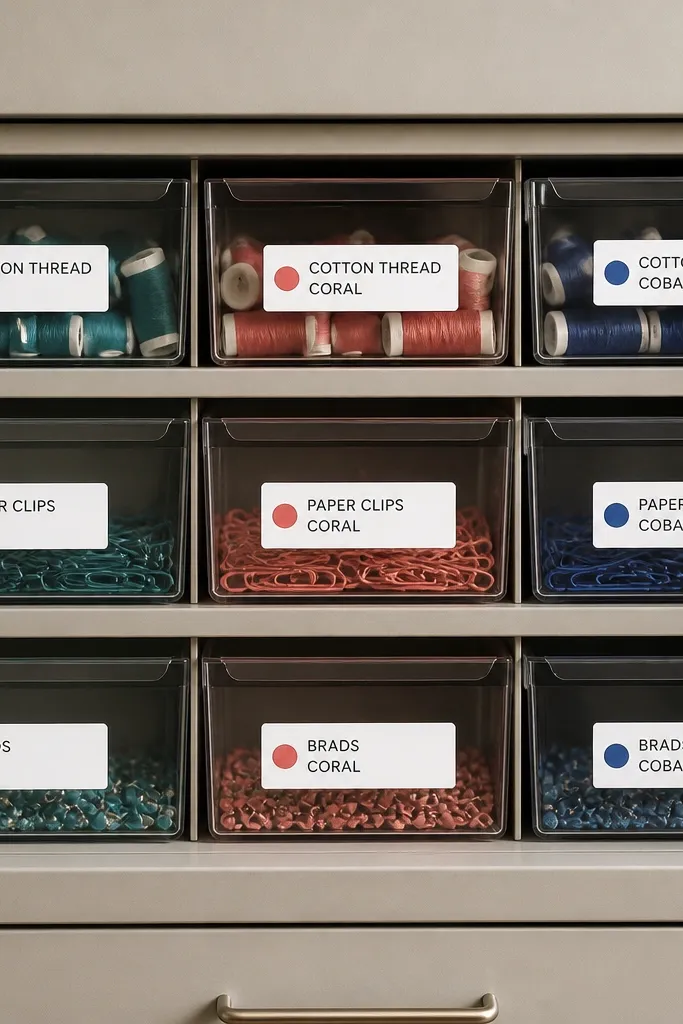
Labeling is the difference between craft storage and craft decor. When you add a color system to labels, your bins look coordinated and your room becomes readable at a glance. For small-space craft room decor, this matters because visual clutter is mostly unlabeled piles. Use white vinyl labels with a colored dot or stripe for each category: cutting, sewing, paper, painting, and adhesives. Keep the label format consistent: category line in small text, item name in larger text. The room looks designed because everything matches, even if the supplies change.
Choose 5 categories and assign each a color that matches your palette. Clean the bin fronts with rubbing alcohol, then apply vinyl labels straight and centered. Put the category as a thin strip at the top of each label and the item name below. For drawer pulls, use the same label style on a 1.5-2 inch label so it looks intentional. Vinyl labeling kits run about $15-40, and you can do 10-20 bins depending on size.
Use matte vinyl, not glossy. Matte labels reduce glare and look more like decor.
Don’t use handwriting on multiple fonts. It reads chaotic even when the storage is tidy.
12. Paper Roll Storage with Fabric Wrap Front
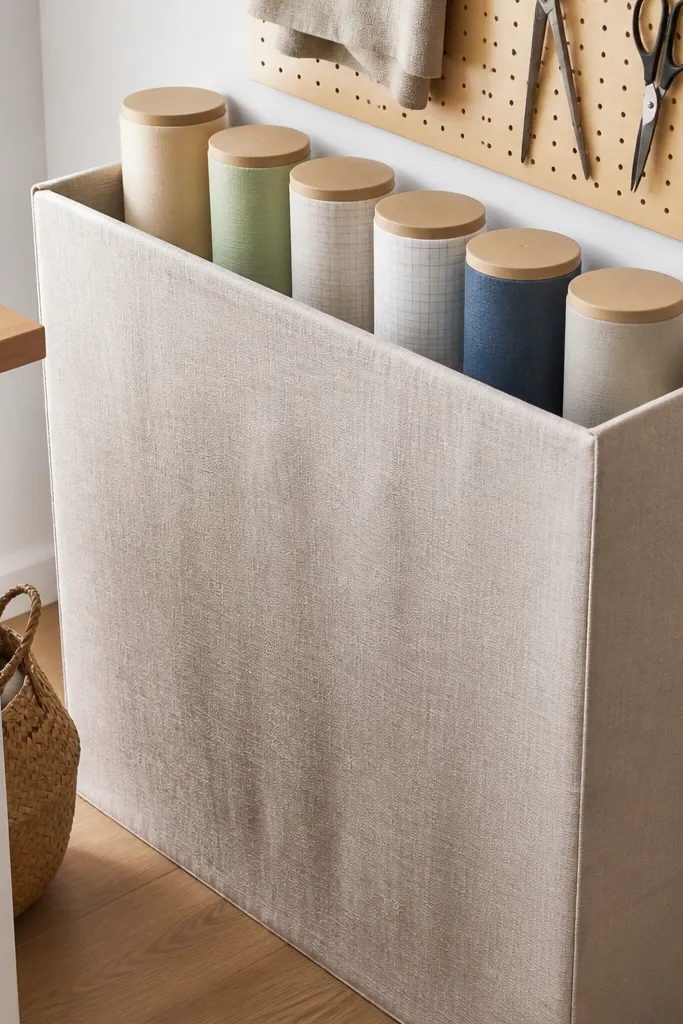
Rolling paper storage looks sleek when the front is fabric-wrapped and the rolls are capped and organized. In small craft rooms, paper stacks swallow space and get bent at the corners. A roll holder with a fabric wrap front turns this into decor because the front looks like a soft panel, not a utilitarian tube rack. Pick a neutral fabric like oatmeal linen or charcoal cotton twill, then add one small stitched label strip for each paper category. This gives you a clean, tailored look that still keeps long materials accessible.
Build a simple roll holder using two end boards and a middle support, sized to your longest roll. Add a fabric wrap over the front face only, not the entire holder, so the rolls slide in easily. Install end stops so rolls don’t drift and add a small strap or ribbon to keep the rolls from unrolling. Label each category with fabric tape or stitched patches. Cost is usually $30-90 depending on wood and fabric.
Pro tipUse fabric with a tight weave. Loose weave catches dust and looks worn faster in craft rooms.
Watch outDon’t leave rolls uncovered at the front. Exposed edges turn into visual clutter fast.
13. Framed Washi Tape Display with Numbered Cards
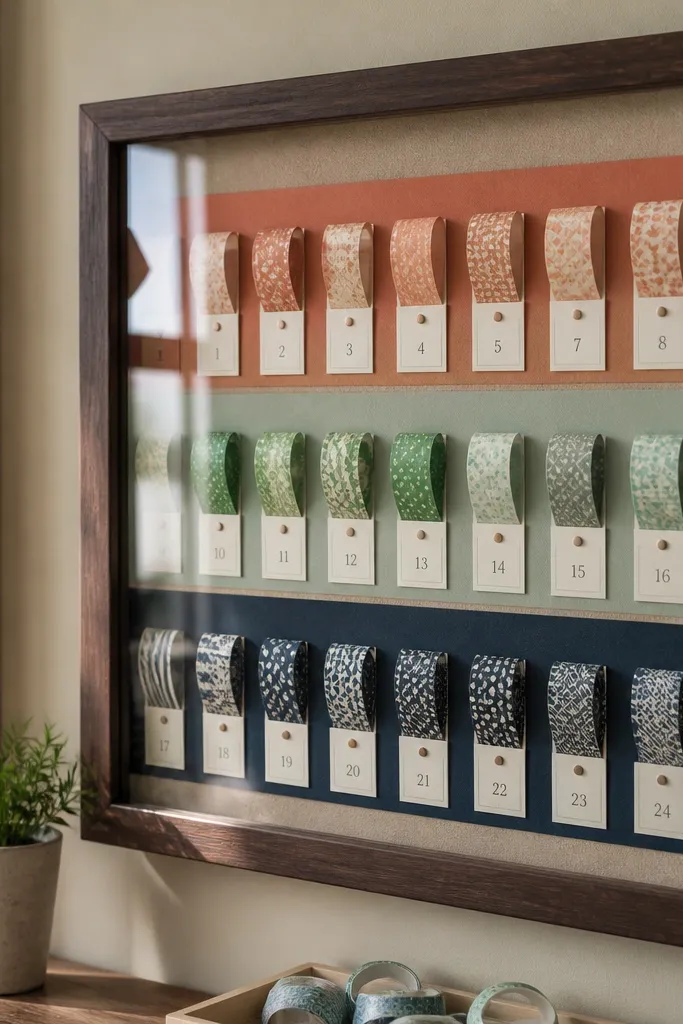
A framed washi tape display looks like art because the strips create color bands, and the frame makes it feel intentional. It’s also practical: you can see what you own without digging through a drawer. Use a shadow box frame around 12x16 inches, and mount tape strips onto a cork or felt backing with numbered cards. Keep the numbers consistent with a simple key card you store behind the frame or taped to the inside cover. This solves the problem of “I have tapes somewhere” and makes your tape collection part of the room’s style.
Choose a shadow box frame with at least 1 inch depth so tapes don’t curl against the glass. Cut backing cork or felt and attach it inside the frame. Mount tape strips in straight rows, overlapping by 1/2 inch for coverage, and press down edges so they stay flat. Add small numbered tags under each strip and create a matching key card on cardstock. You’ll spend about $20-60 depending on the frame size and backing material.
Pro tipStick to tapes with similar width. Mixed widths create a patchy look inside a small frame.
Watch outDon’t include every tape you own. Display 20-30 favorites and rotate others for a cleaner look.
14. Color-Blocked Drawer Fronts for Under-Table Storage
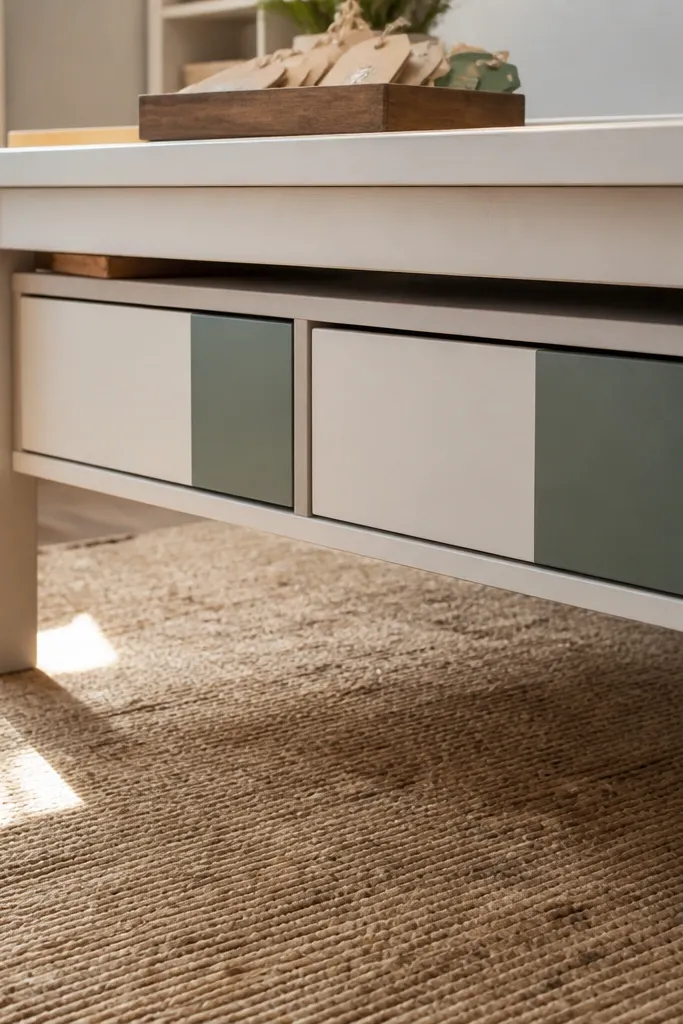
Under-table storage is usually hidden, which is why it’s perfect for small-space craft room decor. If you paint the drawer fronts in two-tone color blocks, the storage becomes part of the room’s aesthetic instead of an eyesore. Choose one neutral color for the main fronts (warm white, greige) and one accent for the blocks (matte clay, deep olive, or soft navy). Add small labels on the drawers so you can find supplies instantly. This makes the whole craft zone feel cohesive even when you’re using it heavily.
Pull drawers out and sand lightly, then clean with deglosser or rubbing alcohol. Tape off clean rectangles on each drawer front and paint with a furniture paint or cabinet enamel; use a satin finish so it wipes clean. After drying, apply vinyl labels or stencil text near the handle. Reinstall drawers and test pull lines so labels don’t peel at the edges. Cost is usually $25-80 for paint and materials depending on how many drawers.
Keep block shapes consistent across all drawers. One pattern repeated looks intentional; random blocks look sloppy.
Don’t paint over sticky residue from old labels. Labels will lift and ruin the finish.



