
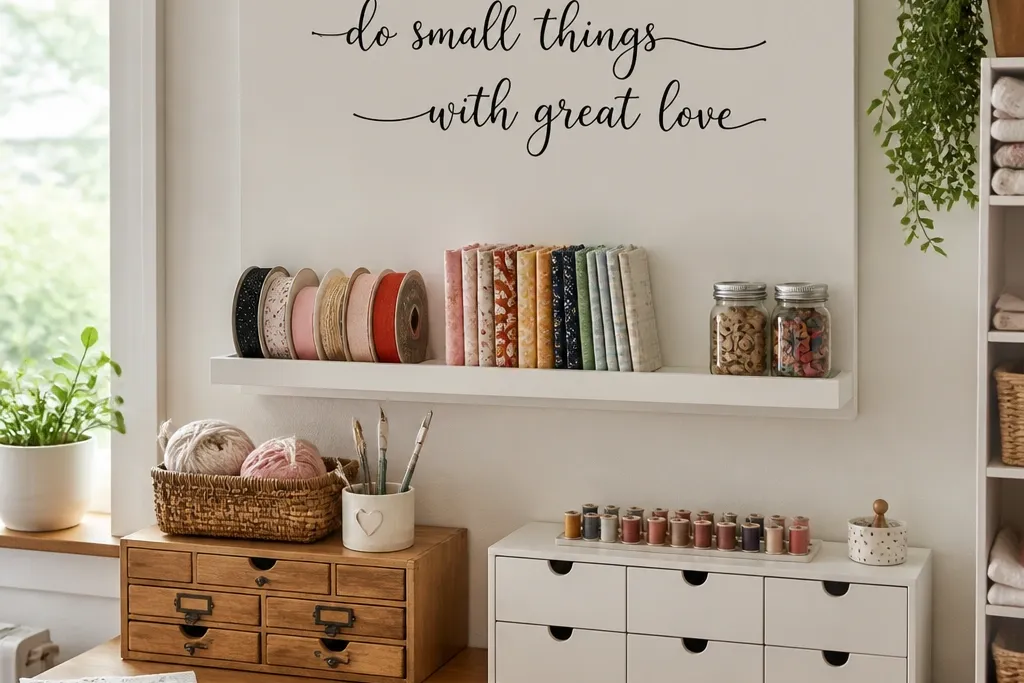
1. Script wall sign above a shallow ribbon ledge
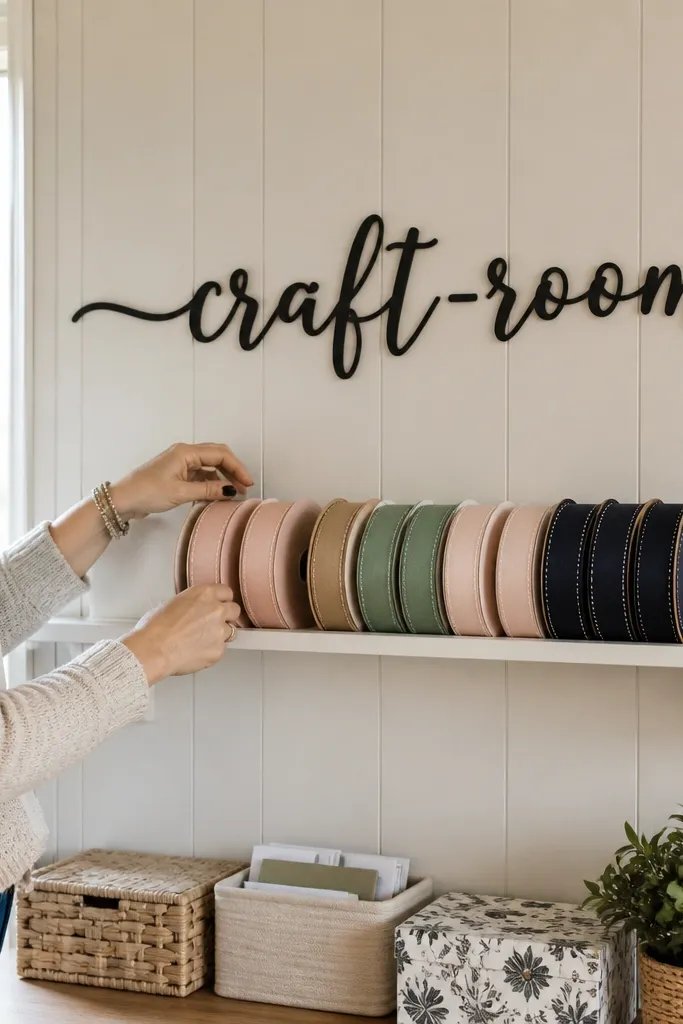
This is the cleanest way to combine inspiration with real storage in a craft room. Put a single craft-room saying in flowing black script on an off-white panel, then mount it above a shallow ledge that can hold ribbon spools, folded fabric strips, or small glass jars. The saying stays readable from your chair, while the ledge solves the messy “ribbon on the desk” problem. Use a matte finish for the sign and a slightly glossy finish for jars so the light catches without glare.
Step 1: Choose a panel size around 24x10 inches and keep the lettering tall enough to read from 6-8 feet away. Step 2: Mount a ledge 3-4 inches deep directly under the panel with two brackets into studs; keep the bottom edge of the ledge roughly 12-14 inches below the sign for easy reach. Step 3: Use 3-5 jars or small bins so the storage looks curated, not crowded. This setup is usually a $60-120 DIY depending on materials and hardware.
Match the ledge hardware to your room hardware — black brackets with black frames, brass with brass hooks.
Don’t use gloss paint on the sign if your craft lamp creates glare on the letters.
2. Peg rail quote board with labeled tool hooks
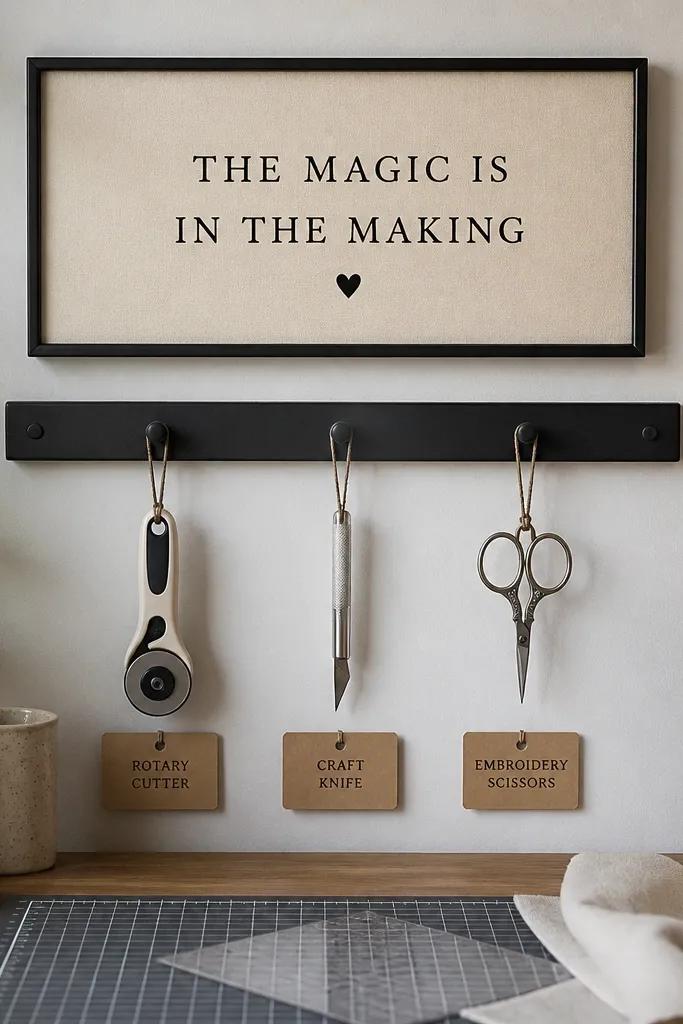
Step 1: Pick a quote board about 30 inches wide and 8-10 inches tall, then attach it to studs at eye level. Step 2: Install a peg rail directly below it, using a level and spacing so hooks line up with your tool sizes; keep the peg rail height so the handles hang in a consistent row. Step 3: Label 6-10 hooks with small cardstock tags in a matching font, sealed with clear tape or a laminating sheet. Expect $90-180 depending on rail length and labels.
If your craft room is tool-heavy, this layout makes the wall do the organizing. A quote board sits above a peg rail, and each hook holds one tool type you reach for constantly. Add small label tags under the tools so you can put things back fast, which keeps the whole wall looking tidy. For a photogenic look, use a warm wood board, black peg rail, and white labels — the contrast reads clearly in photos and in real life.
Watch outSkip random hook placement — uneven rows make the wall look chaotic even when everything is “organized.”
Pro tipGroup tools by color or function on the hooks, not by size, so the wall looks intentional at a glance.
3. Shadow box saying with behind-the-glass storage cards
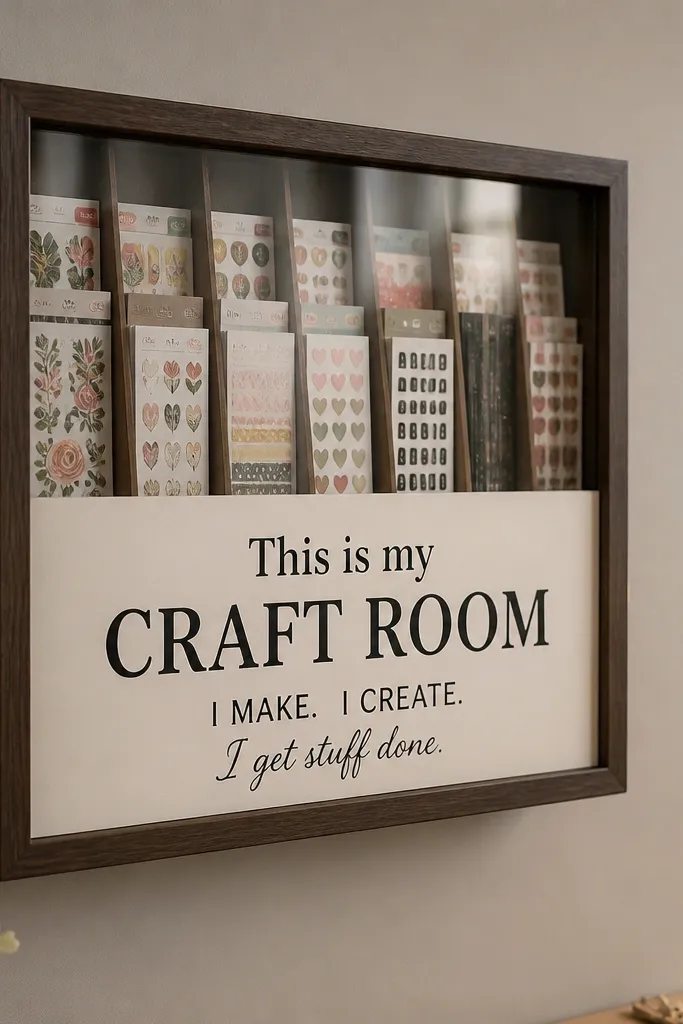
Step 1: Buy or build a shadow box with a depth of at least 1.5 inches so you can slide in cards without bending them; size it around 18x24 inches. Step 2: Mount the saying on a removable backing insert so you can swap quotes later without replacing the whole piece. Step 3: Slide 6-12 storage cards behind the glass, using clear page protectors for paper protection. This usually lands around $70-140 depending on box size and whether you build the insert.
This one is for people who love a clean, gallery-style wall but still need storage. A shadow box holds your craft room saying in the front layer, while the back layer contains slim storage cards for patterns, sticker sheets, or cut paper pieces. The glass makes everything look crisp and contained, and the saying stays protected from fingerprints. Choose a box with a wood frame in a similar tone to your craft desk so the wall feels built-in.
Watch outDon’t pack the shadow box too tight — bowed paper looks messy and catches light unevenly.
Pro tipUse archival photo corners or thin binder clips on the cards so they sit flat and don’t bow behind the glass.
4. Wood slat "create" wall with sliding label rails
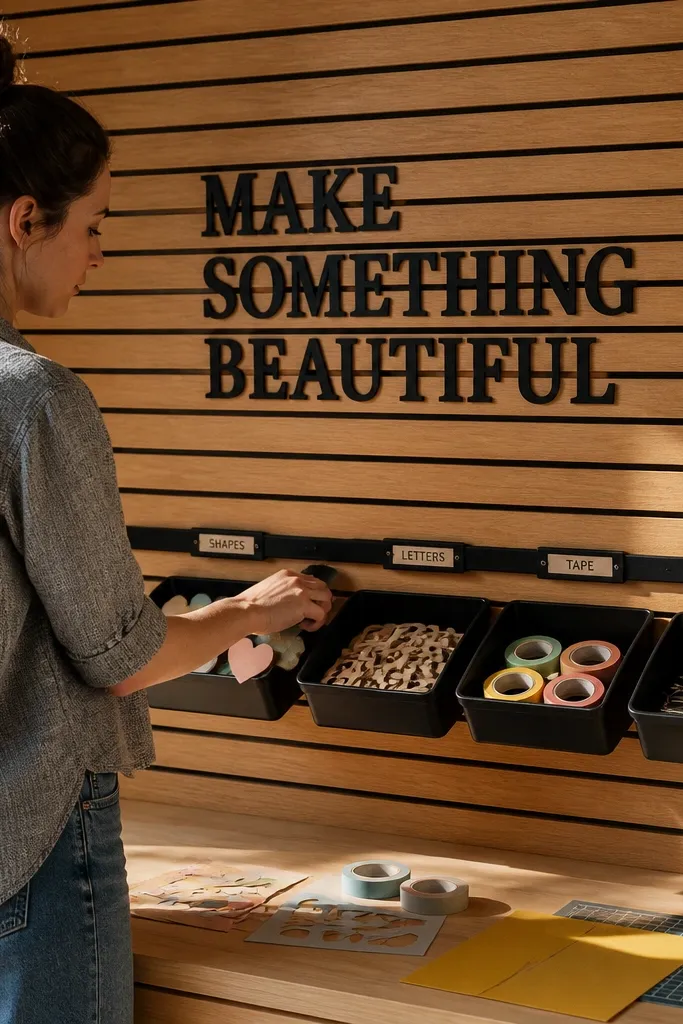
Step 1: Choose a slatted board width 36-40 inches and mount it into studs; paint or stain the slats matte so the bins don’t look greasy in photos. Step 2: Install two rails (one set of guides) so bins slide smoothly; keep bin widths around 3-5 inches so you don’t overhang. Step 3: Add vinyl label rectangles on each bin front with a matching color palette (try black labels with cream text). Budget $100-220 depending on rail system quality.
Wood slats add structure, and sliding label rails make the saying feel connected to storage. Mount a slatted board horizontally, place a big “create” or “make it” style saying in the center, and hang 3-5 small bins on rails that slide out. This design looks great because the slats create consistent lines, and the bins line up like a mini system. It’s ideal for craft rooms where you want to store small supplies you use daily — beads, paint pens, glue sticks, or paper clips.
Watch outDon’t pick bins of wildly different heights — mismatched bin tops make the slat wall look sloppy.
Pro tipKeep the saying letters centered and large, then use smaller labels so the bins don’t compete for attention.
5. Magnetic letter wall with mini storage trays
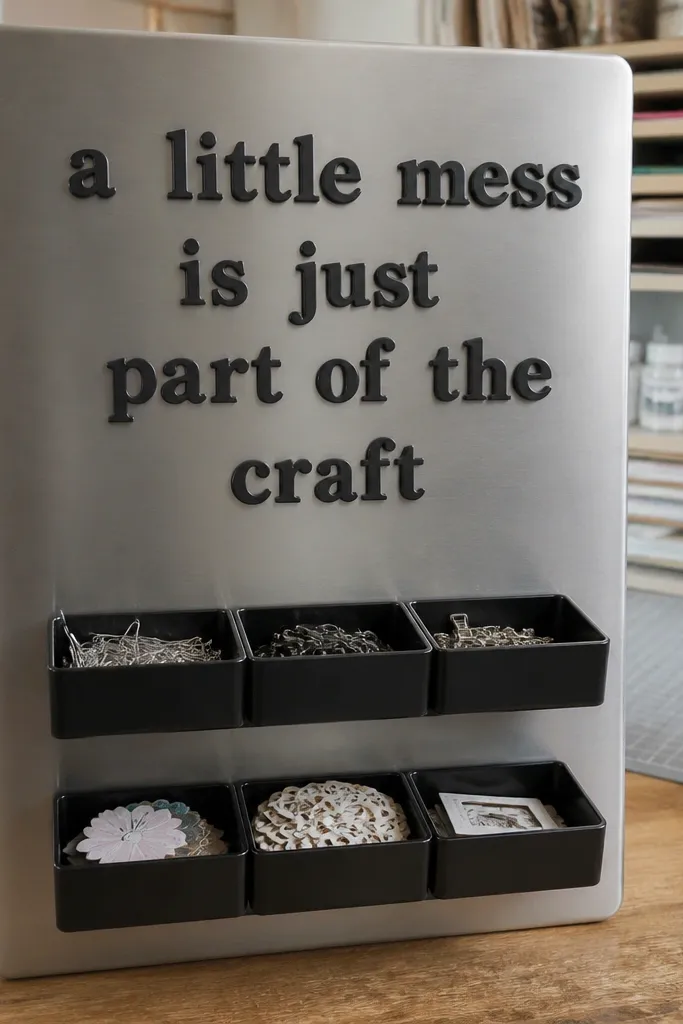
This is a practical, aesthetic choice for anyone who changes projects often. Mount a slim metal board (brushed stainless or black matte) and display a craft room saying using magnetic letters. Under it, attach two rows of mini storage trays for tiny supplies like clips, needle threaders, or die-cut pieces. The metal surface looks sleek and modern, and it makes the wall feel tidy even when you’re actively working. Use a matte black surface if your craft room has bright lighting that could reflect off glossy finishes.
Step 1: Get a metal board around 24x18 inches and mount it into studs; leave 1-2 inches of clearance around edges for a clean frame look. Step 2: Add two small tray rails underneath with screws so trays can hold weight without bowing. Step 3: Use magnetic letters in two sizes: larger letters for the saying and smaller ones for short add-ons like “today” or “ideas.” Cost is usually $60-160 depending on board and tray hardware.
Pick one letter style and stick to it, like chunky sans-serif magnets, so the saying reads fast.
Skip glossy metal if your room has a window opposite the wall — glare ruins the look.
6. Floating shelf saying with peg-and-bin combo below
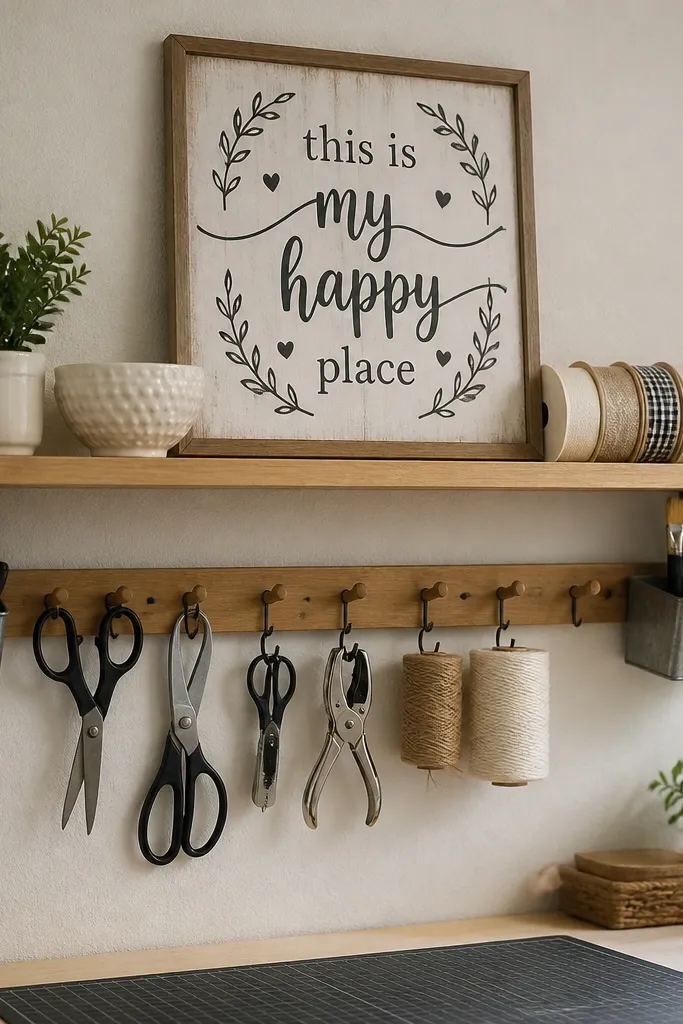
Step 1: Install the floating shelf first, using a stud finder; keep shelf depth around 6-7 inches and place it so the saying sits at about 58-62 inches from the floor. Step 2: Mount a peg strip directly under the shelf with hooks spaced so tools hang without touching. Step 3: Add 3-4 bins below or beside the peg strip; use consistent bin colors so the wall looks designed. Budget $120-250 depending on shelf length and bin materials.
This combines three things without clutter: a readable saying, display space, and storage for the items that constantly migrate to your desk. Put a floating shelf near eye level with a framed saying sign on the back edge, then mount a peg strip underneath for tools and a row of small bins on the ends. The shelf gives you room for a neat stack of books, a plant in a ceramic pot, or a jar of brushes. The peg hooks keep scissors and cutters off the table, and the bins hide small chaos.
Watch outDon’t place the peg hooks too close together — crowded hooks make tools look like a jumble.
Pro tipRepeat the shelf finish in your frame — matching wood tone makes the whole wall look built, not assembled.
7. Chalkboard panel with labeled chalk-storage ledge
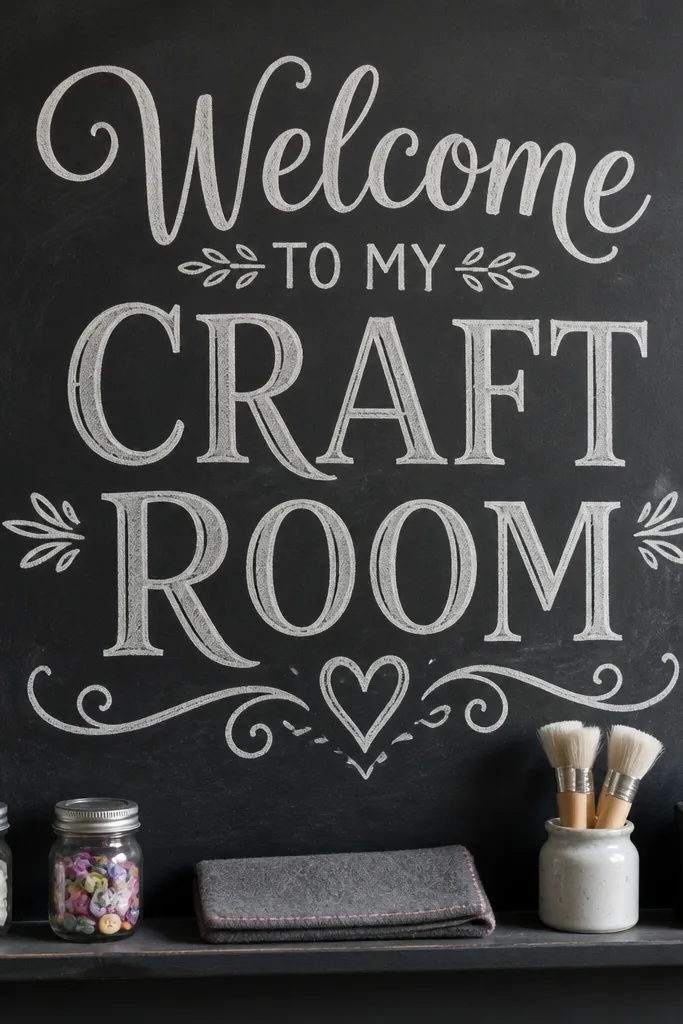
A chalkboard saying gives you that handmade feel, and it works great when you want the wall to evolve with your projects. Mount a chalkboard panel and write the saying in white chalk markers or chalk paint pens for crisp contrast. Add a narrow ledge below for chalk, erasers, stencil brushes, and small jars for dust-free storage. This solves the “tools live on the counter” problem and keeps the wall functional. Choose a chalkboard with a matte surface so the text stays readable without shine.
Step 1: Mount a chalkboard panel around 28x18 inches and erase the surface once before writing so the first layer of chalk sticks evenly. Step 2: Write the saying in two sizes: big word across the center and smaller supporting words in a single line underneath. Step 3: Install a ledge 3 inches deep below the board; label jars and keep chalk tools in one color-coded set. Cost is usually $50-130 depending on board size and ledge hardware.
Use painter’s tape to block letter lines, then remove tape while chalk is still fresh for sharp edges.
Don’t write tiny lettering — chalk text fills in with dust and gets hard to read over time.
8. Vintage-style saying on fabric banner with hidden pocket storage
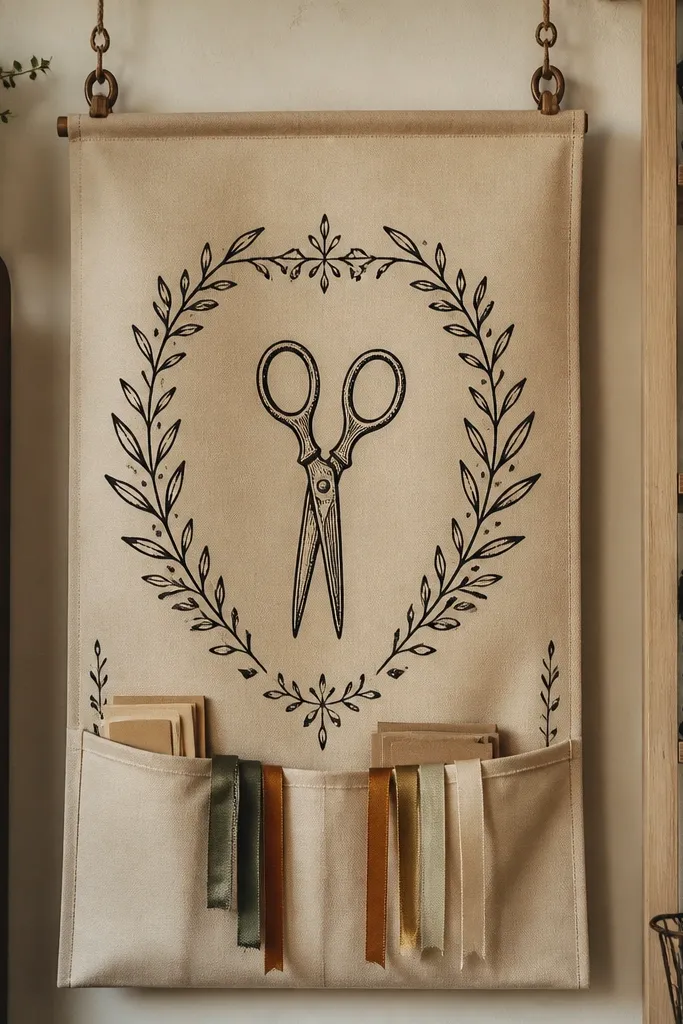
Step 1: Cut banner fabric to about 36 inches wide and 16 inches tall, then add interfacing so it doesn’t sag. Step 2: Stitch pockets 4-6 inches wide along the bottom or sides; line pockets with a coordinating fabric so supplies slide in smoothly. Step 3: Hang with two eye hooks and a taut cord, keeping the banner top at roughly 62 inches from the floor. Budget $40-100 if you sew, more if you buy a ready-made banner.
Fabric banners look soft and cozy, and they’re a smart way to add storage without hanging rigid shelves. Create a banner in sturdy cotton canvas, stitch or sew pockets behind or along the banner edges, and hang it from two eye hooks. Use a block-printed craft saying in one color — black ink on natural canvas is the cleanest. The pockets hold small essentials like scissors, extra blades, or marker caps so you don’t lose them mid-project. This works best in craft rooms where you want warmth and texture rather than metal and wood-only storage.
Watch outSkip flimsy fabric — thin banner material droops and makes the storage look messy.
Pro tipStitch the saying onto a removable patch or use fabric paint with a stencil, so you can swap the quote later.
9. Acrylic letter marquee with stacked storage cubes
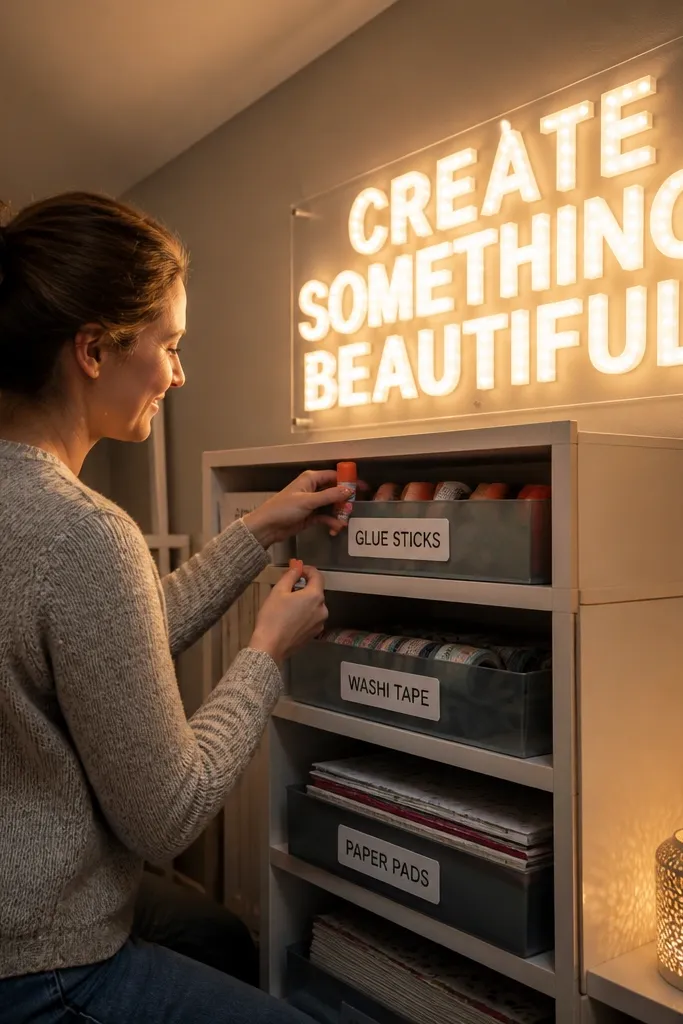
For craft rooms that need a little drama, acrylic marquee letters plus storage cubes is the easiest way to look “styled” without turning the wall into a junk shelf. Put marquee letters on a backing board, then stack 3-4 small cubes under it for glue, tapes, or paper pads. Choose warm white LED bulbs for a cozy glow that photographs well. Keep the saying short — 2-3 words — so the cubes stay visible and the wall doesn’t feel crowded. This layout looks best in brighter rooms where the glow reads as intentional.
Step 1: Pick a marquee spelling that fits a 24-30 inch wide space; mount the backing board to studs at eye level. Step 2: Use cube organizers with open fronts and label each cube with vinyl labels in the same font style. Step 3: Stack cubes so the top edge stays below the marquee base by 2-3 inches for a clean separation line. Expect $120-300 depending on marquee size and LED kit.
Keep cube labels to one color palette and align them in the same vertical position for a neat grid look.
Don’t use too many words — long sayings turn into visual noise around the lights.
10. Laminated quote cards in a grid frame above a craft supply drawer
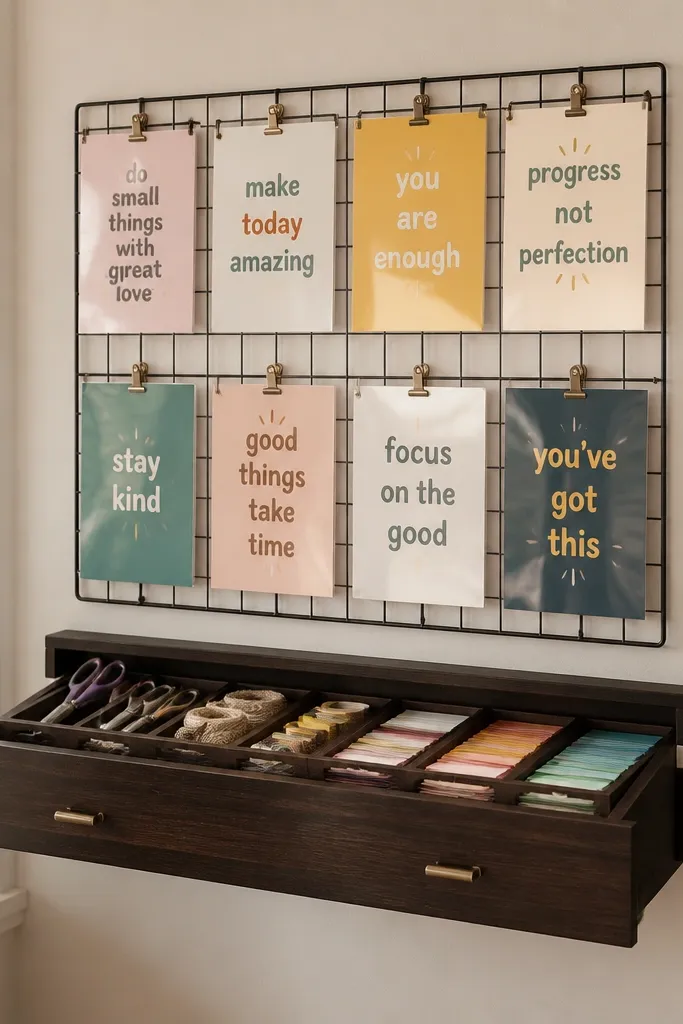
Step 1: Build or buy a grid frame that fits 4x6 cards; mount it so the center of the grid sits around 60 inches from the floor. Step 2: Create quotes in a single font style, print on heavyweight paper, laminate, and leave a small border for easy reading. Step 3: Install a narrow drawer under the frame with a soft-close if you can; use it for scissors, extra blades, and tape. Budget $80-200 depending on frame and drawer quality.
This is for people who want inspiration without a single huge sign dominating the wall. Use a grid frame holding 6-10 laminated quote cards with short craft sayings, then mount a narrow wall drawer below for supplies you don’t want out. The grid looks like a gallery wall, and the drawer keeps the practical items hidden. Choose a consistent paper size for every card (like 4x6) and use one ink color across all quotes. This layout works great above a desk or beside a cutting station where you want quick reading and a place to stash tools.
Watch outDon’t mix paper sizes — uneven card dimensions kill the clean grid effect.
Pro tipUse a consistent margin around every card so the grid looks crisp in photos and mirrors.



