1. Terracotta Tray + Off-White Stationery Stack
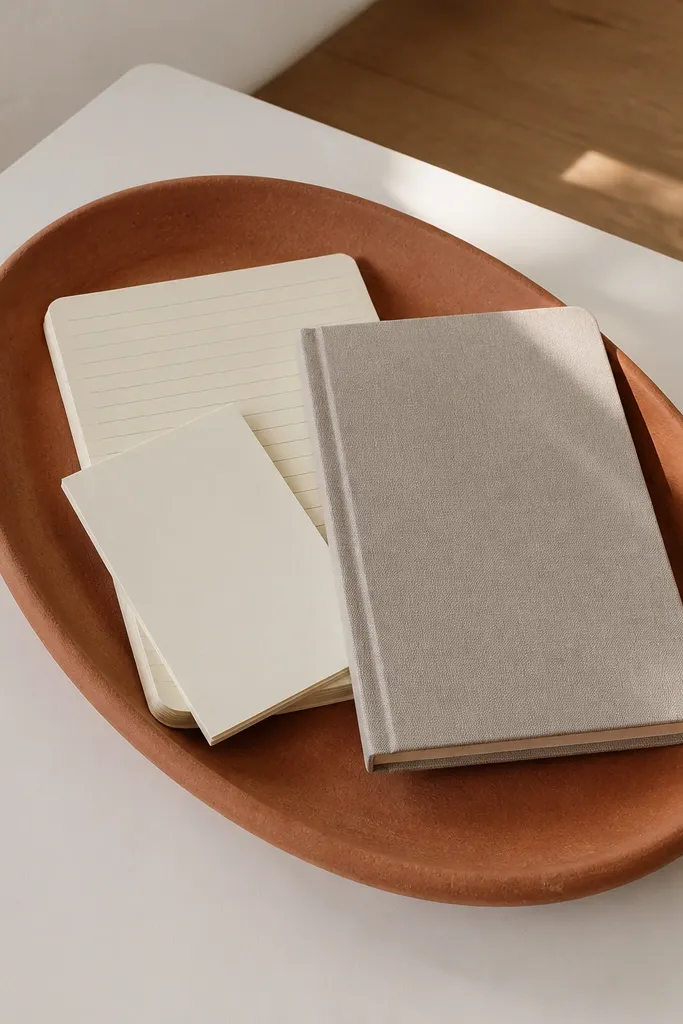
A terracotta tray is one of the easiest ways to make budget study table decor ideas look warm and designed. The color reads cozy against light wood and white desk surfaces, and the tray shape gives you a clear “base layer” for everything you touch daily. Keep stationery in off-white or cream — think lined notebooks, plain sketch pads, or unpatterned folders — so the tray color becomes the focal point. Add a single ceramic pen cup in matte white or warm gray to keep the palette tight. This setup works especially well for students and remote workers who need their desk to feel calm, not busy.
First, center a terracotta tray on the non-writing side of your desk, leaving about 4-6 inches from the edge where you write. Next, stack two off-white notebooks vertically and place a third item flat on top, then add a pencil bundle or a couple of pens in a matte ceramic cup. Finally, add one small decor object inside the tray — a folded ruler or a tiny eraser dish — so the tray doesn’t look empty. Budget-friendly way: use terracotta from a thrift store planter tray, and wrap notebooks with plain paper covers if you need uniformity.
Pro tipChoose one notebook size and keep the spines aligned — crooked stacks make the whole thing look messy fast.
Watch outDon’t mix three different warm shades (orange, rust, and brown) all at once; pick terracotta and stick to it.
2. Black Desk Lamp + Clear Acrylic Catchall
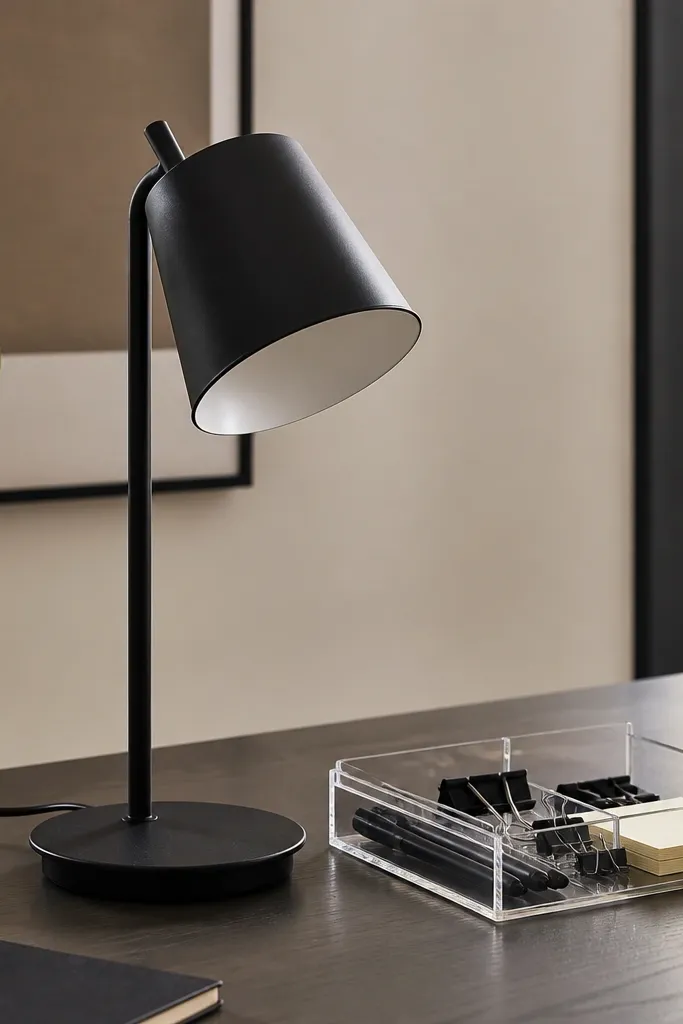
If your desk is small, a black lamp plus clear acrylic catchall gives you a clean, high-end look without visual clutter. Black provides contrast, while clear acrylic keeps the desktop from feeling crowded because it doesn’t block the background. Use the catchall for everyday items: pens, clips, sticky notes, and a small tape roll. Keep the inside color minimal — white paper notes and black pens — so the acrylic reads crisp instead of chaotic. This combo looks great in bedrooms, rented apartments, and study corners where you want the space to feel sharp and tidy.
Place the black desk lamp on the left or right of your keyboard/notebook area, not in the center, so your working space stays open. Then set a clear acrylic organizer in front of the lamp base and fill only the top openings — keep a few slots empty so it looks intentional. Finish by adding a small stack of sticky notes on the organizer lid or a thin tray. Cost control: acrylic organizers are usually cheaper at home goods stores, and you can swap the lamp shade with a $10-20 thrift find if you already have the lamp base.
Pro tipUse black-and-white stationery for two weeks straight before you add any new colors; it trains your eye to keep the palette tight.
Watch outDon’t fill every compartment in the organizer; an overstuffed acrylic piece looks messy and cheap.
3. Sage Green Book Riser + Gold Clip Marks
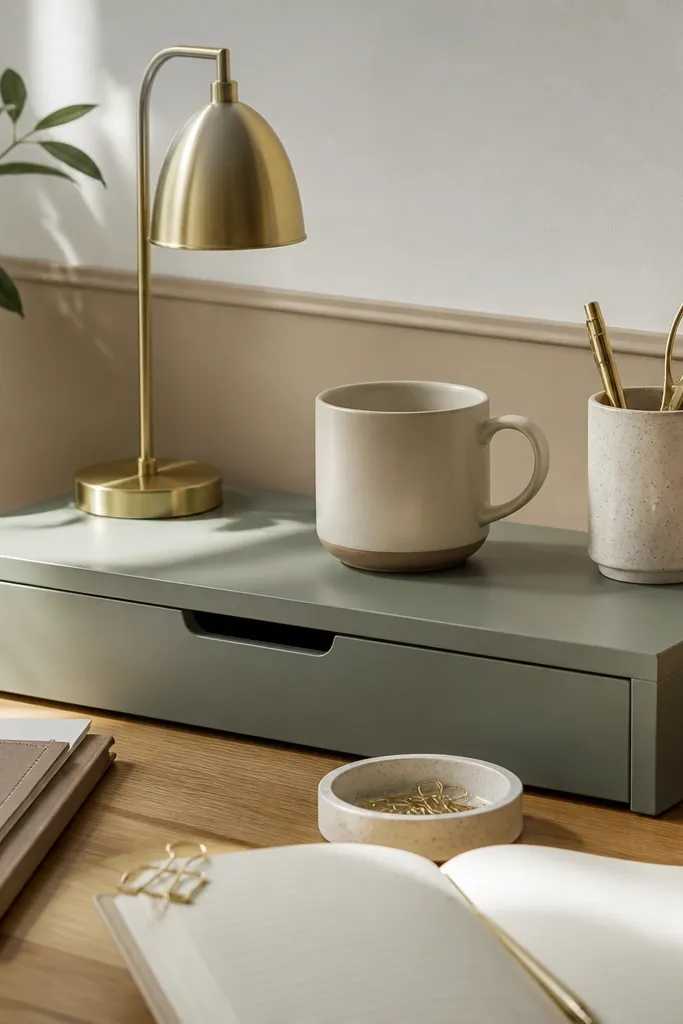
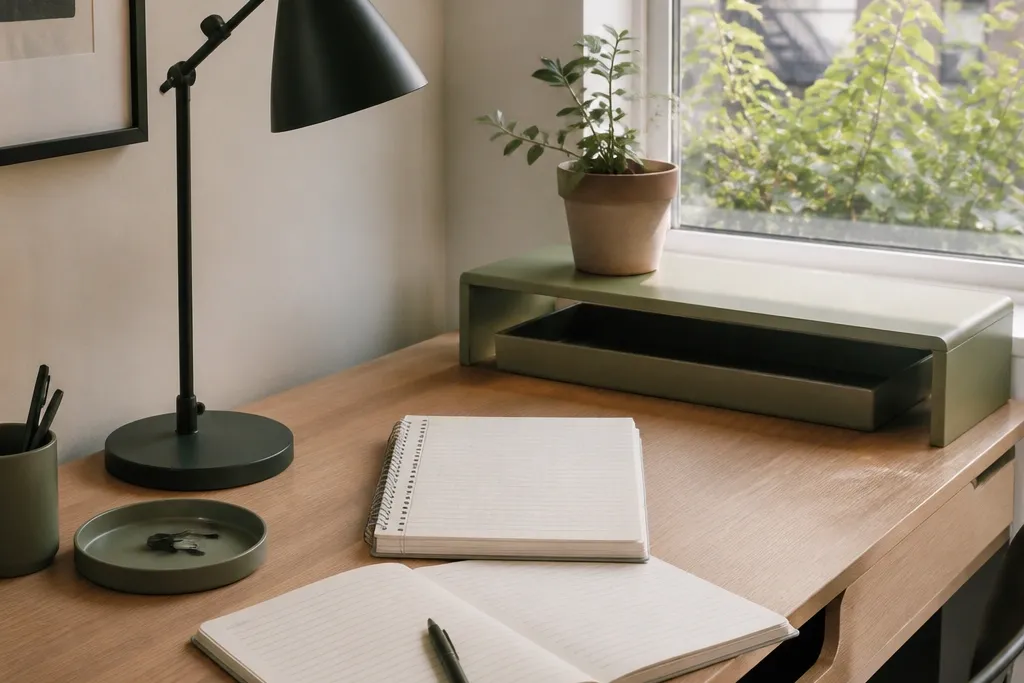
This is the “layered but budget” look. A sage green book riser gives you instant height and a soft color that pairs with beige, oak, and white walls. Use gold paper clips or a small gold-toned stand to create a subtle metallic accent. The beauty is in the height difference: your lamp or small plant sits higher, while your notes stay flat. It’s a great choice for people who keep a lot of papers — the riser helps you organize without turning the desk into a paper pile.
Stack two books under your main item so the top of the stack sits about 2-3 inches above the desk surface. Wrap or cover the top book with sage fabric or use a sage book you already own; the goal is one clear sage block of color. Then attach gold paper clips to a folder edge or hold a bookmark ribbon so the gold shows in one place only. Finally, place a slim tray or bookmark holder on the riser to complete the layered look.
Pro tipPick one gold item and repeat it once more, like a gold clip on the tray or a gold bookmark, not five different gold pieces.
Watch outSkip busy patterned books; one solid sage tone looks cleaner and more expensive.
4. Rattan-Style Pencil Cup + Woven Paper Tray
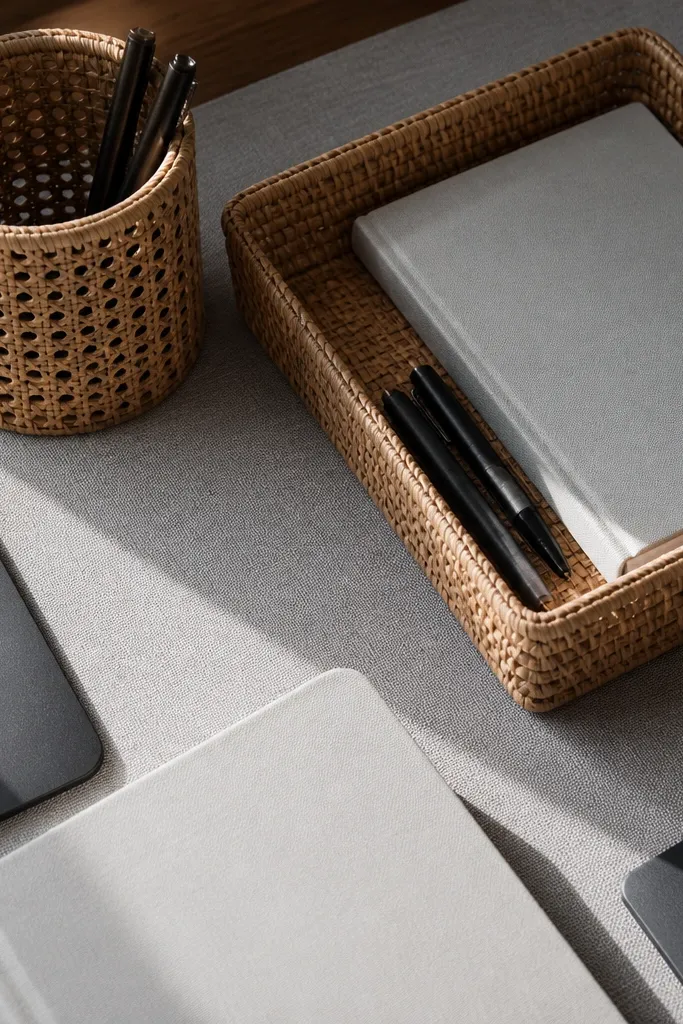
Woven textures make budget study table decor ideas look like you spent more. A rattan-style pencil cup adds warmth and a natural texture, while a woven paper tray or jute-like organizer adds a second texture that reads intentional. Keep your notebook covers simple — white or light gray — so the weaving becomes the star. This works best on light wood desks or desks with warm undertones, because the natural texture blends. It’s also forgiving: even if your desk isn’t perfectly minimal, the woven textures hide small clutter better than glossy organizers.
Start by placing the woven tray on the left or right side of your desk, leaving the center clear for writing. Add the rattan-style pencil cup inside the tray so pens and markers stay contained. Place one lined notebook upright at the back of the tray; keep the front flat so it doesn’t look too tall. Cost-friendly move: check thrift stores for woven baskets and use a small basket as the tray base, then line it with a thin sheet of paper so it’s easier to wipe.
Match the woven color family: light tan weaving with warm beige notebooks looks cohesive; dark brown weaving needs cream, not bright white.
Don’t mix glossy plastic organizers with woven pieces; it breaks the texture story.
5. Monochrome Photo Frame + Minimal Desk Gallery
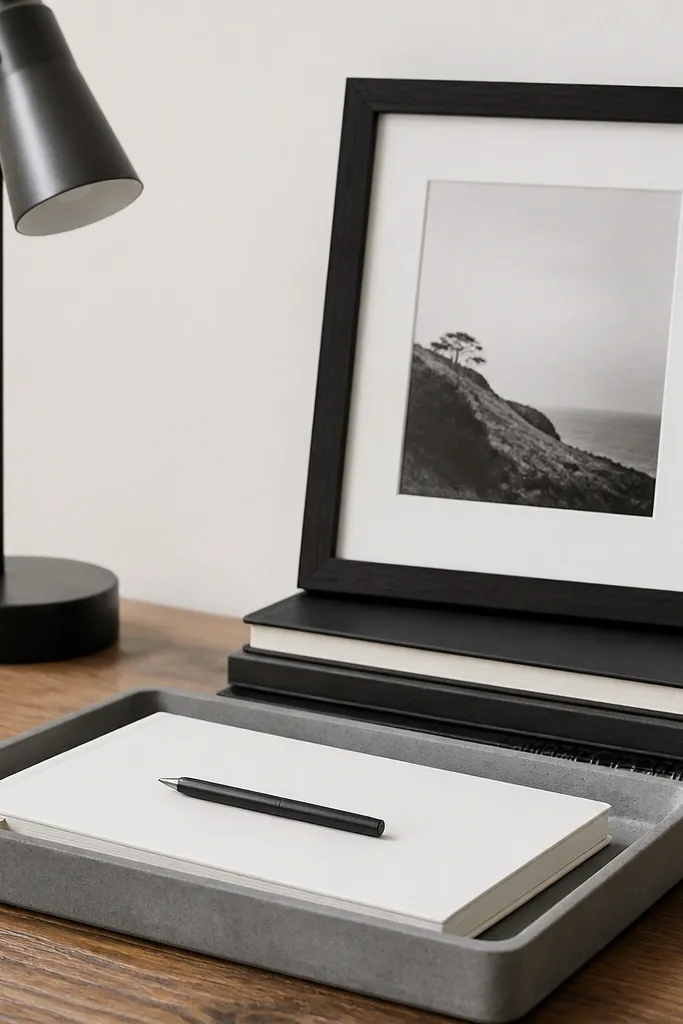
A single small frame gives your desk a “designed” feel, even when you’re keeping it simple. Choose a monochrome print (black and white line art or a simple photo) and a slim frame in black or dark wood. Place it behind your desk lamp or behind a notebook stack so it creates depth. The rest of the desk should stay minimal: one pen cup, one tray, and one notebook stack. This is the best approach when you want aesthetic study table decor without turning the desk into a craft project.
Set the frame upright on the back edge of your desk, centered with your lamp or notebook stack. In front of it, place a slim tray for pens and sticky notes, and add two notebooks — one upright, one flat. Keep the frame and tray within the same visual block by leaving about 3-4 inches between the tray edge and the frame. If the frame is too tall, anchor it with a stack of books under the bottom edge so it doesn’t look unstable.
Pro tipUse glassless prints or keep glare low by positioning the frame so it doesn’t catch overhead lights directly.
Watch outDon’t add three frames at once; one frame plus a clean tray reads intentional.
6. White Marble-Style Tray + Black Pen Holder
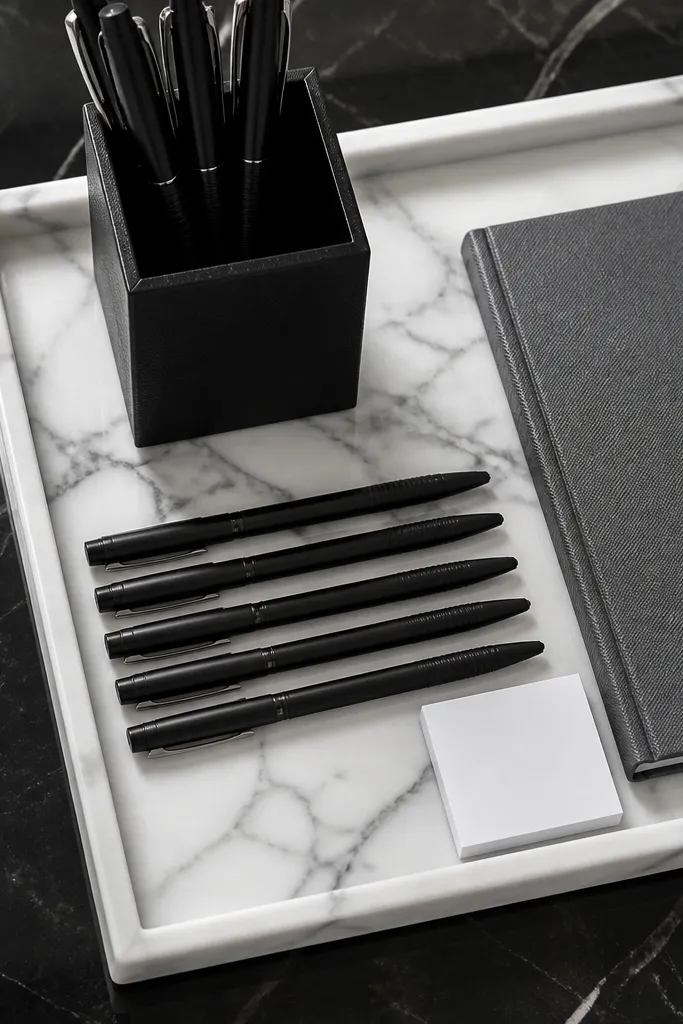
Marble-style surfaces look expensive because they reflect light in soft gray veining. A white marble-style tray gives you that luxury feel, and pairing it with a black pen holder instantly sharpens the look. Use black-and-white stationery to keep it graphic: black pens, white sticky notes, and a gray notebook. Keep the setup tight — one tray, one pen holder, one small organizer dish — because marble patterns can look busy if you add too many competing textures. This works well in modern bedrooms and offices where you want a clean, high-contrast aesthetic.
Place the marble-style tray slightly off-center on your non-writing side, leaving 2-3 inches of desk visible on one side. Put the black pen holder in the back corner of the tray and add one small dish for paper clips or a mini eraser. Stack one gray notebook upright behind the pen holder and keep the rest of the desk clear. If the tray is glossy, wipe it with a dry microfiber cloth so it doesn’t look streaky under light.
Pro tipChoose one gray tone for your notebooks; mixing cool gray and warm taupe makes marble look less “clean.”
Watch outDon’t add patterned washi tape rolls everywhere; keep patterns off the tray.
7. Sunburst Desk Mat + Desk Organizer in One Color
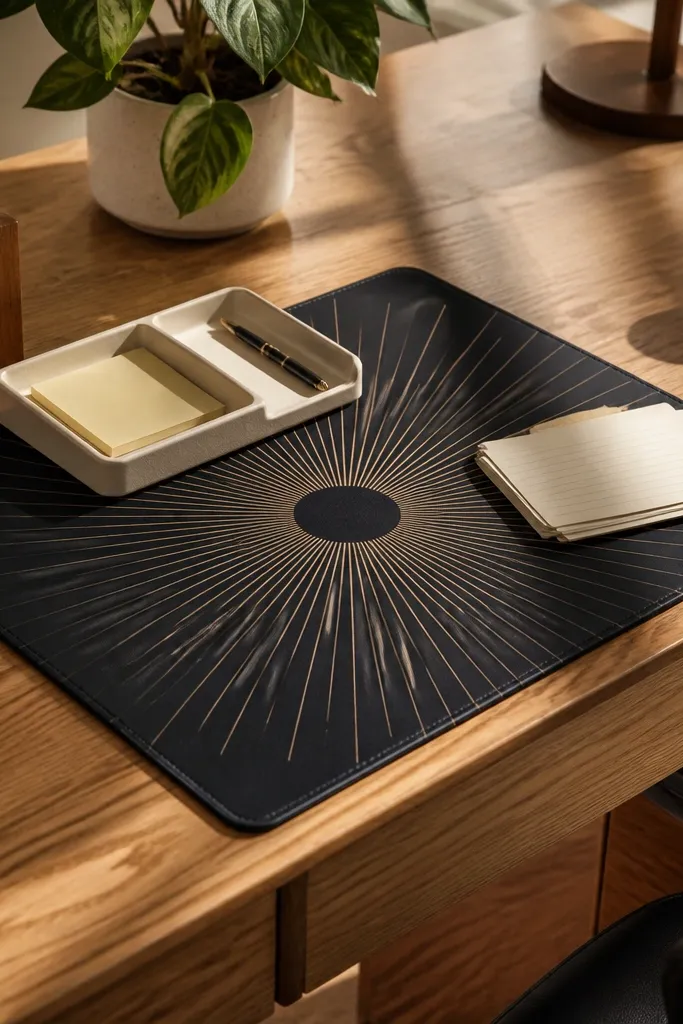
A sunburst desk mat is a photogenic anchor. The radial lines create instant movement under your everyday items, so your desk looks styled even when you’re using it normally. Keep the rest of the decor in one color family to prevent visual overload. For example, pair a black sunburst mat with a beige organizer or a cream mat with black organizers. This setup is great for people who want their desk to look good in photos for study streams or work calls because the mat frames everything.
Roll out the desk mat and center it so your writing area sits on the mat, not the bare desk. Then place one organizer in a single color — pen cup plus small tray combo — on the mat’s right side. Put a slim notebook stack on the left side, upright with spines aligned. Keep cords off the mat using a clip-on cable holder near the desk edge so the mat stays clean.
Pick a mat that has a low pile or smooth surface so it doesn’t snag sticky notes and paper edges.
Skip mixing two bold patterns (like sunburst plus checkered notebook covers); one pattern is enough.
8. Glass Jar for Paperclips + Kraft Folder System
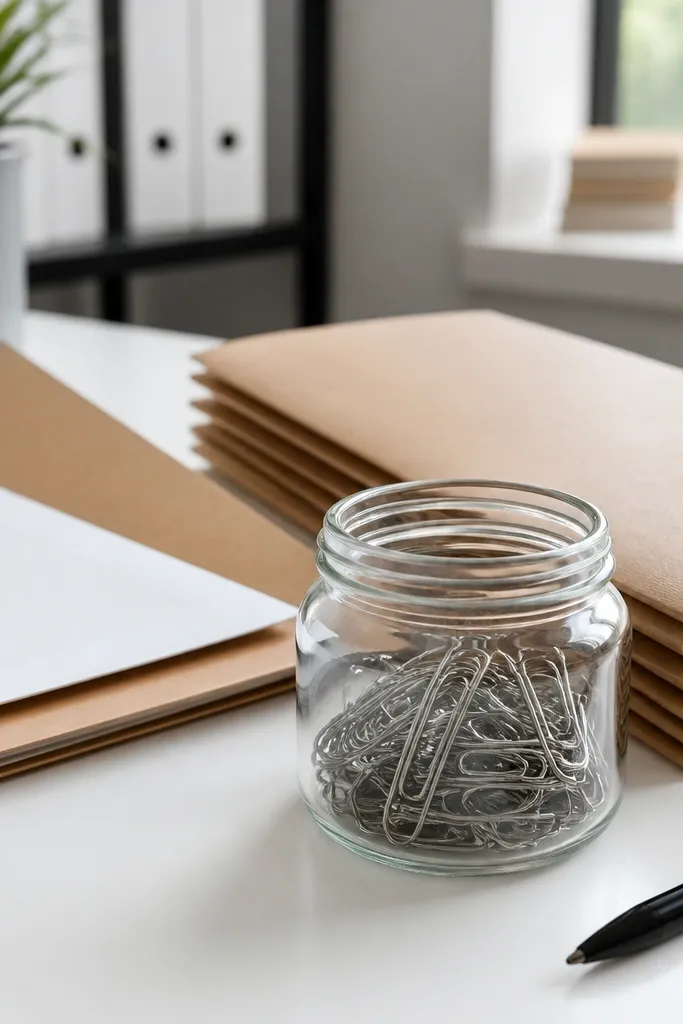
This is a practical setup that still looks styled. A clear glass jar for paper clips looks crisp, and kraft folders add a warm, textured paper feel. Together, they create a tidy “stationery system” that looks good even when you’re working. The key is to keep the visible paper limited: one kraft folder for active notes, one notebook, and the jar for small items. This is ideal for students who have loose handouts and want them to look organized, not scattered.
Put the kraft folder on the back half of your desk and keep it flat or slightly angled toward you. Place a glass jar near the folder corner and fill it only halfway with paper clips so it doesn’t look stuffed. Add one notebook in front of the folder, with the open edge facing inward so the desk stays clean. If you have a lot of papers, label the folder with a small strip of masking tape and one black marker line.
Use kraft paper in one size only; mixing kraft folders with bright colored folders breaks the warm look.
Don’t leave loose handouts beside the folder; tuck them into the folder immediately.
9. Desk Shelf Hook + Hanging Keychain Bookmark
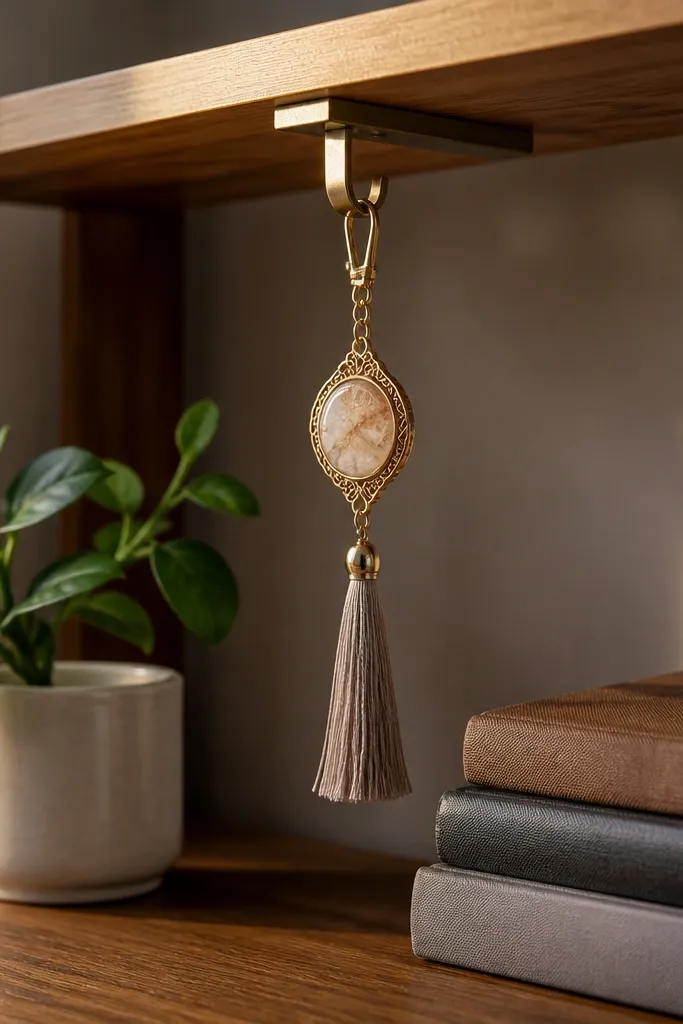
If you can’t keep your desk clutter-free, use vertical space. A small shelf hook or command hook lets you hang a bookmark charm or a thin tassel bookmark, adding personality without taking up tabletop area. Pair it with a tiny plant or a small book stack on the desk surface so the charm becomes a visual detail. The effect is light and airy, and it looks great in photos because it adds a second plane beyond the desk top. This works especially well on narrow desks where horizontal space is the problem.
Install a small hook on the underside of a shelf or the wall above the desk using a damage-free mount. Hang a bookmark charm or tassel from the hook so it sits just above the notebook level. On the desk, place a small plant or candle-free decorative item on one side and keep the other side clear for writing. Keep the hanging item in one color family that matches your notebook covers.
Pro tipHang the charm so it’s centered above your notebook, not off to one side; symmetry reads intentional.
Watch outDon’t hang heavy items that swing and bump your papers.
10. Two-Tone Cable Management + Minimal Desk Accessories
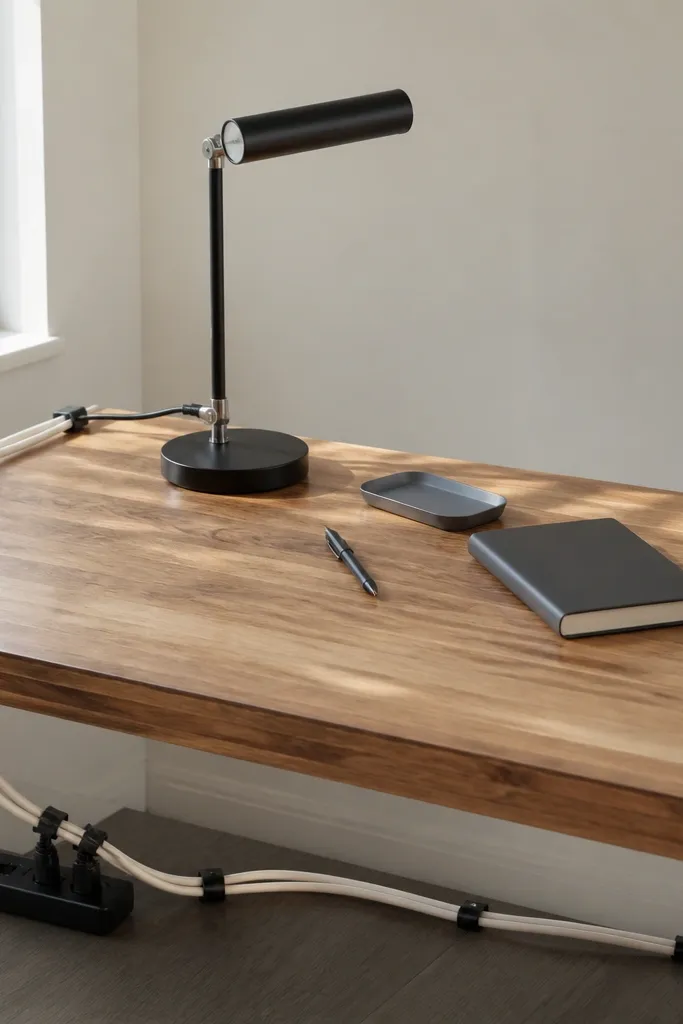
Most desks look “not styled” because the cable mess keeps showing up. Fixing cables is the fastest path to beautiful budget study table decor ideas because it removes visual noise instantly. Use two-tone cable management: a matte white or beige cable sleeve paired with black ties or clips. Then keep accessories minimal — one laptop stand, one small tray, and one lamp — so the cleaned-up area becomes the focus. This setup is perfect for home offices and study corners where you have a laptop and charger in frame.
Route cables along the desk edge using adhesive cable clips or a simple cable channel underneath the desktop. Sleeve visible cords in one neutral color, then tie them into two tidy lines with black ties. Place your laptop stand so cables drop behind it, not across the front edge. Finish by adding one tray for charger adapters and keep it either under the laptop or in a corner where it doesn’t break the line of sight.
If your desk faces a window, route cables away from the window side to reduce glare on glossy sleeves.
Don’t hide cables with random lengths of tape; use clips or channels so the line stays straight.
11. Black-and-White Gallery Wall Lettering on the Back Panel
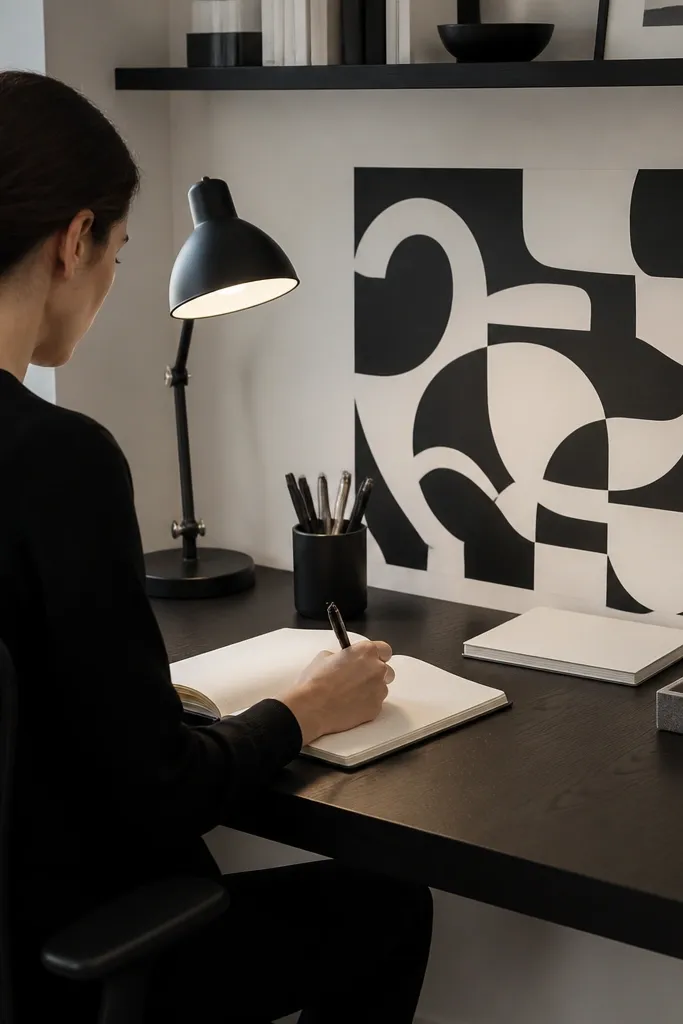
A back panel turns your desk into a mini setup, not just a desk. Use black-and-white lettering on a sheet of matte paper or removable vinyl and place it behind your lamp and notebook stack. Keep the furniture and decor monochrome: black lamp, white notebook, gray tray. The lettering creates a clean focal point that photographs well, and it also makes the workspace feel more intentional when you sit down. This works for people who want aesthetic study table decor ideas that don’t require buying lots of items.
Cut a matte sheet or use removable vinyl lettering sized to your desk width; aim for a panel that’s about 1.5-2 feet wide. Place it behind your desk so it doesn’t overlap your lamp too much. On the tabletop, keep one hero item — lamp or notebook stack — and one tray for pens. Match the fonts to your palette: simple sans serif in black looks clean; script fonts can get messy if too large.
Pro tipUse matte paper, not glossy poster sheets, so overhead light doesn’t glare across the letters.
Watch outDon’t add colorful wall art behind the desk; the palette needs to stay controlled.
12. Stacked Books + Brass Bookmark Holder
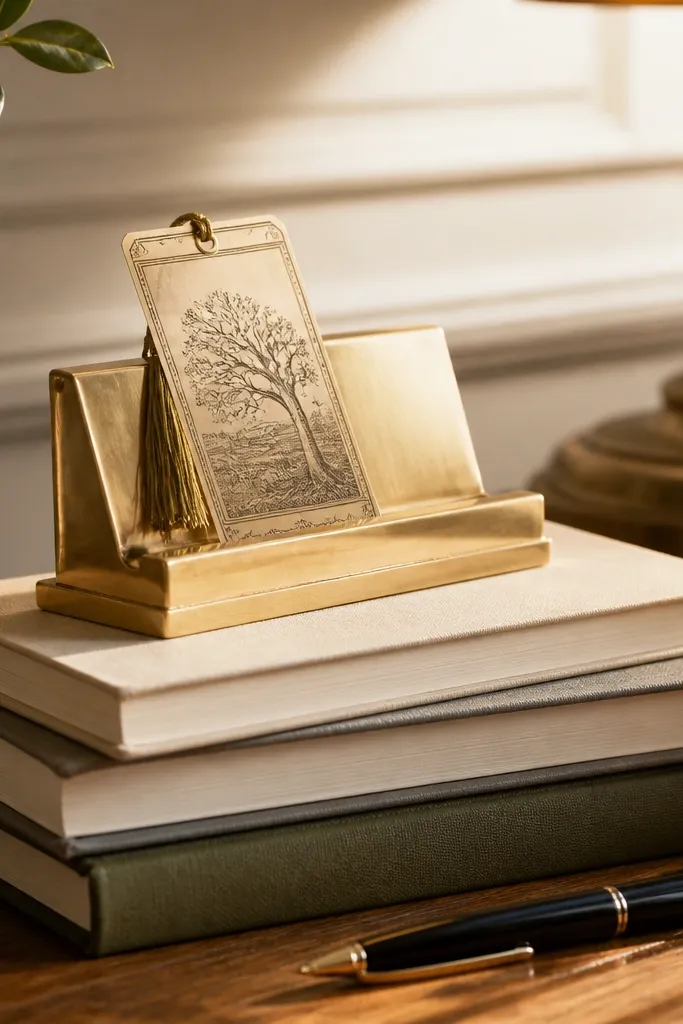
Height and shine are what make this look. Stacked books create a base, and a brass bookmark holder (or brass-toned pen stand) adds a warm metallic glint that reads premium. Keep book spines mostly neutral — cream, gray, or muted olive — so the brass pops without clashing. This setup is a strong choice for reading-heavy study routines because it keeps your “current books” front and center. It also makes your desk look styled even if you only have a few items.
Stack three books on the back edge of your desk so the top reaches roughly the same height as your lamp shade. Place a brass bookmark holder on the top book and align it so the metal face points toward you. Add a small pen cup in a matching metal tone or matte black near the stack. Then place one notebook flat in front of the books to keep the writing area tidy.
Pro tipWipe brass-toned items with a dry cloth so they don’t look dull under indoor light.
Watch outDon’t use bright spines like neon yellow; neutrals make the brass look intentional.
13. Fabric Desk Organizer Roll-Up in One Color
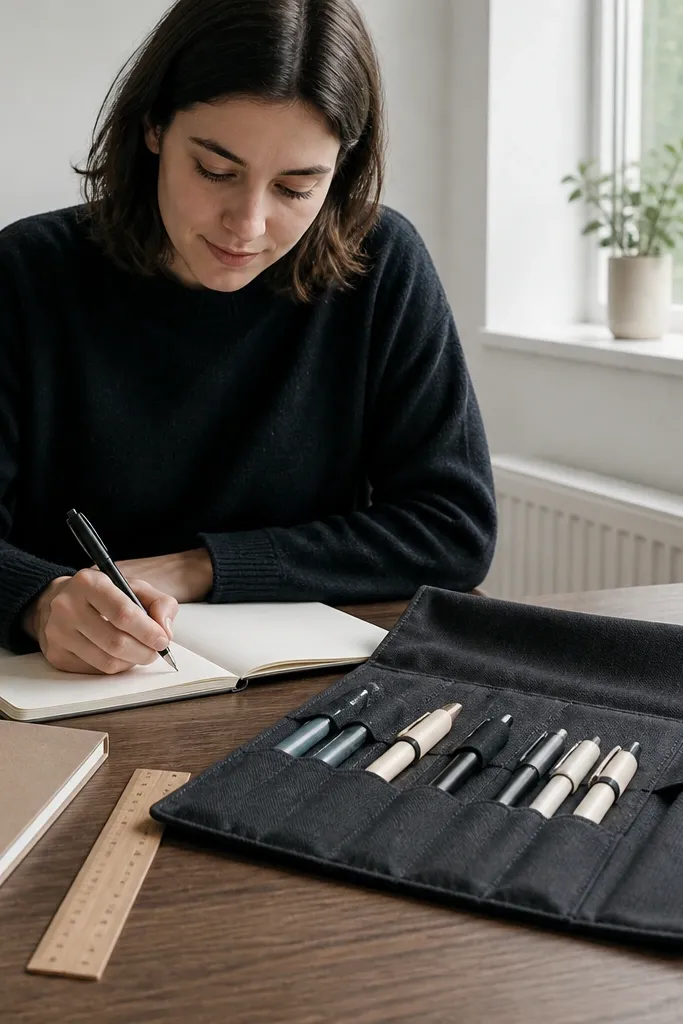
A fabric roll-up organizer looks soft and premium, and it solves the biggest budget decor problem: clutter. When it’s rolled open, you get compartments for pens, highlighters, and small tools. When you’re done studying, you roll it up and the desk instantly looks clean. Choose one fabric color like charcoal, deep green, or warm beige, then match your pen cup and sticky note holder to that same tone. This works best for people who share a room or need to reset their desk quickly before guests.
Lay the fabric roll-up on the non-writing side of the desk and keep it closed when you’re not actively studying. Unroll it only during work and place your most-used items in the top pockets so you don’t dig. Pair it with one simple tray or a ceramic pen cup so the desk still looks styled even with the organizer closed. Cost-friendly option: buy a small artist brush roll or pencil pouch set and use it as the roll-up organizer.
Fold the roll so the flap sits straight; a crooked roll-up looks accidental.
Don’t pick a fabric with busy patterns; the look becomes noisy instead of calm.
14. Mini Terrarium or Faux Plant + Single Ceramic Planter
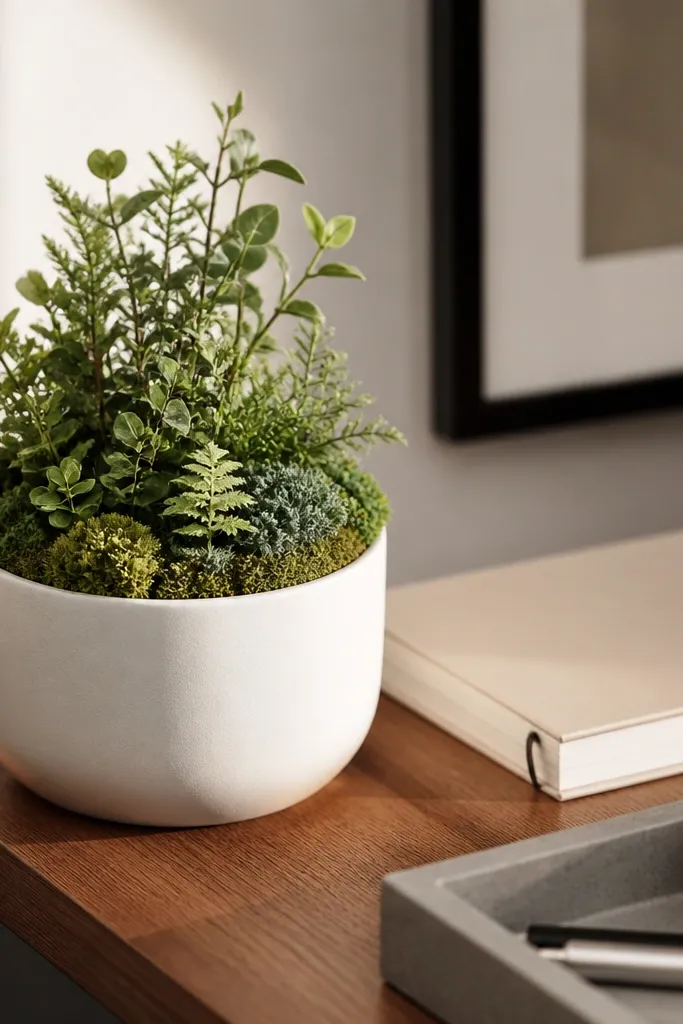
A small plant brings life to budget study table decor ideas, but the trick is keeping it minimal. One ceramic planter in matte white, gray, or sand looks clean and modern, and a tiny faux plant or simple terrarium adds a soft organic shape. Place it on the back corner of your desk so it frames the workspace without blocking your view. Keep the rest of the decor neutral, because plants already add texture. This setup works in bedrooms and offices where you want calm energy and a focal point that doesn’t require changing weekly.
Choose a planter size that’s about 4-6 inches wide so it doesn’t take over your desk. Put it on the back corner opposite your lamp, then add a small tray in front for pens and notes. Keep the plant height to roughly notebook height so it doesn’t loom. If you go faux, wipe leaves with a damp cloth so dust doesn’t dull the look.
Pro tipRotate the plant monthly so it doesn’t lean toward one side and look lopsided on camera.
Watch outDon’t cluster multiple plants; one small plant looks intentional, three looks random.