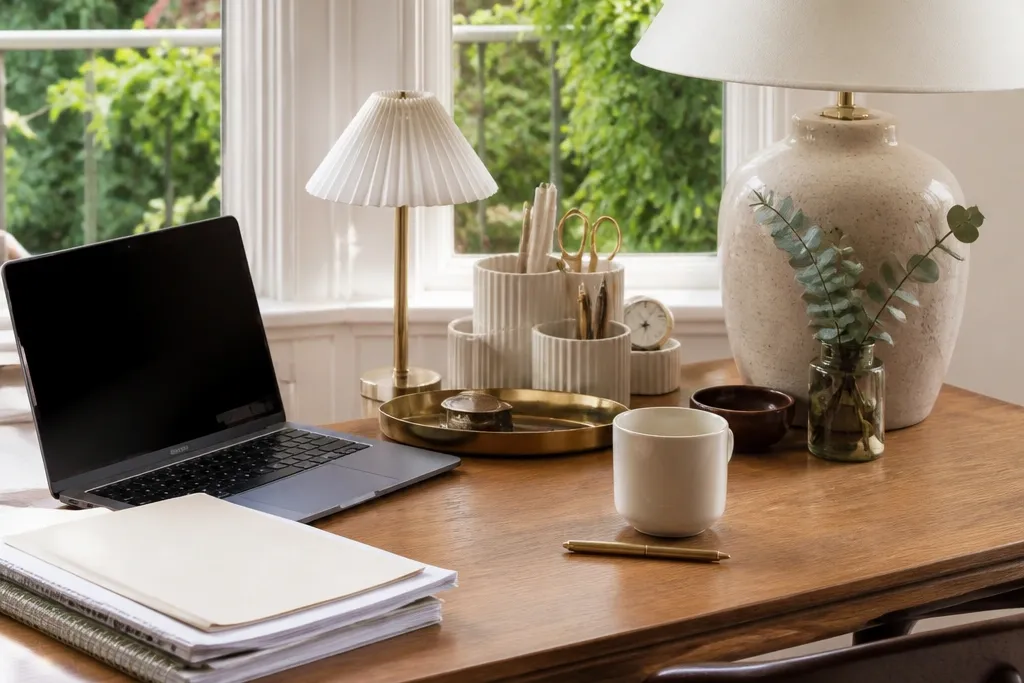
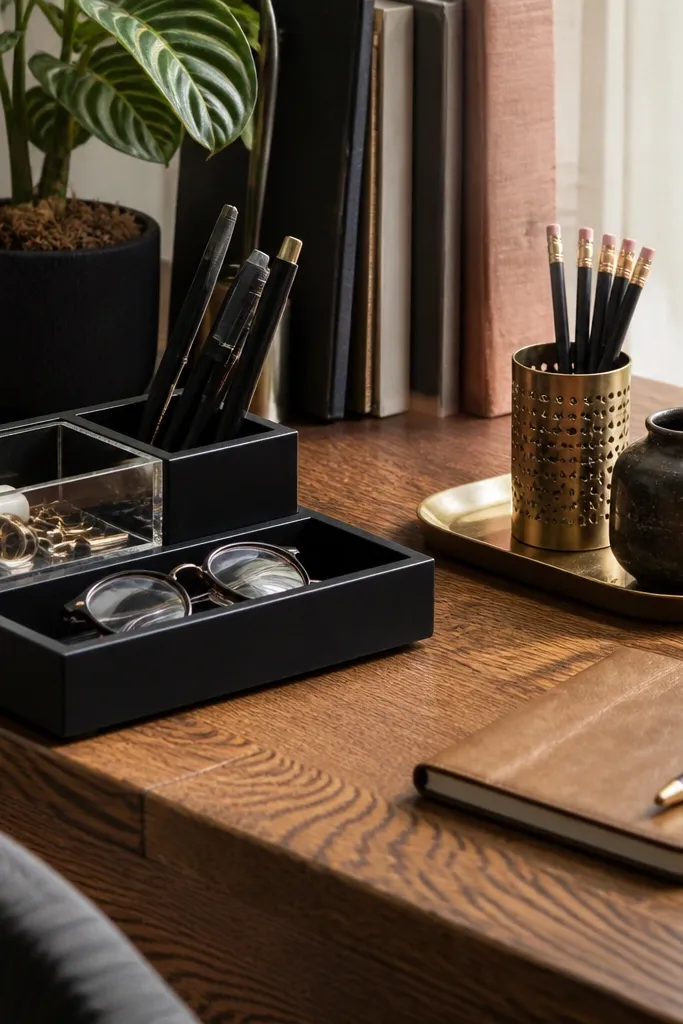
1. Warm Oak Desk With Brass Tray + Cream Ceramic
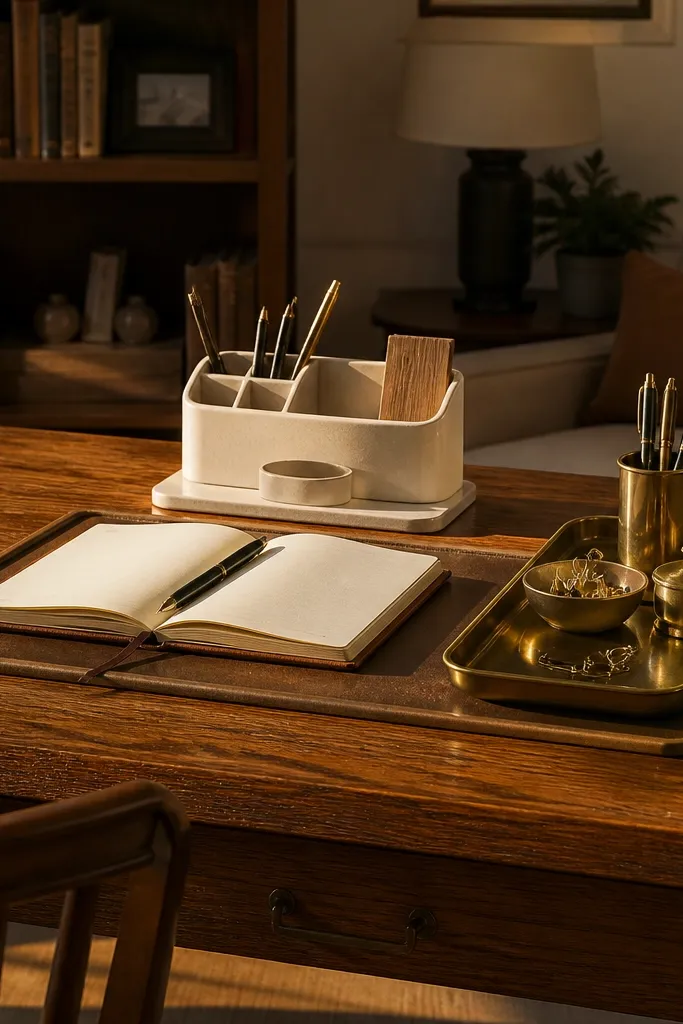
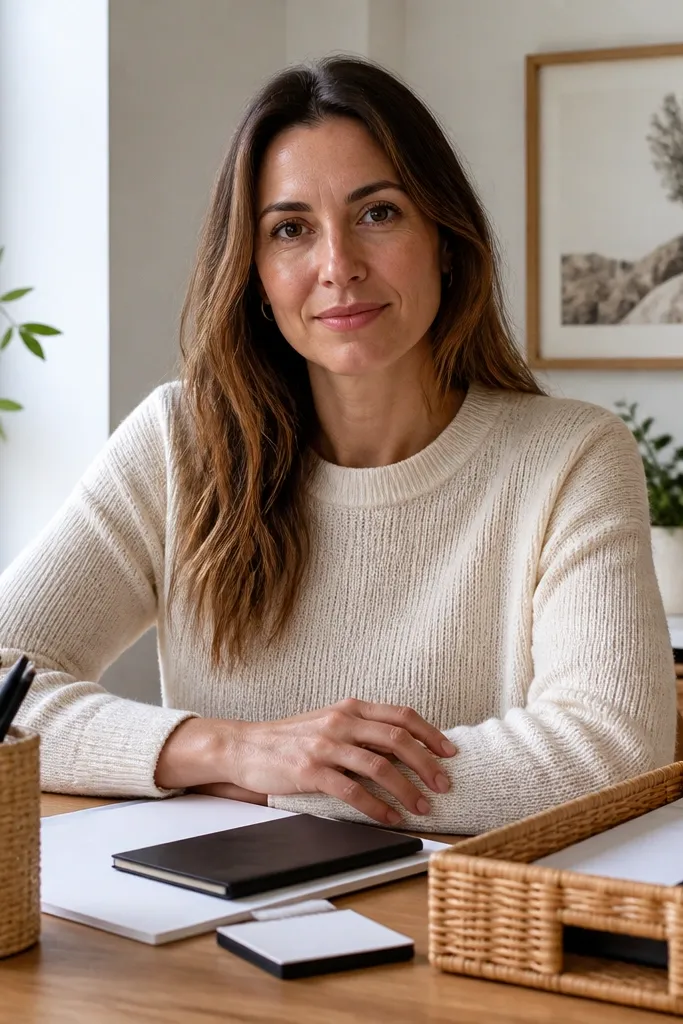
This look is for study tables in wood finishes where you want the surface to feel expensive but not fussy. A brass tray on the right side creates a clean boundary for pens and small tools, while a cream ceramic organizer softens the shine. The palette stays warm: oak, cream, and golden metal, which makes the table look styled even on plain days. It’s especially good for narrow desks because the tray holds everything in one place instead of spreading items across the center.
Start by placing a brass tray about 4-6 inches from the right edge, aligned with the front of your writing area. Add two items max inside the tray — one pen holder and one small ceramic dish — then keep the center clear. Finish by adding a slim cream desk lamp or lamp base on the back left corner so the light frames the workspace.
Choose a tray with a raised lip so small items don’t slide forward when you write.
Avoid mixing silver and brass together on the same table — it makes the styling look accidental.
2. Matte Black Minimal With Clear Acrylic Organizer
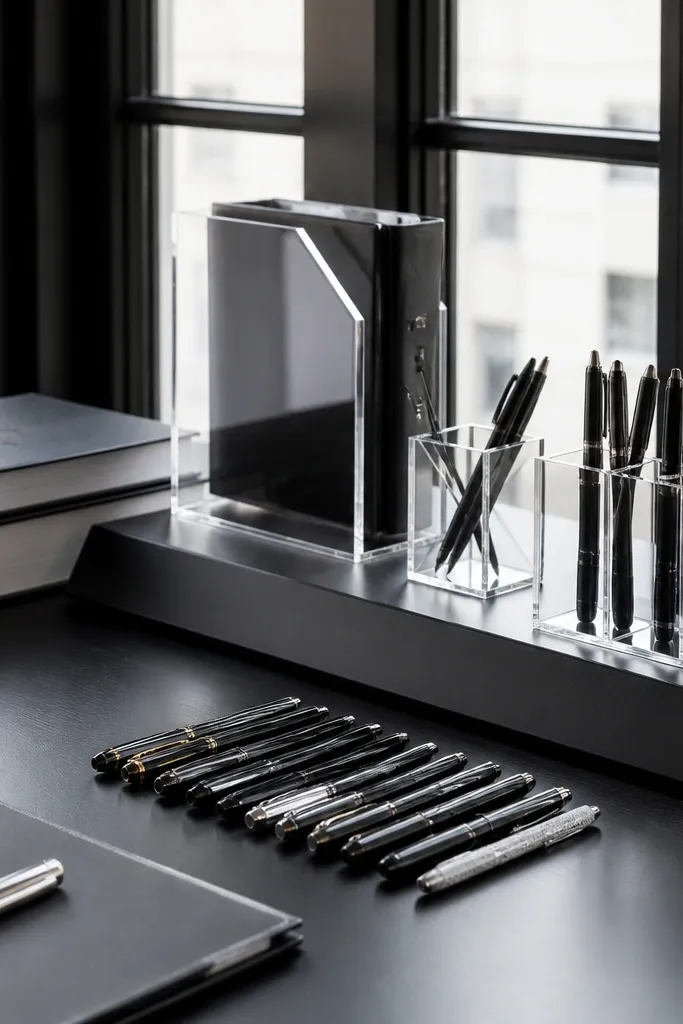
If your room has black frames, a matte black desk, or modern lighting, this is the cleanest way to make a study table look designed. The matte black base keeps everything grounded, while clear acrylic organizers visually disappear, so the tabletop looks lighter. A single black-and-white book stack adds structure without adding clutter. This works best when you need a tidy surface for study sessions and want the table to look sharp in photos.
Place a clear acrylic organizer on the left side of the work zone, leaving a 6-10 inch gap from the front edge for writing space. Stack two hardcover books next to it, then add one small object on top like a black candle-style holder or a minimalist sculpture. Keep pens in the organizer only, and add a matte black desk lamp centered on the back edge.
Use acrylic with straight sides and crisp corners — rounded pieces look less intentional on study tables.
Skip random loose items like coins or charging cords on the tabletop — they ruin the minimal look fast.
3. Linen-Soft Setup With Off-White Tray and Terracotta Planter
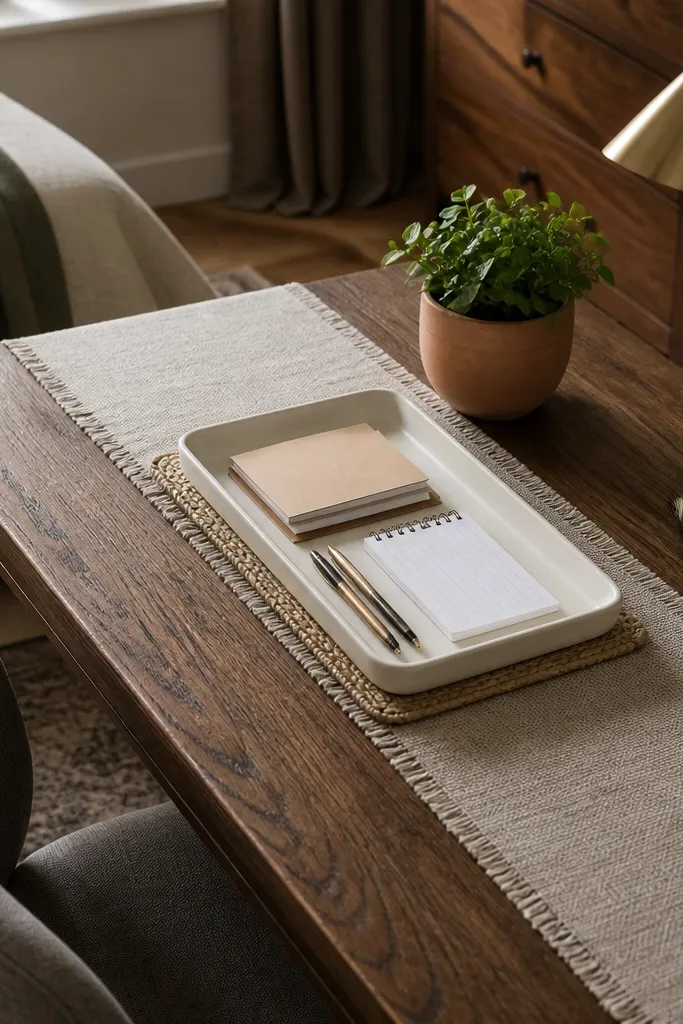
Lay a slim linen runner or place a textured coaster under the tray so it doesn’t slide. Position the off-white tray slightly off-center to the right, keeping at least 8 inches of clear space in front of your writing hand. Add a terracotta planter behind the tray, then finish with one small ceramic catchall for paper clips.
This is the warm, calming option for bedrooms and home offices that feel too stark. An off-white tray gives you a matte base that hides small mess, while a terracotta planter brings color without looking loud. Pair it with a linen-like desk runner or a textured coaster beneath the tray to add softness. The plant should be small but vertical — think a compact pothos or a short herb — so it adds life without taking over the work area.
Watch outDon’t go for a large plant; big greenery crowds the study zone and makes the table look messy.
Pro tipPick terracotta that leans orange-brown, not pink — it looks more natural next to off-white.
4. Blue-Gray Desk With Layered Paper Stack and Brass Bookmark Holder
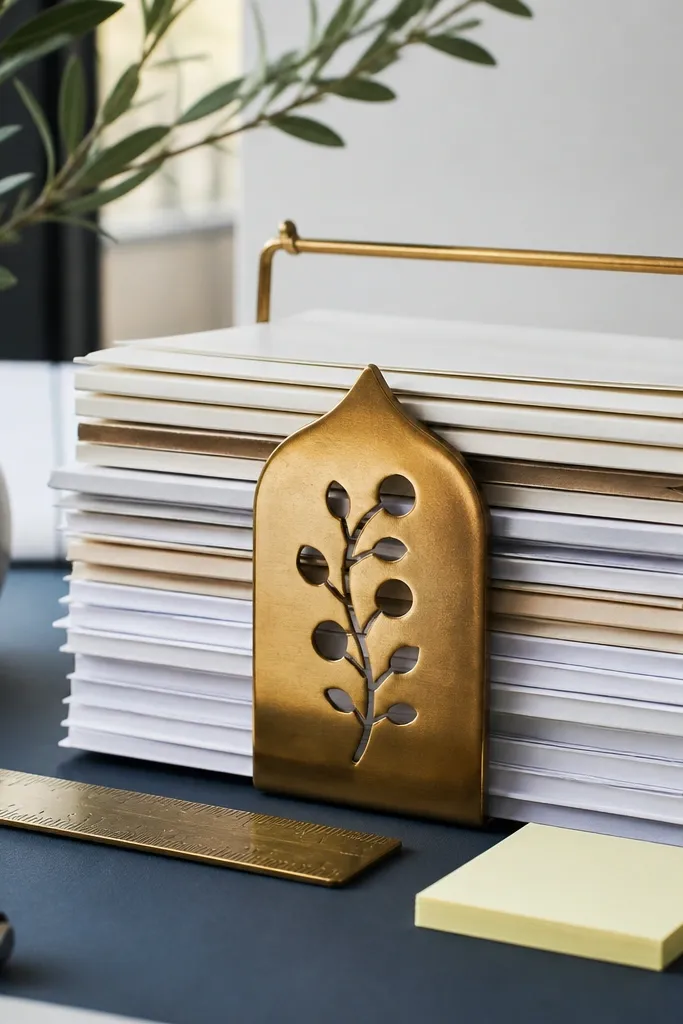
Create a paper stack by aligning three items — one book, one folder, and a small pack of notes — then place them on the back left corner. Add a brass bookmark holder upright on the right side of the stack so it creates a second vertical layer. Finish by placing a small tray in front of the stack for pens, keeping the center clear.
For students and anyone who spreads papers, this look keeps documents looking styled instead of scattered. A layered paper stack creates a deliberate “height block” that frames the desk and gives you a place to store loose sheets. A brass bookmark holder or letter rack adds vertical lines and keeps the stack from looking flat. The blue-gray desk color pairs beautifully with warm brass and cream paper, so it reads cohesive even with busy study materials.
Watch outAvoid stacking loose papers without a folder — loose edges make the desk look like you’re always mid-task.
Pro tipUse paper folders in muted tones (cream, dusty blue, taupe) so the stack looks intentional instead of random.
5. Scandi White With Black Grid Desk Accessories
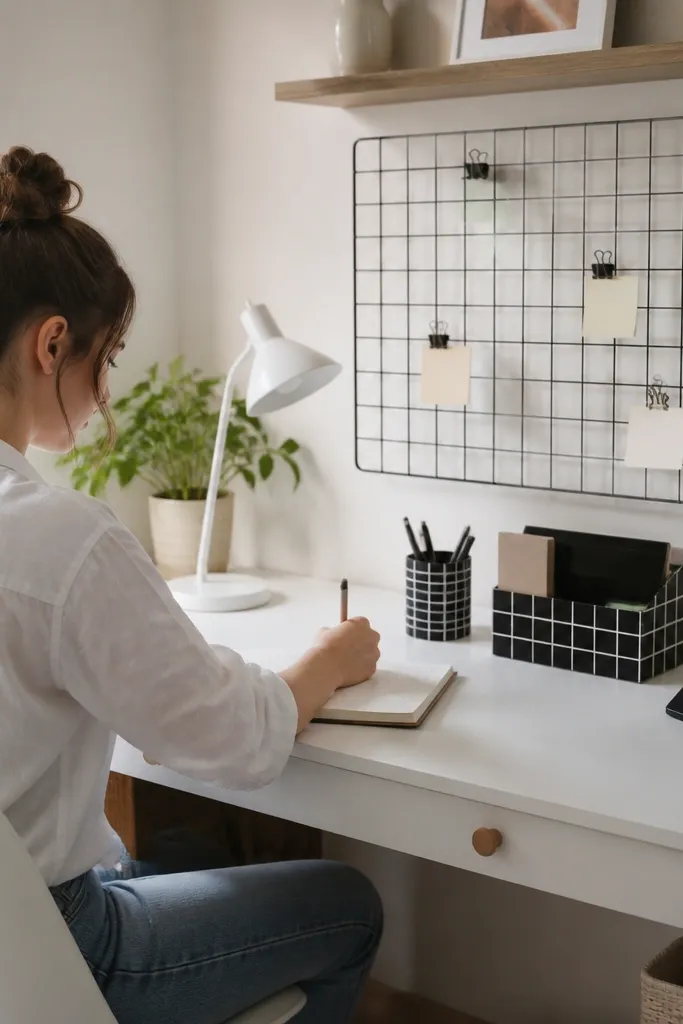
Put a black grid pen holder and a matching small tray on the same side of the desk, about 3-4 inches from the back edge. Place your lamp on the opposite back corner so the composition balances left and right. Add one small accent — a black-and-white photo card in a thin frame or a single plant leaf — then keep the front edge empty.
This is the best choice for small rooms where you want visual order. A white desk keeps the space bright, and black grid accessories add structure without adding color chaos. The grid pattern works like a design frame, so even small items like sticky notes feel organized. Pair it with a simple white lamp or a black gooseneck for a clean silhouette. It’s perfect for a home corner where you want the desk to look tidy even when you’re not actively studying.
Watch outDon’t add too many patterns; one grid pattern is enough for this look.
Pro tipChoose accessories from one set so the grid line thickness matches across pieces.
6. Chocolate Brown With Cream Bookends and Gold Pushpin Tray
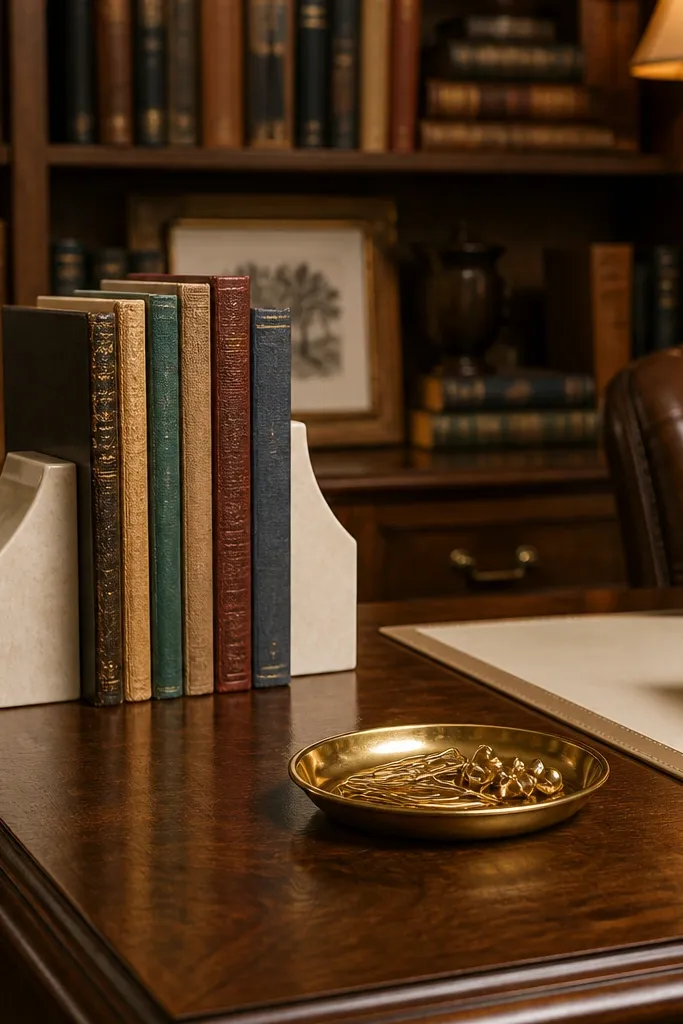
Place two cream bookends 10-12 inches apart on the back center of the desk. Stack two to three books between them, then set a small gold tray in front of the books. Keep pens in a single cup on the side, and position your desk lamp so its light hits the book spines.
This idea gives a cozy, library-style feel without turning your desk into a clutter pile. Chocolate brown desks look best with cream accessories that brighten the surface. Cream bookends make any book stack look deliberate, and a small gold pushpin tray adds a practical spot for clips, pins, or tiny tools. This is ideal when you keep reference books nearby and want them to look like a styled vignette rather than storage.
Watch outAvoid using tall decor on the front edge; it blocks your line of sight and makes the desk feel crowded.
Pro tipPick book covers with similar saturation levels; even mixed titles look neat when the colors are consistent.
7. White Marble Look With Black Tray and Monochrome Candles
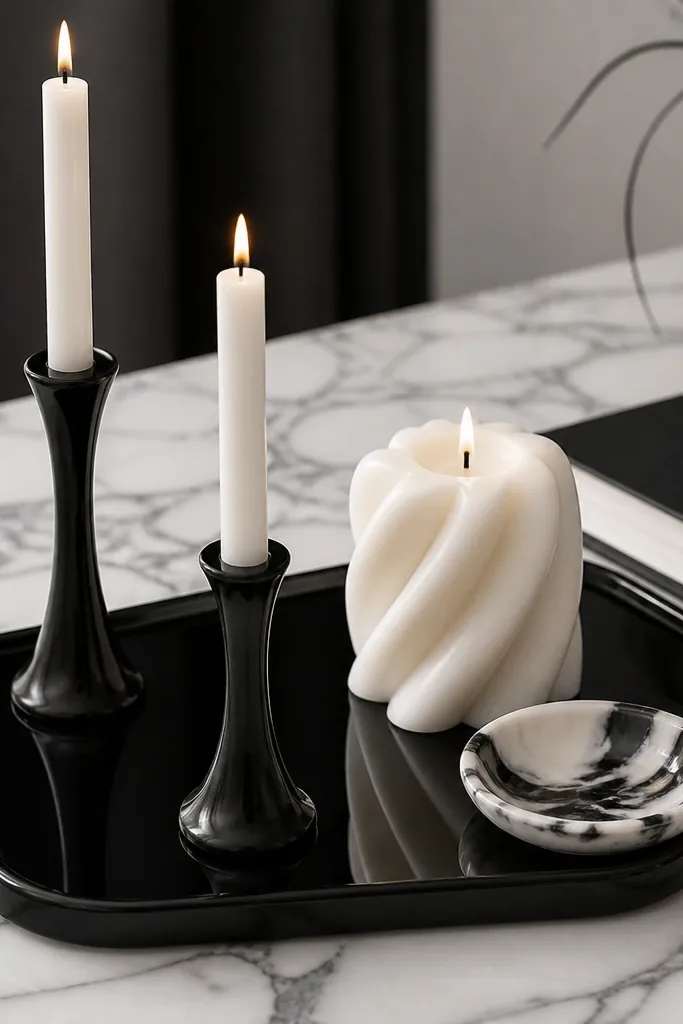
Center a black tray on the back third of the desk, leaving at least 9 inches clear from the front edge. Add one candle holder and one small dish for matches or paper clips, then place your desk lamp on the left back corner. Keep cords hidden with a clip under the tray edge or behind the organizer.
If your desk has a marble look or glossy white surface, this styling makes it look designer. A black tray creates contrast that makes small items readable and intentional. Monochrome candle holders or a single sculptural candle adds a soft, luxe vibe without needing bright color. This setup is photogenic because the glossy surface reflects light, and the black tray gives a clean frame for the reflection.
Watch outSkip too many small objects; on marble-look surfaces, extra items reflect and look chaotic.
Pro tipUse unscented candle holders in matte black; glossy finishes show dust and fingerprints faster.
8. Green Accent With Brass Pencil Cup and Jade Glass Vase
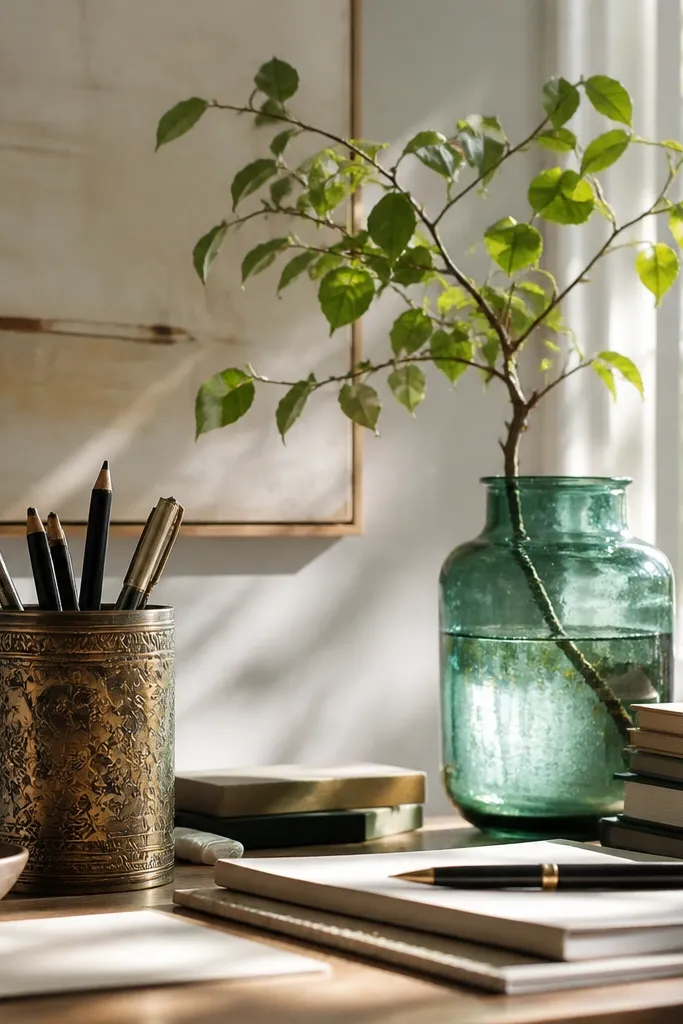
This is the most eye-catching combo on study tables because it uses color like a design tool. Jade glass adds depth and a slightly jewel-toned glow, while a brass pencil cup keeps the practical side neat. Choose a small sprig arrangement or one short branch so the vase height frames the desk without blocking. This works best in rooms with neutral walls and warm lighting, where the green becomes the focal point.
Place the jade glass vase at the back right corner, keeping it 2-3 inches away from the wall or any shelf. Put the brass pencil cup on the left side of the work zone, then place a minimal tray in the center for sticky notes. Finish with a desk lamp that has a warm bulb so the green reads rich, not dull.
Keep the vase contents to one type of stem so the arrangement looks styled, not random.
Don’t pair green with multiple other bold colors; keep the rest neutral (cream, tan, or warm gray).
9. Rattan + Ceramic Coastal Desk With Woven Pen Tray
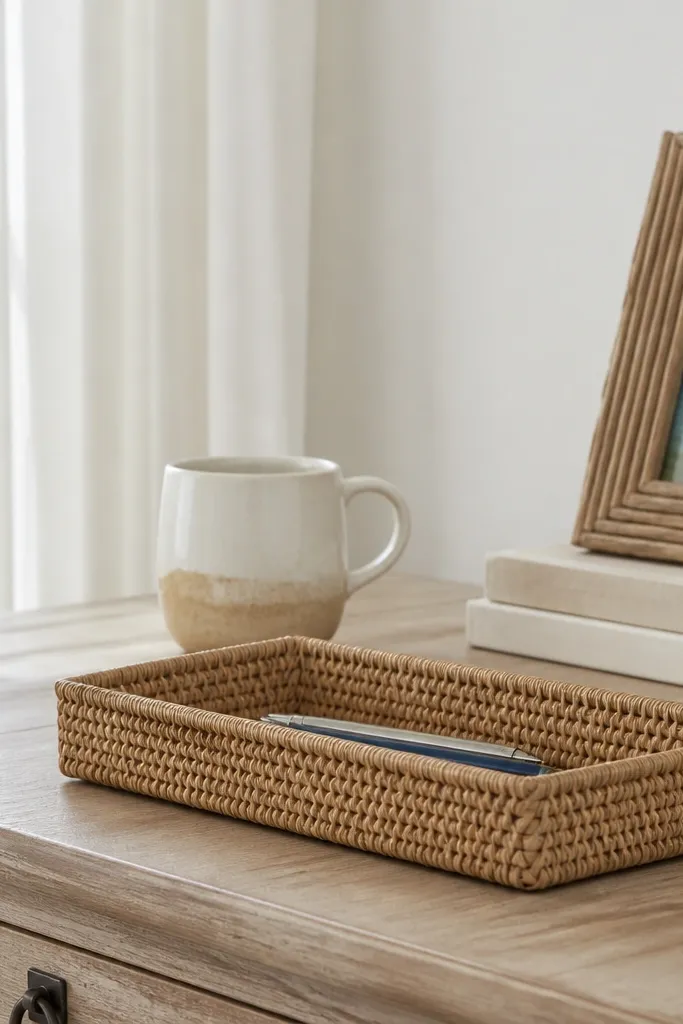
Coastal decor looks best when it mixes texture with clean negative space. A woven rattan pen tray adds warmth and hides tiny mess, while a ceramic mug or small bowl keeps the look grounded. Add a light-colored book stack and a simple shell-free accent like a driftwood-toned photo frame. This is great for desks in bright rooms because the woven texture catches light and makes the table feel lived-in but still organized.
Put the rattan pen tray on the right side, leaving 7-9 inches of clear writing space in front. Add a ceramic mug behind it for pencils or erasers, then place a small book stack on the back left corner. Keep decor limited to three items total on the tabletop besides your lamp.
Choose rattan trays with tight weaving — loose weave looks cheaper and sheds fibers onto the desk.
Avoid adding seashell decor; it looks trendy for a minute and then starts looking dated fast.
10. Two-Tone Styling With Taupe Desk Runner and Black Desk Mat
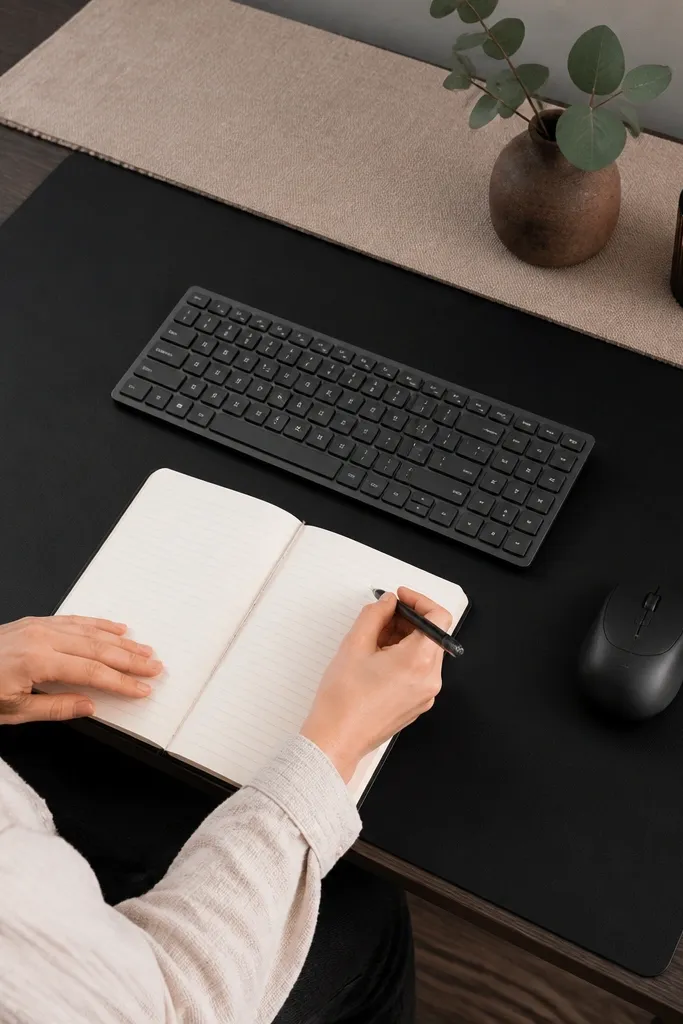
Roll out a black desk mat so it covers the center work area, leaving 3-4 inches visible on both sides. Place a taupe runner on the back edge where your lamp and decor sit. Add a small tray on the runner for pens and a slim vase with one stem on the far right.
This is a smart way to make a study table look styled when you use it daily and need protection. A black desk mat defines the work zone so your keyboard, laptop, and notebook sit on a single clean layer. A taupe runner behind it adds softness and gives you a base for decor like a small vase or candle. The two-tone approach looks intentional in both daytime and evening light.
Watch outSkip patterned mats for this look; busy patterns fight with the runner and make the desk feel messy.
Pro tipMatch the taupe runner tone to your chair upholstery so the desk looks tied into the room.
11. Gallery Wall Study Table With Floating Shelf Styling
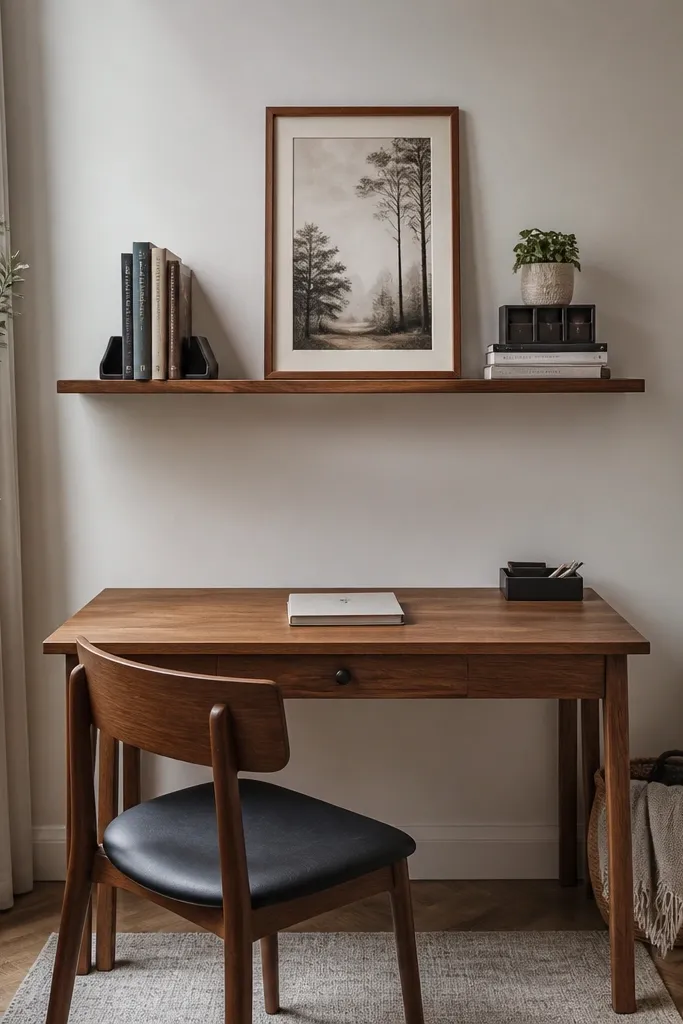
Mount a floating shelf 14-18 inches above the desk surface, centered to your chair position. Style the shelf with three items: one framed print, one small book stack, and one small ceramic or metal object. On the desk, place only a lamp and one tray on the back edge, keeping the center clear.
When your tabletop is small, the best decor move is to push styling upward. A floating shelf above the study table gives you room for books, a small framed print, and a mini organizer without crowding the surface. Keep the shelf styling in a line — tallest item in the center, smaller pieces on the sides — so it looks like a planned vignette. The tabletop then stays functional with only a lamp and one tray.
Watch outDon’t hang heavy decor too low; it blocks reading light and makes the setup feel cramped.
Pro tipUse shelf items that are the same height range — you want a clean rhythm, not random stacking.
12. Black-and-White Photo Frame + Task Lamp Pairing
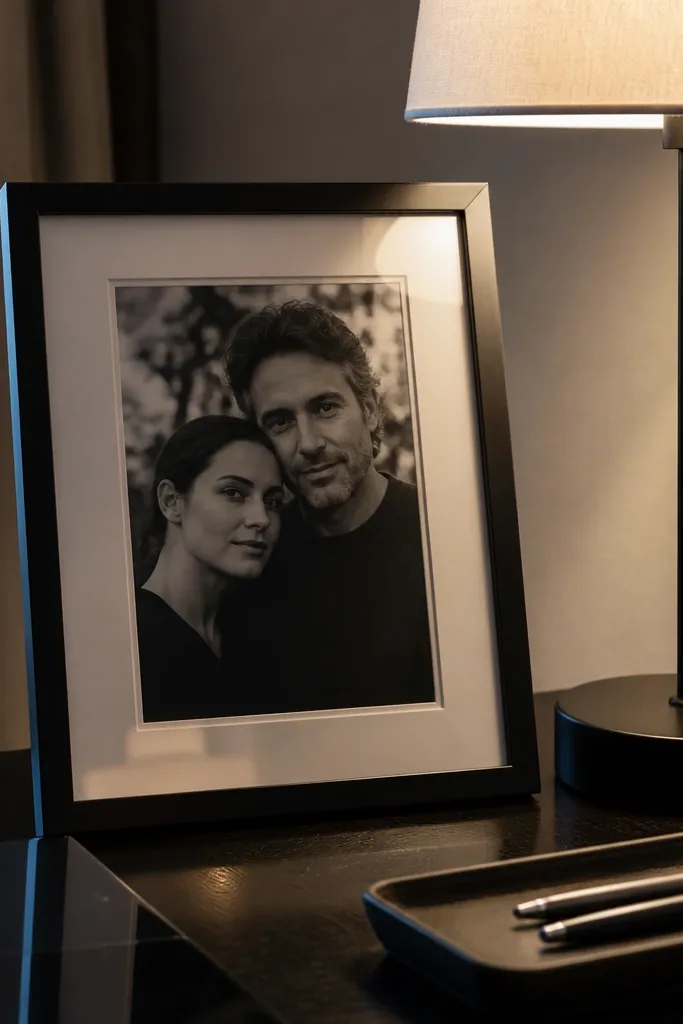
Place the photo frame on the back left corner, with the bottom edge about 2-3 inches from the desk edge. Add a task lamp on the back right corner so the light points toward the center. Put a slim pen tray in front of the frame and nothing else on the tabletop besides your notebook.
This idea makes a study table feel personal without turning it into a junk spot. A black-and-white photo frame adds a focal point that looks good from across the room, while a task lamp with a clean shade brings function and style together. Keep decor monochrome: one frame, one lamp, one slim tray for pens. This works in living rooms and shared spaces where you want the desk to look intentional even when you’re not studying.
Watch outAvoid colorful frames or mixed photo sizes on this look — it breaks the clean monochrome effect.
Pro tipChoose a frame with a thin mat; thick mats look bulky on small desks.
13. Full-Height Lighting With Floor Lamp Shade Over Desk
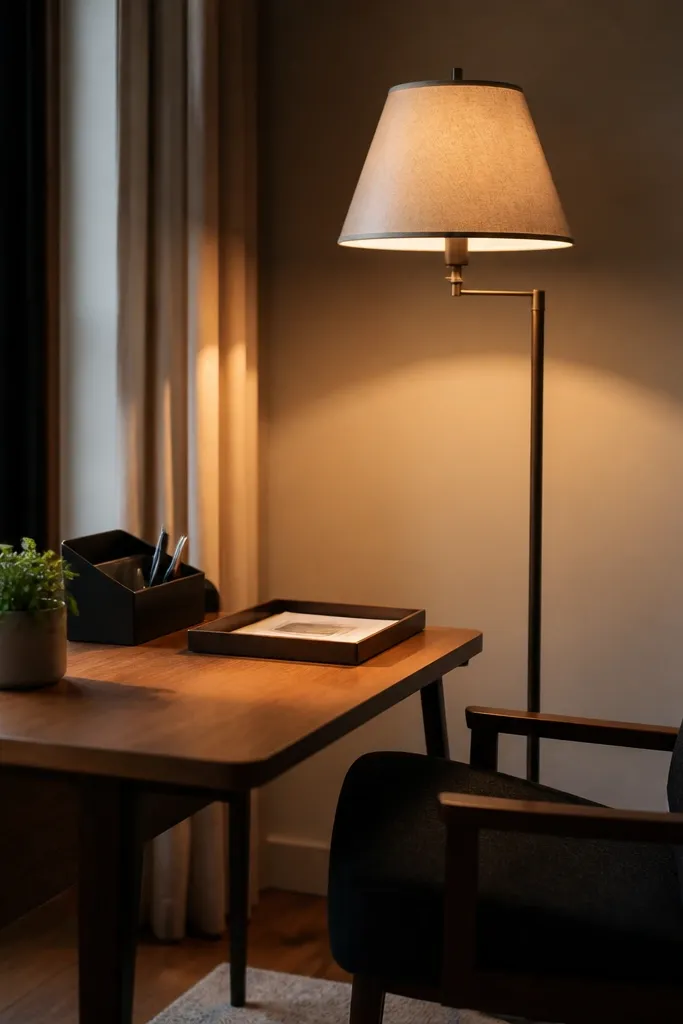
Lighting styling is the fastest route to “luxury interior” without adding clutter. A floor lamp with a fabric shade positioned toward the desk creates a soft pool of light over your work area. Then you keep the tabletop minimal: one tray, one organizer, and a small plant. This is excellent for study tables placed near a corner where overhead light is harsh or too far away.
Position the floor lamp 12-18 inches behind the desk on the side opposite your writing hand. Angle the shade so light lands on the center work zone, not on your eyes. Place a single tray on the back edge and keep all small items inside it so the desk surface stays calm.
Use a warm bulb around 2700K so the shade reads cozy instead of bluish.
Skip bright white bulbs under a fabric shade; they make the desk look clinical.
14. Gold Accent Clock + Stackable Tray for Papers
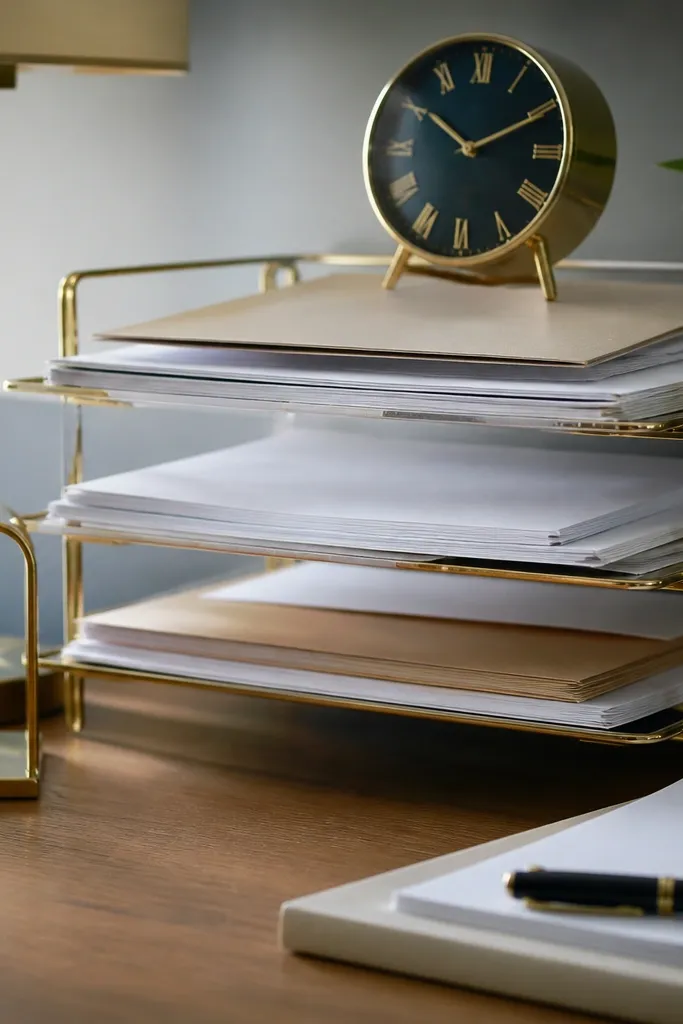
Place a small gold-accent clock on the back center of the desk, about 3-4 inches away from the edge. Add a stackable tray system on the back right to hold incoming papers and outgoing notes. Keep the front half of the desk clear, and store pens in a tray that sits inside the stackable unit when you’re done.
If your biggest issue is paper piles, this look fixes the visual mess with structure. A gold-accent clock adds a polished detail near the top of your setup, while a stackable tray organizes papers into visible layers. The gold matches small metal accents like a bookmark holder or a lamp base, so the whole corner looks coordinated. This setup is ideal for people who keep planners, notes, and printed sheets on hand.
Watch outAvoid stacking loose papers directly on the desk surface; they slump and look chaotic.
Pro tipLabel the top tray with a single word in small black ink so it looks styled, not messy.
15. Monk-Style Desk Nook With Lean Shelf and Minimal Objects
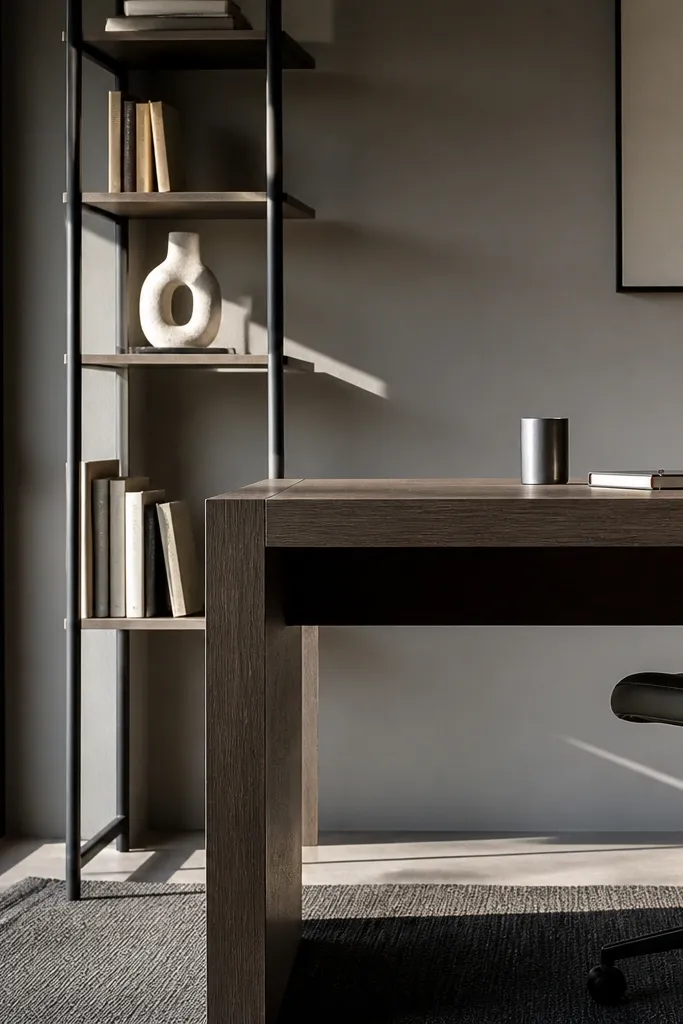
Choose a lean shelf and mount it so it sits 2-3 inches above the desk height line. Style it with two books and one tall object, keeping the tall piece in the center. On the tabletop, place only a lamp and one grounded organizer tray, then move everything else off the surface.
This one is for modern interiors where you want the desk to look calm and architectural. A lean shelf beside or behind the desk holds books and one sculptural object, while the tabletop stays almost empty. The trick is to keep object count low and choose pieces with strong silhouettes — a tall ceramic, a slim metal cup, and one framed item. It looks luxury because the eye isn’t bombarded with small items while you work.
Watch outDon’t fill every surface — this look dies when you add three more small trinkets.
Pro tipAim for “one tall, two low” on the shelf so the composition stays balanced.