1. Cream linen tray with olive ceramic accents
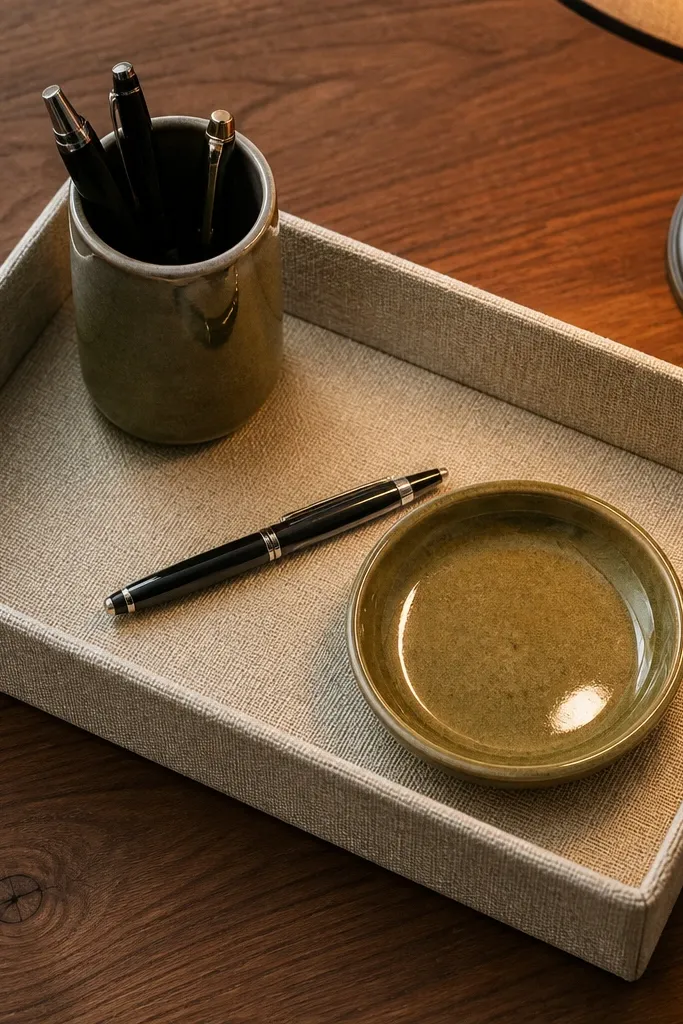
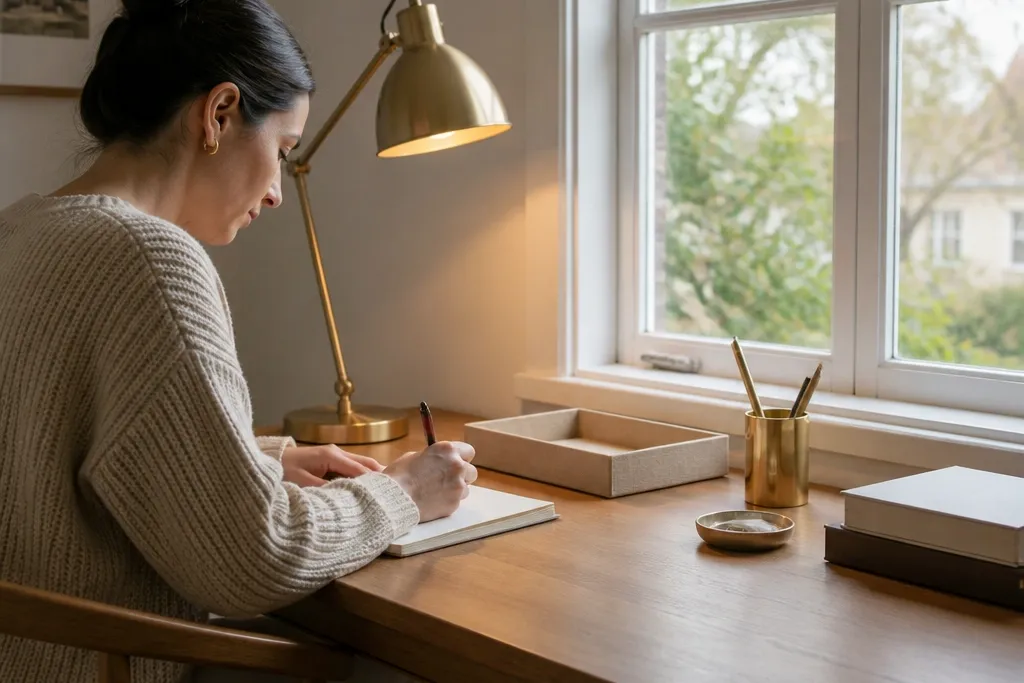
This setup looks cozy because the linen tray creates a soft “frame” for everything on the surface. Cream and olive read warm without feeling seasonal, and the glazed ceramic adds that gentle shine that looks good under desk lamps. Place a pen cup and a small catch-all dish inside the tray so your desk stays visually tidy even when you’re mid-project. It solves the common problem of scattered stationery that makes the table look chaotic by the end of the day.
Pro tipUse a tray with slightly raised edges so items don’t slide off when you bump the desk.
Step 1: Put a cream linen tray centered on the desk, with about 2-3 inches of space around it from the table edges. Step 2: Add one olive ceramic pen cup and one small olive or cream dish inside the tray; keep them within a 10-12 inch width so the arrangement feels intentional. Step 3: Add a single book stack corner (just one book, 2-3 inches tall) or leave the tray as the only “stack” for a clean look. Effort is low — you’re basically shopping for two ceramic pieces and one tray.
Watch outDon’t add three different colors inside the tray — one accent color is enough.
2. Walnut desk lamp glow with a matte black catch-all
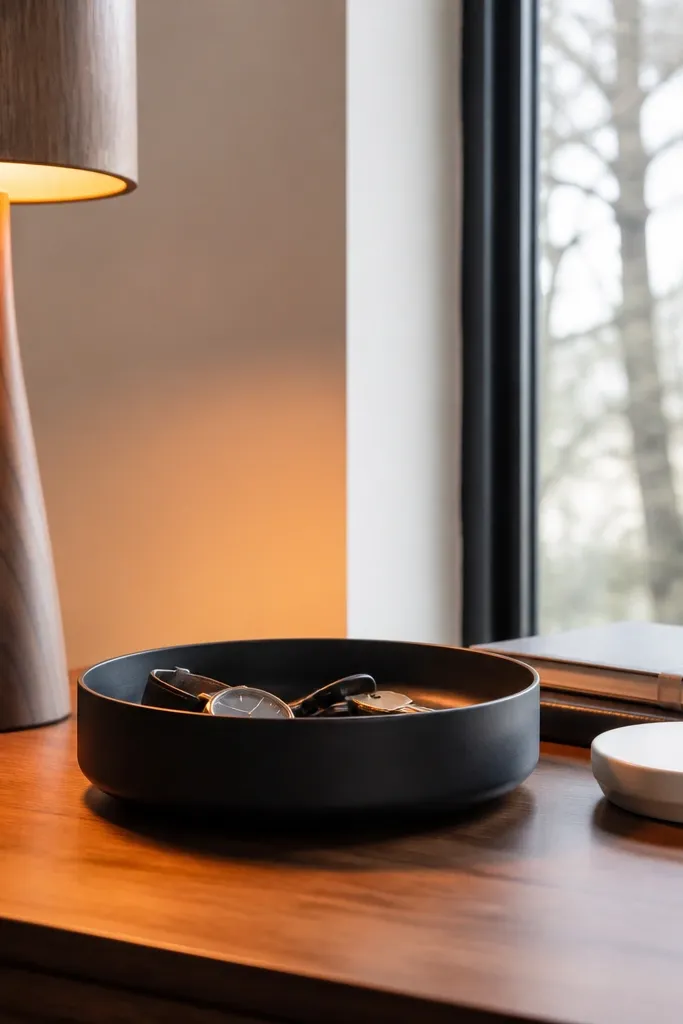
Lighting is the cozy cheat code. A warm desk lamp with a walnut or wood base makes the whole table look softer, even if your decor is minimal. Pair it with a matte black catch-all to keep contrast sharp and prevent the desk from looking washed out. This works especially well if your study area gets cool daylight; the lamp glow balances it and makes the space feel calmer at night.
Pro tipChoose a warm bulb around 2700K so the lamp reads cozy, not yellow-green.
Step 1: Position the lamp so the light hits the work area, not the wall — aim for the bulb to be about 18-24 inches above the desk surface. Step 2: Place a matte black tray or shallow dish on the opposite side of the lamp, about 6-10 inches away, and keep only small items inside (clips, a pen, a small notepad). Step 3: Set your main paper stack in the middle so the lamp side stays clean. Cost is moderate — the lamp is the real investment; the catch-all can be inexpensive.
Watch outSkip shiny black items — they create glare and make photos look harsh.
3. Textured knit desk runner with a single gold pen holder
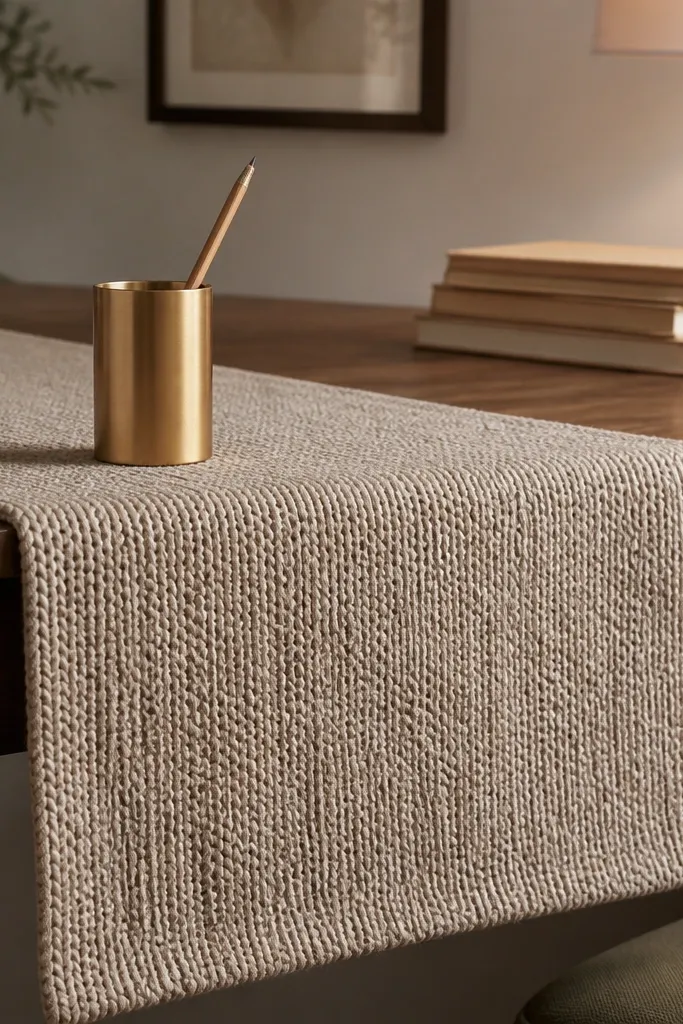
A knit runner instantly makes a desk feel lived-in without adding clutter. Oatmeal or oat-beige reads warm year-round, and the texture softens the whole look, especially on smooth wood or laminate surfaces. Keep the accessories minimal: one slim gold pen holder and one coaster-like base for your daily item. This solves the “my desk looks too bare” problem while still keeping focus on studying.
Pro tipFold the runner ends neatly or trim to a clean edge so it looks styled, not messy.
Step 1: Lay a knit runner lengthwise so it sits centered and leaves 1-2 inches of desk edge visible on both sides. Step 2: Place the gold pen holder about 10-12 inches from the front edge; add one small ceramic coaster next to it for a pen or highlighter. Step 3: Keep the rest of the surface empty except for your open notebook. If you already have a pen holder, you can do this with just the runner.
Watch outDon’t stack multiple knit pieces (runner plus blanket plus throw) on one desk — it gets visually heavy.
4. Glass jar + dried pampas substitute in a narrow vase
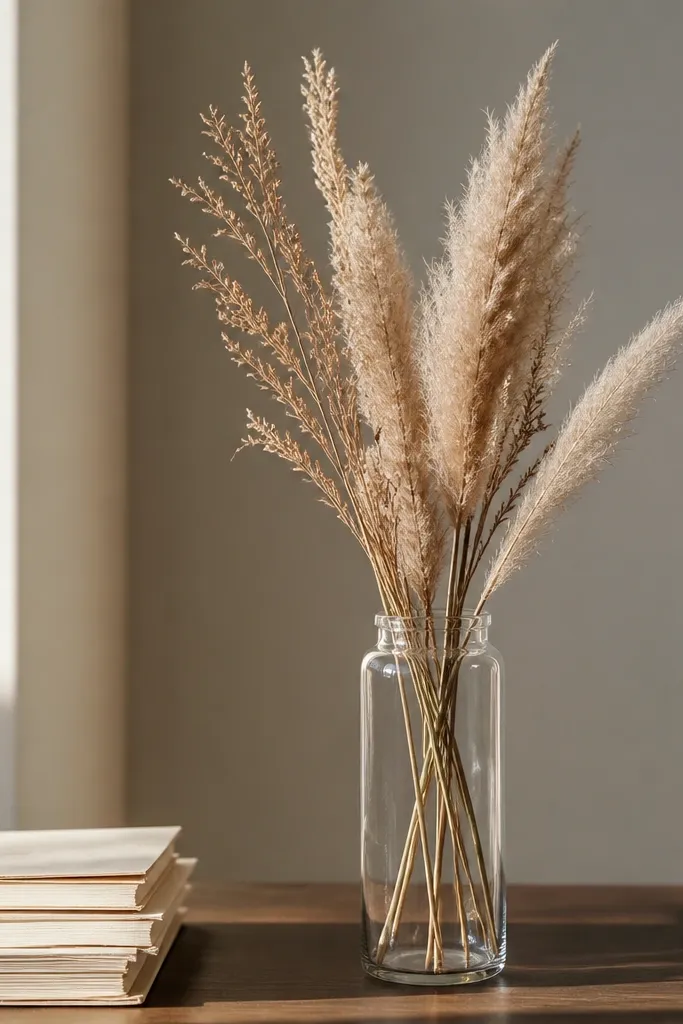
A tall, narrow vase gives you vertical calm. Choose a feathery dried stem look (pampas-style but in muted tones) and keep it in a slim container so the desk doesn’t feel crowded. Add a clear glass jar for pens or pencils so the stems don’t compete for attention. This setup looks good in every season because the stems are neutral and the glass stays crisp.
Step 1: Pick a vase height around 10-14 inches and place it at the back corner of the desk, not the center. Step 2: Add a clear glass jar (about 4-6 inches wide) closer to the work edge and keep it to one function: pens only. Step 3: Trim the stems so the top reaches about 2-4 inches below your eye level when seated. Effort is low: you’re arranging two containers and trimming.
Mist the stems lightly with matte spray (or use pre-matte stems) so they don’t look shiny under lamp light.
Don’t let the stems spread wider than 8-10 inches — wide fluff makes the desk feel messy.
5. Monochrome shelf-back styling with a small framed print
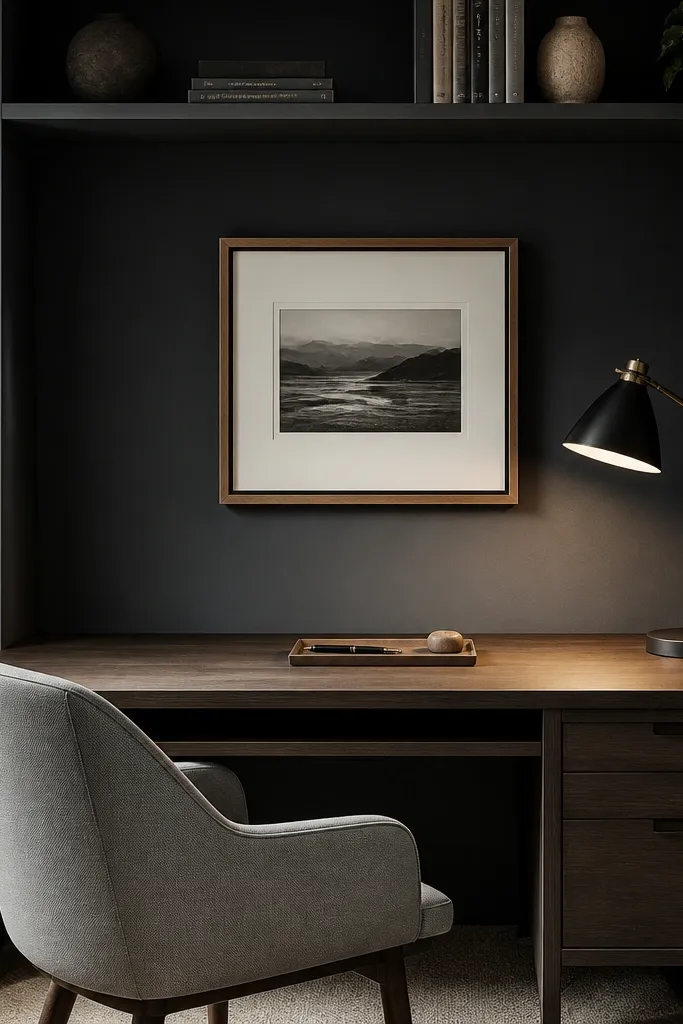
If your table is small, move the “decor weight” upward. A single framed print above the desk creates a calm visual anchor, and it keeps the tabletop free for studying. Use a monochrome frame — black or warm wood — and pair it with a minimal tray below so the whole setup feels cohesive. This is great when your desk surface already holds a laptop, books, and a keyboard, but the wall behind it looks blank and distracting.
Pro tipChoose art with lots of negative space so it doesn’t compete with your reading.
Step 1: Mount or place a small shelf behind the desk at about 40-50 inches from the floor, centered over your work zone. Step 2: Put one framed print on the shelf plus one tiny object (a small ceramic bowl or bookend) — no more than two items. Step 3: On the desk below, use a single tray to hold pens and sticky notes. Cost can be low if you already have a frame; the shelf is optional if you can use a wall hook.
Watch outDon’t crowd the shelf with multiple frames — one statement piece looks calmer.
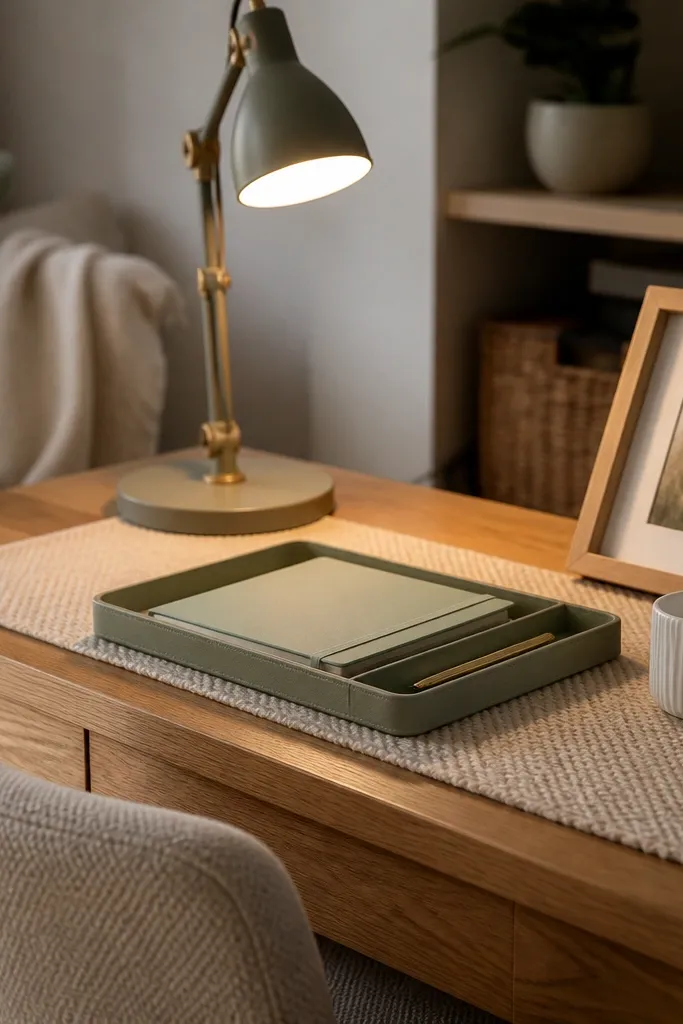
6. Sage green planner tray with a matching bookmark ribbon
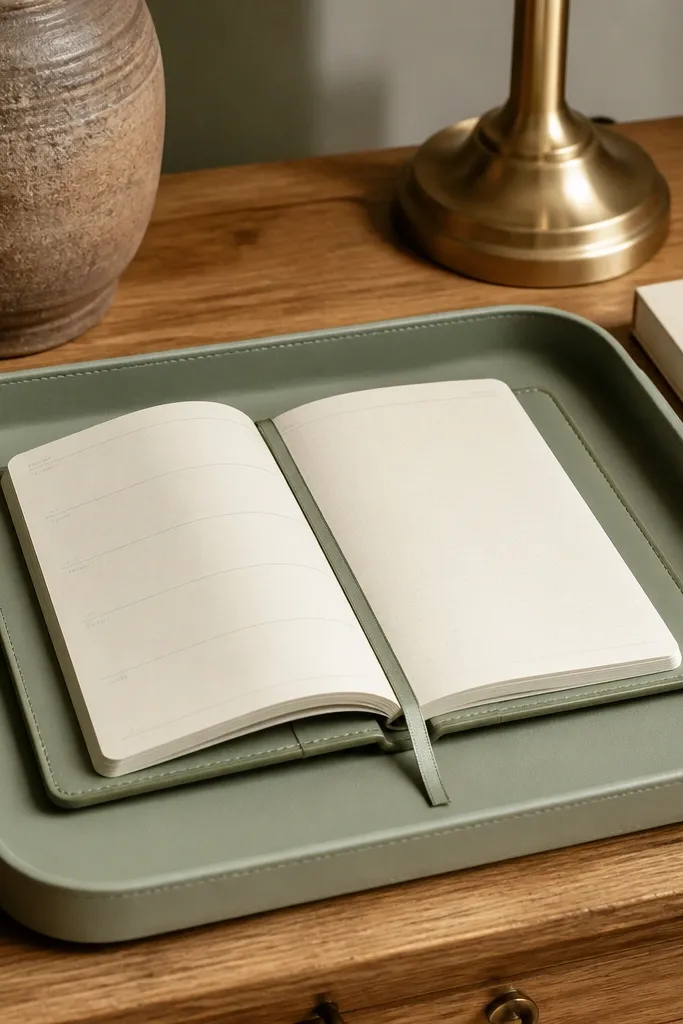
This is cozy because it ties your daily work items into one color story. Sage green on a tray looks soft, and it plays nicely with warm wood, cream stationery, and brass-toned accessories. The bookmark ribbon is a small detail that makes the whole setup feel styled instead of random. It solves the problem of planners looking messy because loose papers and bookmarks end up everywhere.
Step 1: Use a sage green tray or folder stand and place your planner centered on it; keep the planner thickness visible (don’t hide it under other items). Step 2: Add a small ceramic dish on one side for clips or a paperweight, and tuck a linen ribbon bookmark so it hangs 2-3 inches. Step 3: Keep pens in a separate cup or inside the tray edges so they don’t spread across the desk. Effort is medium — you’re styling around one planner you likely already own.
Match the ribbon to the tray tone, not the wall paint — the color relationship is what reads intentional.
Don’t add extra decorative clips or charms — one ribbon detail is enough.
7. Brown leather desk pad with a white ceramic pen rest
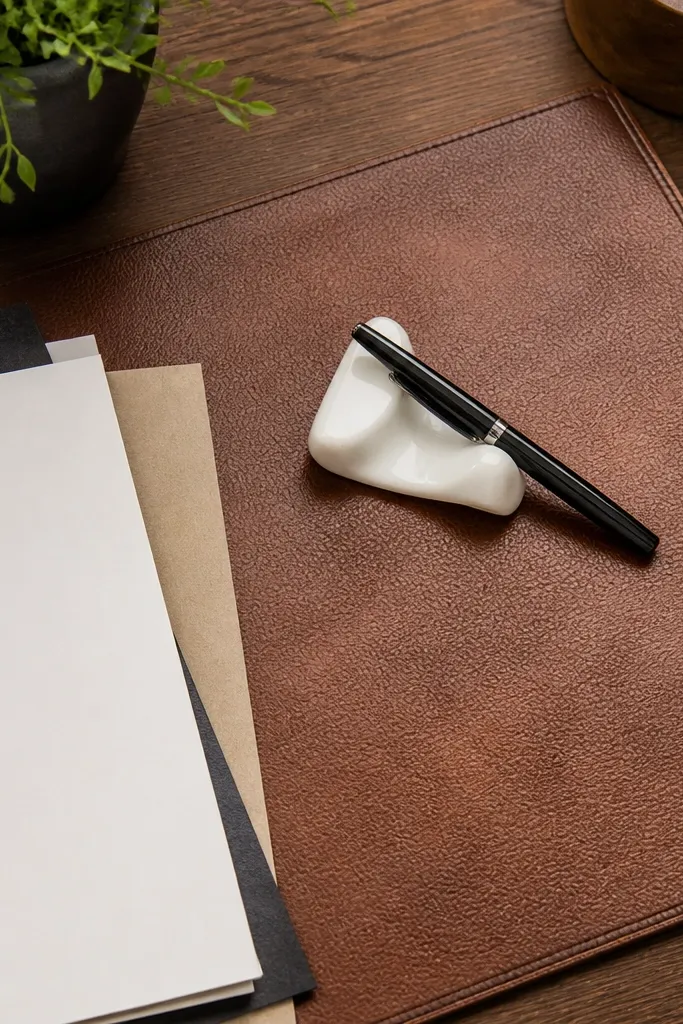
A leather desk pad makes the whole work zone look finished. The brown tone warms up cool lighting, and the smooth surface keeps your desk from looking cluttered because you naturally place things on the pad. Add a white ceramic pen rest so the contrast is clean and bright. This works when you have lots of paper — it gives you a defined “working area” that makes the mess look controlled.
Pro tipCondition the leather lightly if it’s real leather so it stays matte and doesn’t look dry.
Step 1: Choose a desk pad size that covers the front two-thirds of the desk, usually around 24x14 inches for a typical study table. Step 2: Place a white ceramic pen rest near the pad’s right side and keep your notebook centered-left. Step 3: Add only one small item on the pad at a time — a coaster or a small tray — so the leather stays the visual anchor. Cost varies, but a good pad is worth it because it changes the look instantly.
Watch outAvoid glossy faux leather — it reflects overhead lights and kills the cozy feel.
8. White ceramic tray + black-and-cream candle holder
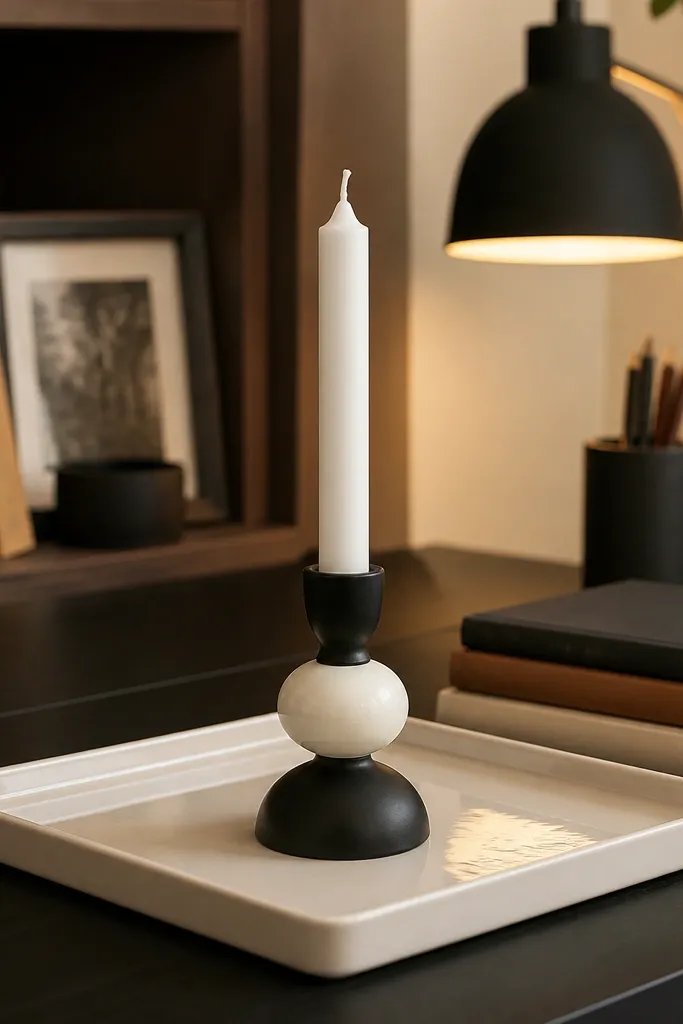
A candle holder adds warmth even when you’re not lighting it. Use a white ceramic tray to keep the base clean, then add a black-and-cream candle holder for contrast. If you choose a taper-style candle, it looks tall and tidy, not bulky. This setup is great for evening studying because the candle shape frames the workspace and makes the desk feel like a calm station, not a storage shelf.
Step 1: Place the white ceramic tray slightly off-center toward the side you write from, leaving 3-4 inches of clear desk space on the other side. Step 2: Put the candle holder on the tray center and keep it at least 6 inches away from paper stacks. Step 3: Add one tiny match box or small candle accessory in a corner of the tray — keep it minimal. Effort is low; you’re styling with three items.
Use unscented candles for study spaces so you don’t get distracted by smell.
Don’t put the candle directly under a lamp glare — it can look washed out in photos.
9. Warm wood riser with layered books and a small ceramic bowl
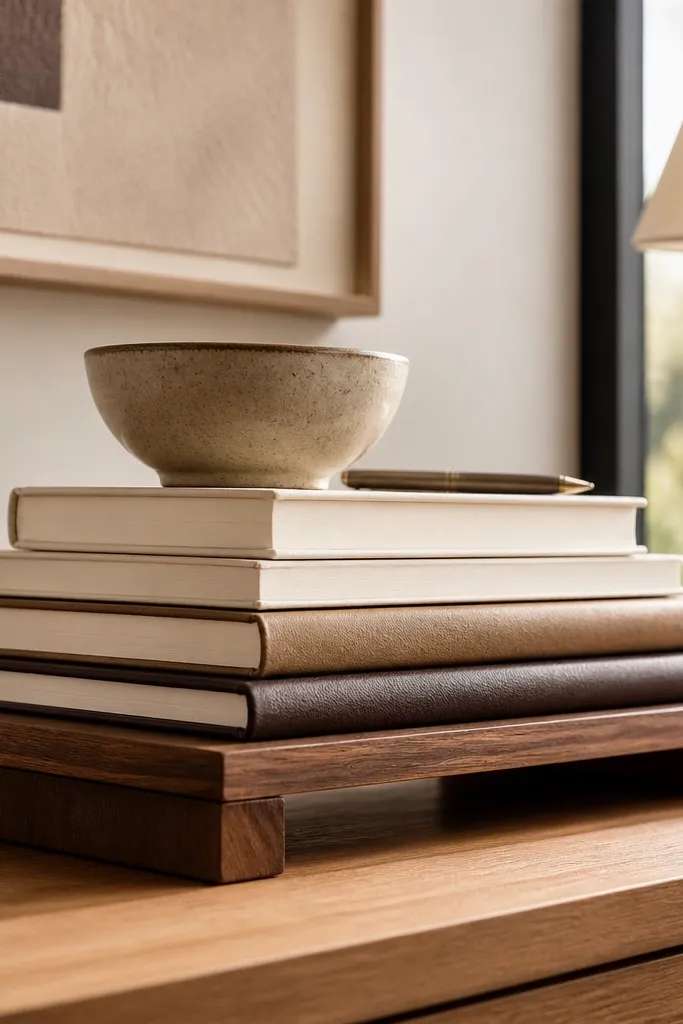
Height layering makes a desk look styled fast. A warm wood riser lifts your books slightly so the top surface doesn’t feel flat, and a small ceramic bowl keeps tiny items from scattering. Choose two book colors only — like cream and deep brown — and keep the bowl in a matching neutral. This solves the “my desk looks flat and boring” issue without turning your workspace into a display shelf.
Step 1: Use a riser about 6-8 inches tall and place it at the back center of the desk. Step 2: Stack 2-3 books on the riser so the tallest spine reaches roughly 8-10 inches above the desk surface. Step 3: Add a small ceramic bowl at the riser front for paper clips, rubber bands, or a single daily pen. Cost is low if you already have books; the riser is the key purchase.
Angle the top book spine slightly so it catches light — straight-on stacks look more rigid.
Don’t use more than three book spines in the same color family — it reads messy.
10. Navy notebook + brass binder clips in a clear acrylic organizer
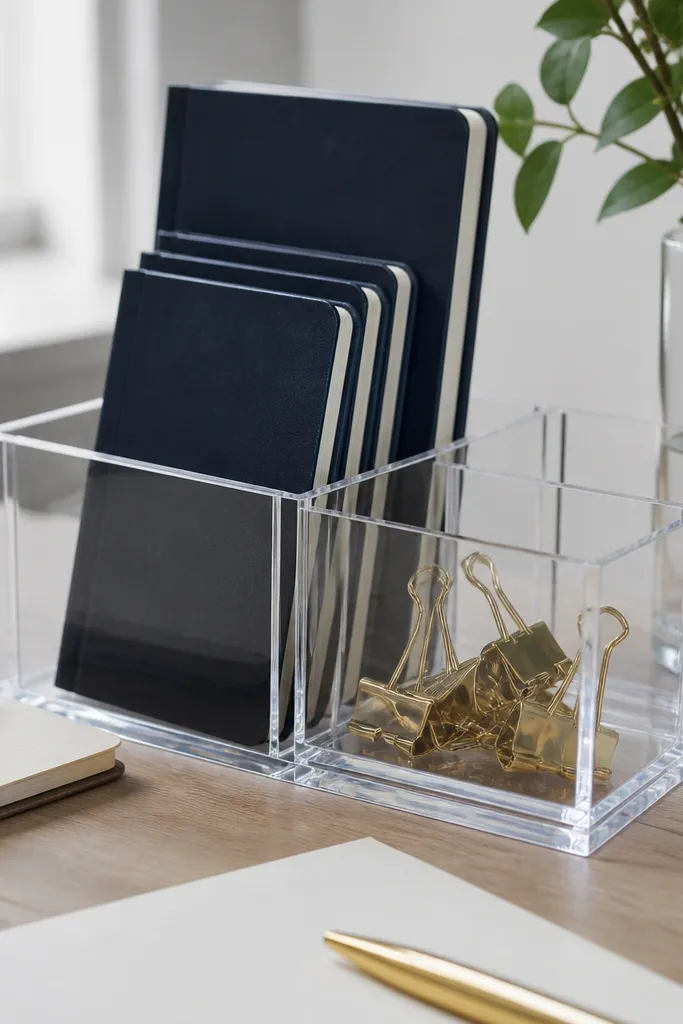
This setup is crisp and cozy at the same time. Navy and cream create a calm, study-friendly contrast, while brass binder clips add warmth without adding visual clutter. A clear acrylic organizer keeps everything in place and makes your desk look tidy even when you’re actively using it. It’s a good choice for people who want “clean” more than “cute,” but still want cozy.
Pro tipChoose brass clips with a matte finish so they don’t glare under overhead lighting.
Step 1: Place a navy notebook horizontally or slightly angled near the center of the desk, about 8-10 inches from the front edge. Step 2: Use a clear acrylic organizer (about 9-12 inches wide) and fill it with brass clips and one pen only. Step 3: Keep loose papers in a separate folder off the desk surface so the organizer stays neat. Effort is medium — you need the notebook and organizer, but everything else is cheap.
Watch outAvoid mixing brass and chrome in the same organizer — it breaks the calm look.
11. Monochrome plant corner with a small ceramic pot and tray
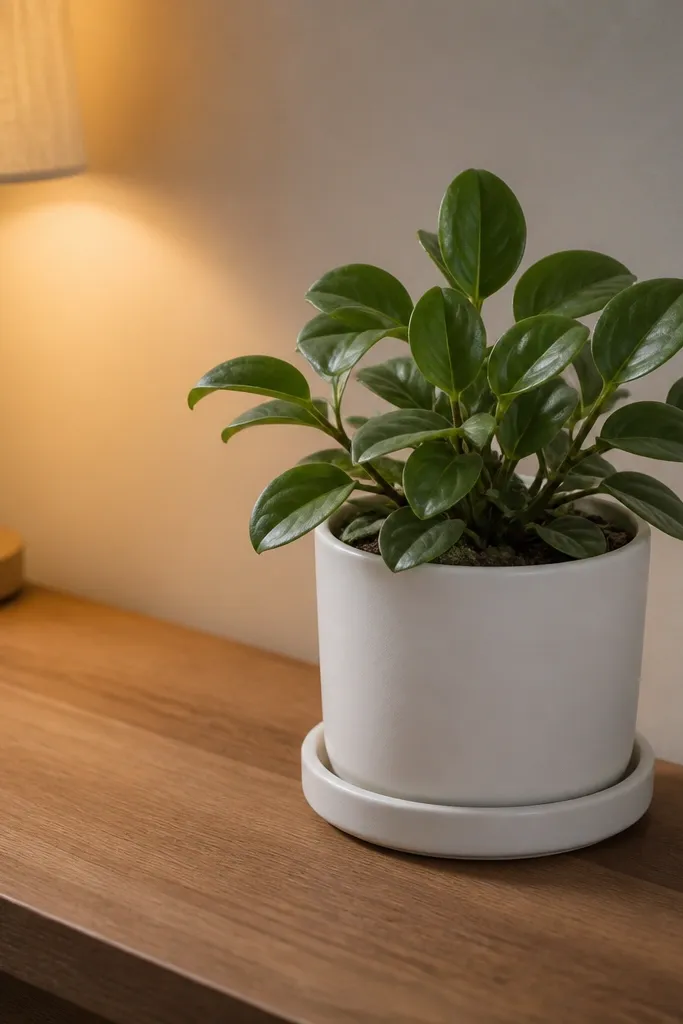
A small plant corner makes your study space feel alive without turning it into a jungle. Keep the plant pot monochrome — matte white, warm taupe, or deep charcoal — and put it on a matching saucer tray so water and dust don’t ruin the look. The plant adds movement and softness, while the tray keeps the area tidy and photo-ready. This is a strong option if you want cozy but you hate decorative clutter.
Pro tipWipe the pot rim weekly; dirty rims make even nice decor look tired.
Step 1: Pick a plant that stays compact — a small pothos cutting in a pot or a low succulent — and keep the pot diameter around 4-6 inches for desk scale. Step 2: Place the pot on a saucer tray and keep a clear 2-3 inches of tray border visible around it. Step 3: Add one supporting item only, like a small candle or a pen cup, and keep it on the opposite side of the plant. Cost depends on plant choice, but the styling pieces are inexpensive.
Watch outDon’t place a large plant on a tiny desk — it overwhelms the work zone.
12. Season swap tray insert in neutral tones
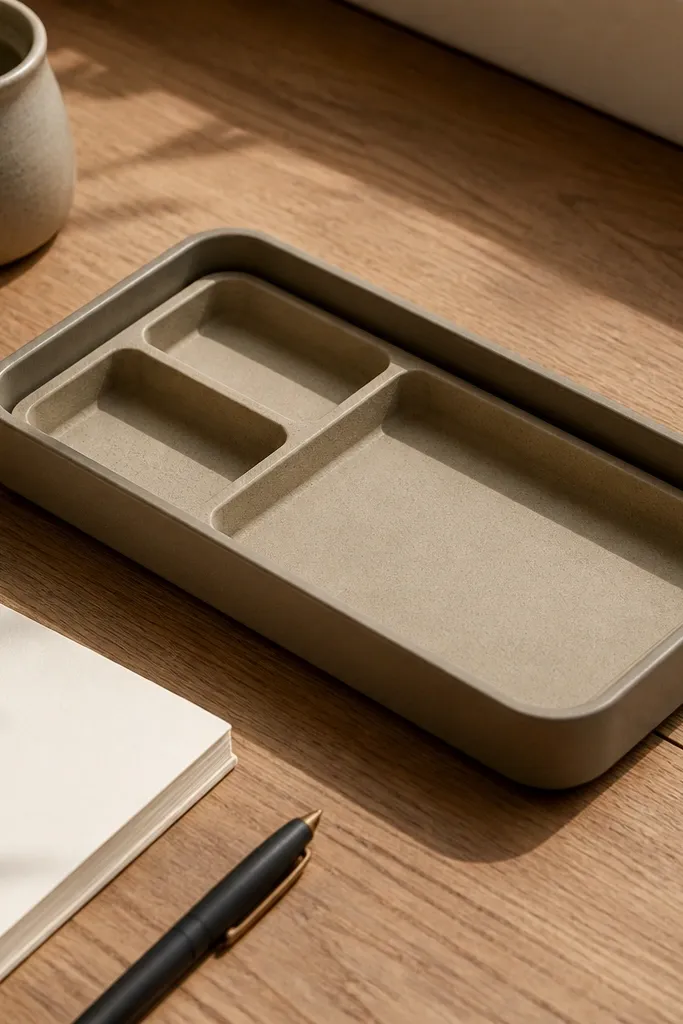
If you want cozy study table decor ideas year-round, you need a system. Use one neutral tray as your base and swap a removable insert for the seasonal color pop. For example, spring and summer inserts in light sage or sand, fall and winter inserts in terracotta or warm clay. The base stays consistent, so your desk looks cohesive even when you change one piece. This solves the “I change everything every season and it never looks right” problem.
Step 1: Buy or use a tray with a flat bottom and measure the insert area; aim for an insert that covers at least 70% of the tray surface. Step 2: Create 3-4 inserts from fabric or felt in neutral tones, and keep them in a small folder so you actually swap them. Step 3: Place your daily items on top of the insert and keep the number of items at 3 or fewer. Effort is low after you make the inserts once.
Choose inserts that are matte, not shiny — shiny fabric looks cheap under desk lamps.
Don’t swap the tray too — changing the base every season breaks the year-round look.
13. Soft grey desk organizer with a cream desk clock
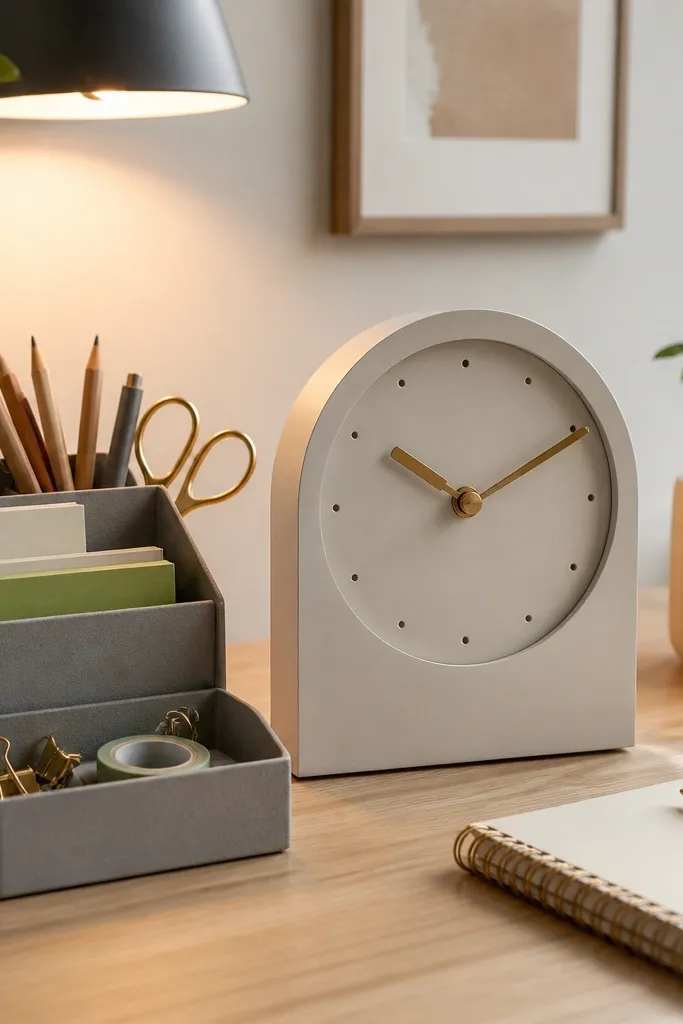
A desk clock makes the workspace feel structured, and structure reads calm. Pair a soft grey organizer with a cream clock so the desk looks coordinated without being overly decorative. The grey keeps stationery from standing out too much, while the cream clock adds a gentle focal point. This is perfect for students and anyone who studies in short bursts — the clock becomes a visual reminder that the space is for work, not searching for things.
Step 1: Place the grey organizer toward the back-left or back-right corner, leaving a clear center for your notebook. Step 2: Set a cream desk clock on a small riser or directly on the desk near the organizer, keeping it within your line of sight. Step 3: Store pens, sticky notes, and small tools inside the organizer only, so the tabletop stays clean. Cost is moderate if you buy a clock and organizer, but the payoff is a tidy, cohesive look.
Choose a clock with a simple face and matte frame so it doesn’t reflect light.
Avoid organizers with loud patterns — the clock plus pattern fights for attention.