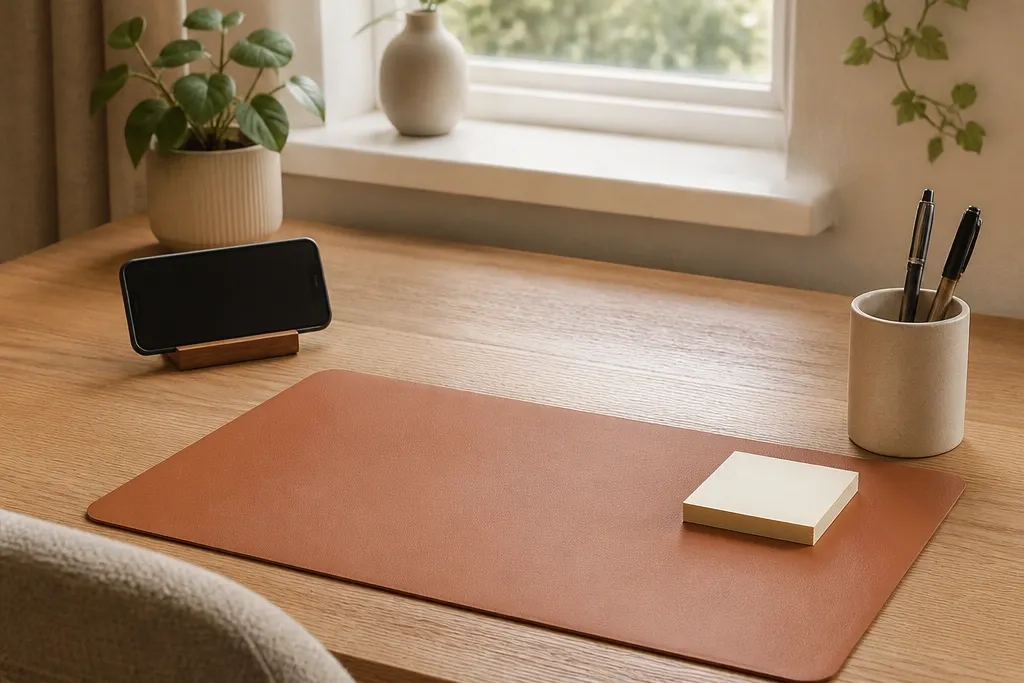
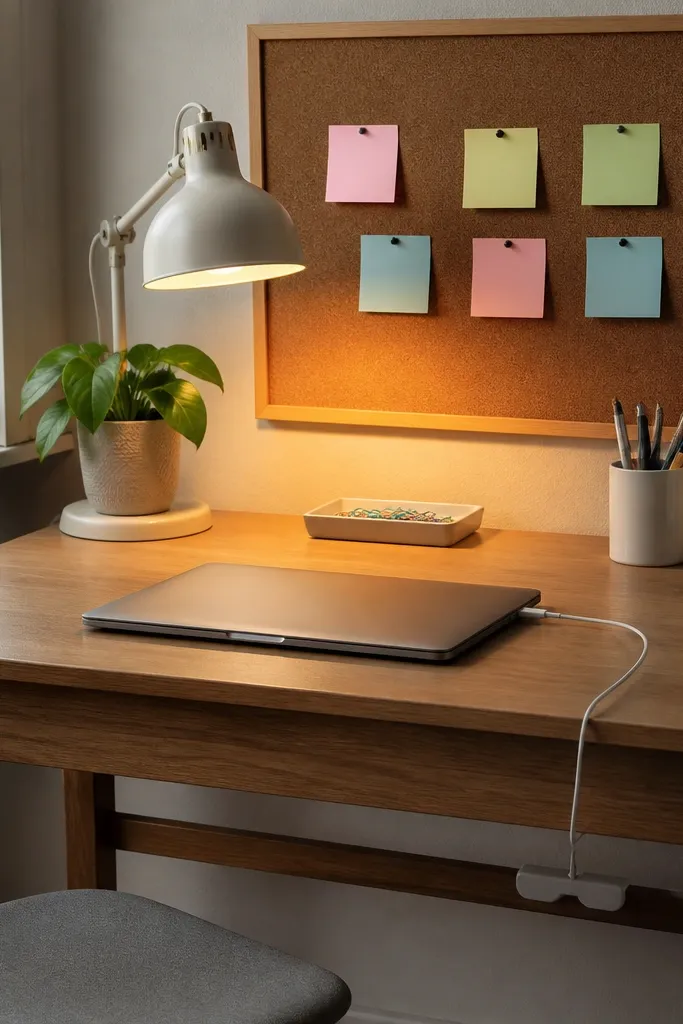
1. Terracotta Desk Mat + Matching Pen Cup Tray
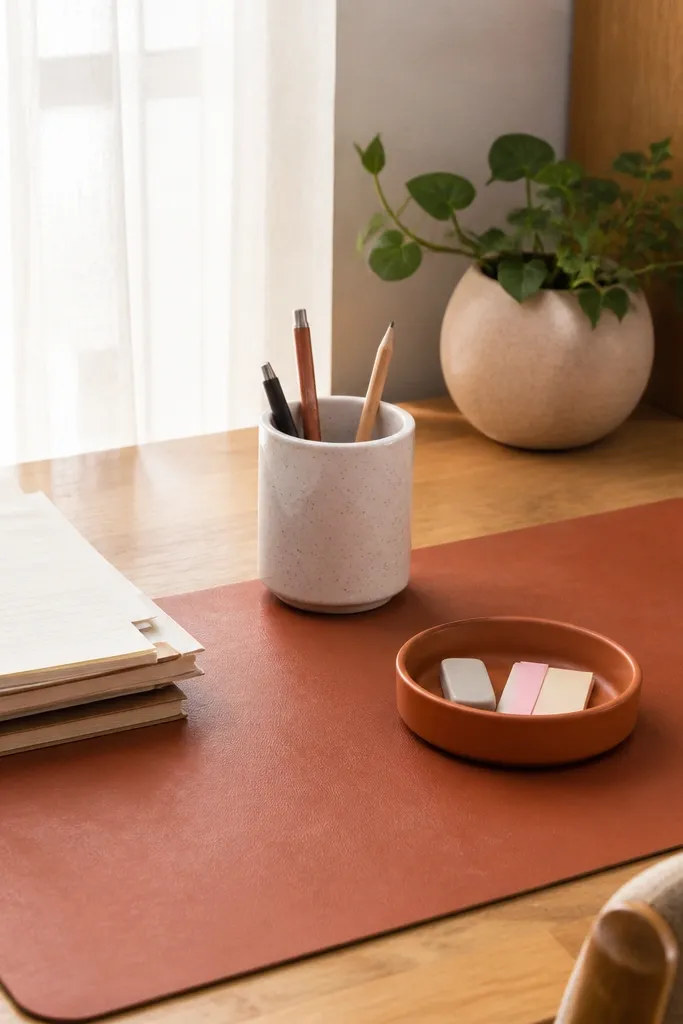
This setup makes your desk look instantly intentional because the desk mat creates a clean visual base. Go for a terracotta mat with a matte finish so it hides small scuffs and pencil marks without looking dirty. Pair it with a pen cup in warm white or off-white and a small tray for sticky notes and paper clips. The terracotta pulls warmth into a study space, while the tray keeps tiny items from spreading across the tabletop. Best for: students who use lots of small supplies and want a cozy look without constant tidying.
Step 1: Measure your usable writing area, then place the mat centered so it leaves a 2-3 inch border around the edges of your desk surface. Step 2: Put the pen cup on the right side of the mat (or left if you’re left-handed) and set the sticky-note tray slightly in front of it so you can grab without reaching. Step 3: Add paper clips and a small eraser in the tray only; if you have loose items, move them off the mat into a drawer. This is a low-cost build: mat plus one cup plus one tray usually stays around $25-60 depending on fabric vs. Faux leather.
Keep the pen cup empty of random gadgets. If it doesn’t write, it doesn’t live there.
Don’t mix terracotta with too many bright accents like neon pink; it makes the mat look loud instead of cozy.
2. Stacked Book Risers with a Tiny Planter
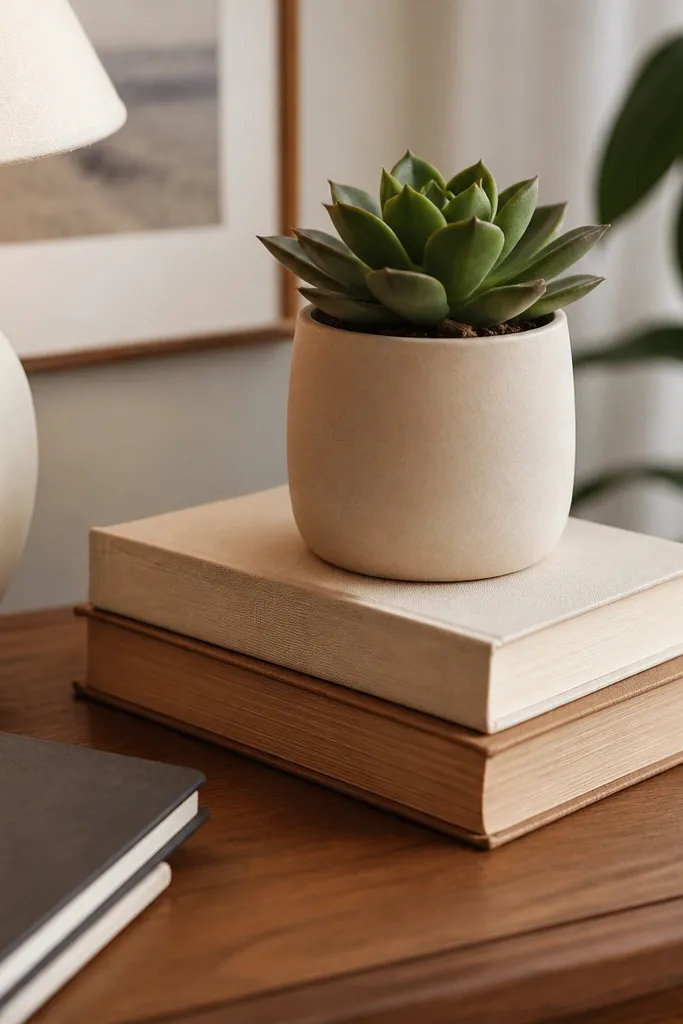
Stacked book risers give you instant height for your lamp and make the desk feel styled instead of bare. Pick books with similar spine colors or at least a shared palette like cream, sand, and soft brown. Add a tiny planter (succulent or faux) on top to bring a cute, living detail without taking over the desk. This works because it creates a vertical focal point, so the tabletop clutter looks more organized by comparison. Best for: desks that feel flat and boring, especially near a window.
Step 1: Choose two books with sturdy covers and stack them so the top book sits 4-6 inches above your desk surface. Step 2: Place the planter on the far edge of the top book, leaving a 1-inch gap from the desk lamp cord path. Step 3: Put your lamp on the other side of the stack so light doesn’t cast shadows over your writing. Effort is minimal: you’re using items you already own plus the planter.
Wrap the book stack with a thin ribbon or a narrow strip of coordinating fabric if the spines don’t match.
Avoid placing a planter directly under the lamp heat if it’s a real plant that needs airflow.
3. Wire Grid Organizer with Cute Label Cards
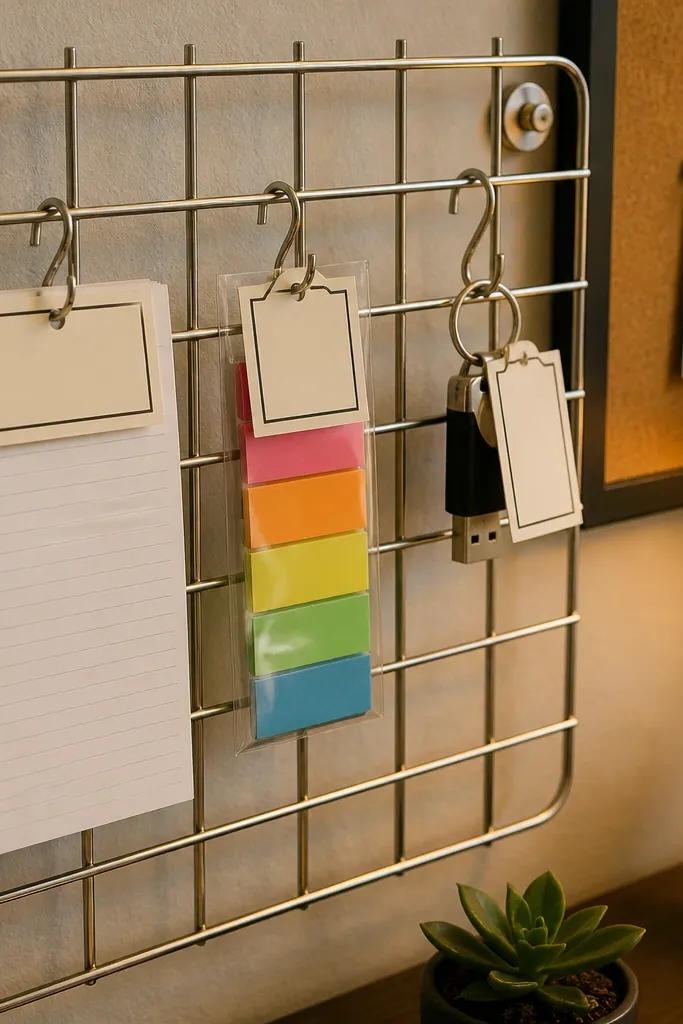
A wire grid organizer turns messy desk items into something you can see and reach fast. Use it to hang or clip your most-used tools: a small notepad, a card of sticky tabs, and a keyring for your USB drive. Add label cards in a consistent style (same font look, same border color) so it reads cute, not chaotic. The grid also keeps the desk surface open, which is the fastest way to make your desk look organized in photos. Best for: people who lose things in drawers and want a visible system.
Step 1: Mount or place the wire grid so its bottom edge sits about at your elbow height when seated. Step 2: Clip one notepad and one small pouch for cables so you’re not fishing in a drawer. Step 3: Create label cards with a single accent color (like sage green) and attach them at the top of each compartment. Cost is usually $20-70 depending on mounting type and label materials.
Use one label size for everything. Consistency makes it look designed.
Don’t label every tiny item. If everything is labeled, nothing feels special.
4. Ruffle-Edge Desk Shelf Runner with Minimal Trays
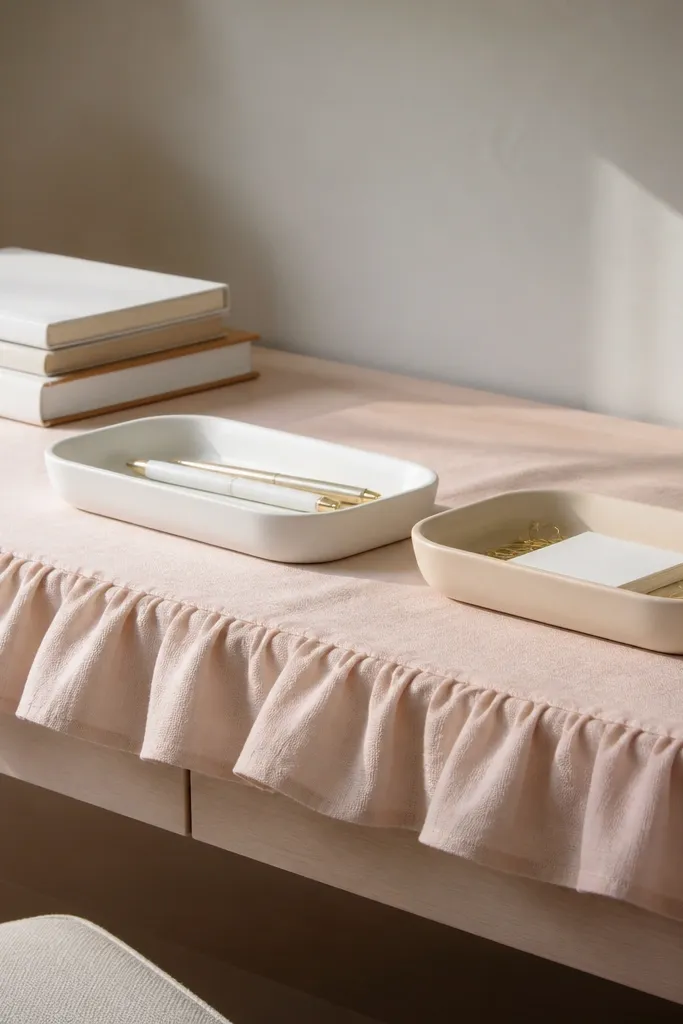
A ruffle-edge runner adds softness without covering the desk in clutter. Choose a runner in white, cream, or pale blush with a subtle texture so it photographs cleanly. Place two minimal trays on top: one for pens and one for paper. This setup gives you a cozy, beginner-friendly cute look because the runner makes the desk feel styled even when you only own a few organizers. Best for: compact desks where you want to keep supplies contained but still “pretty.”
Step 1: Lay the runner along the back edge of the desk, leaving at least 3 inches of tabletop in front for writing. Step 2: Put the pen tray near your dominant hand and the paper tray closer to your non-dominant side. Step 3: Keep each tray to one category only; if you mix pens and paper, it turns into a catch-all. This is usually $15-45 for a runner plus $15-40 for trays.
Match tray color to the runner — white trays on white runner keep it crisp in daylight.
Skip heavy patterned runners if your wall behind the desk is already busy.
5. Acrylic Organizer Blocks with Soft Beige Inserts
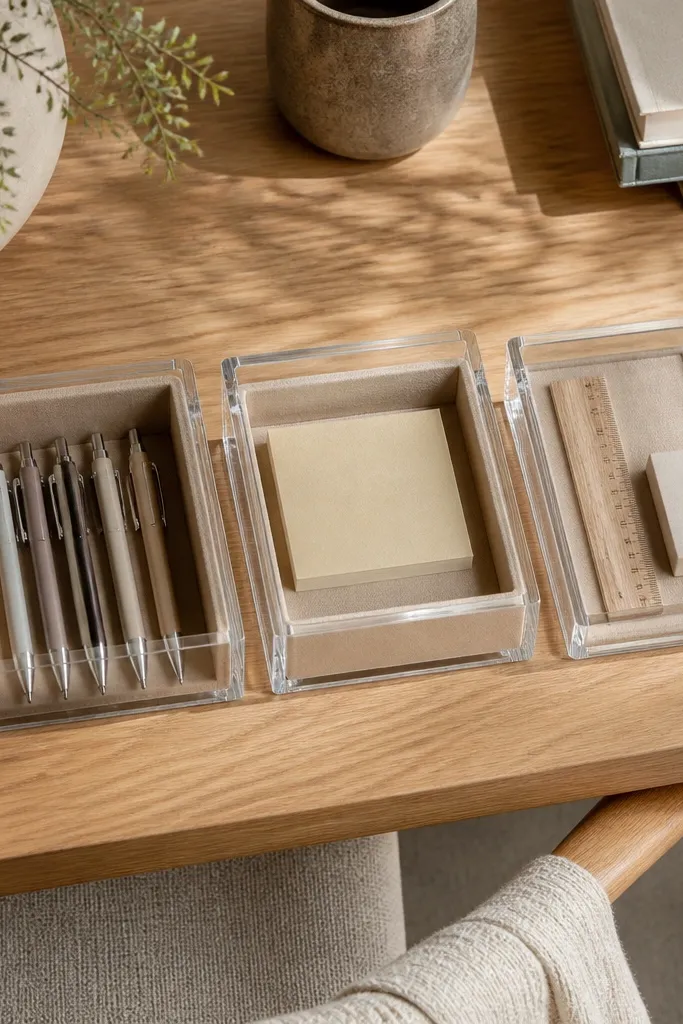
Step 1: Place the acrylic blocks in a row near the back corner of your writing area, not in the center where they block your view. Step 2: Add beige inserts or cut paper liners to fit each compartment so the items don’t float visually. Step 3: Use one category per block and wipe acrylic with a microfiber cloth weekly to avoid fingerprints. Expect $30-90 depending on how many blocks you buy.
Clear acrylic organizers look polished and make the desk feel high-end, but the trick is the inserts. Use soft beige or warm taupe liners inside the organizer compartments so items look neat and the acrylic doesn’t feel cold. Keep three blocks max: one for writing tools, one for sticky notes, and one shallow tray for clips and erasers. This works because you see what you need, and the beige background makes everything look cohesive. Best for: anyone who likes a clean, modern cute vibe.
Watch outDon’t overfill acrylic. A half-full look reads cleaner than a jam-packed one.
Pro tipIf you don’t have inserts yet, use kraft paper cut to size and seal with matte clear tape on the edges.
6. Sunshine Yellow Sticky Note Flag Wall
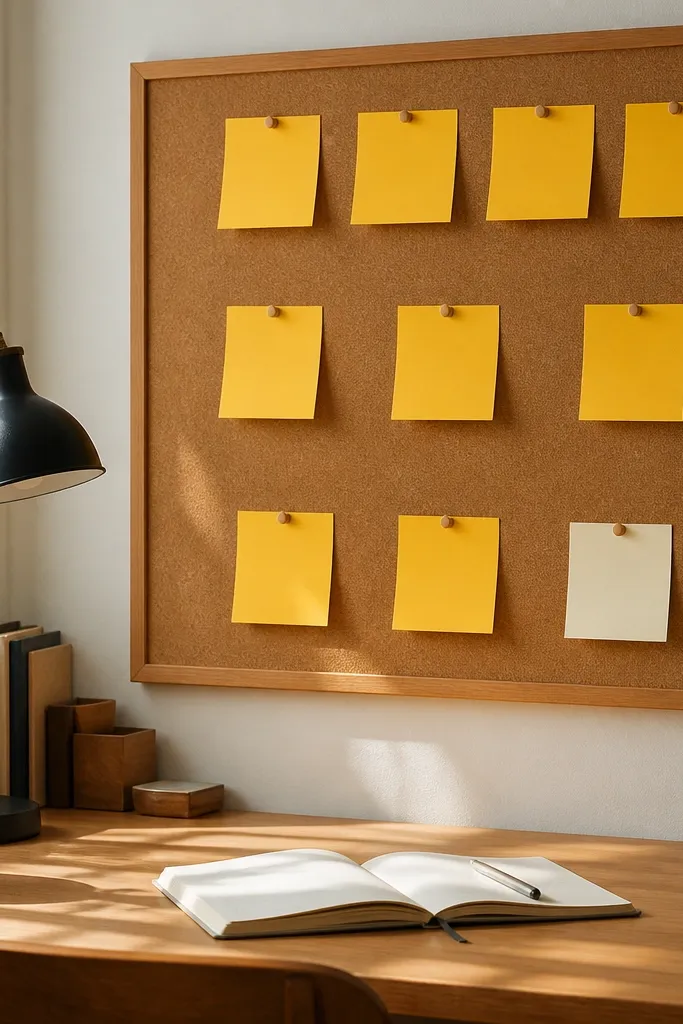
This is a cute way to make your desk plan visible without buying a planner system. Use a small cork or felt board above the writing space and pin sticky notes in a “flag” arrangement: top row for today, middle row for deadlines, bottom row for reminders. Use sunshine yellow and one neutral color like cream so it looks styled, not messy. The board becomes a focal point, and your desk stays organized because your tasks live there. Best for: students who juggle assignments and want a quick visual check.
Step 1: Mount the board so it sits 6-10 inches above your desk surface and roughly centered to your seated view. Step 2: Pin sticky notes using two colors only, then label rows with tiny tabs or paper strips. Step 3: Keep the sticky notes sized consistently by folding them into a flag shape so they don’t look uneven. This setup costs $10-40 for the board and $5-20 for sticky notes.
Use a single small pen mark on each sticky note for the subject line so it reads cleanly in photos.
Don’t add random quotes or too many colors; the board should look like a plan, not a mood board.
7. Floating Shelf for Books + Bottom Cable Tray
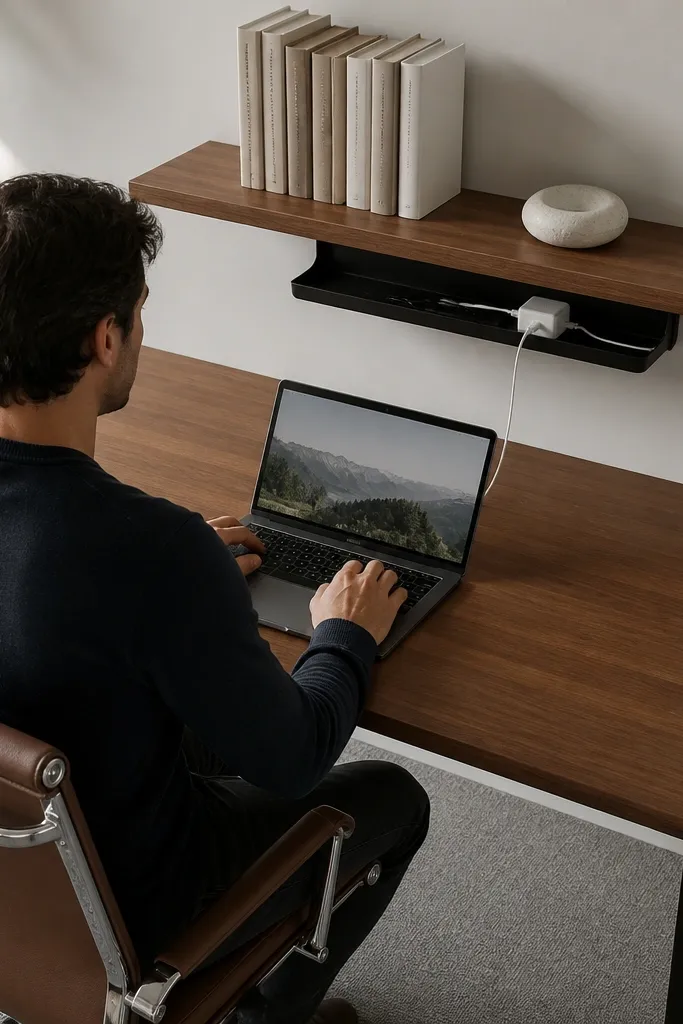
Step 1: Install the shelf so its bottom edge is about 10-14 inches above the desk surface, keeping it high enough to avoid bumping. Step 2: Place two to four books upright and add one small object only; everything else stays in drawers. Step 3: Add a cable tray under the desk or along the side, then route charger cables into it before they reach the tabletop. Most cable trays are $12-30, shelves vary.
If your desk looks messy because of charging cables, handle it with vertical storage. Put a small floating shelf above the desk for books and display items, then keep the tabletop clear with a bottom cable tray or cable organizer box. Choose books with neutral spines and add one small decor object like a ceramic coaster or a mini clock. The shelf creates a clean backdrop, and the cable tray stops the “spaghetti” look that ruins photos. Best for: desks against a wall where you can mount a shelf.
Watch outAvoid storing loose papers on top of the shelf. They look like clutter even when they’re “out of the way.”
Pro tipKeep the shelf color palette to one warm tone and one neutral so it looks cohesive with your desk mat.
8. Desk Lamp with Fabric Shade + Small Tray for Glasses

Step 1: Place the lamp on the non-writing side so you don’t cast a hard shadow over your page. Step 2: Set a small tray 6-8 inches away from the lamp base and keep only two items there. Step 3: If you use a notebook, store it standing upright on the tray’s back edge so it looks intentional. Budget is $25-120 depending on lamp type.
A fabric-shade lamp changes the whole vibe because it softens light and makes the desk feel cozy. Choose a shade in oatmeal, blush, or soft gray, and keep the lamp base in a consistent metal finish. Add a small tray beside the lamp for glasses, a bookmark, or a spare pen cap. This solves the common problem where accessories sit loose and create visual clutter. Best for: night study setups and desk corners where you want the lighting to look pretty, not harsh.
Watch outDon’t put the tray too close to the lamp if you use a heat-warming bulb; keep space for safety and airflow.
Pro tipUse a warm bulb around 2700K for a softer glow that matches cozy decor colors.
9. Mini Gallery Wall of Study Prints with One Color Theme
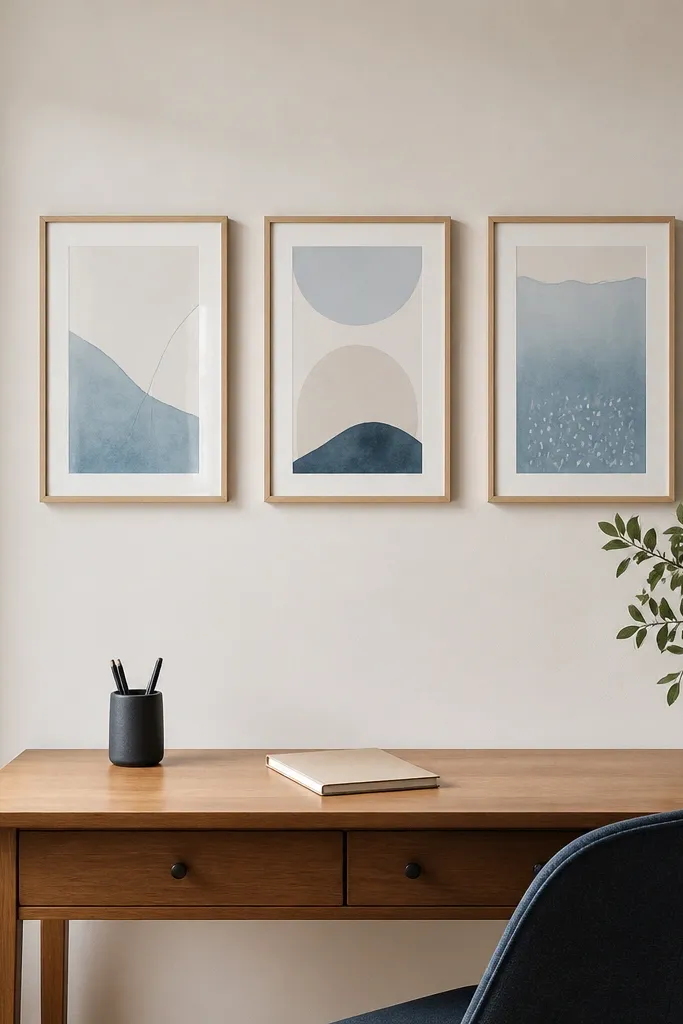
Step 1: Lay the frames on the floor first and decide spacing so the total width fits your desk width plus 6-10 inches. Step 2: Hang the center frame so it aligns roughly with your eye line when seated, then place the other two with equal gaps (about 2-3 inches). Step 3: Keep desk decor minimal: one pen cup and one tray so the wall stays the hero. Frame sets and prints can be $20-80.
A mini gallery wall behind the desk makes your study area look styled even if your tabletop is simple. Choose three frames in the same finish — black or light wood — and use prints with one color theme like pastel blues and creams. Keep the frames small so they don’t overpower the room, and leave a little wall space around them. This setup works because photos capture the background, and a nice background makes beginner-friendly cute study table decor look “complete.” Best for: bedrooms and apartments where you want the desk to look good from the bed or doorway.
Watch outAvoid mixing frame finishes like gold + black in a tiny set; it reads messy fast.
Pro tipPick frames with thin mats. Thick mats make small wall sets look heavy.
10. Pastel Pencil Cup + Pencil Holder Divider Tray
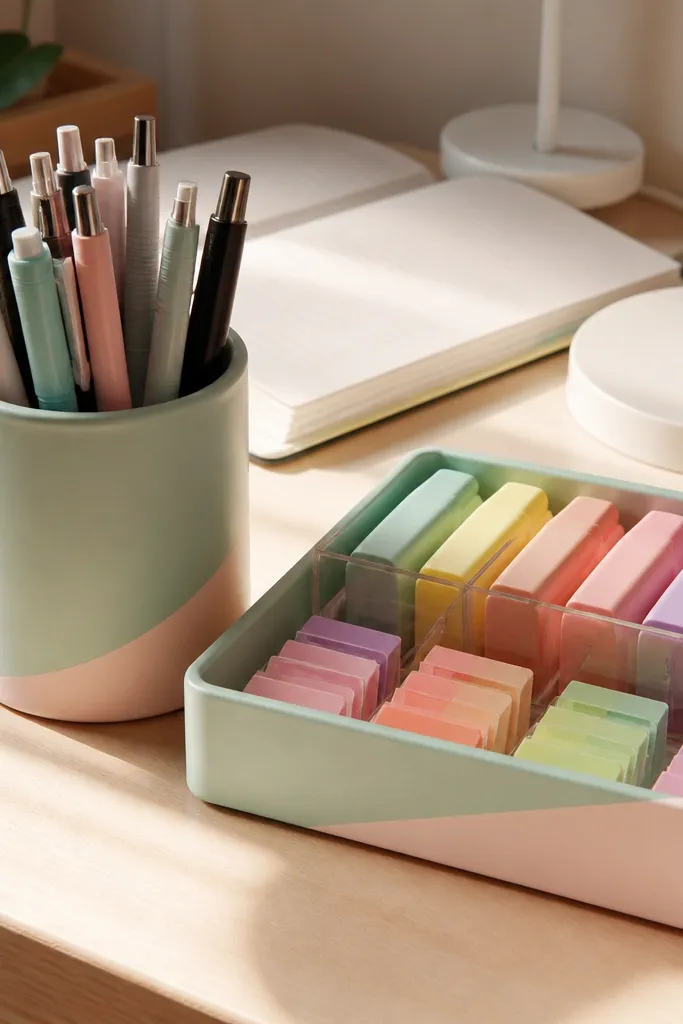
Step 1: Place the pencil cup at your dominant hand side, then position the divider tray right beside it so you can grab without reaching across the desk. Step 2: Sort your pens into two groups maximum per day; move the rest into a drawer or pouch. Step 3: Keep the divider tray flat on the desk and label compartments with tiny tape markers if you switch subjects. Cost is usually $15-50 for containers plus sorting organizers.
This is a practical cute setup for people who have too many pens and markers. Use a pastel pencil cup as the main holder, but add a small divider tray next to it so you separate fine-liners, highlighters, and mechanical pencils. The divider tray keeps the colors from turning into a chaotic heap. Choose pastel tones like mint, powder blue, or peach and keep the rest of the palette neutral. Best for: art students, note-takers, and anyone who loves color-coding.
Watch outDon’t keep every marker visible at once. Visible variety looks messy when the desk is small.
Pro tipUse one highlighter color for “today” tasks so the desk looks cohesive even when you’re working hard.
11. Washi Tape Border on Desk Drawer Front
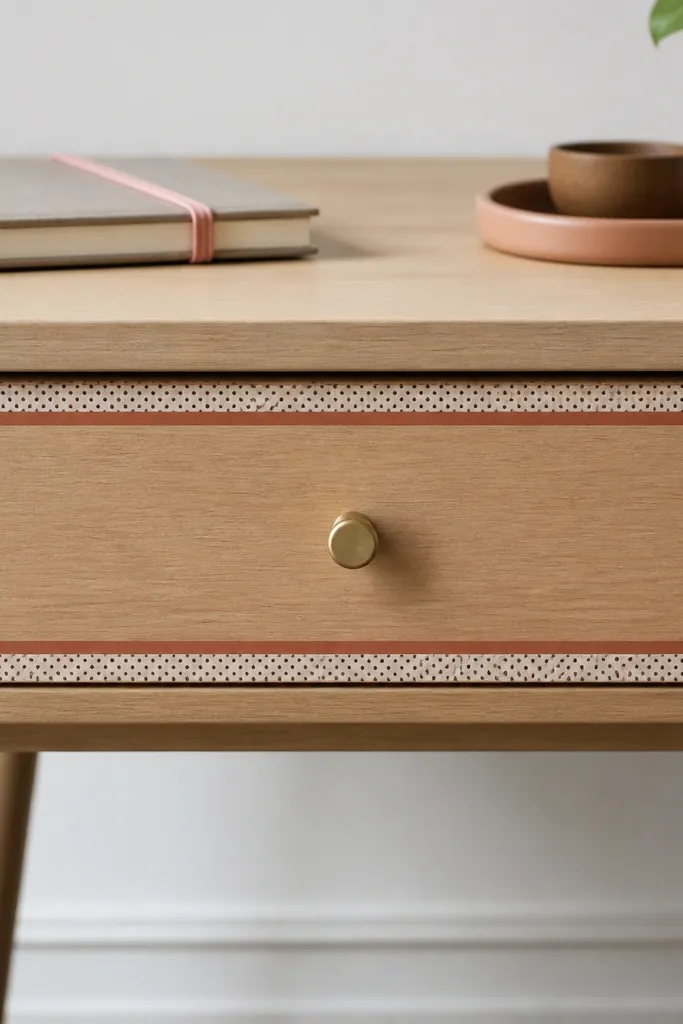
Step 1: Clean the drawer front with a dry microfiber cloth so the tape sticks without lifting. Step 2: Apply tape in two horizontal strips with a small gap, then add one thin vertical strip at the center for symmetry. Step 3: Let it sit for 1 hour before heavy opening, then style the top with a single tray and one notebook stack. Washi tape sets are usually $8-20.
If your desk is functional but plain, a washi tape border is the easiest way to make it look cute without buying furniture. Put the tape on the drawer front or the cabinet edge so it frames your storage and makes the whole desk feel styled. Choose one tape pattern and one solid accent color, like cream tape with tiny dots and a thin line of pale gold. Pair this with a tidy tray on top so the desk looks coordinated: cute drawer, clean surface. Best for: renters and students who can’t paint or replace furniture.
Watch outAvoid busy patterns on both the drawer and the desk mat. Pick one focal pattern.
Pro tipUse painter’s tape to mark straight lines first. Straight edges make it look intentional.
12. Floating Pen Holder with Cable-Friendly Backing
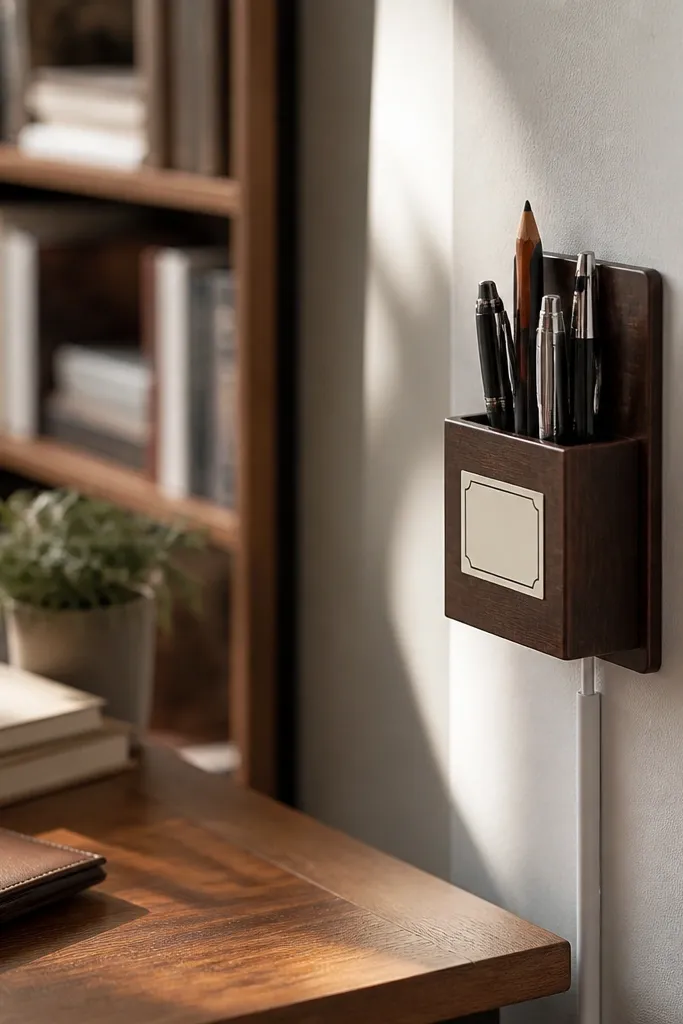
Step 1: Choose a holder that fits your pens upright, then measure so the bottom edge sits about 2-3 inches above the desk surface. Step 2: Route your charger cable behind the desk area, then keep the wall holder on the opposite side from the cable path. Step 3: Put only your daily writing tools in the wall holder and move extras to a drawer. Adhesive wall mounts are usually $10-25, holders $12-35.
Wall-mounted pen holders free up tabletop space and make your desk look cleaner instantly. Use a holder that has a back panel or cover so cables and adapters don’t show behind it. Keep the holder compact and place it near your dominant hand so you still reach quickly. Add one small card or label on the holder so it looks organized, not random. This is beginner-friendly because mounting can be simple with adhesive strips for lightweight setups. Best for: clutter-prone desks with limited surface area.
Watch outDon’t mount it directly over a power strip where you’ll constantly bump and dislodge cables.
Pro tipWipe the wall spot with rubbing alcohol before applying adhesive mounts so it sticks better.
13. Soft Sage Desk Organizer Set with Two Trays
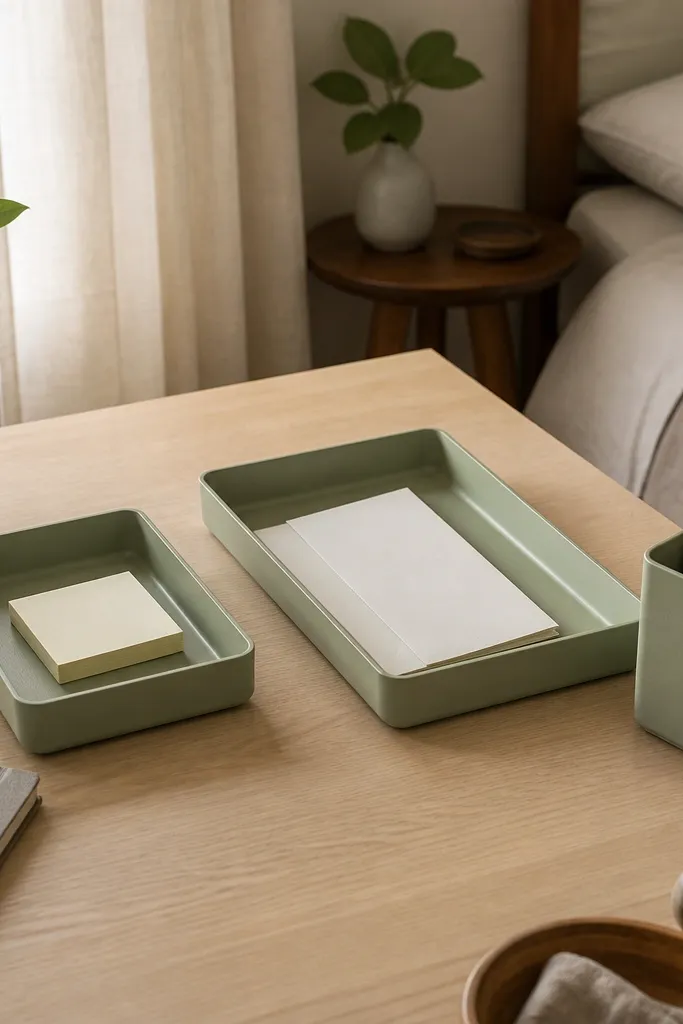
Step 1: Place one larger tray for paper and folders near the front edge of your non-writing side. Step 2: Put the pen holder and the smaller tray on the writing side so your tools stay together. Step 3: Keep paper inside the tray standing upright; loose paper outside the tray makes the desk look messy fast. Sage sets are usually $20-70 depending on brand and material.
A soft sage palette makes the desk feel calm and organized, especially in bedrooms. Choose organizer pieces in matte sage or sage-beige, and keep the set small: two trays and one slim pen holder. The matte finish hides fingerprints and gives a clean look under natural light. This setup solves the beginner problem of buying too many organizers that don’t match and end up looking cluttered. Best for: anyone who wants cute without loud colors.
Watch outAvoid mixing sage with bright primary colors on the desk surface.
Pro tipAdd one tiny white accent item like a small eraser holder to keep the sage from looking too samey.
14. Monochrome Black Desk Setup with White Ceramic Accents
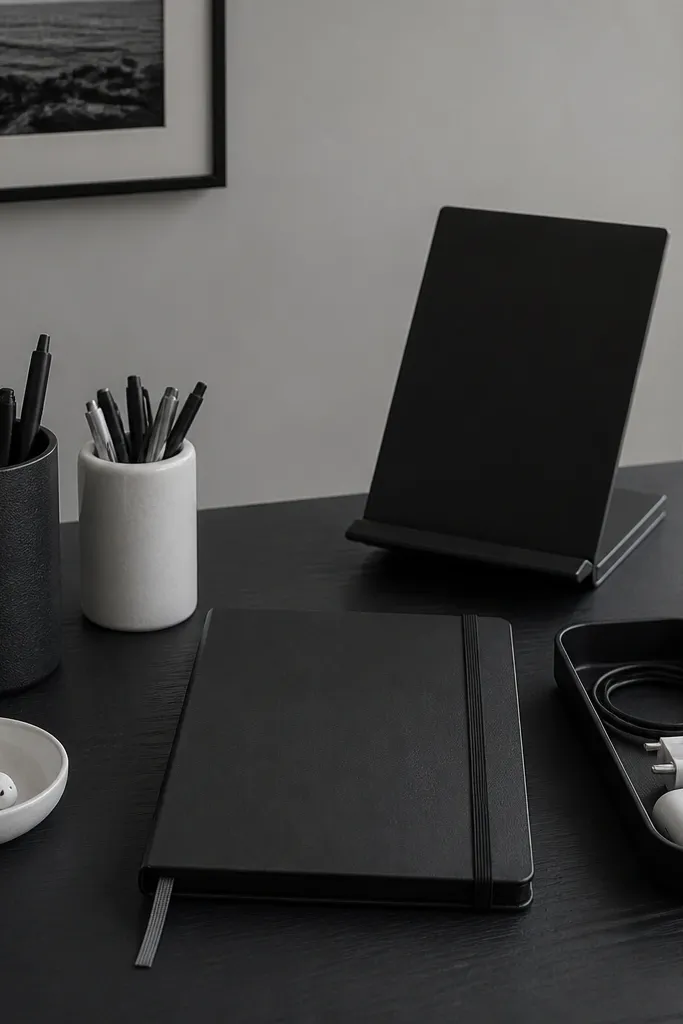
Step 1: Choose one black base organizer piece and build around it; keep the rest in black and white only. Step 2: Stack notebooks in a neat vertical pile on the non-writing side and keep a white ceramic catch-all dish next to it. Step 3: Route cables into a black tray under or behind the desk so you don’t see them. Cost is $25-100 depending on organizer quality.
Monochrome looks clean in photos, and white ceramic accents keep it cute instead of severe. Use black organizers for structure: a black pen holder, a black tray for cables, and a black notebook stand. Add one or two white ceramic pieces like a pen cup or a small catch-all dish for jewelry or earbuds. The contrast makes your desk look “styled” even when the space is small. Best for: people who like modern, minimal cute study table decor that still feels warm.
Watch outDon’t add colorful desk accessories like rainbow sticky notes; it breaks the clean contrast.
Pro tipUse matte black pieces for a softer look than shiny plastic.
15. Cute Desk Shelf with Hanging File Pockets
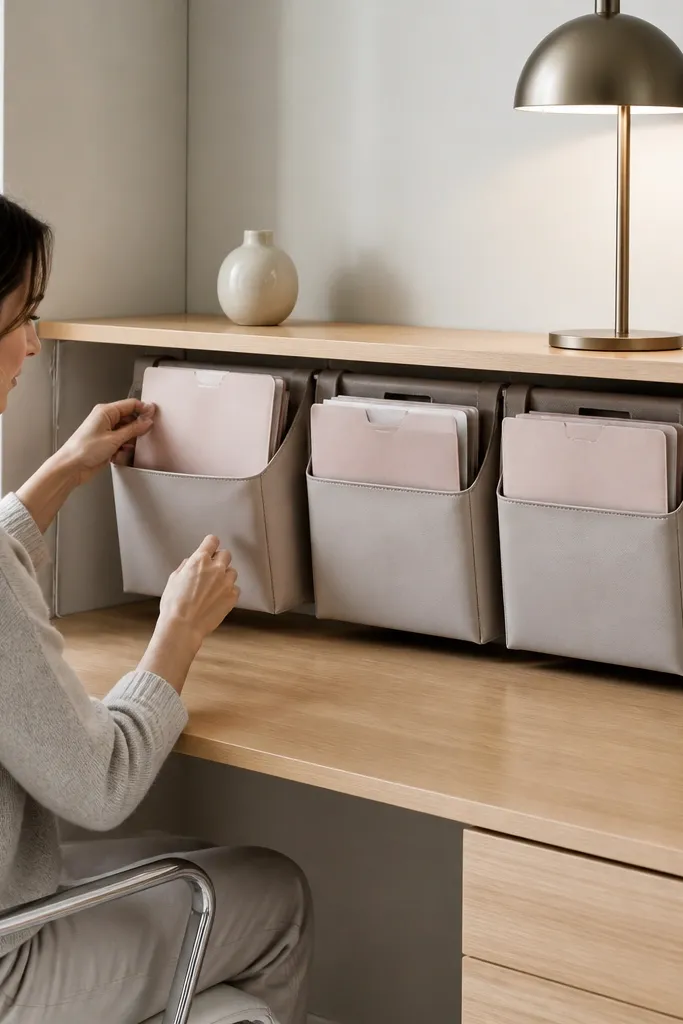
Step 1: Install or place a small shelf behind your writing area so the pockets hang down without blocking your view. Step 2: Label pockets with simple tags like “Math,” “Notes,” and “To File,” then insert folders vertically. Step 3: Put the lamp on the top surface and keep only one small decor item there. This is usually $30-120 depending on shelf size and pocket set.
Hanging file pockets under a small shelf keep paper visible but controlled. The pockets create clear categories, and the shelf gives you a place for a lamp and a small decor item. Choose pockets in a soft fabric or faux leather in one color like blush or light gray, then keep folders inside in matching tones. This setup is photogenic because it looks organized from multiple angles — front and side. Best for: desks where you constantly move between subjects and need folders ready.
Watch outAvoid overloading pockets; if pockets bulge, the desk reads cluttered.
Pro tipUse thin folders, not bulky ones. Thin folders look cleaner and don’t sag.