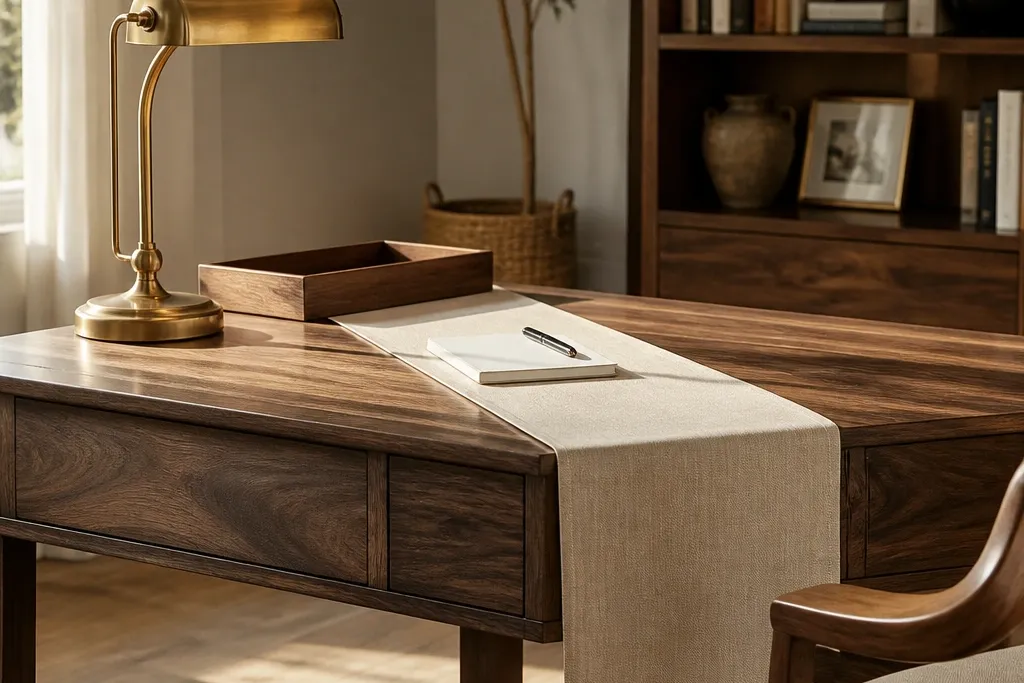
1. Walnut Tray + Brass Lamp + Oat Linen Runner
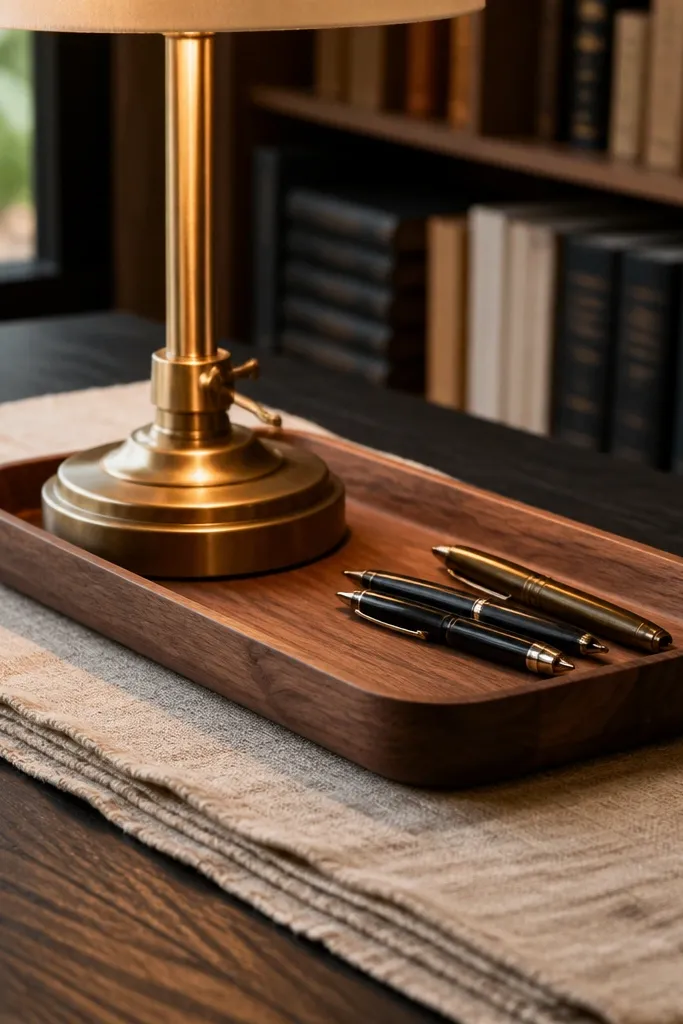
This setup looks high-end because it makes the desk feel staged, not random. A low walnut tray gives you a clean base line, and the brass lamp adds warm metallic glow without needing extra décor. The oat linen runner brings soft texture that hides minor desk imperfections and makes the scene feel layered. Keep the rest of the items minimal — one pen cup, one small dish, and a slim notebook — so the finishes stay coherent. This is perfect for desks in warm rooms with wood floors, beige walls, or a brown leather chair where you want the table to look “intentional” in photos.
Step 1: Center a rectangular walnut tray across the front half of the desk. Place the lamp on the tray’s right side, leaving about 3 inches between the lamp base and the tray edge. Step 2: Lay an oat linen runner under or behind the tray so it shows along one side, about 6-8 inches in height. Step 3: Add a white ceramic pen cup and a slim brass-edged bookmark holder, then keep all other items inside the tray footprint. Aim for 4 items total on top of the tray.
Choose a lamp with a warm, frosted shade so the light looks soft instead of harsh on camera.
Avoid mixing silver hardware with brass accents in the same setup.
2. Black Tray Monochrome with White Ceramic Pen Cup
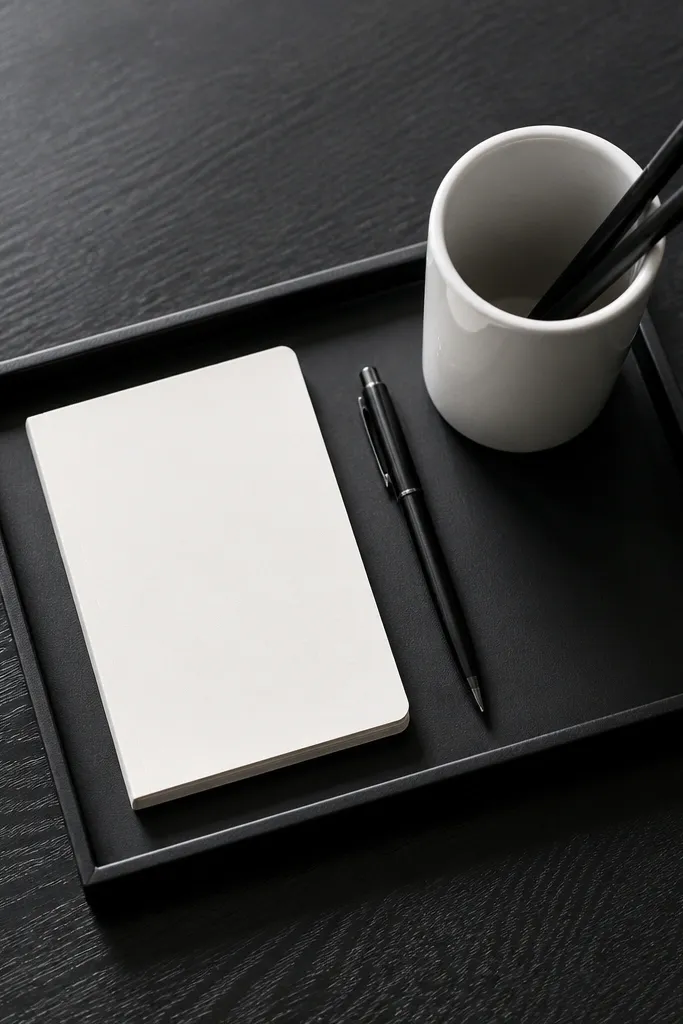
Monochrome looks expensive when you keep it tight and add one crisp contrast. A matte black tray anchors the whole surface and makes every item look more “designed.” The white ceramic pen cup gives that clean highlight that pops against dark wood or a black desk. Add a single notepad in off-white and a black metal pen holder, and the desk reads polished even with fewer objects. This works best on dark espresso desks, near black-framed art, or in rooms with grey upholstery where you want a sleek, modern luxury feel.
Pro tipUse a frosted white ceramic pen cup instead of glossy — matte looks more premium under indoor light.
Step 1: Place a matte black tray slightly off-center toward your writing side, usually 2-3 inches from the desk’s center. Put the pen cup in the back-left corner of the tray, then add the notepad at the front-right. Step 2: Add one small accessory only — a black metal desk clock or a slim candle in a frosted black glass holder. Step 3: Keep the lamp separate from the tray if it’s tall; if it’s on the tray, keep the tray’s contents low so the lamp doesn’t crowd it. Target a total height difference of about 6-10 inches between pen cup and lamp shade.
Watch outSkip colorful sticky notes; they ruin the clean monochrome read.
3. Stacked Books with a Slim Desk Vase (No Flowers Needed)
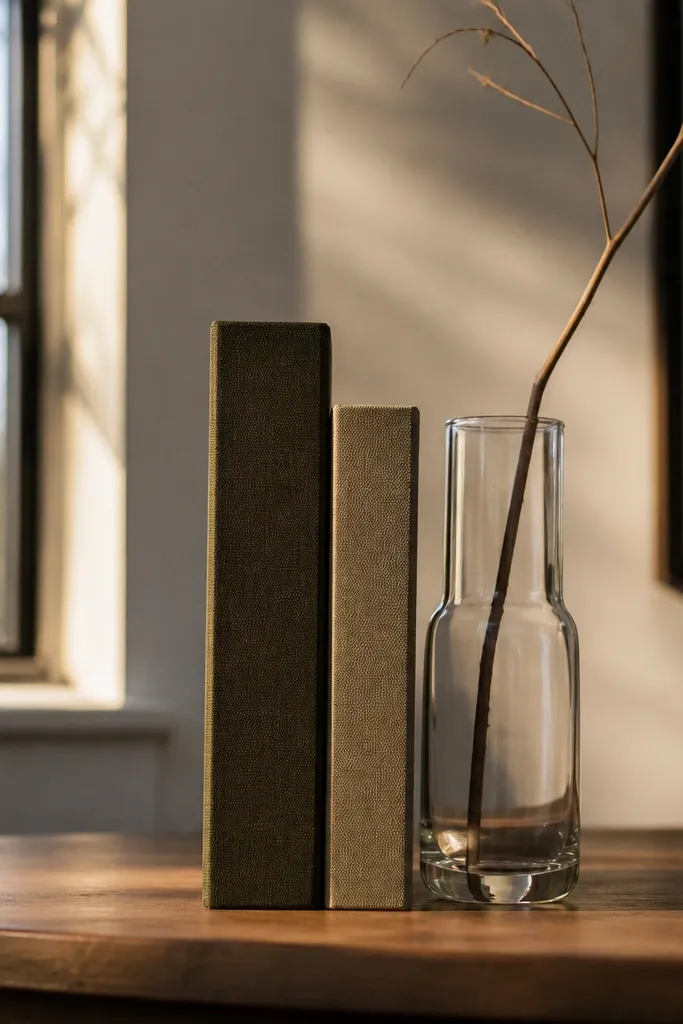
A controlled book stack is one of the fastest ways to fake a styled interior because it creates vertical structure. Use two books with similar spine tones, then add a slim vase with dried stems or a single branch. The vase shape matters — slim and tall reads more high-end than a wide, chunky container. This setup is great when your desk already has a lot of functional items, because the decorative element is concentrated in one corner. It suits neutral rooms, library-style interiors, and desks against a light wall where you want height without clutter.
Pro tipBind the look by using the same color for your bookmarks or pen accents that match one book spine.
Step 1: Choose two books that match in color family — think cream and taupe, or deep navy and charcoal. Stack them near the back-left corner, about 2-3 inches from the desk’s edge. Step 2: Place a slim ceramic or glass vase on top or beside the stack so it reaches roughly 10-14 inches tall. Step 3: Insert dried stems so they lean slightly toward the desk center, not straight up. Finish with a small round tray beneath the books if you want the whole thing to look framed.
Watch outDon’t use a wide flower arrangement; it makes the desk feel heavy and crowded.
4. Glass Catchall + Stone Paperweight for Clean, Luxe Balance
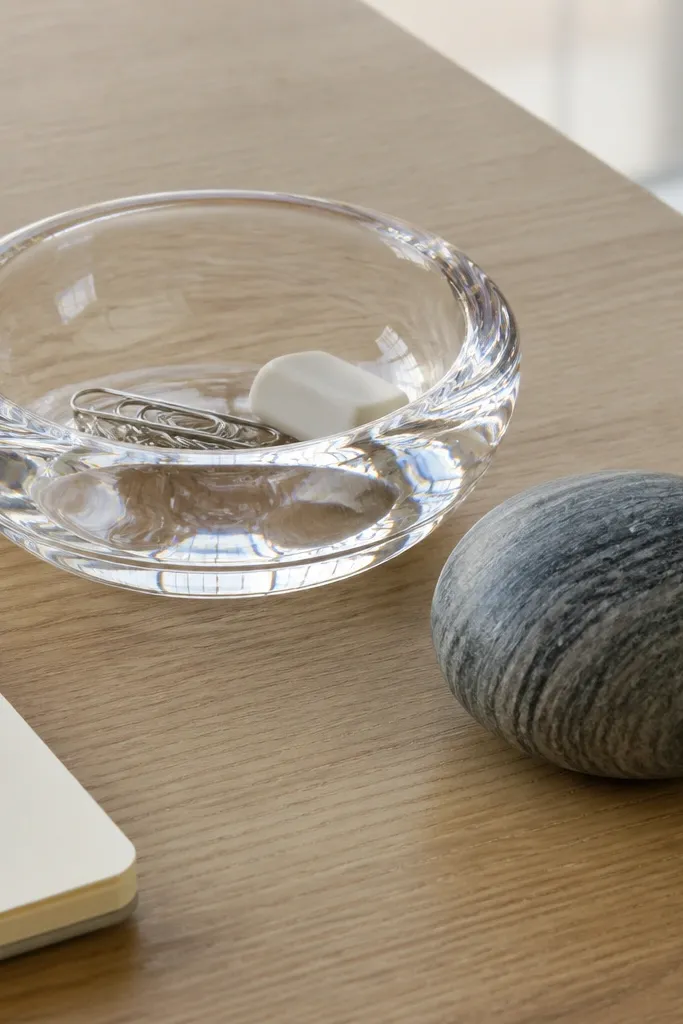
This is for people who like “quiet luxury” — clean shapes, reflective surfaces, and almost no color. A glass catchall keeps small items contained while letting the light pass through, so the desk doesn’t look visually blocked. A stone paperweight adds weight and texture, which reads premium even when the rest is minimal. Pair with a single black notebook and one pen cup, and you’ll get a high-end study table aesthetic decor look that still feels functional. Use it on light oak, white desks, or near bright windows where glass and stone catch subtle highlights.
Step 1: Put the glass catchall in the center of your desk’s front half, leaving 2 inches clear around it. Step 2: Place the stone paperweight on the notebook top or next to it, then keep your pen in the catchall. Step 3: Add one small detail only — a brass or black bookmark clip — then stop. If you have a laptop, keep the catchall at least 8 inches away from the keyboard so it doesn’t feel jammed.
Wipe the glass and stone with a microfiber cloth right before styling; smudges show up fast under daylight.
Avoid mixing too many reflective metals; pick either brass/bronze or nickel/chrome.
5. Linen Desk Mat with Leather Pen Organizer
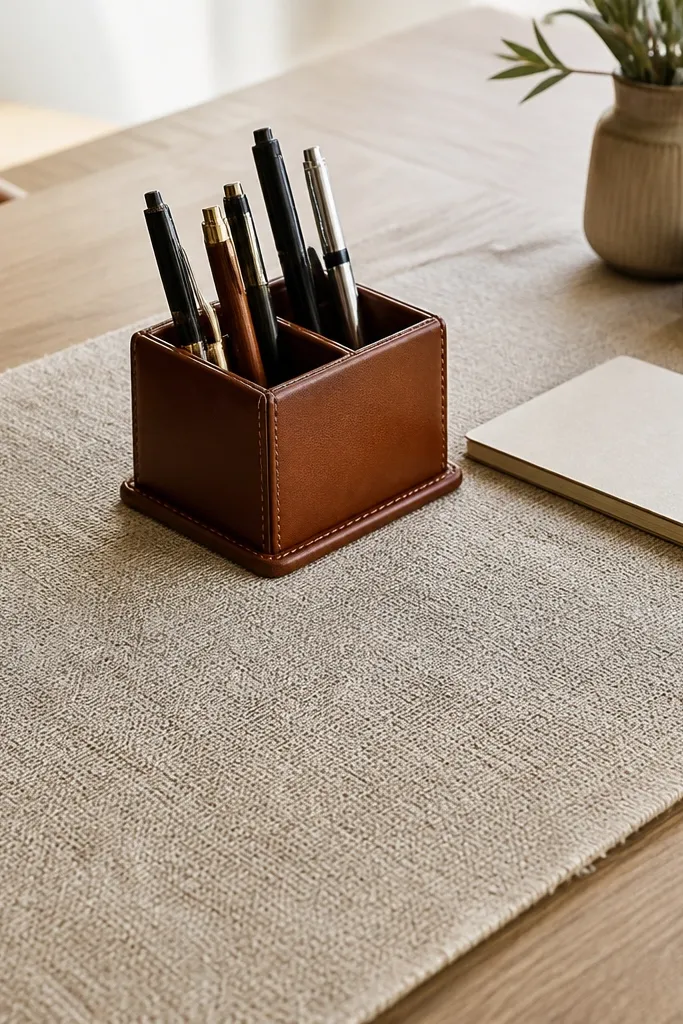
A desk mat is the easiest way to make everything look “put together” because it gives you one unified surface. Linen looks expensive when it’s textured and slightly neutral, and it softens the look of a plain desk top. Leather pen organizers add structure and a warm, slightly darker tone that looks intentional against linen. This setup is ideal for people who write a lot and need a clean writing zone that still looks decorative. It works in bedrooms, home offices, and reading corners with beige walls and warm lighting.
Step 1: Roll out an oat or sand linen desk mat so it sits centered and covers the main writing area. Place the leather pen organizer on the mat’s right side, about 4-5 inches from the edge. Step 2: Put a slim notebook on the mat’s left side and add a small bookmark holder or note card in front of it. Step 3: Keep cables off the mat by using a small cable clip under the desk if needed. Target one mat area plus 2 items on it.
Choose leather with a matte finish; shiny patent leather reads more flashy than luxury.
Don’t add a tray on top of the mat unless the mat is large enough; stacking layers can make it look cluttered.
6. Two-Canopy Lighting Look with a Ceramic Table Lamp Base
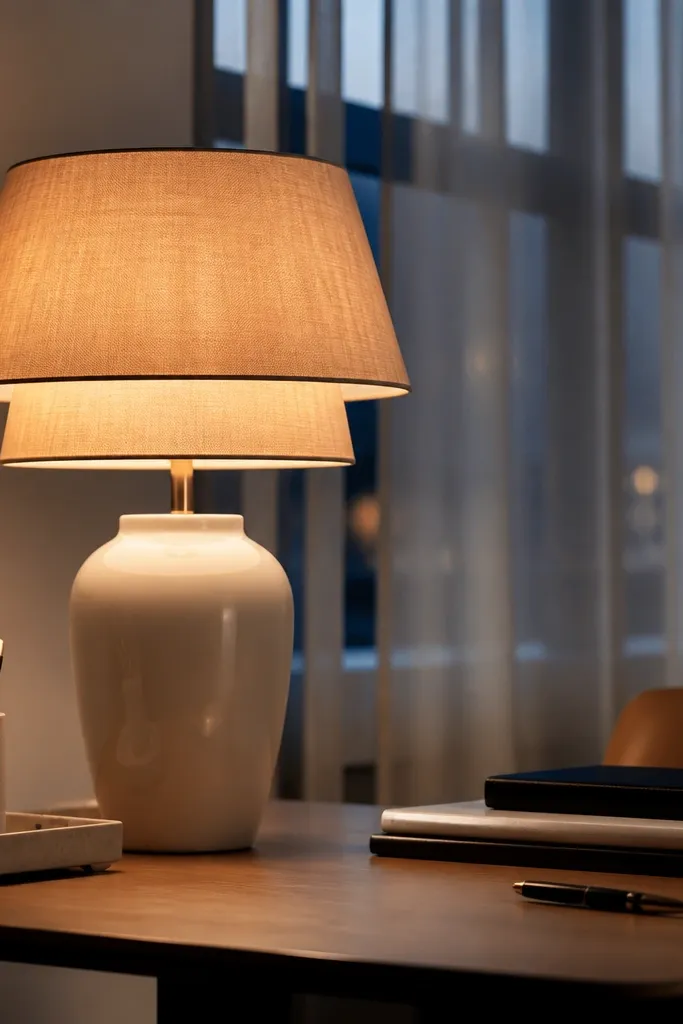
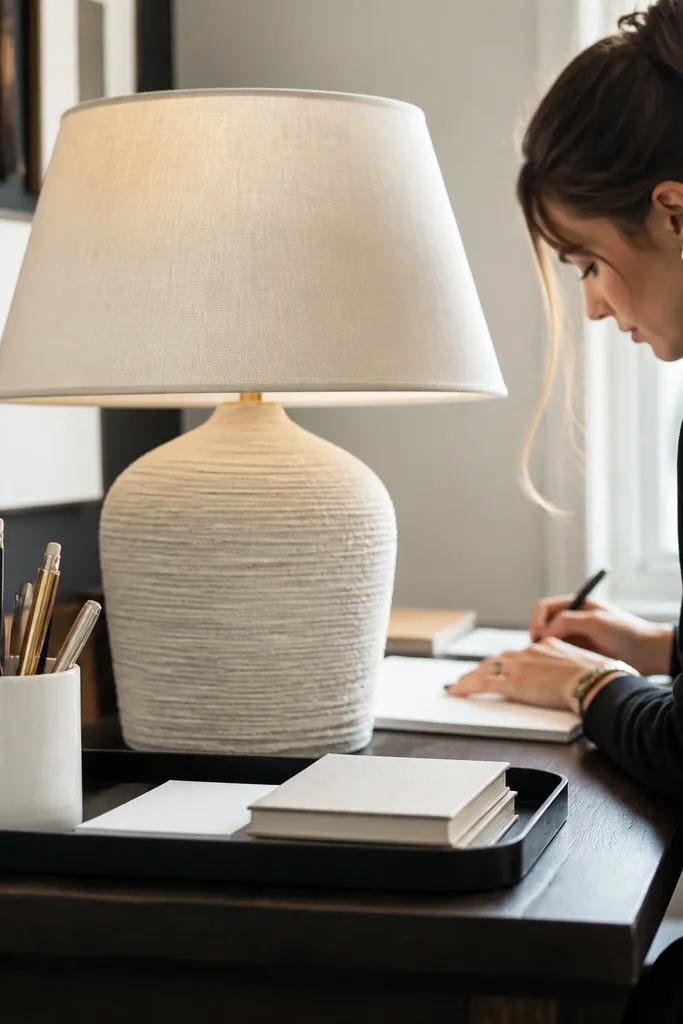
Lighting is the fastest route to “high-end” because it changes how materials look. Choose a ceramic lamp base in ivory, soft grey, or warm sand, then pair it with a warm-toned shade. The desk décor should support the lamp, not compete with it: one small tray for pens and a slim book stack for height. This setup is especially good when your desk is in a corner and you want the lamp to pull the whole area together. It photographs beautifully because ceramic bases look smooth and premium under warm light.
Step 1: Place the lamp base on the back-right corner of the desk, leaving at least 4 inches from the wall so it doesn’t look pressed in. Step 2: On the front-left, place a small tray and keep only pens, a single pen, and a tiny card holder inside. Step 3: Add one vertical element — a book standing upright or a slim pen stand — so the desk gets height without adding more objects. Keep the desk top items within a rectangle roughly 18-24 inches wide centered around your writing hand.
Use a 2700K bulb if you can; it makes ivory ceramic look richer and less grey.
Skip bright white lampshades; they flatten the whole palette and make the setup look stark.
7. Monogram Card + Minimal Desk Tray for a Boutique Feel
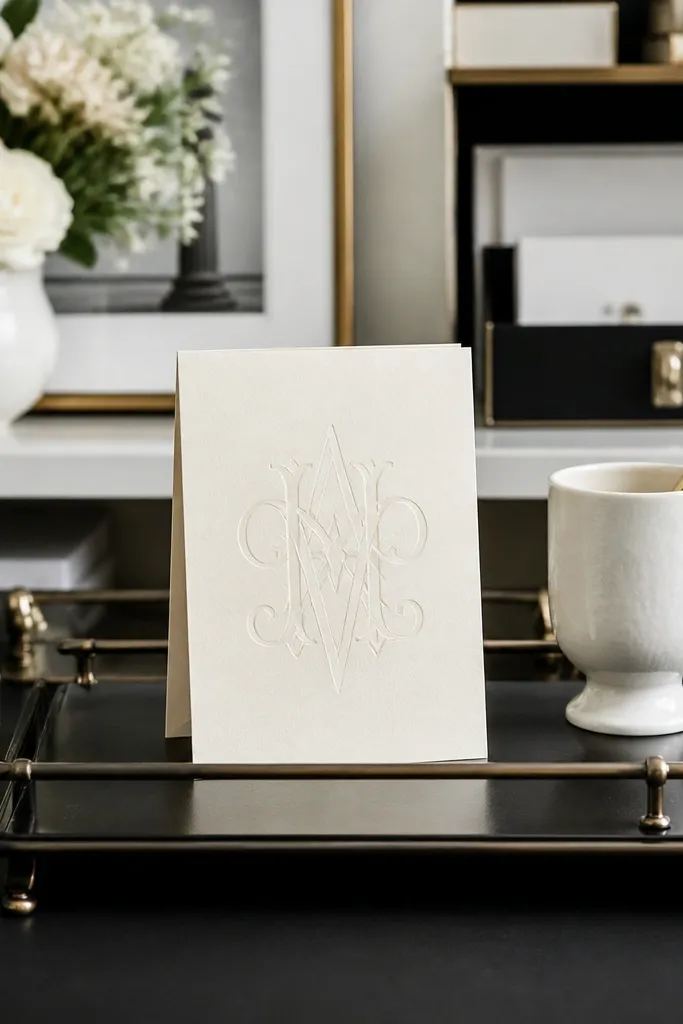
A monogram card gives you a “boutique” cue without turning into clutter. The key is restraint: one card, one tray, and one functional item like a pen cup. Use a small easel or a folded card holder so the monogram sits upright and reads like décor, not paperwork. This setup works when your desk already has storage and you just want the top to look styled. It’s best for neutral desks, simple wall backgrounds, and people who like clean lines and personal touches.
Step 1: Choose a small monogram card in thick cardstock, black ink on ivory or cream. Place it in a slim acrylic or metal card holder on the back-center of the desk. Step 2: Add a minimal tray under the card for pens and one tiny accessory like a paper clip dish. Step 3: Keep your notebook either flat and covered by the tray or placed off to the side — don’t let it fight the card holder. Aim for 3 objects total in the visible zone.
Use a card holder with thin metal so it looks light and expensive rather than bulky.
Avoid using multiple cards or random receipts; one monogram card is the whole point.
8. Rattan Tray with Black Hardware and One Brass Clip
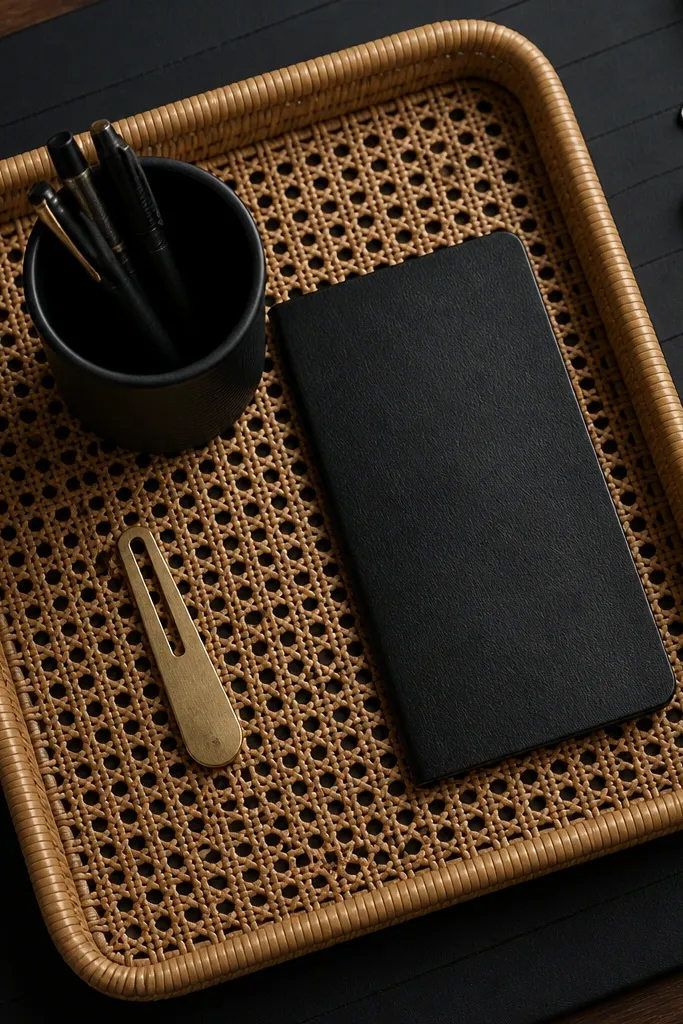
Rattan adds texture that reads warm and high-end, especially when paired with a black notebook and brushed metal accents. A rattan tray makes the surface look layered and tactile, which is a big part of luxury interiors. Keep the tray content tight: a black pen cup, a notebook, and one small brass clip or bookmark. The brass detail gives you that “finished” feeling without adding extra clutter. This is great for desks in light rooms, boho-modern interiors, or spaces with natural wood and cream textiles.
Step 1: Place a rattan tray centered on the desk’s front half. Put the black notebook flat in the tray’s back area. Step 2: Add a black pen cup on the tray’s left side and a single brass clip on top of the notebook. Step 3: If you have a lamp, let it be the only additional height item; don’t add a second tall décor piece. Keep the tray about 2-4 inches away from desk edges so it doesn’t look glued to the surface.
Choose rattan with a tight weave; chunky weave can look more casual than high-end.
Don’t add patterned objects inside the tray; texture already does the work.
9. White Marble-Style Tray with a Dark Green Glass Bottle
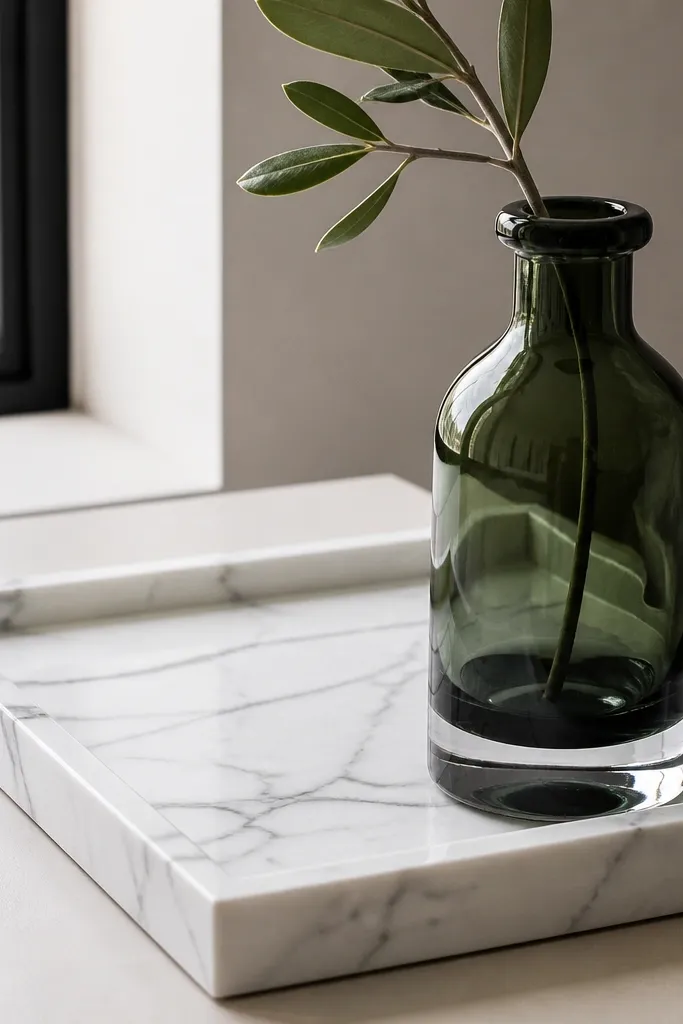
This combo looks designer because it pairs a bright, clean base with a deep color accent. A white marble-style tray gives the “gallery” feel and makes your desk look polished even if everything else is simple. The dark green glass bottle adds drama and height, and it looks expensive whether it holds a single stem or stays empty. Keep it to one accent bottle so the green reads intentional instead of random. This setup works beautifully in rooms with white walls, light grey upholstery, or any space where you want a calm base with one moody color point.
Step 1: Set the marble-style tray on the desk so it sits centered and covers your small items zone. Step 2: Place the dark green bottle on the tray’s right side and add a slim notebook on the left. Step 3: Add a small pen cup in white or clear glass. Keep everything within the tray boundary so the desk doesn’t look scattered. If your desk is narrow, use a smaller tray and keep only 3 items visible.
Let the bottle label face away from you; labels make it read like storage, not décor.
Avoid bright colors like hot pink in this palette; green + marble needs restraint.
10. Dark Wood Desk with Chrome Tray and Leather Desk Calendar
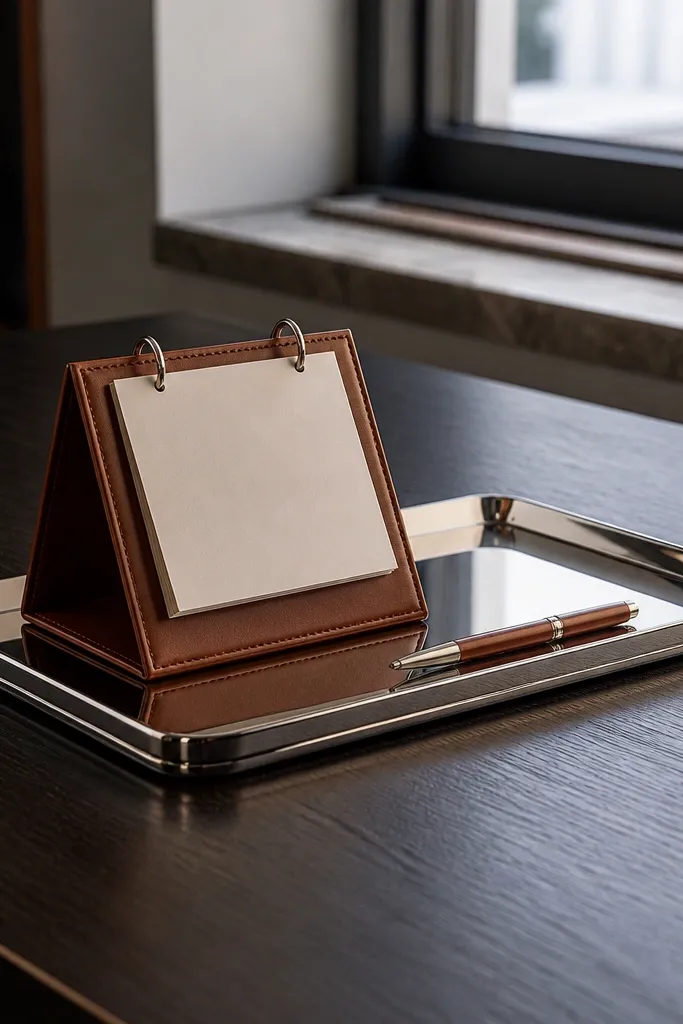
If your desk is dark, you need highlights that look crisp. A chrome tray creates clean reflections that feel high-end, and a leather desk calendar adds structure and warmth. The trick is to keep the chrome pieces limited to one tray and maybe one tiny detail, so the look stays intentional. This setup is great for people who want a styled desk that still supports day-to-day planning. It suits home offices with dark wood shelving, grey walls, or black metal chair frames.
Step 1: Place a chrome tray on the desk near the writing side, usually 6-10 inches from the left edge. Add the leather desk calendar in the back-center of the tray. Step 2: Put a slim pen cup at one corner and a small sticky note pad in a neutral cover if you need it. Step 3: Keep the rest of the desk empty in the visible zone; let your planning tools be the décor. Choose a calendar in cognac or deep brown to contrast with chrome.
Use a leather calendar with visible grain; smooth faux leather reads cheaper.
Don’t mix chrome with brass in the same tray.
11. Standing Photo Frame + Pencil Cup with Color-Blocked Notebook
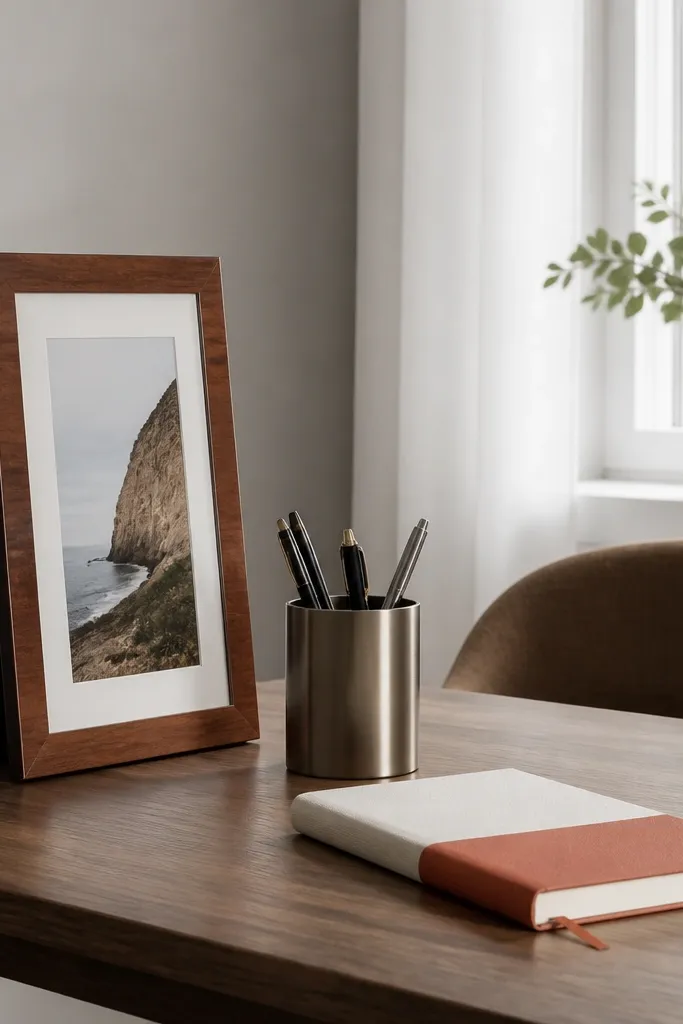
A standing photo frame gives you a vertical design element that looks like décor, not clutter. Combine it with a pencil cup and one color-blocked notebook so the desk looks styled through a single theme — color. Keep the palette to two colors plus neutrals, like cream + terracotta, or white + navy. This setup works best when your wall behind the desk is plain, because the frame adds interest and depth. It’s also a good choice if you want your desk to feel personal without using lots of small items.
Step 1: Choose a small standing frame in black or brushed metal and set it on the back-left corner of the desk. Step 2: Place a notebook with one color block on the front area and keep your pencil cup in the opposite corner. Step 3: Add only one more item — a matching bookmark or pen — in one of the notebook colors. Measure spacing by keeping at least 2 inches between the frame base and any tray or notebook edge. Aim for 3 items total plus the notebook.
Pick a notebook with thick pages or a textured cover; it reads more premium than thin glossy paper.
Avoid multiple patterns (frame + notebook + pen holder all patterned).
12. Single Statement Sculpture Bookend with Clear Acrylic Pen Holder
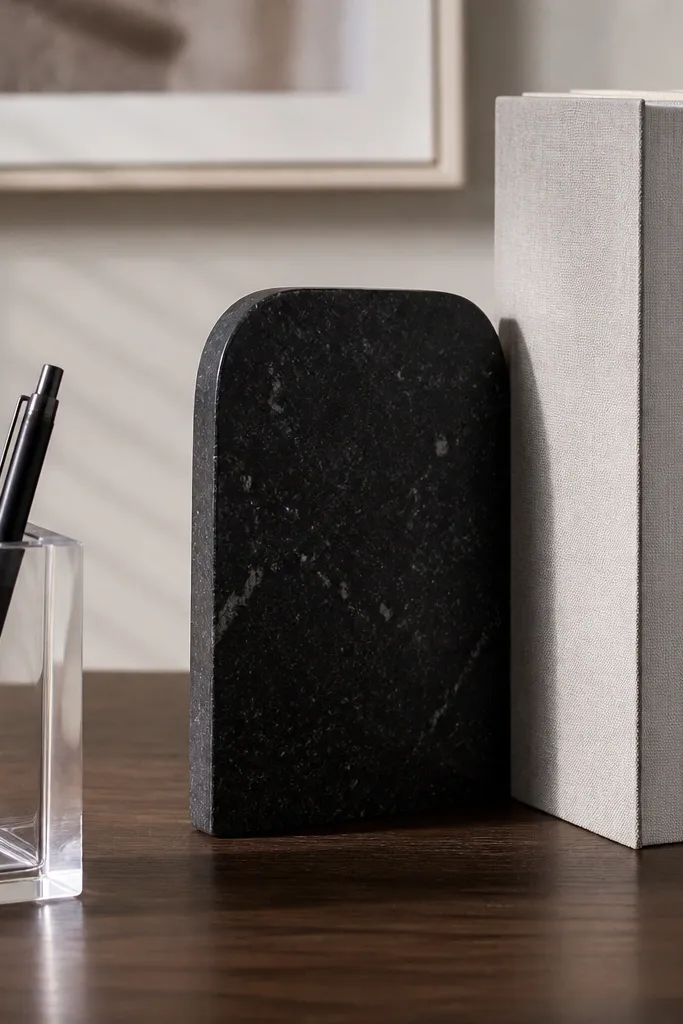
This is a high-end look built around one sculptural element. A statement bookend — think black stone-look, brass geometric, or a minimal ceramic form — makes the desk feel like a gallery shelf. Use a clear acrylic pen holder to keep the clutter invisible; it looks clean and doesn’t add extra visual weight. The books become part of the décor, so you don’t need extra trinkets. This setup is best for desks near shelves or in rooms where the rest of the décor is fairly simple, letting the desk act like a focal point.
Step 1: Stack two or three books and place the statement bookend on one side, not centered. Keep the books about 3 inches from the desk’s back edge. Step 2: Put the clear acrylic pen holder on the desk’s front side, aligned with the book stack so the layout feels intentional. Step 3: Add a single small tray for paper clips or a thin note pad, or skip it if the pen holder holds everything. Keep visible items under 6 inches tall besides the bookend.
Choose book spines with 2-3 matching tones; mismatched spines read messy even when the bookend is beautiful.
Don’t add a vase or extra décor next to a statement bookend; one hero piece is the whole trick.