1. Lidded tray + matte ceramic pen cup combo
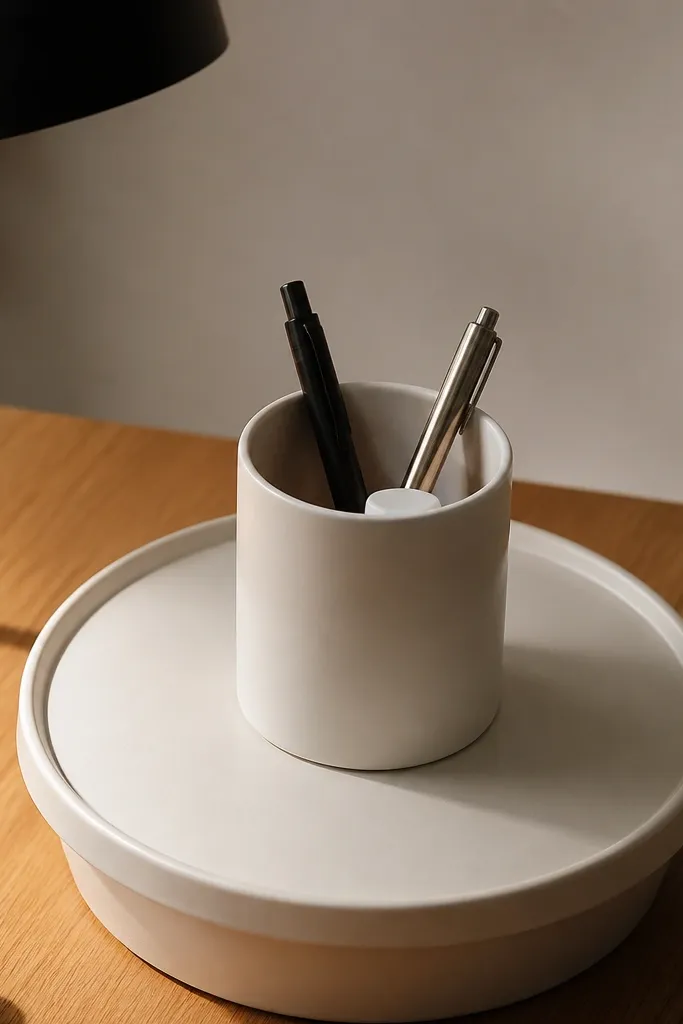
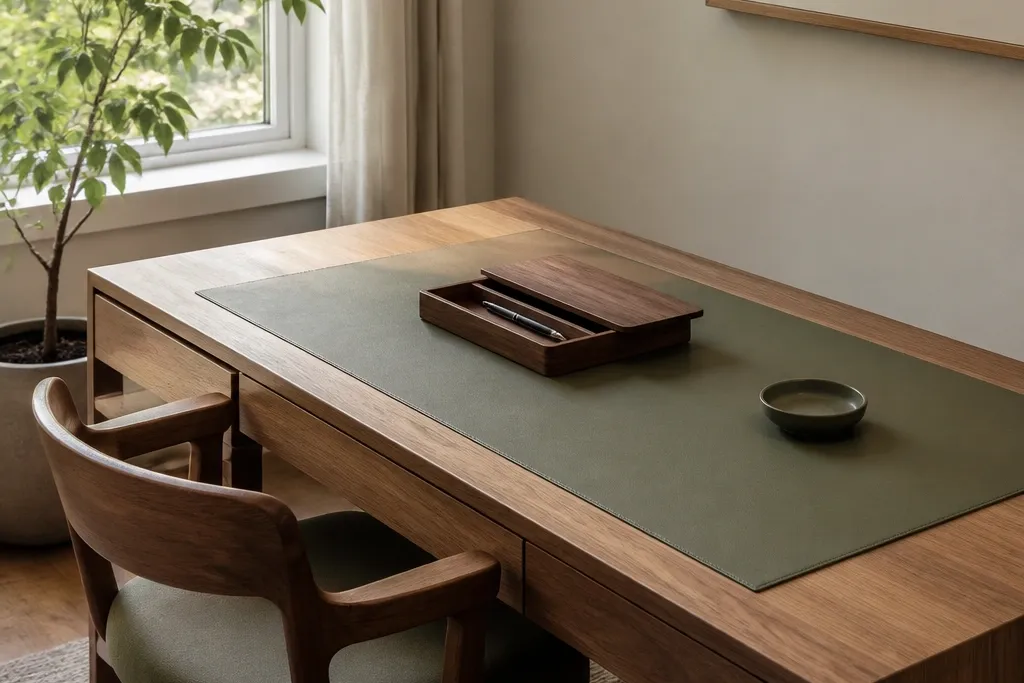
This setup looks styled because the tray creates one clean boundary for small items. The lidded tray also blocks the “busy” look that happens when pens, erasers, and paper scraps sit loose. Use matte ceramic for the pen cup so it doesn’t glare under overhead lights and doesn’t show smudges as easily as glossy plastic. Keep the notepad upright and centered — that vertical shape reads as intentional, not messy. It’s ideal for a homework desk or a home office corner where you need fast cleanup without losing the aesthetic.
First, place a lidded tray on the left or right side of the desk, leaving a clear keyboard zone in front. Aim for a tray size around 25-30 cm long so it holds pens, a small sticky-note pad, and two daily essentials without overflowing. Second, add one matte ceramic pen cup inside the tray and one notepad outside the cup but still within the tray footprint. Finally, store loose paper clips, extra pens, and USB cables in the tray lid or a drawer underneath so the top stays calm. Cost is usually low if you use a simple ceramic cup and a basic wooden or metal tray; the visual impact comes from the closed boundary.
Match the tray color to your desk wood tone (warm walnut with warm brown tray, light desk with cream tray) to make the whole setup look like it belongs there.
Avoid leaving multiple open containers on the tabletop — that’s what turns “decor” into clutter.
2. Black cable tray + minimal desk clip organizer
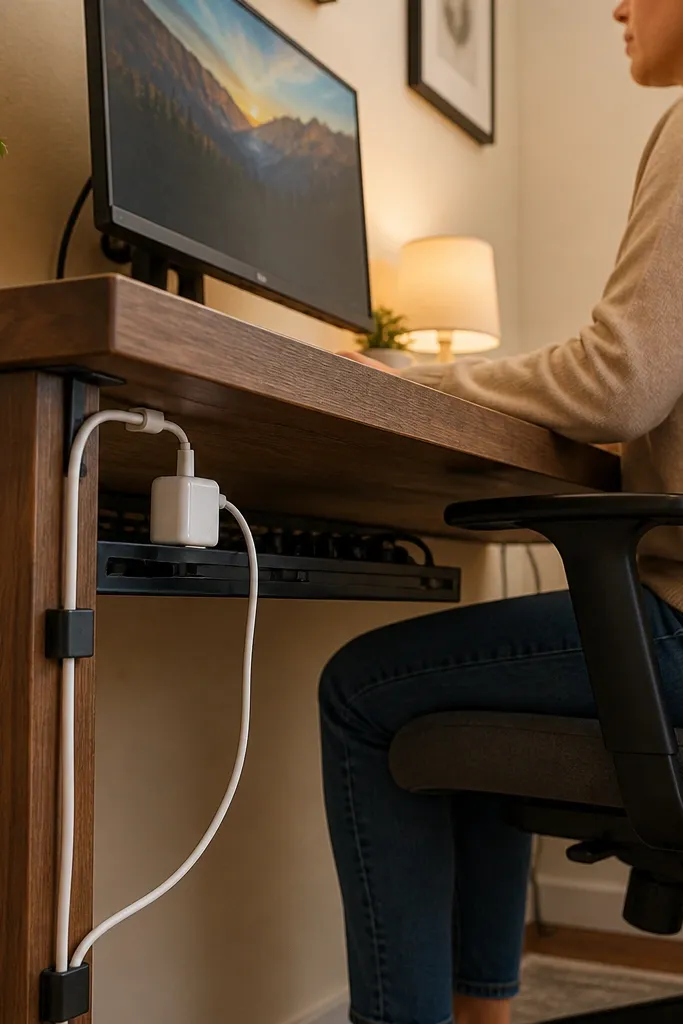
Cables are the fastest way a study table stops looking neat. A black cable tray hides the mess underneath and keeps cords from snaking across the desk surface where they catch dust and visual attention. Pair it with a minimal clip organizer on the desk edge so your charger cable has a single, repeatable path. The look stays clean even when you’re actively using the desk because the cords don’t spill into view. This is best for desks with limited drawer space or for anyone who hates spending 2 minutes untangling cords.
First, measure the underside width between the legs or supports and choose a tray that fits snugly without crushing power strips; a common size is 30-40 cm wide. Mount or adhere the tray so it sits 5-8 cm above the floor and routes the cords down neatly. Second, attach desk edge clips near the outlet side — keep them within arm’s reach of where you plug in. Finally, run each cable through the tray and secure the slack with one clip so the visible section stays straight. Effort is low: you’re changing the cord path once, then maintaining it by habit.
Pro tipUse cable ties or Velcro loops for slack — loose loops look untidy even if they’re “organized.”
Watch outDon’t route cords across the front edge of the desk; that’s where they show most in photos and in daily use.
3. Walnut desk shelf with a single book stack and a plant in a saucer
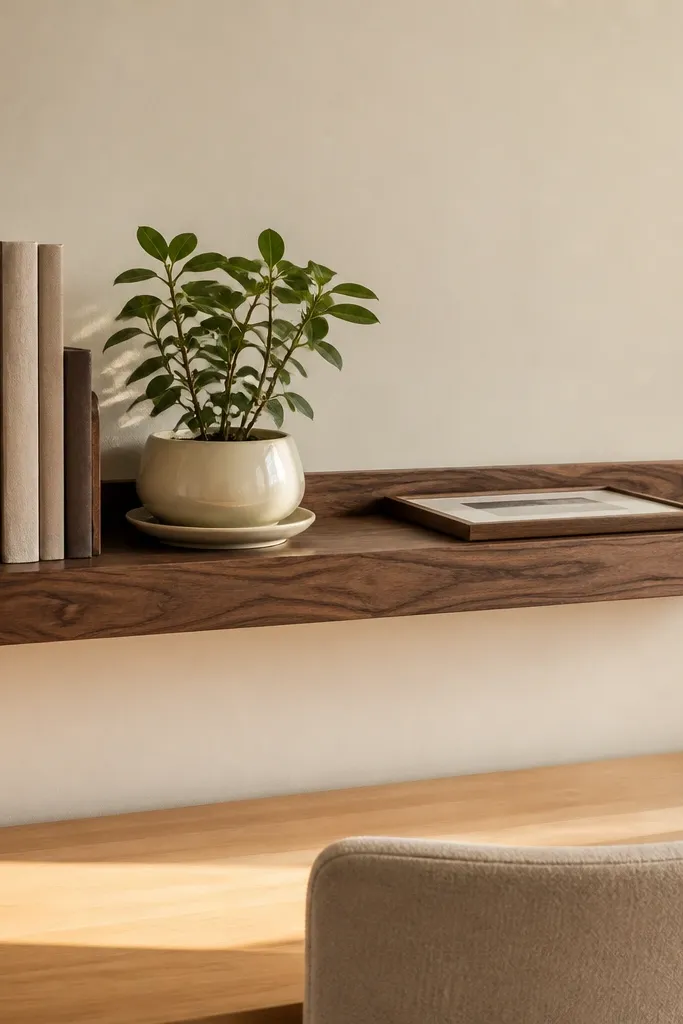
A small shelf turns desk decor into vertical decor, which instantly reduces tabletop clutter. Keep it minimal: one book stack, one plant in a saucer, and one flat item like a small frame or tray. Walnut tones look warm and expensive, and they photograph well against cream walls and light wood desks. A plant in a saucer matters because it’s contained and wipeable — no draining mess. This setup suits a study corner where you want calm focus and a slightly styled look without adding more items to the working surface.
First, mount the shelf so the bottom edge sits about 15-20 cm above the desk surface; this keeps it reachable for dusting but not in your eye line. Second, place a stack of two books (same height, same spine width if possible) on the left or center and add the plant on the opposite side. Finally, add one flat decor piece, like a small frame or a slim tray, so the shelf doesn’t look empty. Aim for shelf depth around 12-16 cm so items don’t look crowded. The effort is mostly mounting; the look stays neat because it limits what can accumulate on top.
Pro tipRotate the books by theme (study, reading, reference) but keep the stack size identical so the shelf always looks intentional.
Watch outAvoid a shelf with five different objects — it looks styled for one day and messy by week two.
4. Clear acrylic organizer with fabric drawer inserts
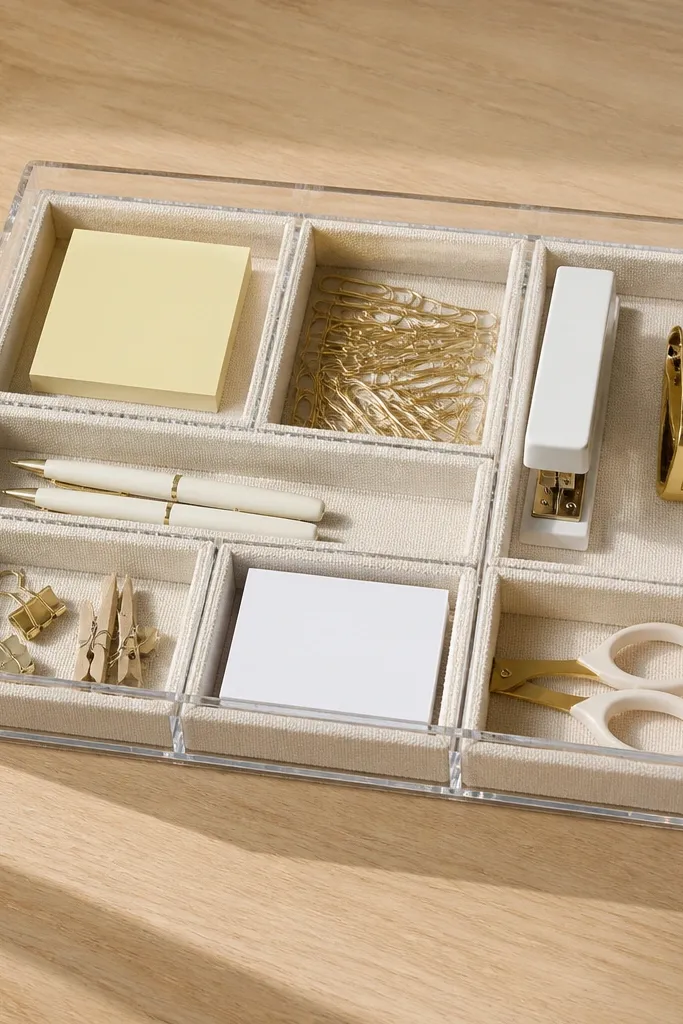
Clear organizer boxes look tidy because you can see what’s inside, so you stop dumping random items back into the drawer. The secret for low maintenance is adding fabric drawer inserts that keep categories from sliding around. The fabric also softens the look so the organizer doesn’t feel like an office supply bin. Choose neutral fabric colors like oatmeal, sand, or warm gray for a luxury-home feel. This works well if your desk has drawers and you want the tabletop to stay clean while still having everything within reach.
First, measure your drawer internal width and height and buy organizer boxes that fit without leaving big empty gaps. Second, line or insert fabric compartments inside each box so small items like highlighters and sticky notes don’t scatter. Finally, assign one box per category: writing tools, paper goods, and cables-adapters; keep one box for “today’s use” and move the rest to deeper storage. Use adhesive labels on the underside so the drawer stays visually clean. Cost is moderate, but it pays off because the setup prevents clutter drift.
Keep the labels minimal and small — the goal is a calm look, not a storage poster.
Don’t use loud patterned inserts; they make the drawer look messy even when it’s organized.
5. Stone-look desk mat with a matching linen desk runner
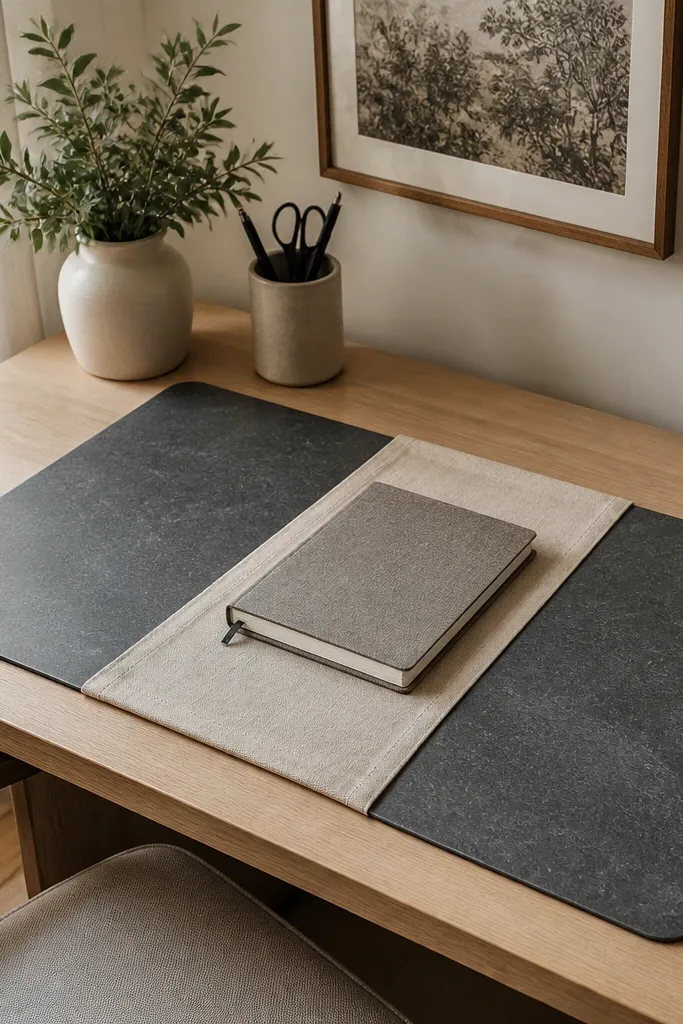
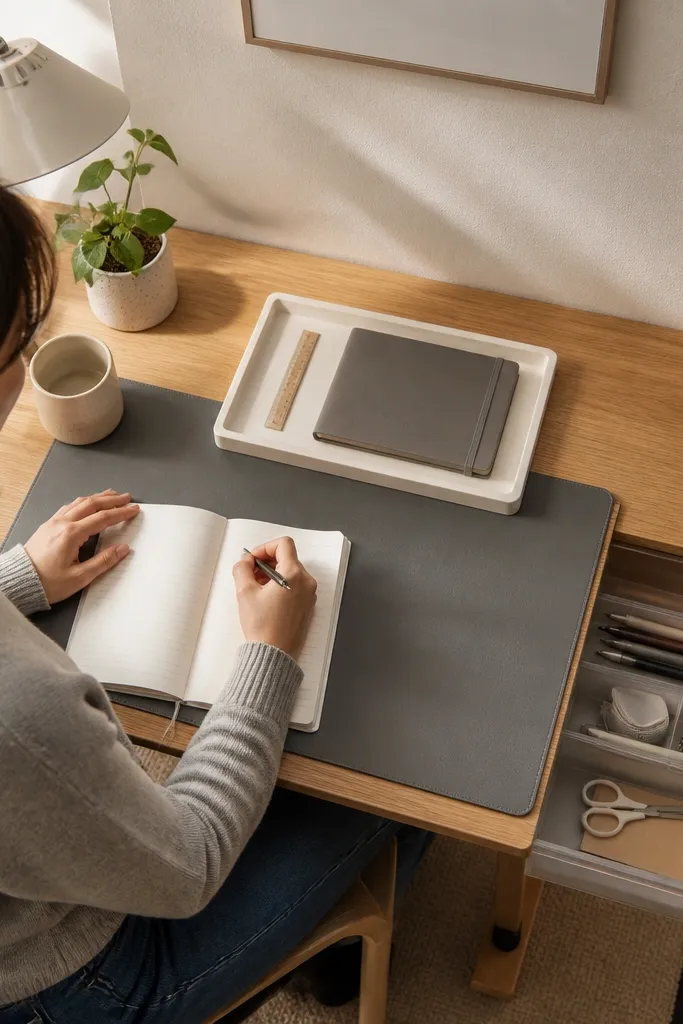
A desk mat is the easiest way to make a study table look finished because it creates a defined working zone. Go for stone-look materials (sealed faux stone or textured rubber with a matte finish) so it hides minor scratches and wipes clean fast. Add a thin linen runner on top for softness and contrast — linen looks expensive and reads warm against cool mat textures. Keep accessories small and placed within the runner area so the desk stays photogenic even when you’re mid-task. This is great for students who write a lot, because the mat protects the surface and the runner keeps the look tidy.
First, measure your writing area and cut the runner to size if needed; a runner around 60-70 cm long works for most single-person desks. Second, place the stone-look mat so it aligns with the desk edge and covers your keyboard and writing zone. Finally, center the linen runner lengthwise and place only two items on it: a pen cup and a small tray for daily papers. Use a damp cloth for the mat and a quick lint brush for the linen. Effort stays low because daily cleanup is basically wiping one surface.
Choose linen in a plain weave, not a chunky texture — it looks smoother in photos and catches fewer crumbs.
Avoid a thick patterned runner; it distracts from the workspace and makes spills stand out.
6. Magnetic wall strip for scissors, ruler, and sticky-note pad
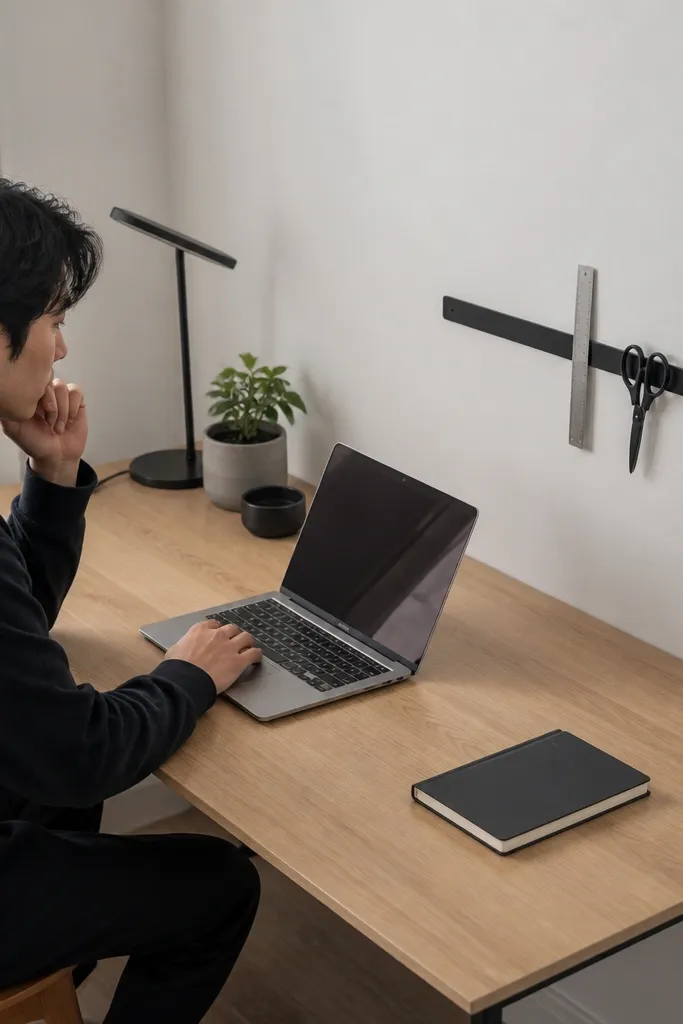
If your desk surface keeps filling up, move the tools to a magnetic wall strip. It’s low-maintenance because everything has a landing spot, and you stop leaving items on the desk “temporarily.” The best look is a clean strip in black or brushed metal with slim holders so it doesn’t look industrial. Add one sticky-note pad holder so notes stay accessible without stacking loose sheets. This setup is perfect for narrow desks where tabletop real estate is limited but you still want a styled, organized look.
First, install a magnetic strip above the desk at about 60-75 cm from the floor, centered over your work position. Second, place slim magnetic holders for scissors and a ruler, and add a small holder for sticky notes so it’s one motion to grab. Finally, keep only three tools on the strip — anything more looks cluttered. For cable-free function, avoid hanging chargers there; keep it for paper and hand tools. Most strips install with screws and take under an hour, and the daily payoff is immediate.
Pro tipMatch the strip color to your desk hardware (black monitor stand, black lamp, or brass accents) for a cohesive look.
Watch outDon’t mount the strip too low; if it’s near arm level, you’ll bump it and the whole arrangement gets annoying.
7. Lidded ceramic canister for stationery + clear jar for paper clips
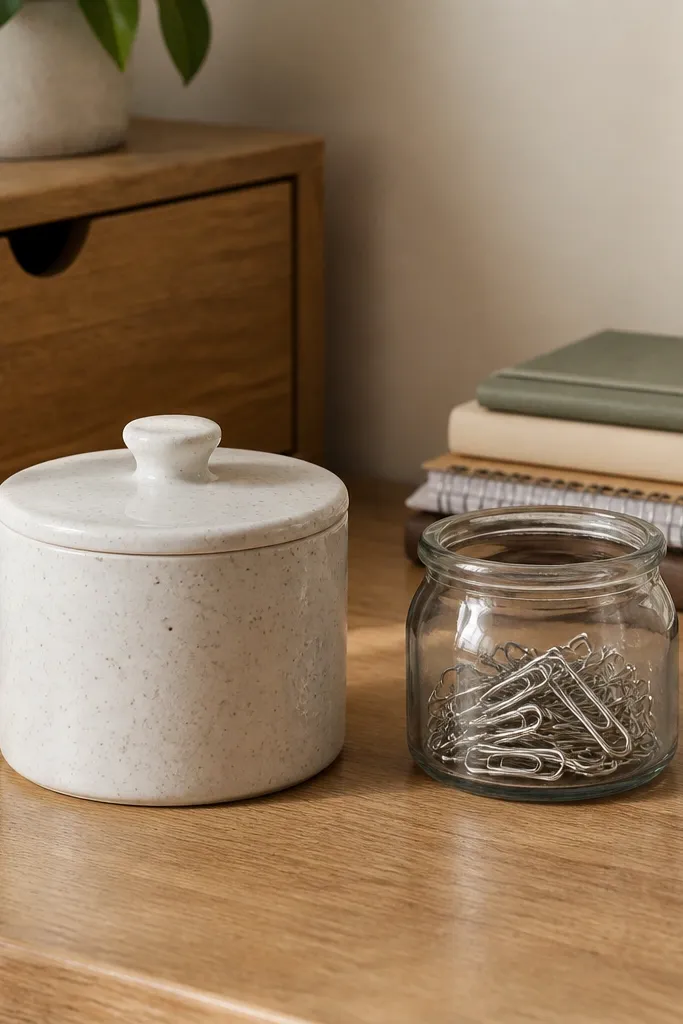
This is a classic pairing done the right way: one lidded ceramic canister for the messy stuff and one small clear jar for tiny items. The ceramic canister hides the chaos of spare pens, tape, and random stationery; you only see a clean silhouette. The clear jar works for paper clips because they’re visually tidy when contained. Use a white or off-white ceramic for a soft luxury feel that doesn’t fight with your study materials. Place it on the desk corner near where you reference notes so you don’t keep re-stacking papers.
First, pick a canister with a lid that sits flush so dust doesn’t collect in the rim; sizes around 12-15 cm tall are a good start. Second, place the canister on the non-writing side of the desk, leaving at least 20 cm of clear space near your keyboard. Finally, add the paper clip jar next to it, smaller in height than the canister so the composition looks balanced. Keep the jar filled to only two-thirds so it doesn’t look like a dump. This setup is low effort because daily cleanup is just closing the lid.
Wipe ceramic once a week with a slightly damp microfiber cloth; it keeps that matte finish looking new.
Avoid using the clear jar for messy items — if it’s full of mixed stationery, it looks chaotic.
8. Adjustable task lamp with warm bulb and a small tray under it
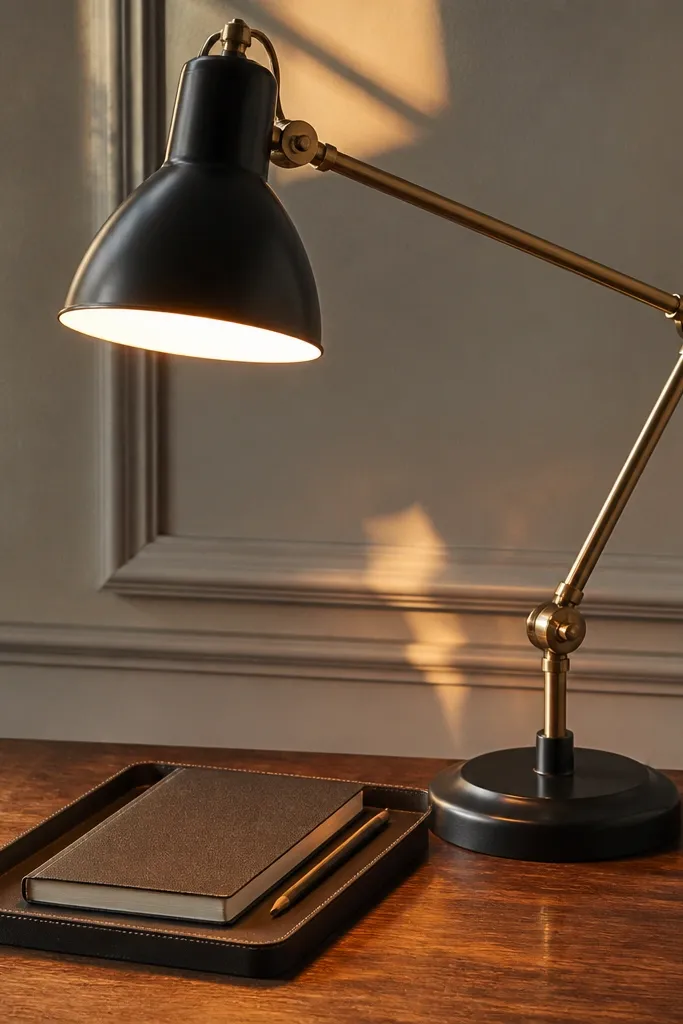
Lighting is decor here because it changes how everything looks on the desk. Choose an adjustable task lamp with a warm finish like matte black with a warm brass arm or a soft off-white shade. Pair it with a small tray directly under or beside the lamp so the lamp area always looks intentional. Put only a notebook and one pen cup on the tray; that’s your “focus station.” Low maintenance comes from having one defined spot for the items you touch every day. It’s ideal for evening study, because warm light makes the workspace feel calmer and easier on your eyes.
First, position the lamp so the light lands on your page, not across your screen; start with it 30-40 cm to the side of your dominant hand. Second, set a small tray near the lamp base, roughly 20-25 cm wide, and place your notebook upright with the spine facing outward. Finally, use a warm bulb setting (2700K to 3000K) if your lamp allows it; that keeps the desk from looking harsh. If you use a power strip, hide it under the tray edge or behind the desk. Effort is simple: placement once, then maintain with the tray rule.
Pro tipChoose a lamp with a matte shade; reflective shades turn into glare spots on glossy screens.
Watch outAvoid placing the lamp dead center — it crowds the working zone and makes the desk feel symmetrical-but-cluttered.
9. Gallery-style desk frame + one minimalist print
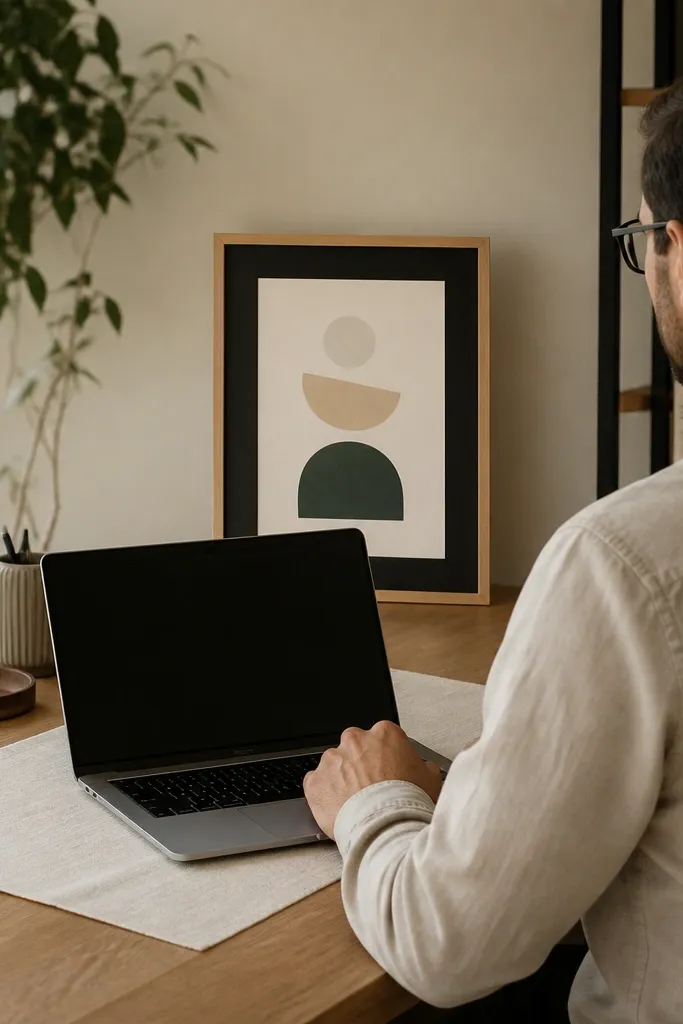
A single framed print gives your desk a finished look without adding clutter. The key is keeping it minimalist and aligned — one frame, one print, no rotating stacks. Use a standing frame with a simple border in black or light wood so it matches the desk tone. Put it slightly behind the keyboard area so it frames the workspace in photos and in your line of sight. This also helps with low maintenance because you don’t feel pressured to keep swapping decor; the frame stays the anchor.
First, place the frame behind the keyboard area or to the back corner so it doesn’t block your writing surface. Second, keep the frame height around 20-30 cm so it looks proportional to the desk and doesn’t feel like a wall decoration. Finally, add one slim tray in front holding only your daily notes and pen cup; keep everything else in drawers. If you’re using a standing frame, make sure it’s stable and weighted so it doesn’t tip when you lean. Cost is low to moderate, depending on frame material.
Use a print with lots of negative space; it reads clean and doesn’t compete with your paperwork.
Avoid a frame with busy borders or heavy embellishments — it makes the whole desk look crowded even when it’s tidy.
10. Color-coded drawer dividers with matching desk-side labels
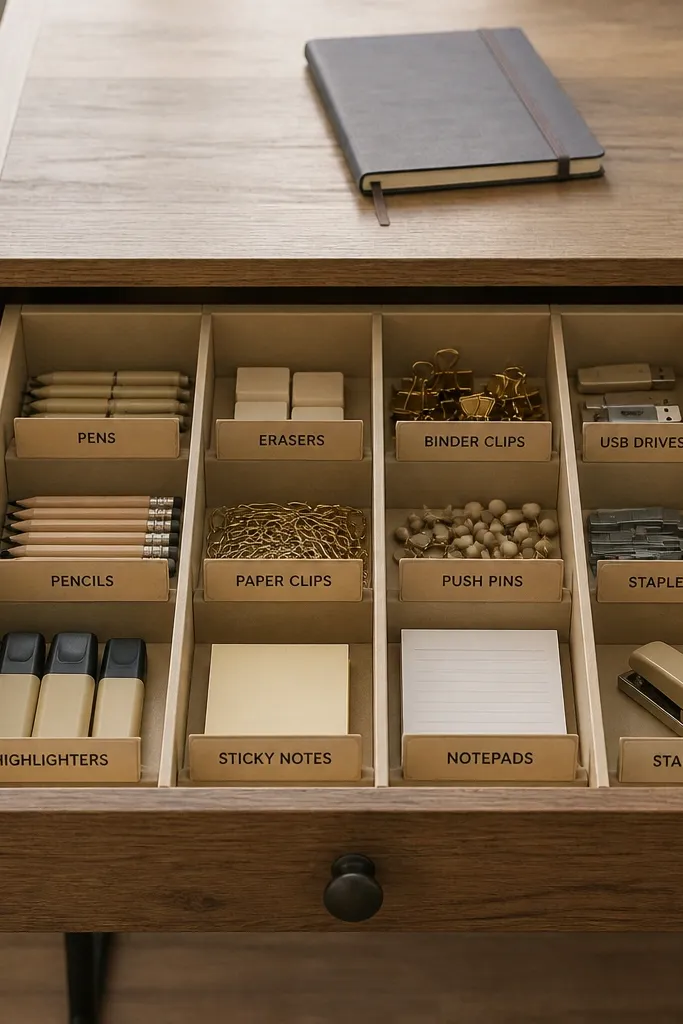
Drawer organization is what makes low-maintenance decor actually work, because your desk top stays clean only if you have a quick place for everything. Color-coding helps the brain return items to the right spot without thinking. Choose dividers in neutral tones like beige, sand, or light gray, then use small labels in one consistent color (matte black or deep charcoal). Keep your desk-side decor closed — a tray with a lid, a canister, or a desk organizer with doors — so the drawer is where the “real storage” happens. This setup suits people who study for long sessions and need a fast reset between tasks.
First, pull everything out of the drawer and sort into four groups: writing tools, paper, tech accessories, and miscellaneous. Second, install dividers so each group has a dedicated compartment sized for the items you actually own; a divider height that matches your tallest folder is the right move. Finally, label the outside of the drawer with small stickers or a label maker strip, and keep the desk top limited to one tray. If you use tech accessories, add one small compartment for chargers and one for cables so they don’t migrate. Effort is one-time setup, and the payoff is daily speed.
Pro tipLabel by function, not by brand — “Pens” and “Adapters” look cleaner and are easier to maintain.
Watch outAvoid bright divider colors; they make the drawer look messy even when it’s neat.