1. Linen desk runner with a slim brass tray
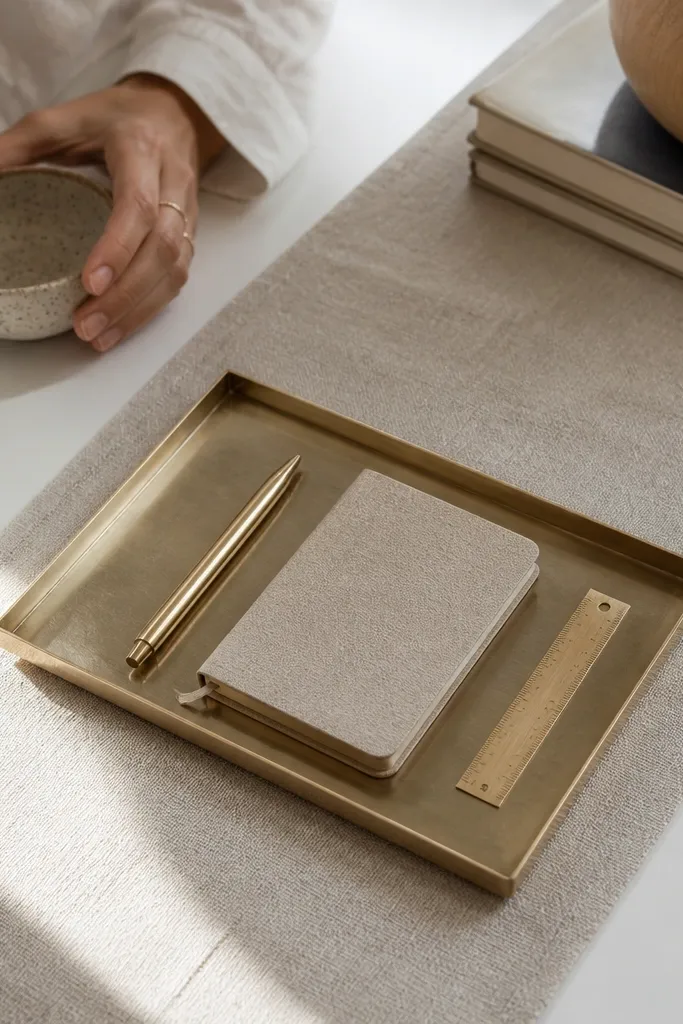
A linen runner instantly makes a desk look “finished” because it creates a soft boundary line. Pair it with a slim brass tray so your everyday items stop floating around the surface. This works especially well on light wood or white desks because linen adds warmth and the brass adds a crisp highlight. Keep the tray small enough that it sits in the active zone, not under where you write. The result is clean contrast — fabric texture against smooth metal — which reads as luxury in photos without adding clutter.
Start by measuring your desk length and placing the runner so it leaves 2-3 inches of space at the back edge. Put the brass tray on the side you reach with your dominant hand, usually 6-10 inches from the desk edge. Add only 5-8 items to the tray (pens, highlighter, sticky notes holder) so it doesn’t turn into a junk bowl. Cost-wise, expect about $25-60 for a linen runner depending on width, and $15-35 for a small brass tray.
Roll the runner edge with a little crease using your fingers so it looks naturally placed, not wrinkled.
Don’t cover the entire desk surface if your laptop sits on top — you’ll kill the calm zone.
2. Monochrome cable management with a clear acrylic dock
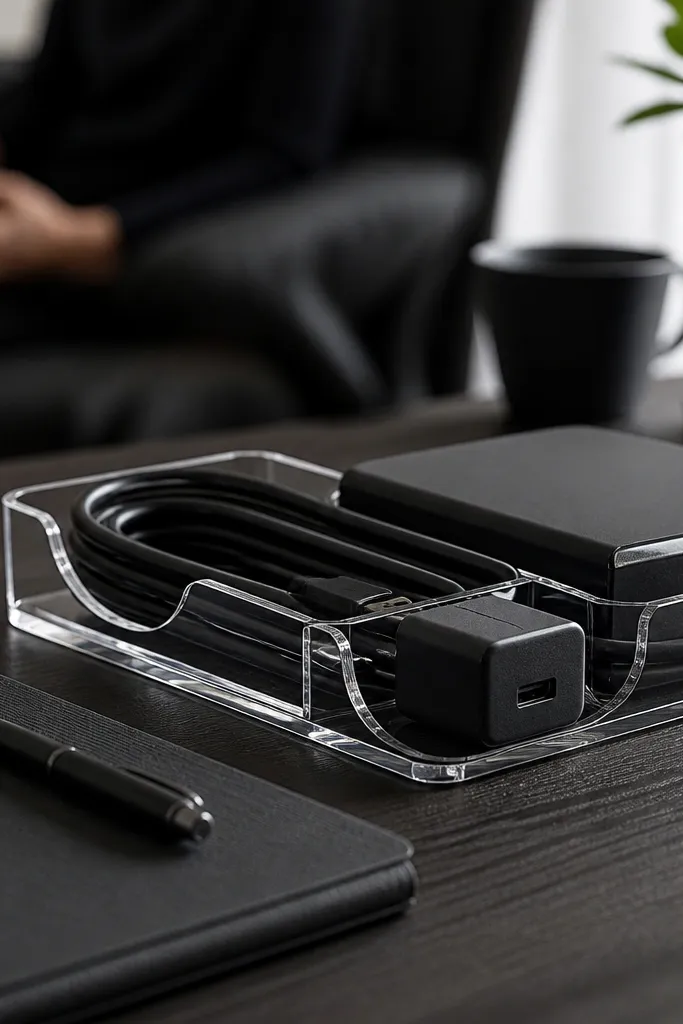
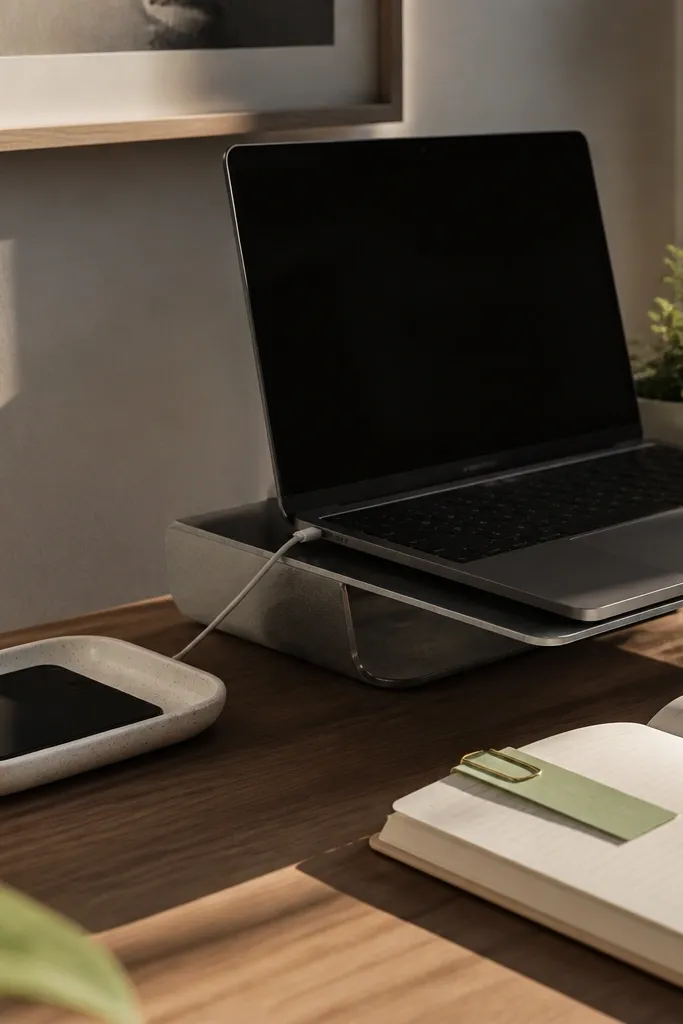
Bundle cords with small fabric ties so you have 1-2 main cables coming out toward the desk edge. Place the acrylic dock behind your main work zone, then set your charger blocks inside so they don’t sit on the desk surface. Route the cable along the back edge using a small adhesive cable clip if needed, then finish by tucking the slack into the dock. You’ll usually spend $20-45 for acrylic cable organizers and $5-15 for cable clips.
Cable chaos is the fastest way to make study table decor look messy even when the rest is pretty. A clear acrylic dock keeps chargers and cords visible but organized, so it looks intentional rather than tangled. The clear material is great for quick and easy study table decor because it blends with any color scheme while still adding structure. Use this when your desk has a power strip you hate looking at. It also photographs well because straight lines and neat loops read clean.
Watch outDon’t hide everything in a box — you want the cables to look controlled, not mysterious.
Pro tipKeep cable color consistent: black cords look best with clear acrylic for a sharp, modern look.
3. Desk lamp in matte black with a warm 2700K bulb

Choose a compact lamp with an adjustable head and place it 8-12 inches from where your notebook sits. Swap the bulb to 2700K warm white if the fixture allows it, then aim the light at the page, not the camera. Add one small object near the base (a slim book or a small ceramic tray) so the lamp doesn’t look lonely. Expect about $35-90 for a decent matte black lamp and $3-12 for a bulb swap.
A lamp is the easiest style upgrade because it changes the whole mood, not just the surface. Matte black looks clean on nearly every desk color, and a warm 2700K bulb makes the setup feel cozy instead of clinical. Put the lamp on the same side as your writing hand so the light hits your page without glare. This idea works for late-night studying and creative work because it adds a functional “finish” to the desk. The lamp also creates a highlight on nearby decor, making even simple items look styled.
Watch outDon’t place the lamp directly behind your screen — it creates glare and ruins the look.
Pro tipUse a dimmer if you have one, or keep brightness moderate — harsh light flattens your decor in photos.
4. Acrylic organizer tower with color-coded sticky tabs
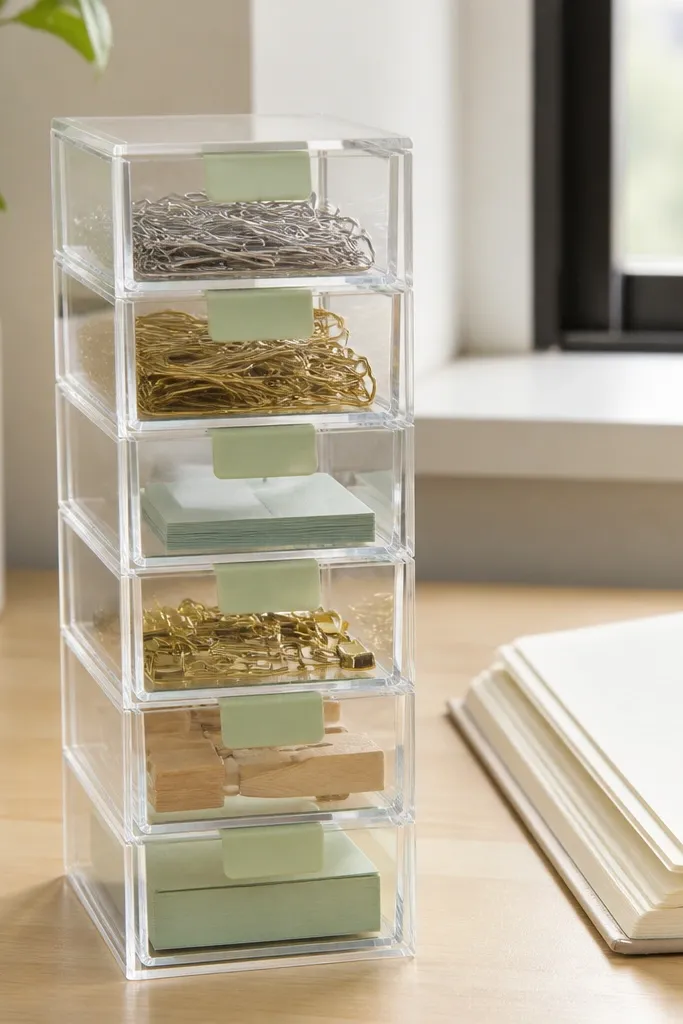
Clear acrylic organizers look sleek, and the stack shape makes your desk feel structured instantly. To keep it aesthetic, add color-coded sticky tabs that match your accent color (like sage green or blush). The organizer holds paper and small tools, so your desk stays visually calm while still looking “designed.” This is perfect for students who live with notebooks, index cards, and constant note-taking. The tabs add a subtle pop that reads as creative, not chaotic.
Pick one accent color and stick to it for tabs and small items. Put the acrylic stack in the active zone and dedicate each section: top for sticky notes, middle for index cards, bottom for small tools like clips. Apply tabs to your most-used notebook sections so they’re visible but not messy. Acrylic towers run around $25-60, and sticky tabs are usually $6-15.
Use 3 tab colors max — too many shades makes it look like office supply storage.
Don’t overload the acrylic compartments; empty space makes it look high-end.
5. Travertine-style coaster trio under a pen cup
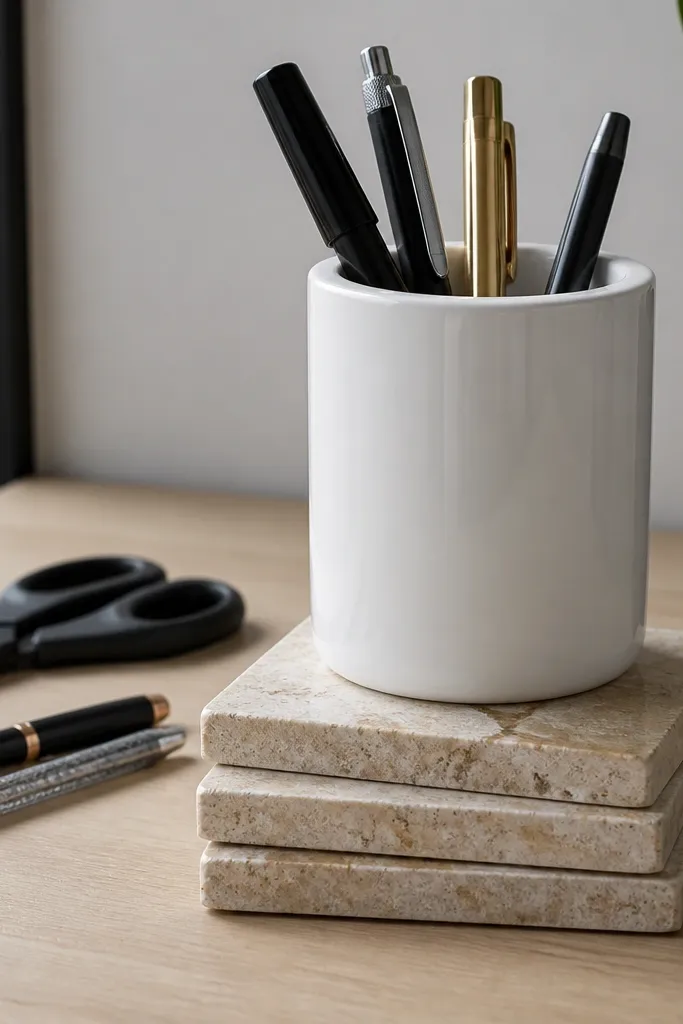
Choose a coaster set with a similar tone to your desk (light beige stone for light wood, darker taupe for white). Place all three coasters in a triangle pattern and set your pen cup on top, centered. Keep the cup simple: matte ceramic or simple glass, no busy graphics. Coasters usually cost $12-25, and you can reuse your existing pen cup.
A coaster set sounds small, but it changes the “surface story” of your desk. Use a travertine-style coaster trio to create a layered base under your pen cup or small catchall. The stone look adds pattern without clutter, and it makes the pen cup feel placed instead of dropped. This works best on plain desks where you need texture — think white laminate, smooth gray desks, or light wood that lacks contrast. It’s also quick because you’re not covering everything, just creating a focal spot.
Watch outAvoid patterned coasters with patterned desk accessories — the desk becomes visually noisy.
Pro tipMatch the coaster color to your book spine colors for a cohesive look.
6. Two-tone book stack with a small sculpture
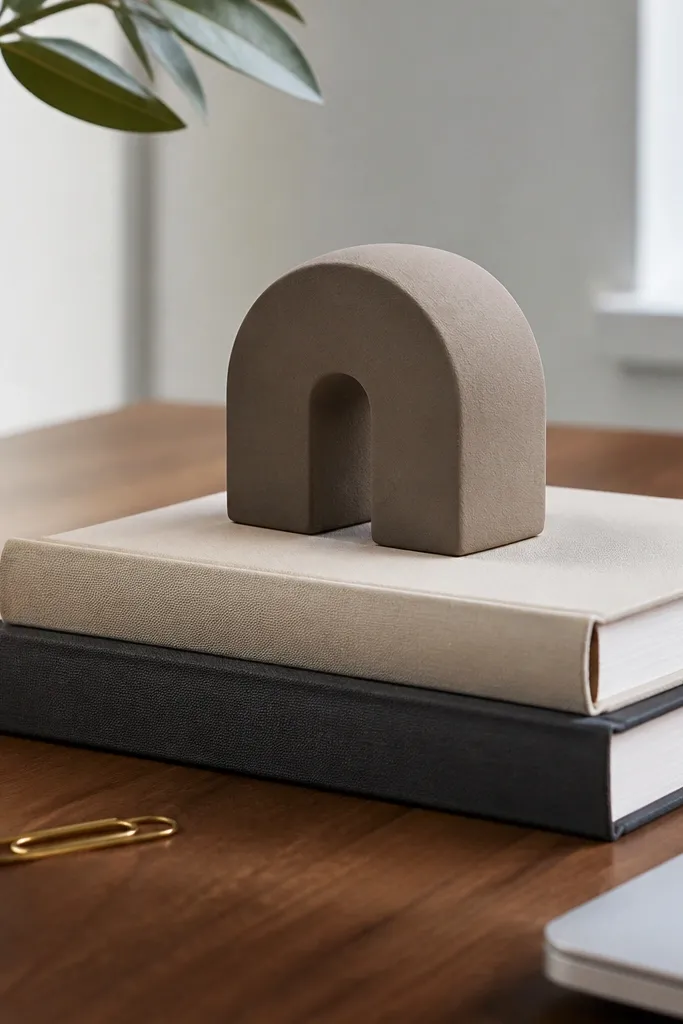
Pick two books that are about the same height so the stack looks balanced, then place them in the corner of your active zone. Set the sculpture centered on the top book, and keep the stack 10-14 inches away from where you write so you don’t bump it. If you don’t want to buy new books, use ones you already own and cover them with plain paper dust jackets. Expect $15-40 for sculpture-style decor and $0-20 if you already have the books.
A tidy book stack gives height and structure, which is what your desk needs when it’s flat. Choose two books with neutral covers (cream, charcoal, muted taupe) and place them with their spines facing outward. Add a small sculpture or paperweight on top — ceramic sphere, minimalist stone block, or a matte metal figurine. This idea looks intentional even if your desk is busy because it creates a styled “column” near your workspace. It’s great for students who want creative vibes without adding lots of items.
Watch outDon’t stack thick books directly under a lamp or you’ll block the light and make shadows ugly.
Pro tipUse one matte piece and one glossy piece in the stack for light-catching contrast.
7. Gallery strip of mini prints above the desk
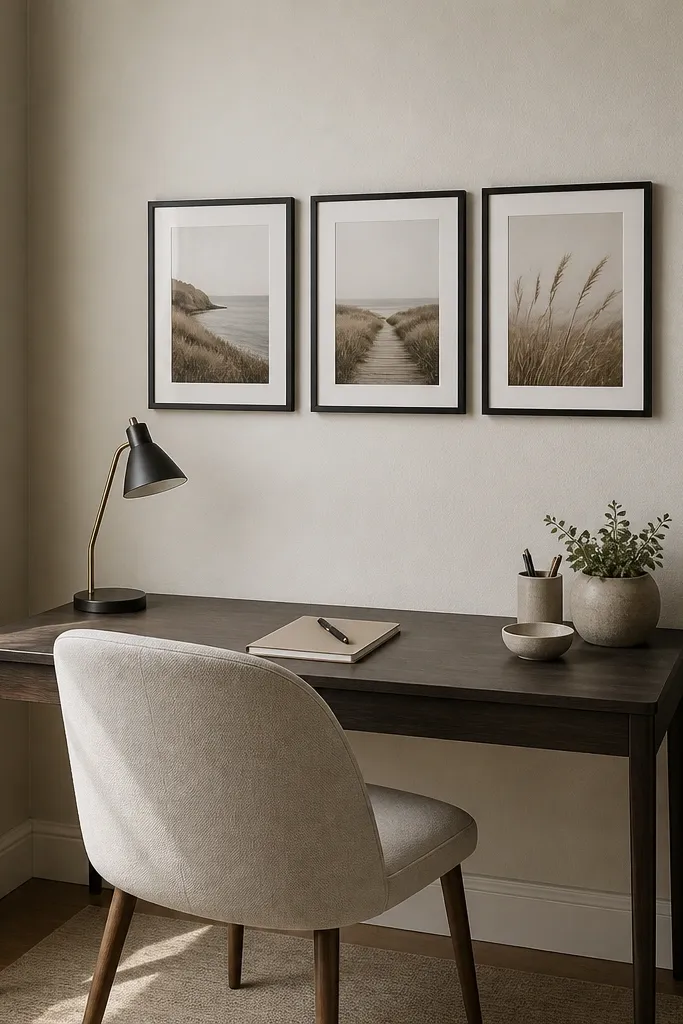
Measure the width of the area above your desk and aim for 3 frames with equal spacing. Hang so the bottom of the lowest frame sits about 6-10 inches above your seated eye line when you’re at the desk. Use the same frame color for all three to avoid a mismatched look. Mini print sets can be $25-80 depending on frame quality.
Wall decor is the quickest way to make a desk area look like a designed corner, not a random work spot. A gallery strip of three mini prints keeps it simple and readable, which matters if your desk is in a small room. Choose frames in one finish (black or natural wood) and keep print colors consistent with your accent color. This idea is perfect for creatives because it adds inspiration without taking up desk space. The strip also makes photos look complete because the background has structure.
Watch outDon’t hang art too low; if it sits near your notebook height, it becomes distracting.
Pro tipPick prints with one repeated color (like terracotta or forest green) so the trio looks curated.
8. Ceramic pen cup plus a matching ceramic dish for rings
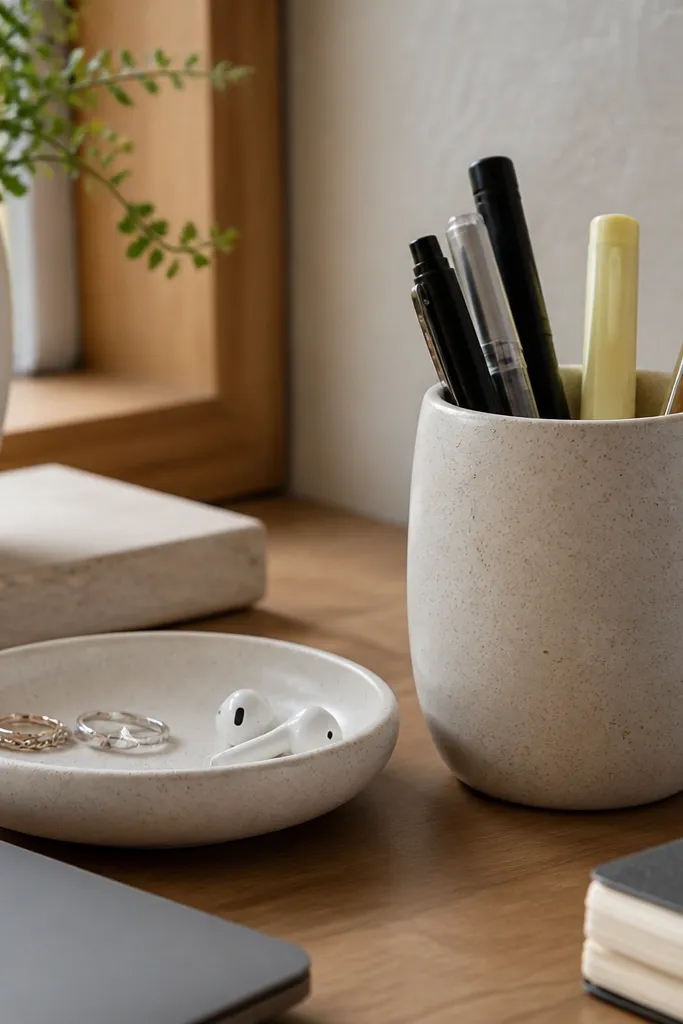
This is a small pairing that reads luxury because it looks coordinated. A ceramic pen cup holds your daily tools, and a matching ceramic dish gives you a place for rings, earphones, or tiny daily items that otherwise end up scattered. When you keep these items in one ceramic “family,” the desk looks styled even on chaotic days. Choose matte glaze in one color (sand, sage, charcoal) and keep the shapes similar. This works for students who want a clean desk surface without losing their personal touch.
Pick one ceramic color and buy or match two pieces: a pen cup and a small dish. Place the pen cup in the active zone and keep the dish next to it, leaving about 2-3 inches between them. Use the dish for one category only: rings, earbuds case, or tiny tools, not everything. Expect $20-55 total depending on dish size and pen cup height.
If you already have a pen cup, match only the dish. Matching one piece is faster and still looks intentional.
Don’t mix glossy and matte ceramic in the same corner unless you repeat both finishes elsewhere.
9. Monogram desk tray in warm wood with a slim organizer insert
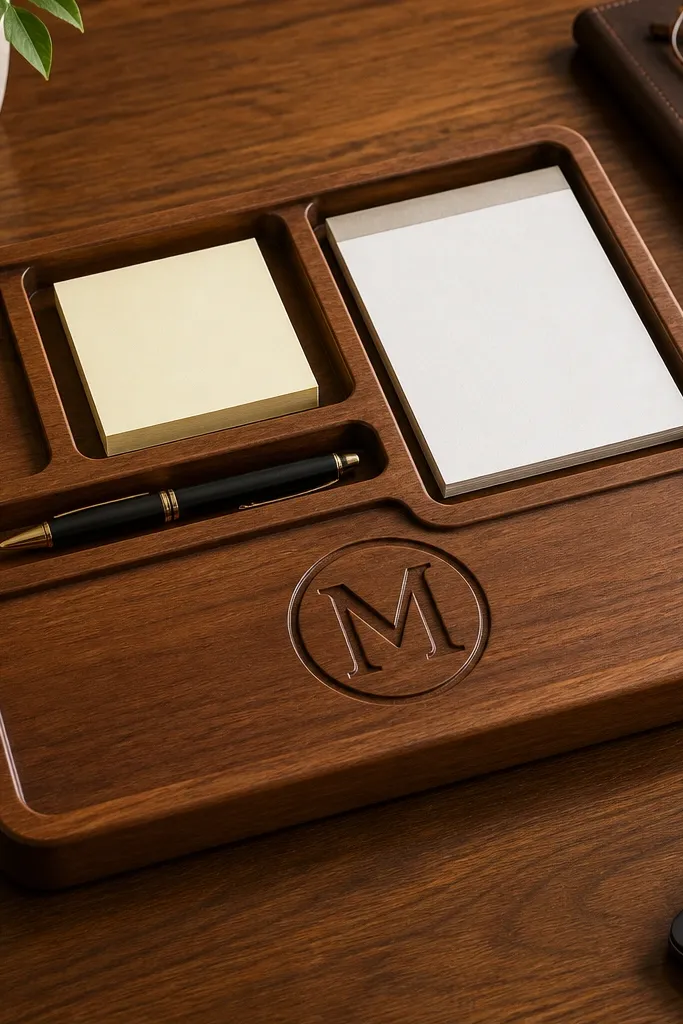
Choose a tray size that fits your main pen area — about 10-14 inches long for a small desk. Put the tray in the active zone and place pens upright so they don’t sprawl; add the insert to separate items. Keep the tray contents to what you use daily, and move the rest to a drawer. Expect $30-90 depending on whether it’s solid wood or veneer with a finish.
A wooden tray creates an instant “landing pad” for stationery, so your desk doesn’t look like it’s in temporary storage mode. Warm wood also softens the look of metal electronics and makes a study table feel cozy. A monogram or simple embossed detail adds a personal, aesthetic touch without adding clutter. Add a slim organizer insert inside the tray for pens and small stationery so items have assigned spots. This is quick and easy study table decor because it’s one purchase that fixes multiple mess points.
Watch outDon’t put your laptop on the tray; keep it for stationery so the desk stays calm.
Pro tipUse a pen layout: 2 pens at the back, 2 in front, highlighter on the side — it looks tidy even when you’re rushing.
10. A stackable desk organizer with fabric bins
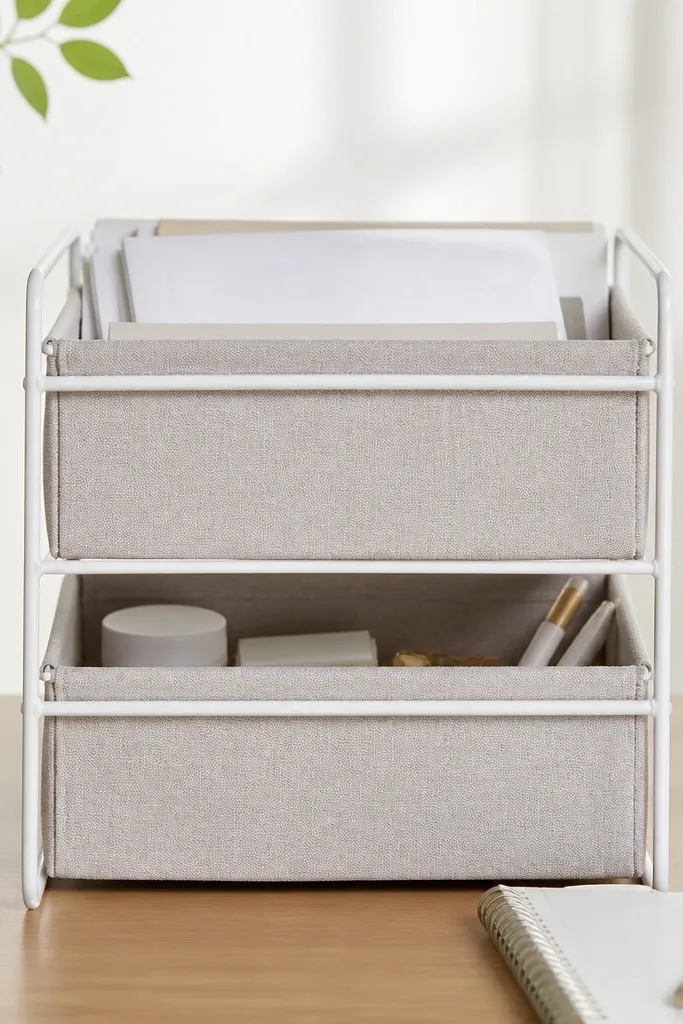
Pick a stackable organizer with at least two fabric bins and one open tray. Set it in the corner of your active zone and assign bins by category: one for paper, one for art supplies, one for small tools. Fold paper neatly before dropping it in so it doesn’t balloon visually. Cost is usually $40-120 depending on size and how many bins it includes.
Fabric bins make storage look soft and styled instead of industrial. A stackable organizer keeps your desk surface clear while still giving you visible order. Choose neutral fabric bins like oatmeal, sand, or light gray, then match the frame color to your desk metal (black frame for dark desks, white frame for light). This is ideal if you have lots of paper — assignments, printouts, sketches — and you want the corner to look clean even when you’re mid-week. It’s also photogenic because fabric textures read warm in daylight.
Watch outDon’t use bright patterned bins if your wall or prints already have patterns.
Pro tipLabel with small color tabs on the bin edges so it still looks pretty when you open it.
11. Color-blocked sticky note holder with a clear front
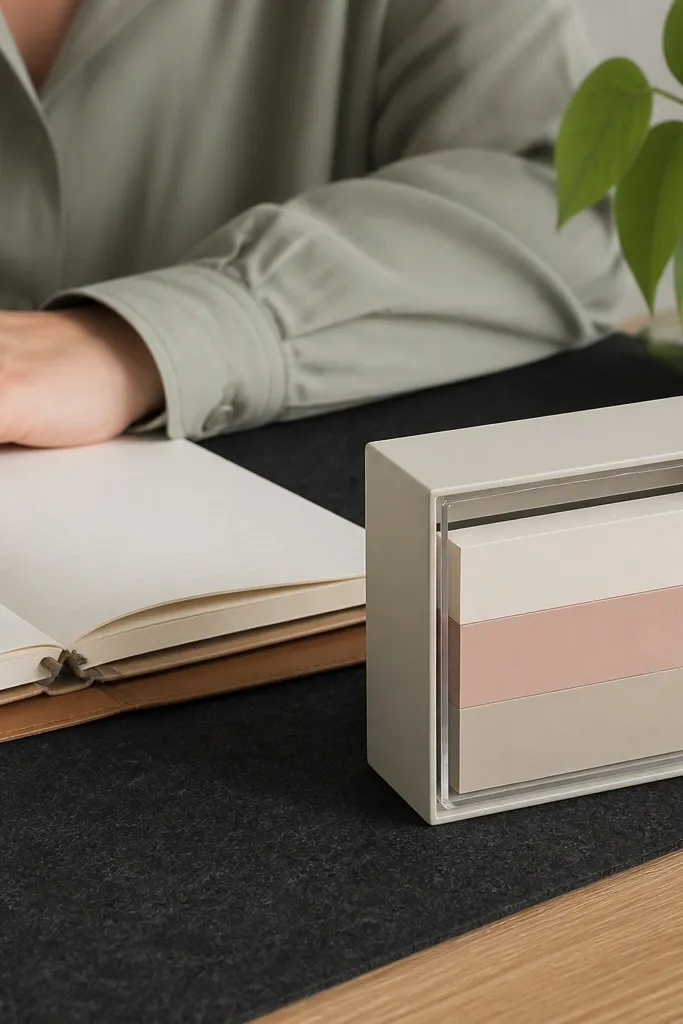
Choose a holder that holds one size of sticky notes cleanly, not a loose stack. Put it 2-4 inches from your notebook’s top edge so it’s reachable without moving your papers. Keep only one type of sticky note in the holder at a time; store other note colors in a drawer. Expect $10-25 for a holder and $3-10 for a pack of matching notes.
Sticky notes can look messy fast, but a holder with a clear front keeps them neat and shows the design. Add color-blocking in one accent color and one neutral. This gives you that quick and easy study table decor effect because it turns a daily tool into a styled object. Place it beside your notebook where your eyes land when you start working. For creatives, color-blocking also helps you separate tasks visually: drafts in one color, deadlines in another.
Watch outDon’t scatter loose sticky notes around the desk to “make it look creative.” It reads clutter.
Pro tipUse one color for reminders and a second for quick ideas so the desk looks organized even on busy days.
12. Terracotta plant in a small matte pot with a single trailing stem
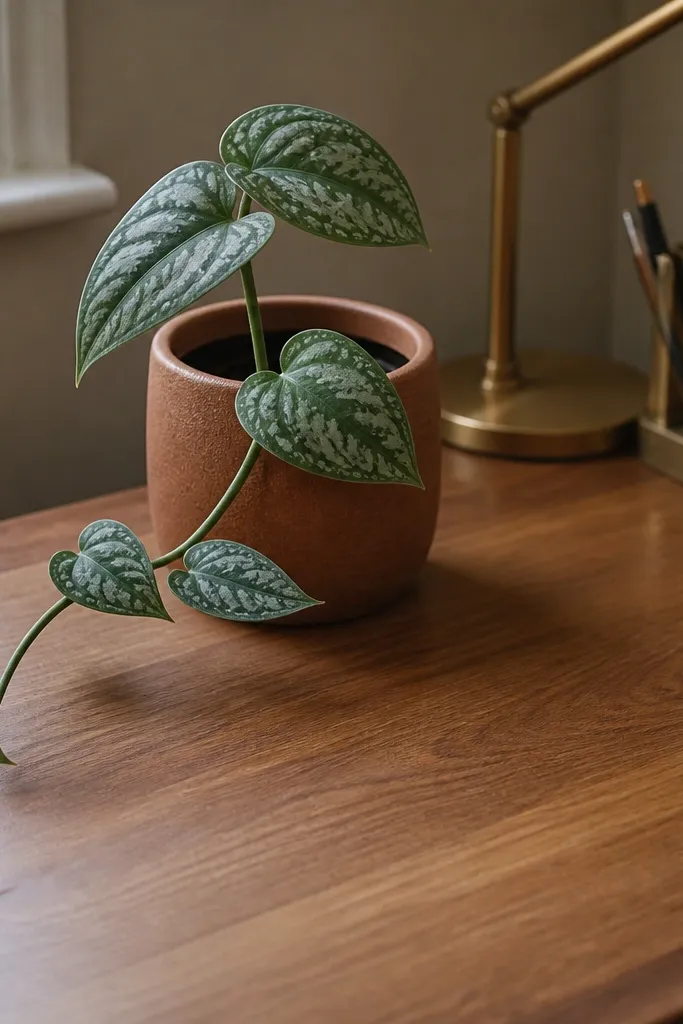
A small plant brings life without taking over the desk, and terracotta looks great with gold, brass, and warm wood. Go for one trailing stem instead of a bushy plant so it stays photogenic and doesn’t block your writing. This works for students who want a calm, creative vibe but don’t have time to fuss with big decor. Place it on the edge opposite your main writing hand so it doesn’t become in the way. The plant adds organic shape and a warm color that makes the whole setup feel softer.
Pick a matte terracotta pot about 4-6 inches wide and choose a plant with one main trailing stem (or a single faux stem if you prefer zero maintenance). Place it near a window if it’s real; if it’s faux, place it near a lamp for light. Keep the pot 8-12 inches from your notebook so it doesn’t cast distracting shadows. Expect $12-35 for a small pot and plant depending on whether it’s real.
Wipe the pot rim and leaves so it looks clean in photos; dust makes plants look neglected.
Don’t choose a tall plant that reaches into your laptop screen line.
13. Black-and-white framed photo leaning behind a monitor
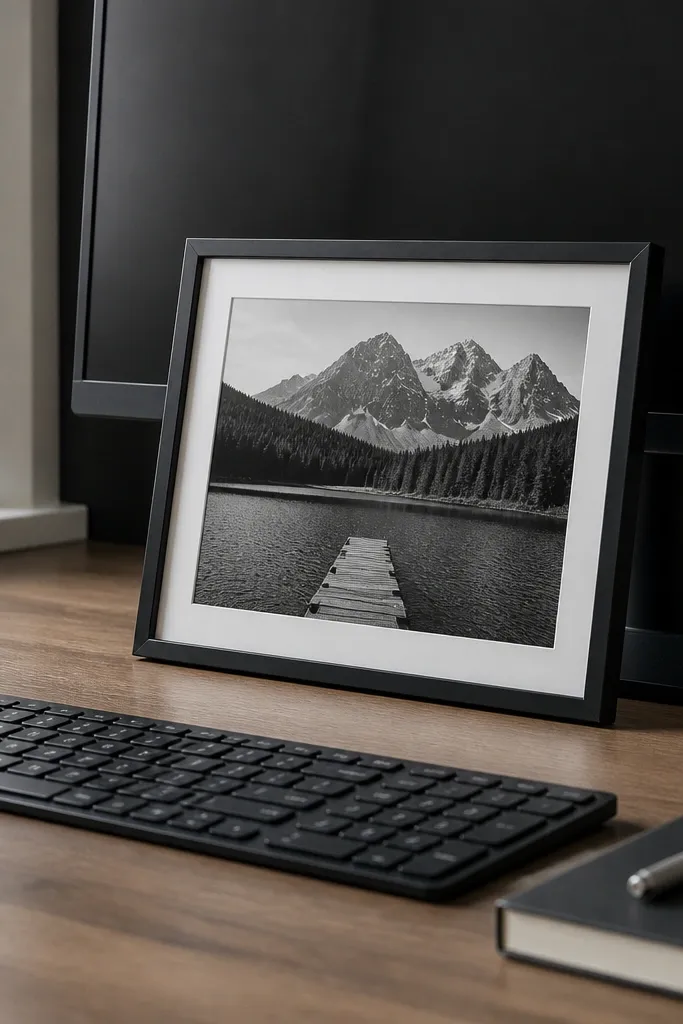
Choose a slim black frame or natural wood frame and print a black-and-white image you like. Place it behind the monitor with a small stand or folded cardboard so it leans at a gentle angle. Keep the frame height roughly aligned with the top third of your monitor so it looks balanced. You can spend $12-50 depending on frame size and whether you print yourself.
A single framed photo leaning behind your monitor is an easy way to add personality without rearranging your whole desk. The black-and-white choice keeps it classy and keeps your accent colors elsewhere from clashing. It also solves a common problem: the space behind laptops looks empty in photos. Lean it slightly so it catches light and feels intentional, not like it fell there. For creatives, this adds inspiration and mood while still keeping the desk surface clean.
Watch outDon’t use a busy colorful photo if your desk already has multiple color accents.
Pro tipUse a frame with glass or acrylic so it looks crisp under desk lighting.
14. Desk mat in charcoal with a stitched edge

Measure your desk and choose a mat that covers the area where you write, usually about 20-28 inches wide for small desks. Place it centered so the mat edges are visible on both sides of your notebook. Keep the pen cup and organizer on top or just beside the mat edge, not across the full desk. Mat prices usually run $25-80 depending on thickness and material.
A charcoal desk mat instantly makes the desk look more expensive because it creates a clean, defined writing surface. The stitched edge keeps it looking tailored, not like a random sheet. This works for quick and easy study table decor because it replaces the visual mess of bare laminate or scuffed wood. Put it only in your main work zone — laptop, notebook, and writing area — so the rest of the desk can stay lighter. Charcoal also makes pens and stationery pop, which helps the whole setup look styled even when you’re using a lot of tools.
Watch outDon’t pick a desk mat that’s too small; half-covering makes it look like cover-up.
Pro tipUse a matte pen and a paper notebook on top of the mat — the texture contrast looks better than glossy combos.