1. Weighted tray + brass pen cup desk landing
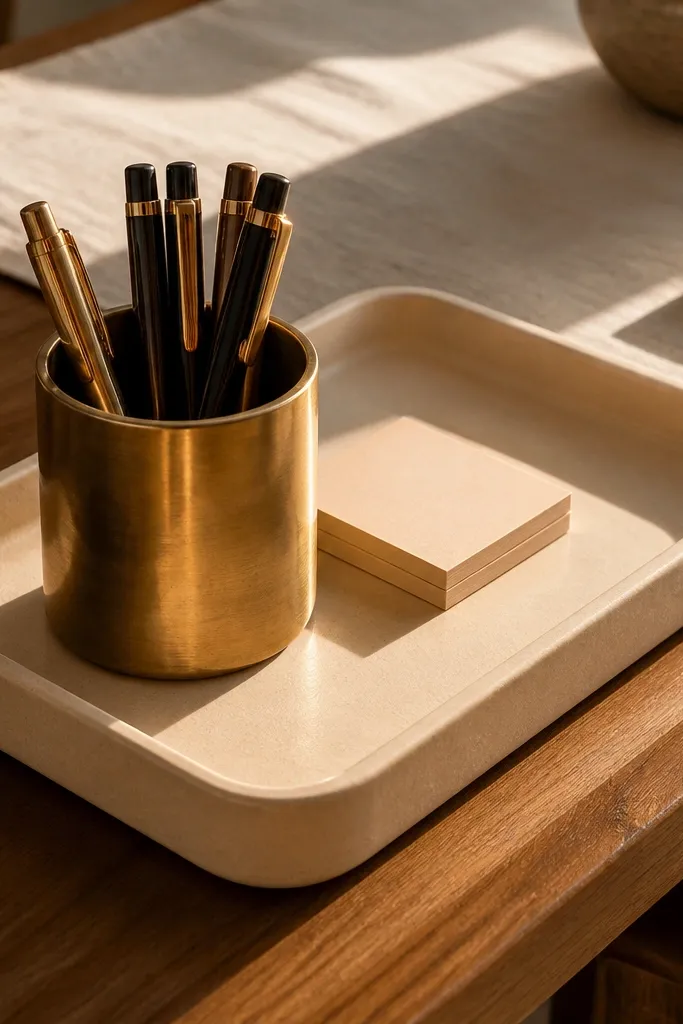
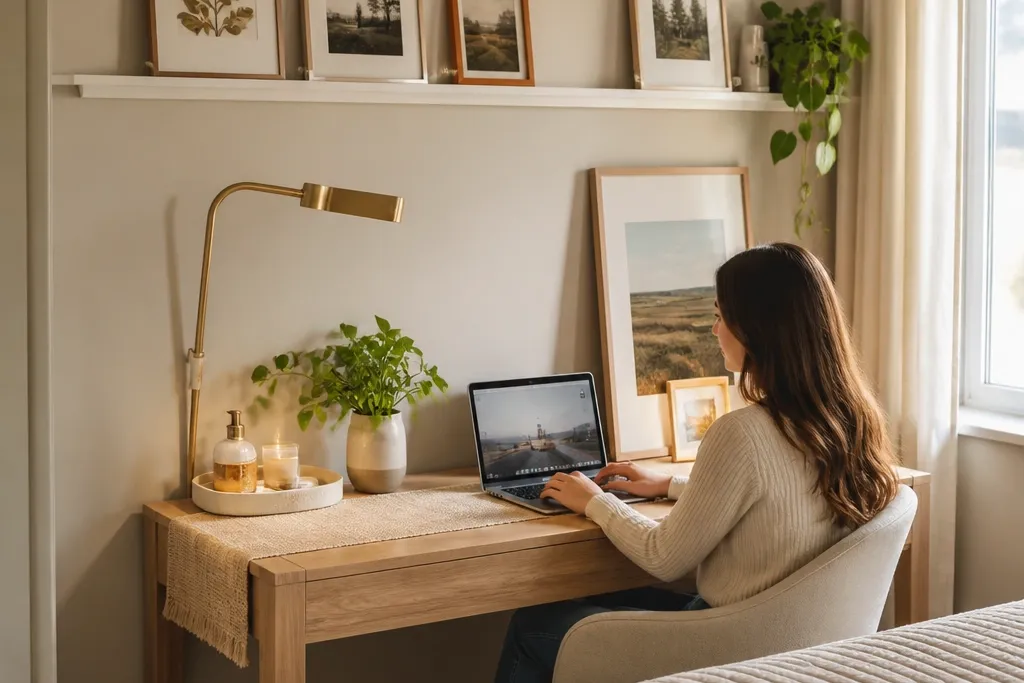
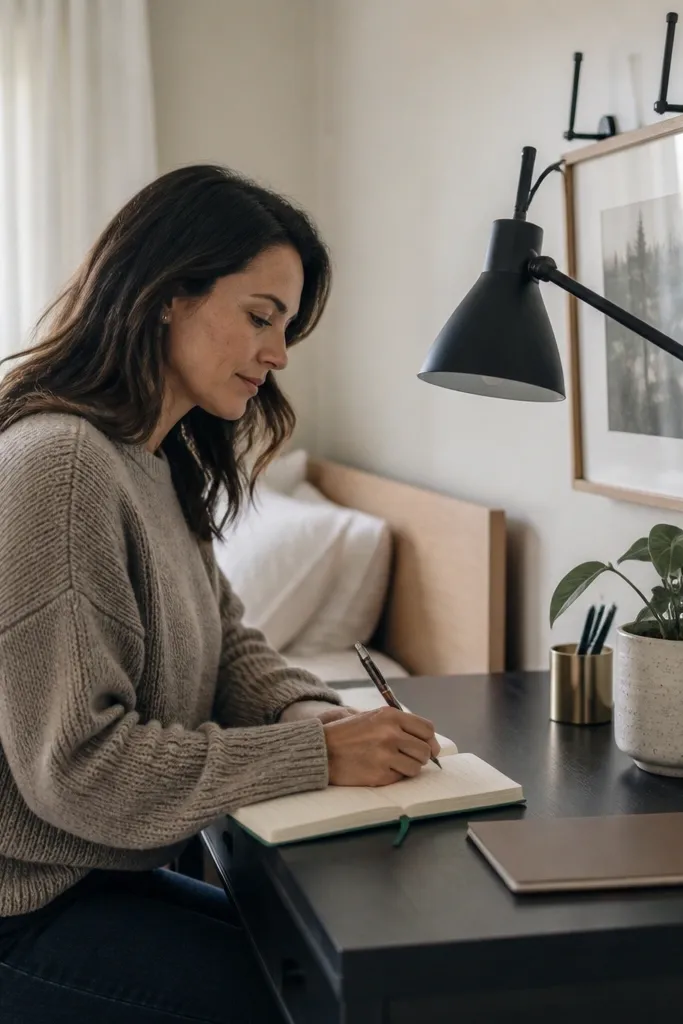
This setup makes the table look “styled” in seconds because the tray creates a visual boundary. Choose a cream or warm beige tray with a slightly raised rim so it catches light and doesn’t look flat. Add a brass pen cup (or a black metal cup if your room is darker) and keep everything inside the tray — pens, sticky notes, and a small ruler. The weighted base matters in bedrooms because it prevents sliding when you write or move your notebook. It also solves the renter problem of clutter that makes the whole desk feel temporary.
Start by centering the tray on the desk within your working lane, leaving at least 12 inches clear in front of where your hands land. Then place the pen cup toward the back-left or back-right corner of the tray so it balances the composition. Add one small item that’s tall enough to break the horizontal line, like a mini notebook or a slim bookmark holder. Cost-wise, expect about $25-60 for a good tray and $10-25 for the pen cup, depending on finish.
Pro tipPick one finish and stick to it. If you use brass, match your lamp hardware or picture frames to brass somewhere in the same view.
Watch outDon’t scatter loose stationery across the desk surface — it kills the clean, high-end look.
2. Tabletop book ledge with upright spines
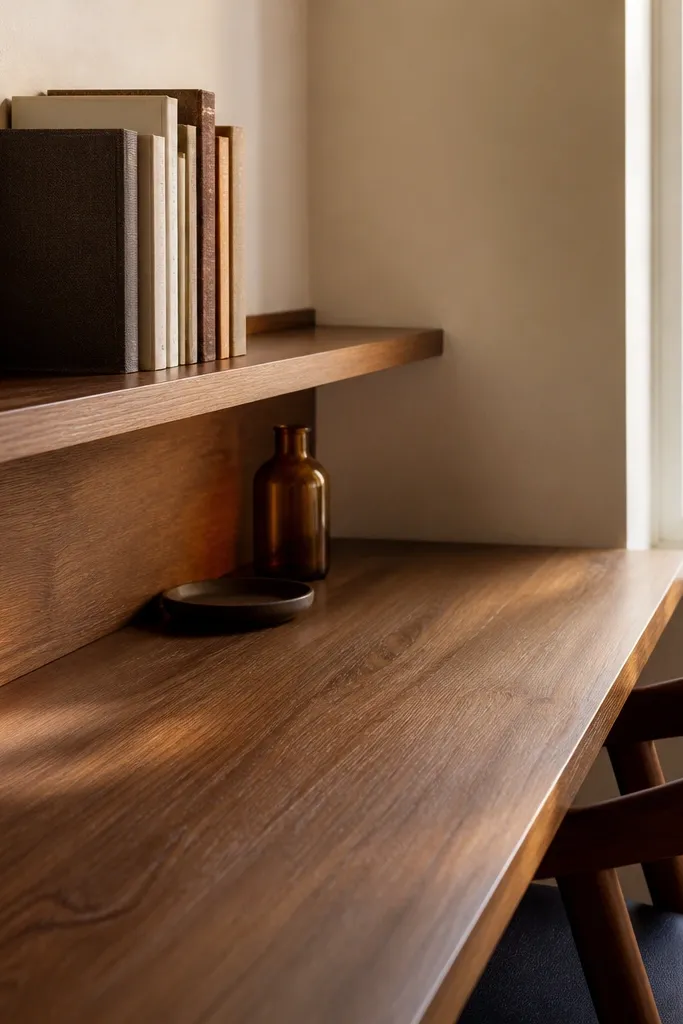
A tabletop book ledge gives you height without drilling and makes the desk look like a mini library. Use it when your desk is against a wall — it creates a styled vertical strip that frames the rest of the decor. Choose a ledge in wood (walnut or oak) or matte black so it doesn’t clash with your desk finish. Stand 3-5 books with their spines facing out, ideally mixing two solid colors with one patterned cover for contrast. This solves the “desk looks empty” problem while keeping the supplies off the floor and out of sight.
Measure your desk width and place the ledge so it sits centered or aligned with your lamp — aim for 6-10 inches from the edge. Arrange books upright with the tallest spine at the back, then fill gaps with slimmer books so the line stays even. Add a small decorative book stand or clip only if the books lean; the goal is crisp spacing, not casual stacks. Most tabletop ledges are $15-40 and require no tools.
Pro tipIf your books don’t have nice spines, swap in photo-friendly hardcover notebooks. They read the same from a distance.
Watch outSkip random stacks — upright spines look intentional, stacks look like storage.
3. Removable wall art above the desk using command strips
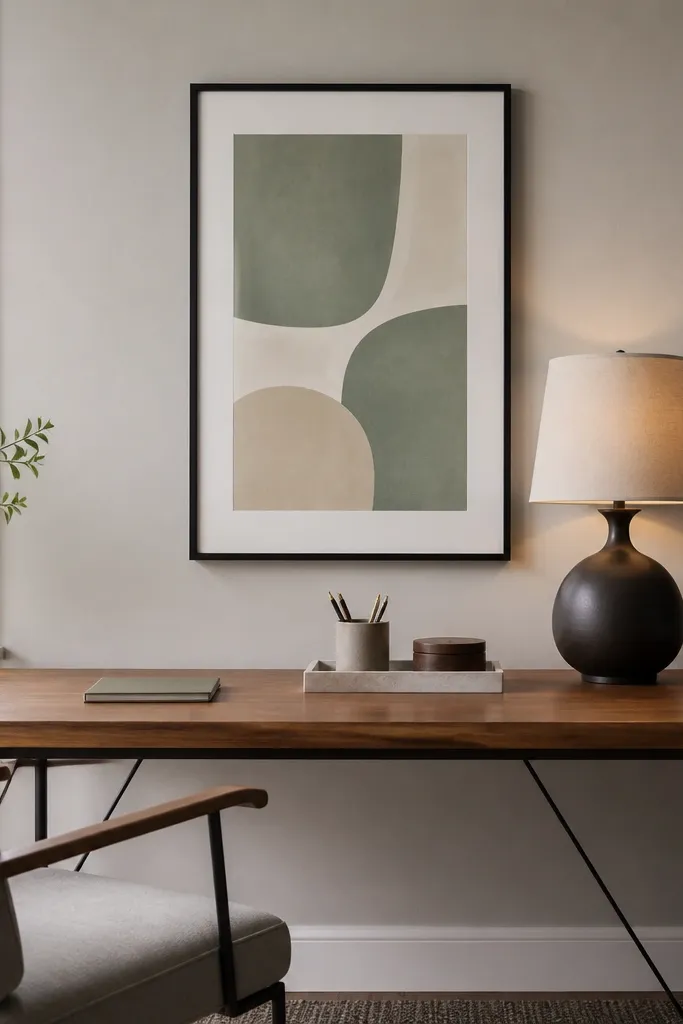
Wall art instantly upgrades a study table area because it gives the eye something to land on while you work. For renter-friendly study table decor no drill, use framed prints hung with removable strips designed for your wall type. Place the art directly above the center of the desk, with the bottom edge about 6-10 inches above your work surface, so you’re not craning your neck. Choose prints that echo your palette: black-and-white line art for cool rooms, or warm botanical prints for cozy neutrals. This solves the common issue where the desk looks styled but the wall looks blank and unfinished.
Clean the wall with rubbing alcohol where you’ll place strips and let it dry — it helps adhesion. Mark the centerline of your desk, then align the frame so the center of the art sits at that line. Apply strips per the frame weight, hang, and press firmly for 30 seconds. Expect about $20-80 for frames and $10-25 for the strips, depending on how many frames you hang.
Pro tipUse two smaller frames instead of one large one — it gives you a more “designed” grid without feeling heavy.
Watch outDon’t hang art too high. Above eye level looks like decor, not a functional work zone.
4. Desk mirror for light bounce and a styled corner
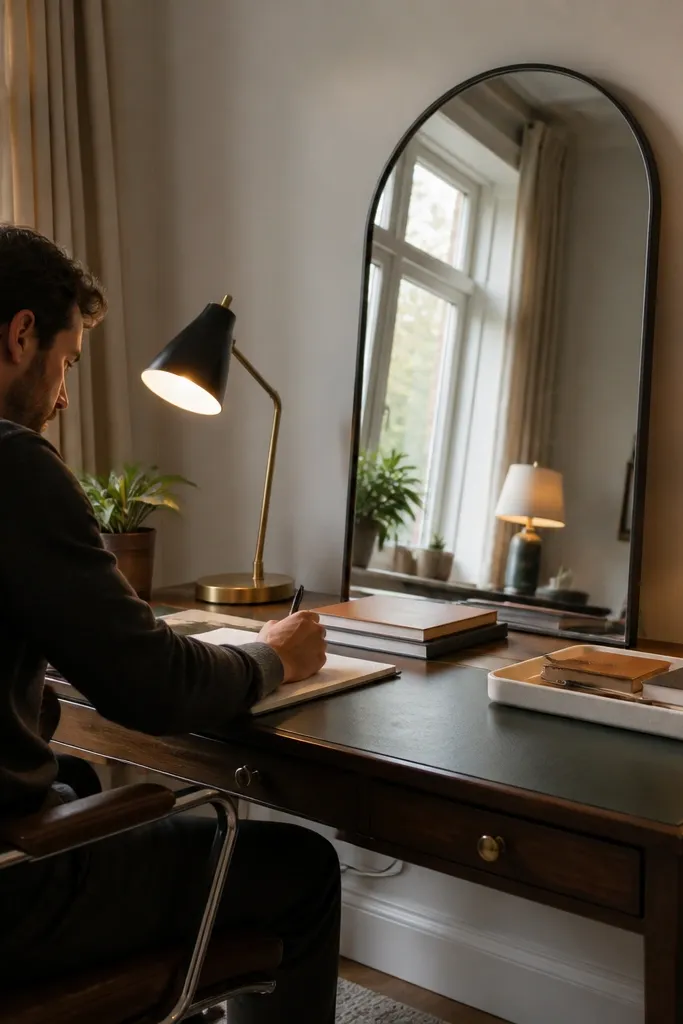
A tabletop mirror makes the whole study corner look brighter and more expensive because it reflects the room’s light and visually widens the space. Pick a small arched mirror with a slim frame in black or warm wood, then place it near the desk lamp or near a window-adjacent side. This works in bedrooms where your desk lighting is weak — the mirror adds a second glow without wiring anything. Style it with one minimal item in front, like a small tray or a potted plant, so the reflection doesn’t look cluttered. It’s one of the best no-drill tricks for renters because it’s fully movable and doesn’t touch the wall.
Place the mirror on the desk or on a nearby dresser next to the desk so it reflects your lamp light or window light. Angle it slightly toward the room, not straight at the desk, so you get a soft reflection rather than glare. Add a single object in the mirror’s reflection path — for example, a pen tray — then remove anything random. A mirror like this usually costs $30-120 depending on frame material.
Keep the mirror frame finish consistent with your lamp base or chair legs for a clean match.
Avoid placing it directly in line with a harsh overhead light — it can create glare on your screen.
5. Cable-control gallery wall using desk-side organizer rails
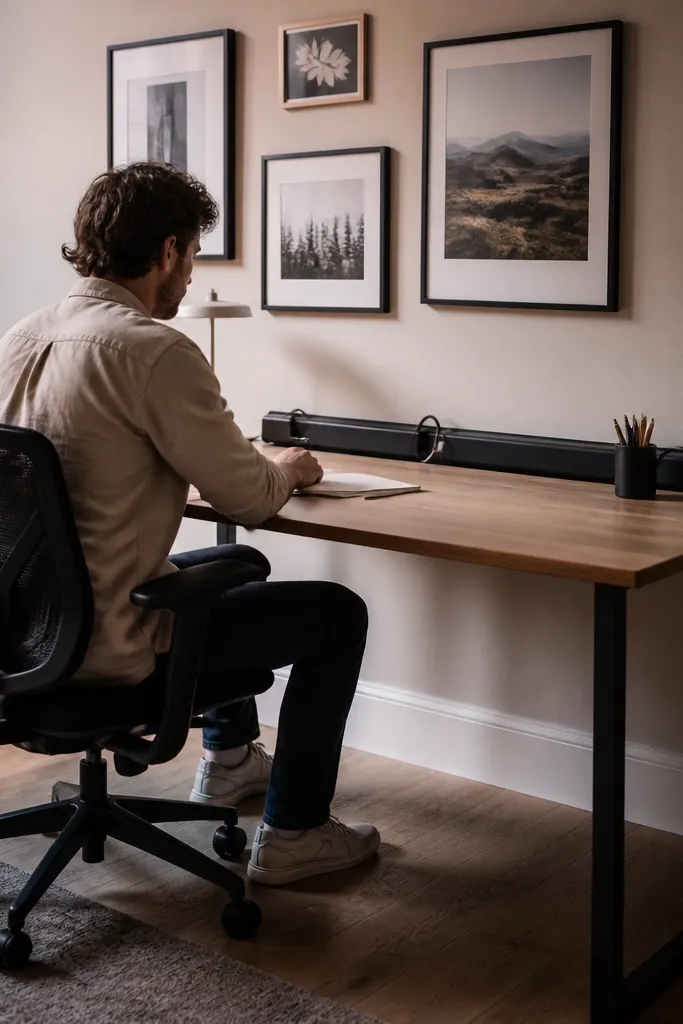
Nothing makes a rental study setup look cheap faster than visible cords. This idea cleans the visual line by routing cables through a desk-side organizer rail that you place under or along the back edge — no drilling into drywall. Choose a matte black or warm gray rail so it disappears against dark desks, and use adhesive pads that are meant for removable installs. Route the charging brick, then clip cords into a tidy path so they don’t droop onto your keyboard area. The result looks like a “designed workstation” even if you’re using a simple desk.
Wipe the underside/back surface with alcohol where the adhesive pads will go, then press for 30 seconds. Install the rail along the desk back edge, keeping it aligned with your power outlet or extension strip. Clip cords into the rail and add one small hook or clip for your charging cable so it doesn’t tangle. Expect $15-45 for cable rails and $8-25 for extra clips.
Use a single color cable tie or clip per cable. Visual uniformity reads expensive.
Skip clear cords draped loosely — they catch light and look messy in photos.
6. Floating look with desk-height plant stand and faux greenery
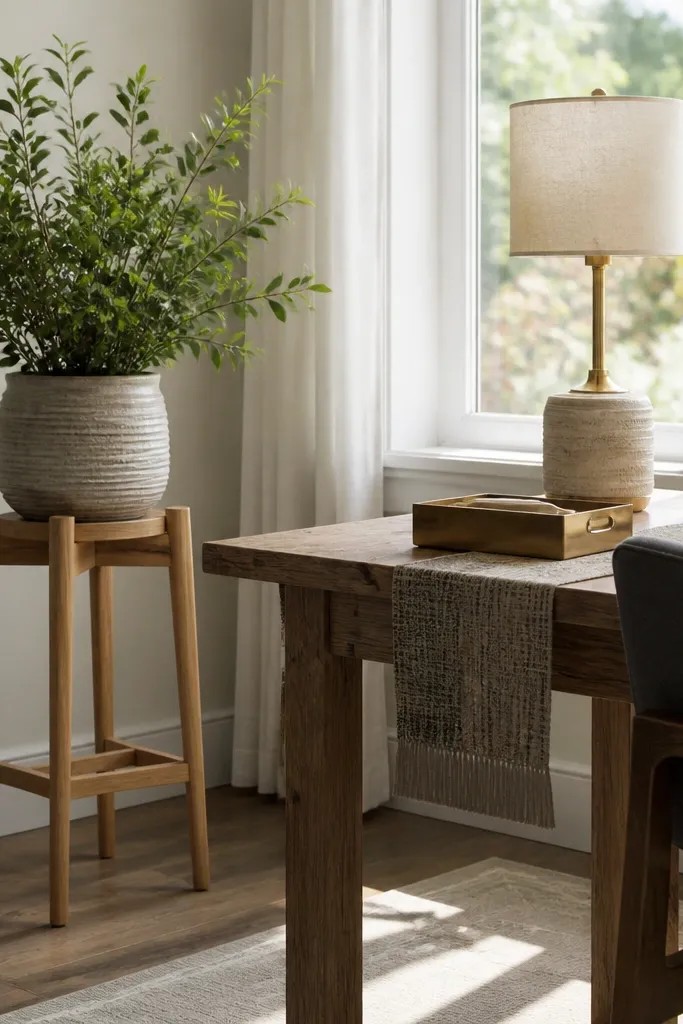
A plant stand next to the desk creates vertical structure and softens the whole workspace. For renter-friendly study table decor no drill, go for a tabletop or freestanding plant stand rather than wall planters. Choose a stand that’s about the same height as your lamp shade top, so it forms a visual “pair” and frames the desk. Use either a real low-light plant with a self-watering pot or a high-quality faux plant — the key is leaves that aren’t shiny plastic-looking. This solves the sterile desk problem and adds color without taking up desk writing space.
Pick a stand height so the top of the plant sits roughly 4-8 inches above your lamp shade for balance. Place it on the non-working side of the desk, leaving your working lane clear. Add a small tray at the base to catch water or dust and keep the bottom edge tidy. Cost is usually $25-80 for a stand and $15-60 for a plant.
Pro tipChoose plant tones that match your room — olive for warm neutrals, deep green for cool grays.
Watch outDon’t overcrowd the base with multiple planters. One clean plant reads better.
7. Layered lighting with a warm-shade task lamp

Good lighting makes a study table look intentional even before you add decor. Use a task lamp with a fabric or linen shade so the light is soft and flattering on your desk surface. Place it on the side opposite your dominant hand so you don’t throw shadows across your page. Choose a warm bulb around 2700K for a cozy bedroom vibe, then add a small decor item near the lamp base like a ceramic coaster or a tiny tray. This solves the “desk looks harsh at night” issue and makes everything look more luxurious on camera.
Set the lamp base 8-12 inches from the edge closest to your writing area so it doesn’t block your shoulder. Angle the shade so the light hits the notebook area, not the wall. If your lamp has no smart control, use a plug-in dimmer between the lamp and outlet for easy brightness control. Expect $40-150 for a good shade lamp and $15-30 for a dimmer.
Pro tipMatch the lamp finish to your frames or hardware — black-to-black or brass-to-brass looks clean fast.
Watch outDon’t use a cool-white bulb. 4000K makes the desk area feel clinical.
8. Drawer organizer inserts for supplies you hate seeing
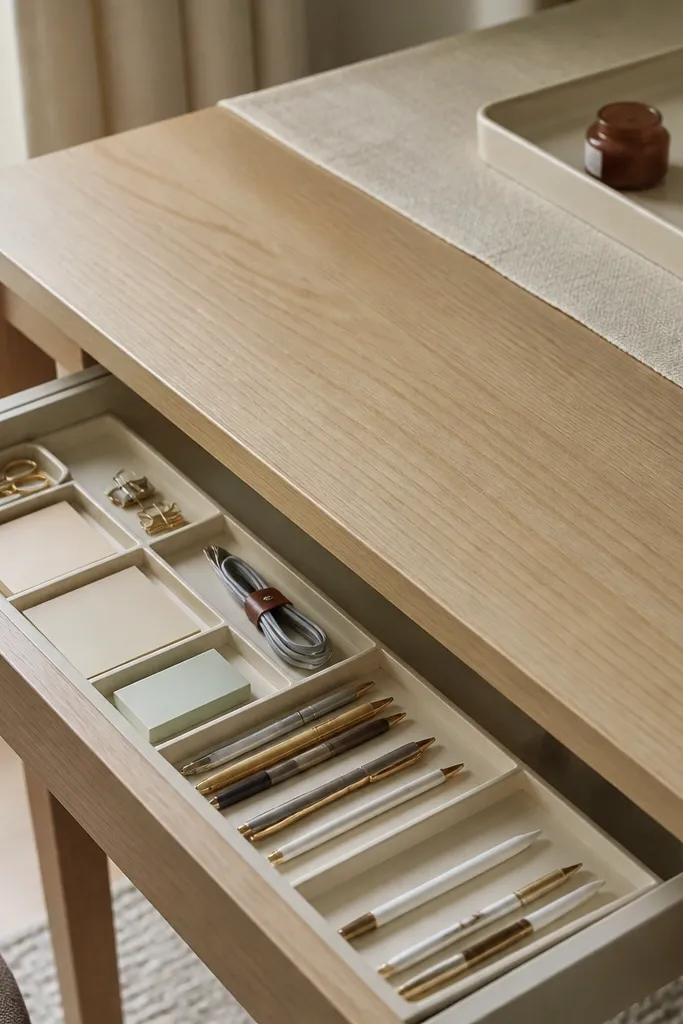
If your desk has drawers, you win the renter decor game by hiding the mess. Use slim organizer inserts so pens, sticky notes, and small tools each have their own place. This keeps the tabletop clean and lets your visible decor look curated. Choose neutral organizers in fabric or matte plastic that match your decor palette, like oat/beige for warm rooms or charcoal for cool rooms. The aesthetic payoff is big because a tidy drawer means you don’t need to leave piles out “just in case.”
Measure the drawer interior width and depth, then buy inserts that fit within 1-2 inches of the back wall to avoid gaps. Sort supplies by frequency: daily items in the front section, backup paper and extra pens in the back. Add small labels using removable label tape so you can change layouts later. Inserts are usually $20-60 total depending on drawer size.
Keep only one category visible at a time. A drawer can be organized without looking like a craft project.
Skip oversized organizers that waste space. You’ll end up stacking items anyway.
9. No-drill wall shelf alternative using a desk-top riser shelf combo
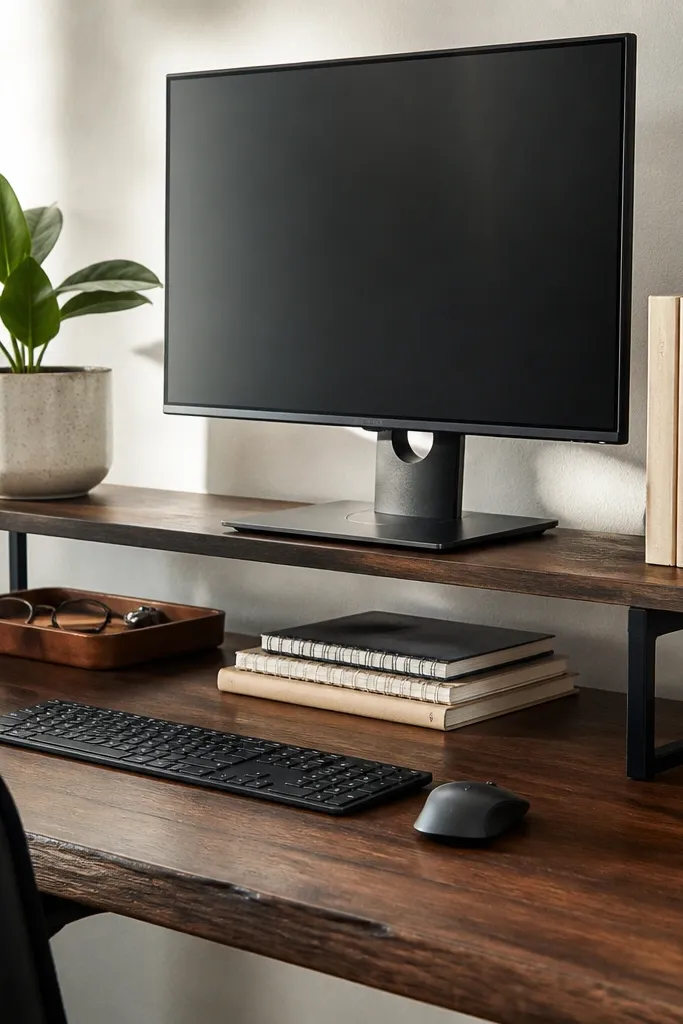
If you want the shelf look but can’t drill, a desk-top riser shelf is the closest thing to a wall shelf on rails. It creates a higher “display layer” above the working surface so your decor doesn’t fight your paperwork. Choose a two-tier riser in wood or metal, ideally with a lip so items don’t slide. Style the top layer with 1-2 framed photos or a small sculpture and keep the bottom layer for books or a closed box. This solves the wall-empty problem without mounting anything.
Place the riser toward the back half of the desk so your writing area stays open. Keep at least 10-14 inches free in front of the riser for notebooks and laptop clearance. Start with one anchor object on the top — a frame or small sculpture — then add 2-3 books as supporting blocks. These risers cost about $35-120 depending on size and material.
Use a closed container on the lower tier. It keeps the visual noise down when you’re busy.
Don’t overload both tiers. One anchor plus supporting pieces looks designed; piles look random.
10. Removable pegboard look using freestanding desk peg organizer
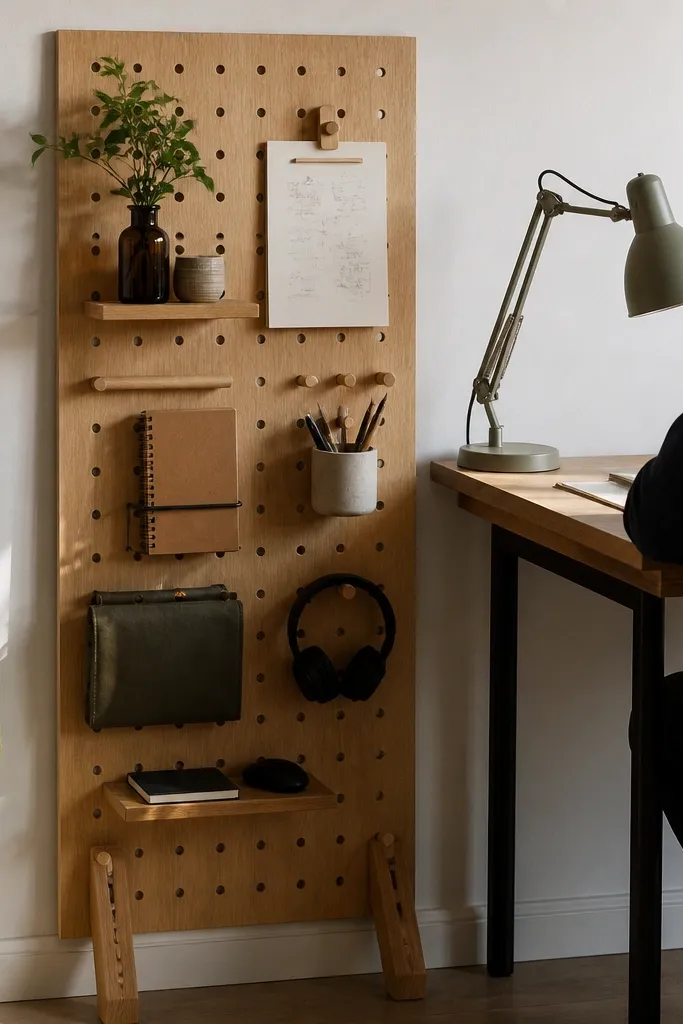
A pegboard vibe reads functional and styled, and it’s perfect for study tables where you need quick access to tools. Instead of mounting a pegboard, use a freestanding peg organizer with hooks and a small shelf. Choose light wood or matte white so it doesn’t feel heavy in a bedroom. Hang only the essentials: scissors, a tape dispenser, a small notebook holder, and a pen loop. The look is photogenic because it creates a neat vertical grid, and it solves the “where do I put everything” problem without drilling.
Position the organizer on the side of the desk where you can reach without leaning across your work. Keep hook items to a single height band so it looks clean, then add a small shelf for thicker items like a ruler or sticky-note pad. If the organizer is light, place a weighted base mat under it to stop wobble. Expect $60-180 depending on size and material.
Use hooks for tools, not for everything. If it’s small and flat, keep it in the drawer.
Don’t hang cords or bulky items. The grid turns messy fast.
11. Textured runner and neutral desk styling band
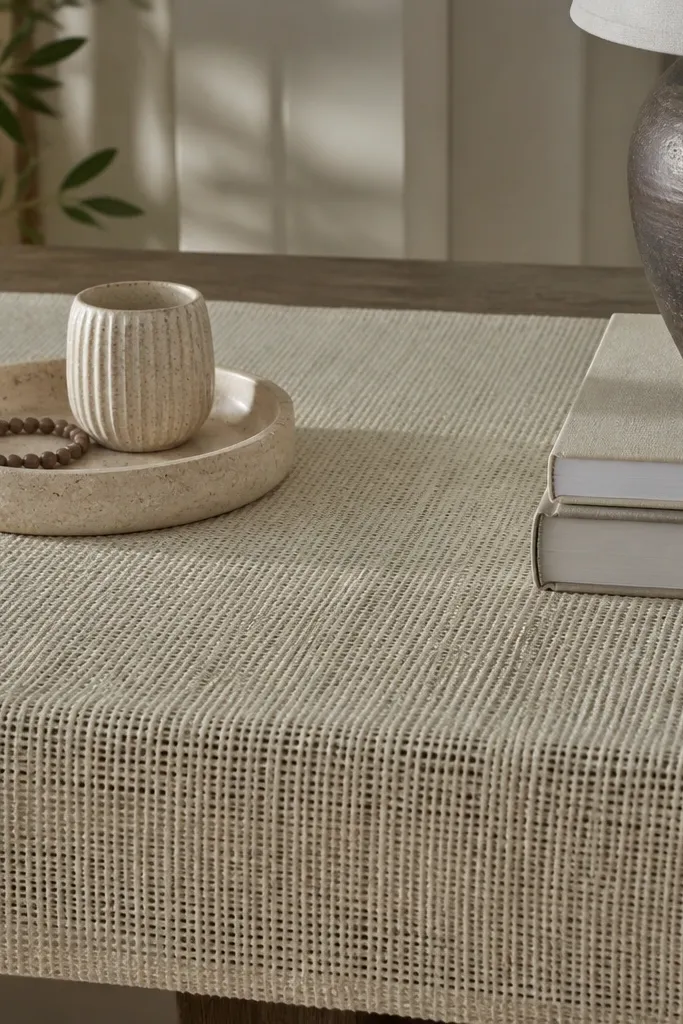
A desk runner gives you instant softness and a polished edge, especially on cheap or glossy desks. Choose a textured fabric runner like linen-look or boucle in oat, sand, or warm gray. The runner also defines your styling band so decor doesn’t wander across the surface. Keep the items grouped on the runner: tray, a slim book stack, and one decorative object. This solves the “desk looks bare” issue and makes the whole setup look like furniture, not a work station.
Measure your desk width and cut-to-fit if needed, or buy a runner that covers about 60-70% of the tabletop depth. Place it so the front edge stops short of your writing area by 3-5 inches. Arrange the tray first, then stack books behind it, and place the lamp base at the far side of the runner for balance. Runners cost around $20-70 and require no tools.
Pro tipMatch the runner texture to your bedding. Even one shared color makes the desk feel built-in.
Watch outAvoid slippery satin runners. They slide and make the whole arrangement look off.
12. Removable window-side organizer for study supplies

When your desk sits near a window, use that natural light by adding an organizer that doesn’t require wall drilling. A window-side over-shelf organizer or a desk-edge organizer with removable pads keeps supplies close without crowding your main surface. Choose a neutral organizer in wood or matte metal so it blends with warm interiors. Put the items you grab constantly — highlighters, sticky notes, and a small notepad — so you stop turning your desk into a clutter hotspot. The look stays clean because the organizer has clear boundaries and a consistent shape.
Clean the window frame or desk edge where the pads sit, then test one corner before committing. Position the organizer so it doesn’t block sunlight onto your page; aim for light hitting from the side, not directly into the screen. Fill it with a tidy set: one notepad, one pencil pouch, and a small tray for small tools. Cost is typically $25-90 depending on size and whether it has adjustable compartments.
Use one color pouch inside the organizer. It makes the whole unit look styled, not random.
Skip bulky organizers that intrude into your working lane.
13. Color-block desk accessories in one accent shade
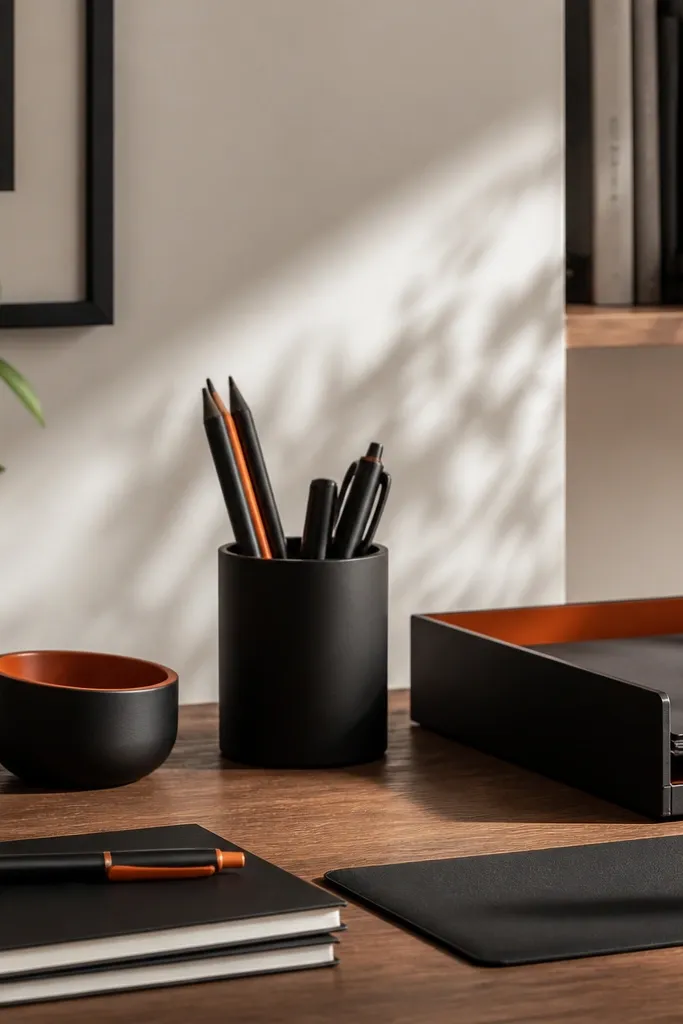
If your room feels calm but your desk looks flat, color-block accessories fix it fast. Pick one accent shade and repeat it across three small items: a terracotta notebook cover, a ceramic mug, and a matching pen holder. Keep the rest neutral — cream, black, or wood — so the desk doesn’t turn into a craft fair. This works especially well for renters because you can swap accessories anytime without changing the desk itself. The aesthetic payoff is clear in photos because the accent color gives the composition a focal point.
Choose one accent color that already appears in your room, like terracotta from your curtains or olive from your bedding. Place the notebook or open planner as the main anchor, then add the mug and pen holder in matching accent tones. Keep the accent items limited to three — add nothing else that competes. You can build this for $35-100 depending on whether you already own the notebook cover and mug.
Use matte finishes for the accessories. Glossy items reflect light and look cheaper in the bedroom.
Avoid using multiple accent colors. Two or three shades turns into visual noise.
14. Renter-safe mini gallery above desk with removable photo clips
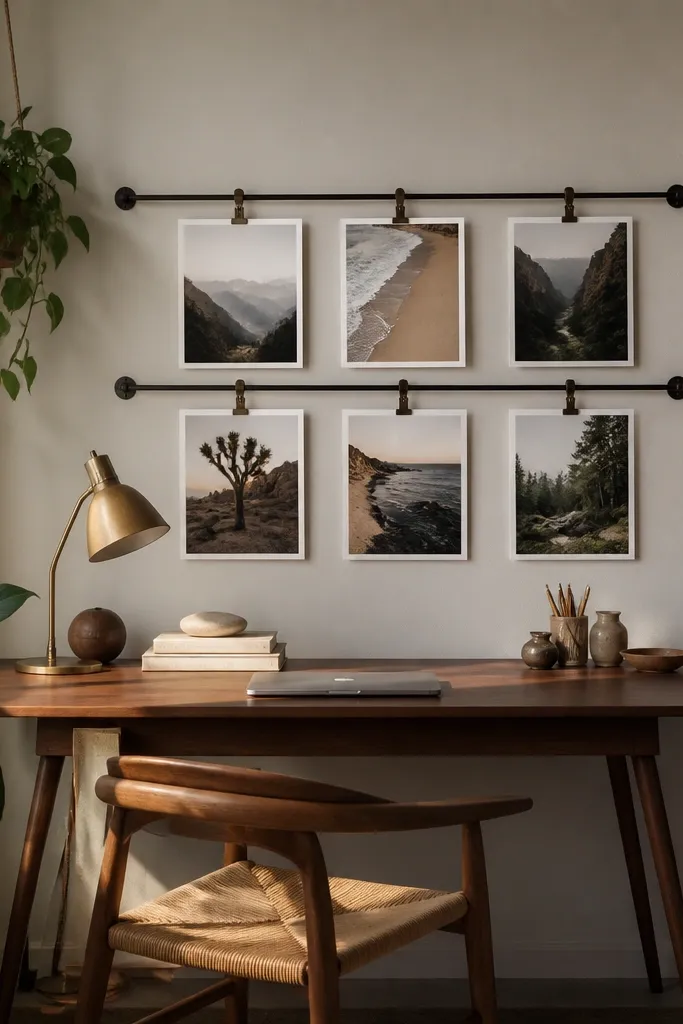
A mini gallery above the desk looks more personal than a single print, and it’s friendly for renters when you avoid drilling. Use a tension rod between two surfaces or a removable clip track system that doesn’t require screws in drywall. Hang 4-6 small photos or prints in a grid-like arrangement, then repeat one theme: same frame color or same print style. Place the gallery high enough to avoid bumping, but low enough that it frames your work zone. This solves the “blank wall behind desk” problem and gives you an easy way to refresh the look later.
Measure the wall width above the desk and choose a tension rod that fits tightly, then place it so the gallery sits 6-12 inches above the desk surface. Clip photos evenly with equal spacing so it reads as intentional, not random. Add one small decorative item under the gallery on the desk, like a tray, to connect top and bottom layers. Expect about $20-70 for the clip/tension system and $10-40 for prints.
Pro tipStick to two paper tones — cream and off-white. It keeps the gallery looking cohesive.
Watch outSkip mixed frame finishes if you want a clean look. Pick one frame color.