1. Center-Framed Line Art Above the Desk
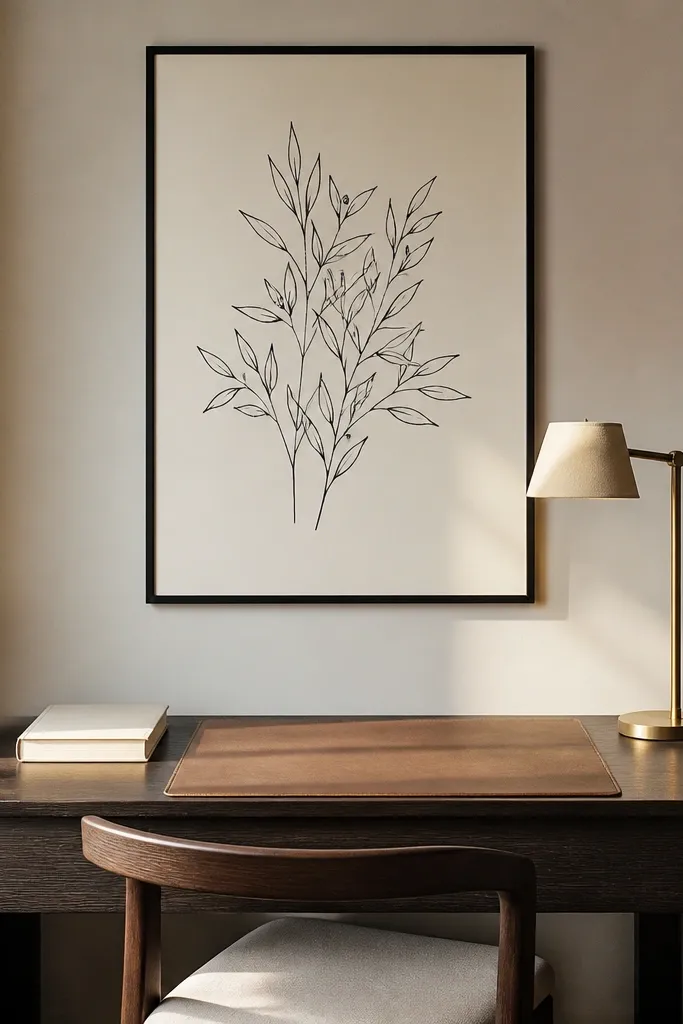
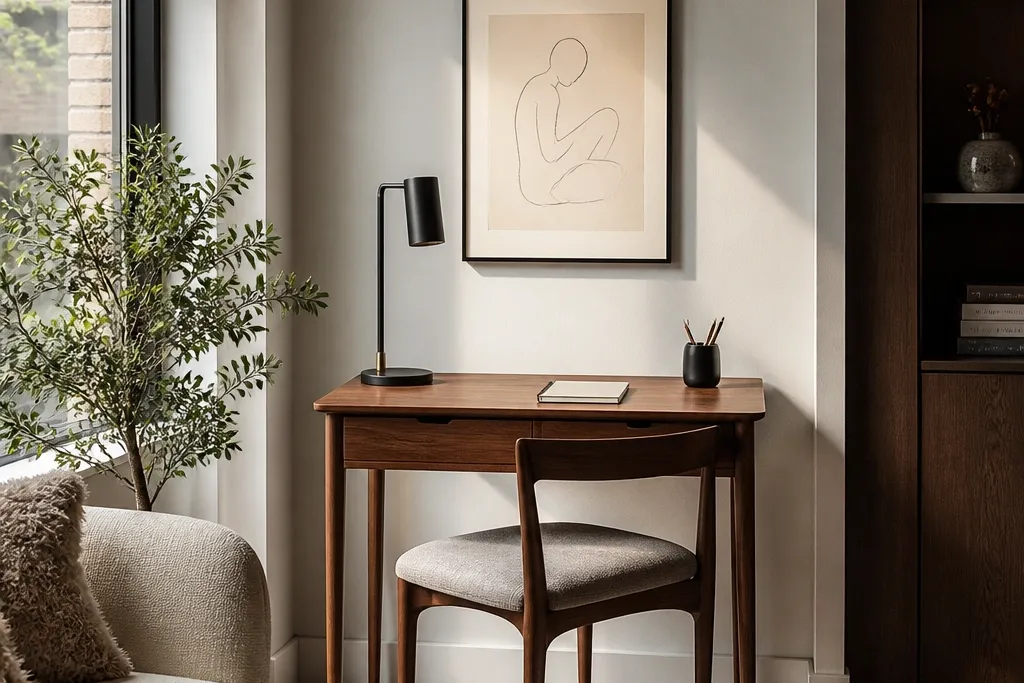
A single framed print is the cleanest upgrade for small-space small study table decor because it adds structure without adding stuff to your desktop. Choose line art in black ink on warm white or soft cream — it reads crisp but doesn’t feel harsh in a small room. Frame it in a thin black metal or natural wood so it doesn’t look bulky against the wall. Center the frame over the desk so your eyes land there when you sit down, which instantly makes the whole setup feel more “finished.” It works best for study corners with already-busy shelves or a laptop-only surface.
Start by measuring the desk width and selecting a frame that’s about 60-70% of that width. Hang the center of the frame so it sits roughly 4-6 inches above the height of your chair back when seated, then use a level to keep it dead straight. Use a lightweight frame (under 8 lb if you’re command-mounting) and attach with wall-safe hooks rated for the frame weight; if you’re drilling, use two anchors spaced wide for stability.
Keep the mat color warm (cream, not bright white) so the wall decor looks softer next to skin tones and wood furniture.
Don’t pick a thick, ornate frame — it visually overwhelms a small wall.
2. Floating Shelf With One Stacked Object
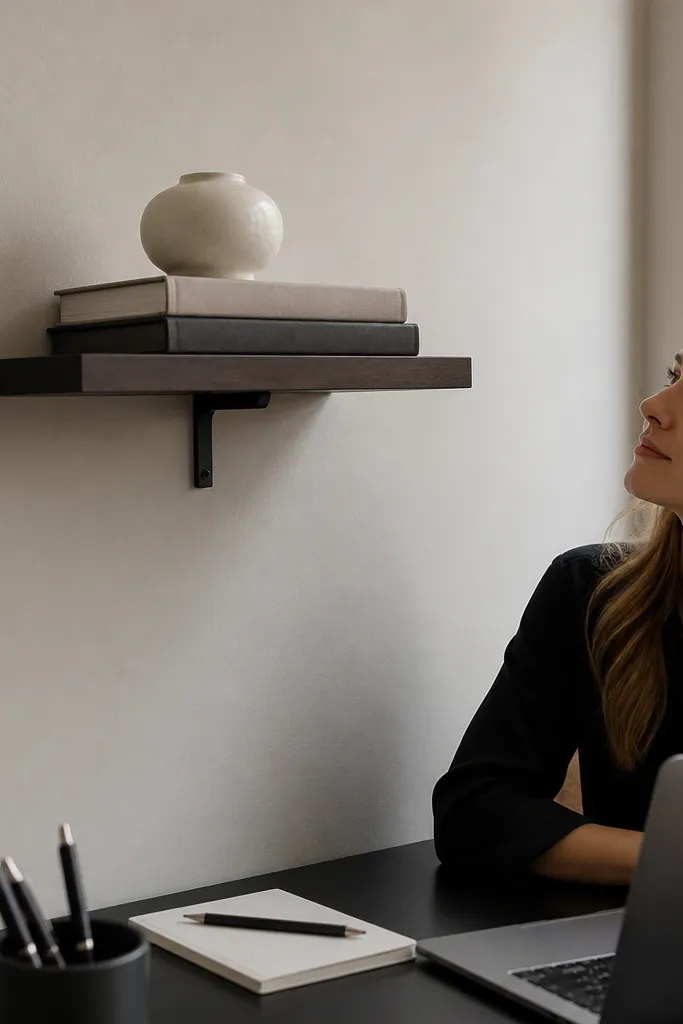
Mark two mounting points using a template so the shelf stays level; aim for the shelf bottom about 8-10 inches above the desk surface. Use a small shelf with concealed brackets and a finish that matches nearby wood tones. Style a stack first (books laid flat, spine colors coordinated) then place one object on top; stop there. For tools, you need a stud finder (if available), level, drill, or a command-compatible shelf system if your wall allows it.
A narrow floating shelf is perfect when your desk top is already full but your wall looks empty. The trick is restraint: put one styled “stack” (2-3 books plus a single ceramic object) instead of a row of decor. Go for a shelf length around 20-30 inches for most compact desks, and keep the shelf depth under 5 inches so it doesn’t look like a ledge. Color choice matters — warm wood shelf + white or off-white ceramic looks expensive and calm. This idea frames your workspace and creates a visual landing spot without clutter.
Watch outDon’t turn it into a display shelf with 6+ items — the whole point is clean, small-space focus.
Pro tipMatch book colors to your room palette: cream + charcoal + one muted accent (sage or terracotta).
3. Slim Wall Mirror for a Brighter Desk Corner
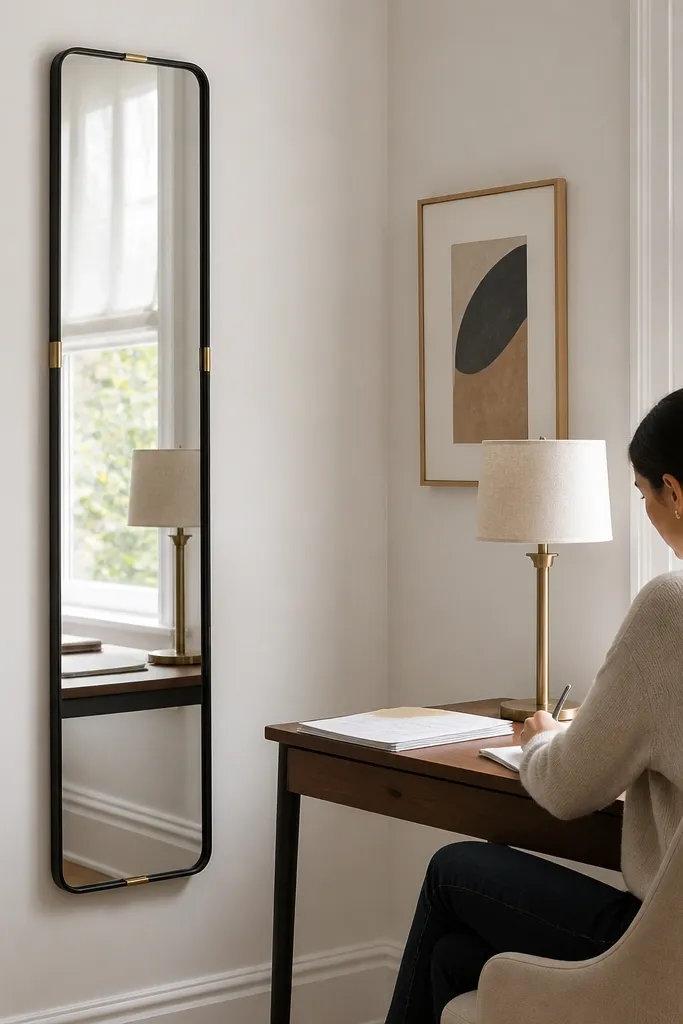
Choose a mirror with a depth under 1 inch if you can, so it doesn’t stick out visually. Position it so it reflects a window or light source, but not directly your screen; adjust by moving it 2-4 inches left or right until the glare disappears. If you’re mounting on drywall, use proper anchors for the mirror weight; if you’re renting, pick a mirror designed for command mounting and follow the adhesive cure time before hanging anything else.
If your study area feels dark, a slim mirror fixes it faster than any lamp upgrade. Hang a tall, narrow mirror beside the desk or slightly above the desk height so it bounces light across the work surface. Go for a thin frame in black, brushed brass, or natural oak — those finishes read luxe without taking over. The mirror should be about 18-24 inches tall for a small wall, or taller if you have a narrow blank stretch. This is great for cramped apartments where you don’t have room for extra lighting and need the wall to do double duty.
Watch outAvoid wide mirrors in tiny rooms — they dominate the wall and make the desk feel smaller.
Pro tipPlace a small tray or bookend below the mirror on the desk wall side to make the reflection look intentional, not accidental.
4. Gallery Rail With 3 Photo Frames
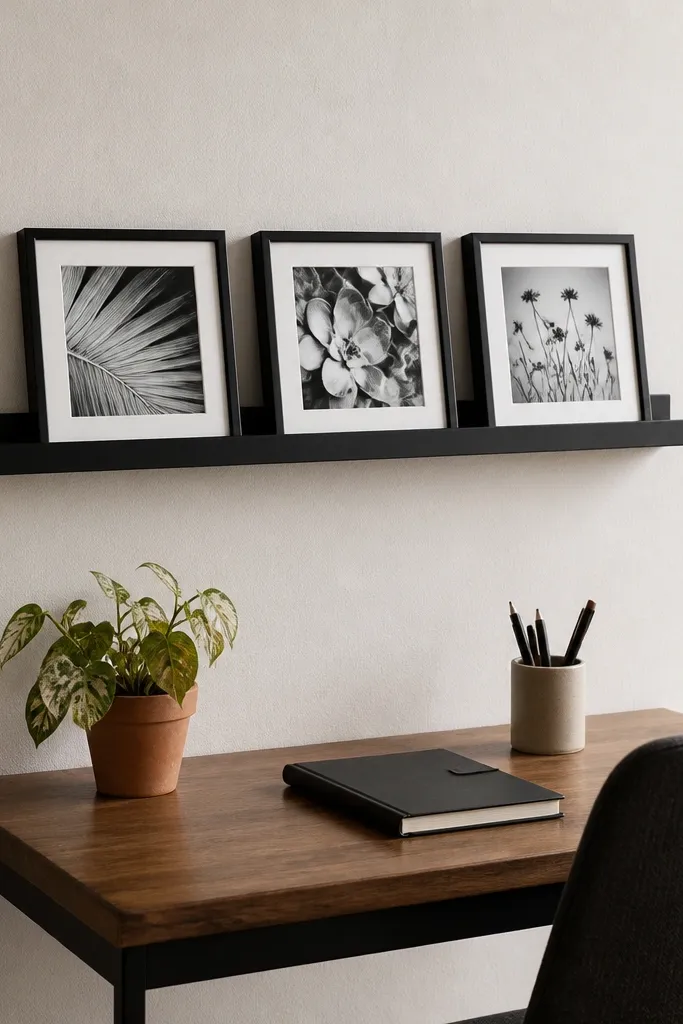
Pick three frames that are each 8x10 or 9x12 inches, then measure the total rail width so it spans about 70-80% of the desk width. Install a rail level across the wall using at least two anchors, then hang frames with equal spacing (about 1-2 inches between frames). Use the desk as your center line: center the rail, not the individual frames. Print sizes from a local print shop help keep the mat proportions looking clean.
A gallery rail makes your wall look curated even when you’re working with limited space. Use three small frames in a single horizontal row above the desk — consistent sizes look sharper than mixed sizes. Pick one theme for the set: black-and-white photos, botanical prints, or simple typographic quotes in one font style. Keep the frame colors consistent (all black or all warm wood) and use mats in cream for a soft glow. This arrangement is ideal when you want personality but don’t want a big statement piece.
Watch outAvoid random spacing between frames — it makes a small wall look messy fast.
Pro tipUse the same photo orientation across all three frames so the row reads calm from across the room.
5. Vertical Fabric Wall Panels Behind a Desk Lamp
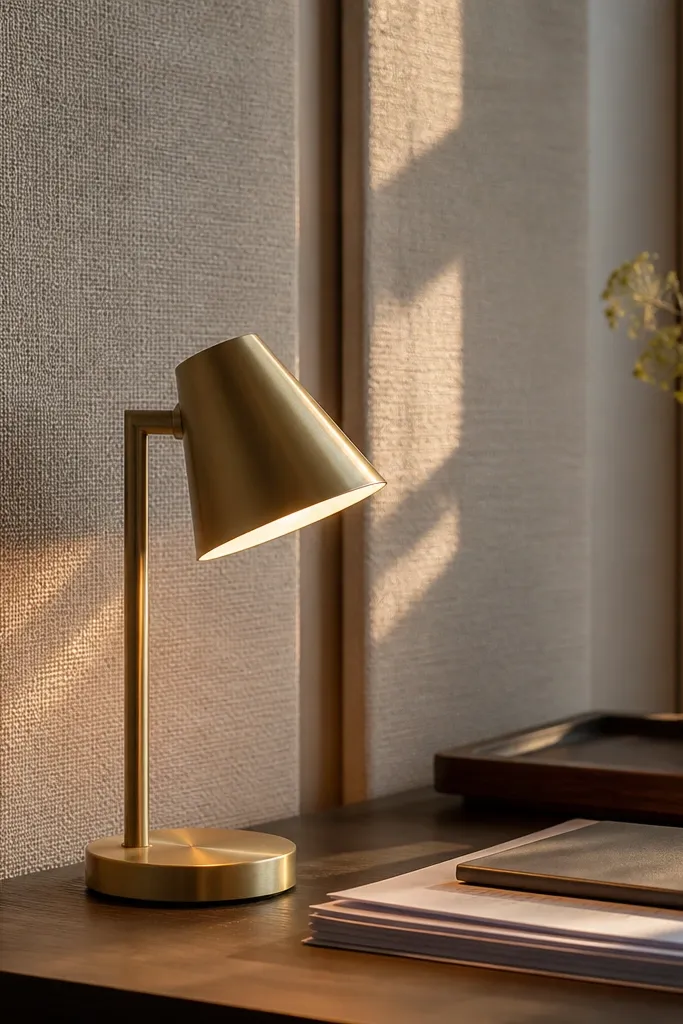
Select fabric width that covers 50-70% of the area above the desk; for a 40-inch desk, aim for 20-28 inches total textile width. Mount a simple tension rod between two wall anchors or use a track system if you already have one. Hang panels so the bottom ends 6-10 inches above the desk surface; press the fabric flat and steam or iron on low. Cost is low if you buy linen by the yard and use a rod you already own.
Fabric panels add softness and make small-space small study table decor feel less harsh than posters and frames. Hang two vertical panels or a single wide textile strip behind where the desk lamp sits, so it creates a warm backdrop for your light. Choose linen, textured cotton, or a woven neutral like oatmeal or warm gray. The vertical direction visually stretches the wall and makes the desk area feel taller. This is a smart move for study corners with lots of hard surfaces — it tames the room without eating floor space.
Watch outDon’t use shiny satin — it reflects light and can make the wall look uneven.
Pro tipChoose fabric that matches your curtains or bedding — the study corner will look designed even if it’s small.
6. Pegboard Wall With a Clean Tool Layout
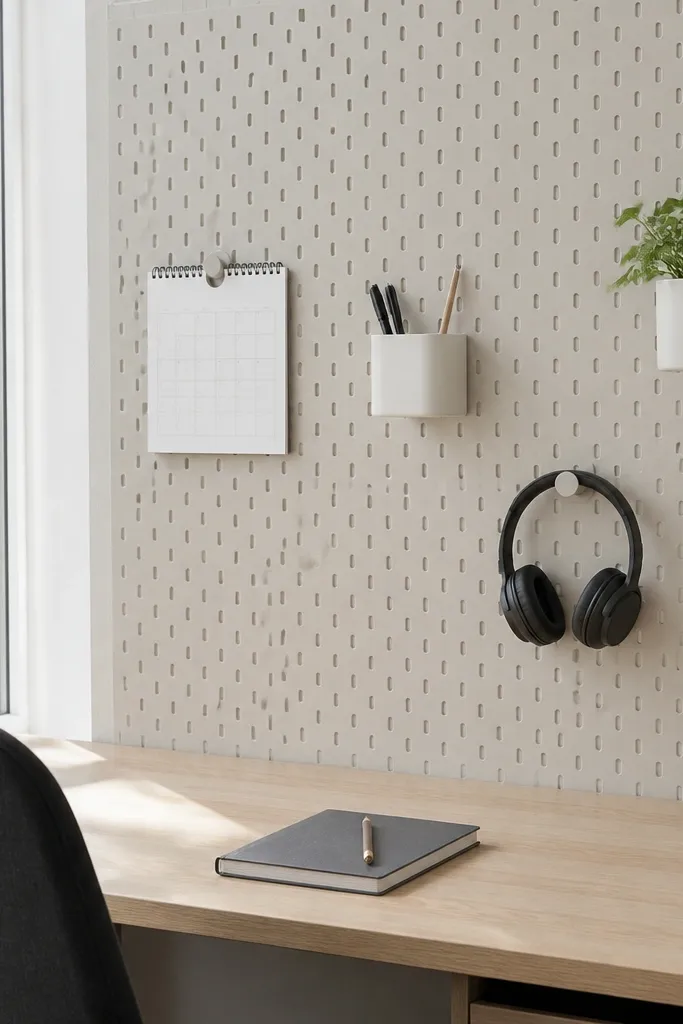
A pegboard is practical and photogenic when you style it like a system, not a junk board. Use a light color pegboard (white or warm gray) so it brightens the wall, and keep tools minimal: a small calendar, one pen cup, a hook for headphones, and maybe a single plant hook. The grid creates visual order, which is exactly what small study setups need. It works especially well for students or anyone who constantly reaches for supplies and wants them visible without rummaging. The aesthetic comes from uniform spacing and matching hardware finishes.
Measure the wall area and cut a section to fit — for small desks, a 24x36 inch board is a strong starting size. Paint or buy a pre-finished pegboard in white; attach with wall anchors or screws into studs. Place your highest-use items in the center zone and keep edges mostly empty. Style in this order: first the calendar or note holder, then hooks for tools, then one small accent like a plant clip.
Use one hardware finish across the board — black hooks with black accessories or brass with brass. Mixed metals look chaotic.
Avoid filling every hole — empty space is what makes pegboard look intentional.
7. Oversized Curved Wall Clock as the Focal Piece
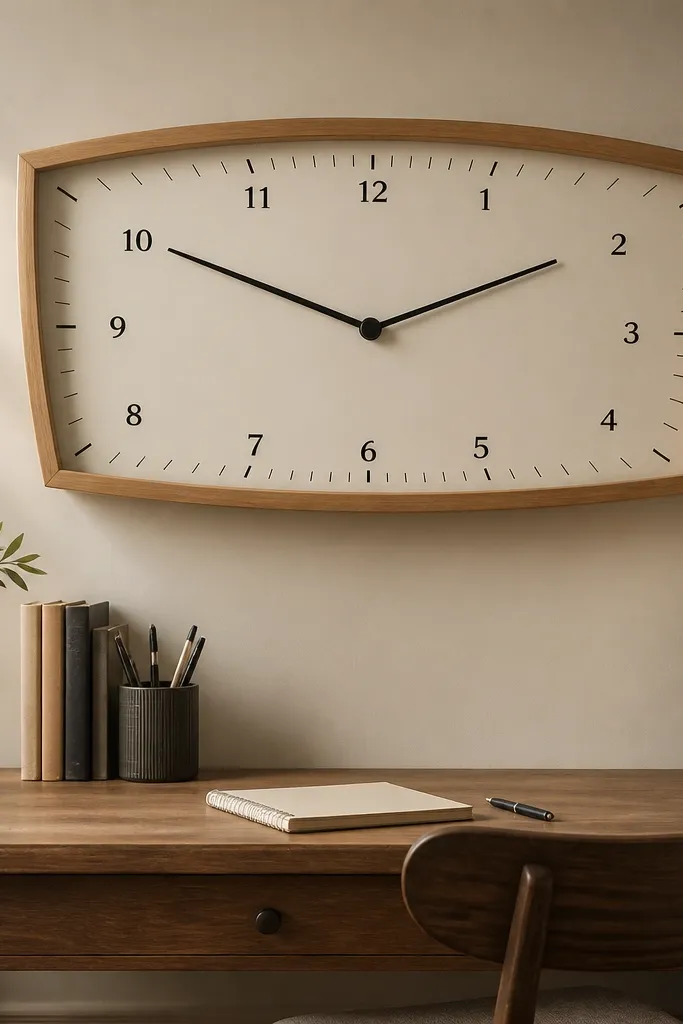
A large wall clock works as study table wall decor because it gives you a focal point and a sense of time structure without adding more clutter. Pick a clock with a matte face and clear numerals so it’s readable from your seated position. For small spaces, choose a diameter around 16-20 inches — big enough to notice, not so big it dominates. Matte black, warm brass, or white with black markers look best with neutral interiors. Hang it centered above the desk or slightly offset toward your dominant writing hand.
Choose a clock that’s matte and light in weight. Hang it so the center sits around eye level when seated, typically 55-60 inches from the floor depending on chair height. Use a level and mark the wall with a template provided by the clock or make your own with painter’s tape. If your wall is textured, choose a clock that can mount securely to the texture without wobble.
If your desk has a lamp, position the clock so the light doesn’t create a glare spot on the clock face.
Don’t pick a clock with glossy glass — it reads cheap and reflects room lighting.
8. Corner Floating Bookshelf With a Single Plant
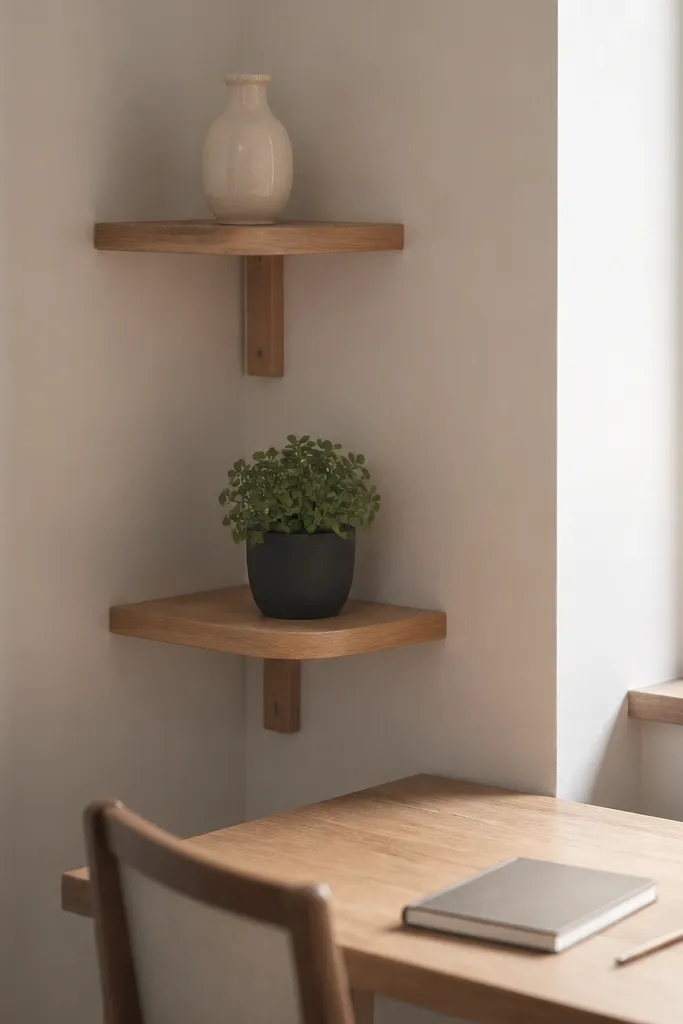
Measure the corner width at the wall — aim for shelves that each are 10-14 inches deep and 10-16 inches long depending on your corner. Install shelves with corner brackets or angled mounts so they sit flush. Style first with books for height, then place the plant last so you can adjust spacing around it. Use a matte pot and a tray to catch water if it’s a living plant.
Corner walls are hard to decorate because they’re awkward shapes. A corner floating bookshelf solves that by using space that usually goes unused while keeping the visual footprint small. Use two narrow shelves placed at slightly different heights so the corner becomes a vertical composition. Keep the styling tight: one plant in a small matte pot, a couple of books laid flat, and nothing else. Choose wood or black metal shelves so they match your desk or chair. This makes your study corner feel intentional and gives you a place to look when you need a break.
Watch outDon’t cram the corner with decor — corners amplify clutter because they sit in peripheral vision.
Pro tipKeep the plant pot color neutral (cream, clay, or black) so it doesn’t fight the rest of your palette.
9. Monochrome Fabric Pinboard With Pushpins
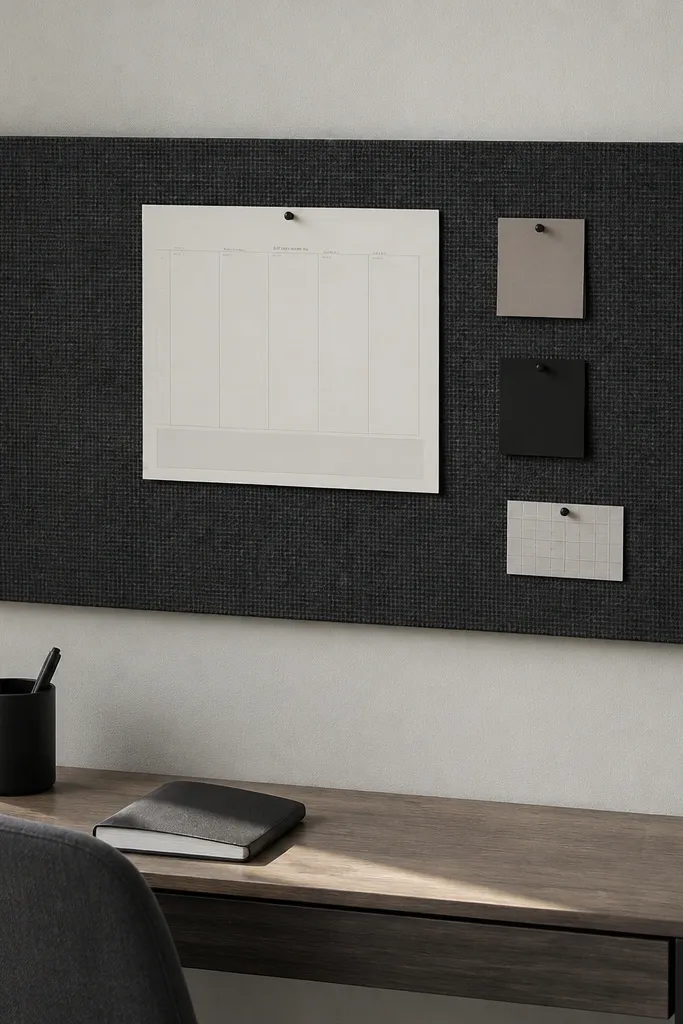
A pinboard is study table wall decor that helps your brain stay organized, and it looks good when you keep it monochrome. Use a fabric board in charcoal, warm gray, or deep olive, then pin only a handful of items: one weekly planner sheet, two sticky-note blocks, and one small reference card. The fabric texture looks softer than cork and reads more “designed” in luxury interiors. Place it behind or just to the side of your desk so notes sit in your line of sight. This is ideal for small study rooms where you need a system but don’t want a bulletin-board vibe.
Buy a fabric pinboard with a clean frame or wrap your own board with stretched felt/linen. Mount it so the top edge is around 4-6 inches above your desk height, then keep the pinned items clustered in the center-left area for balance. Use pushpins that match the board frame (black pins on charcoal, brass pins on warm gray). Keep the number of pinned items low so it stays airy and photogenic.
Use one paper size for all pinned pages so the board looks like a set, not random notes.
Avoid bright neon pins — they instantly cheapen the look.
10. Wallpapered Accent Strip Behind Desk Accessories
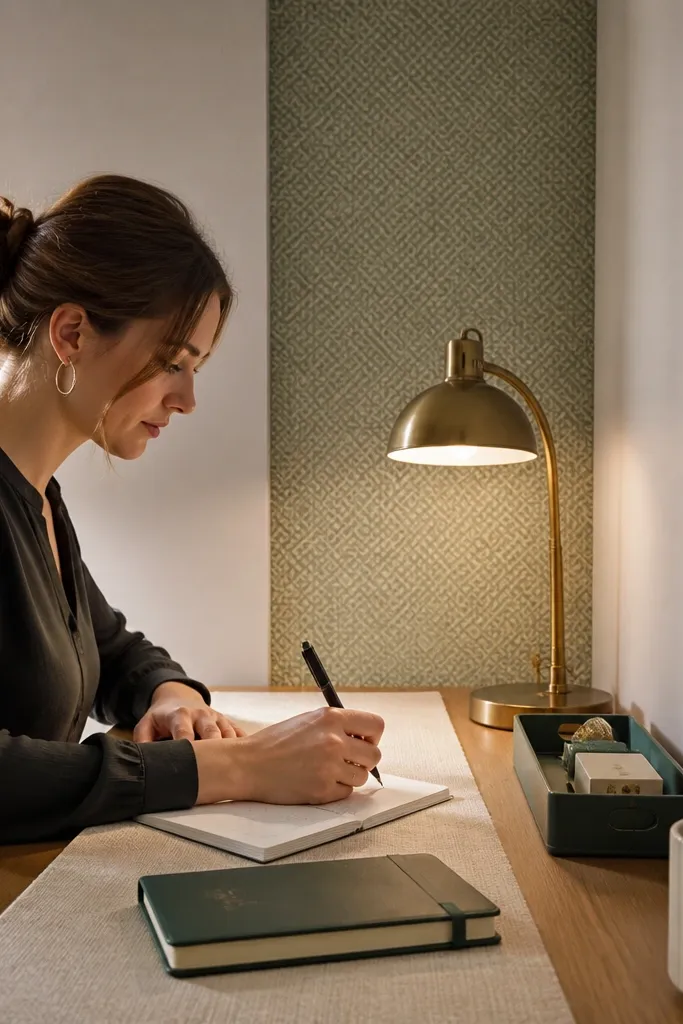
Pick a wallpaper with a repeat pattern that won’t look off when cut into a strip. Measure and mark a vertical area centered over your desk accessories; stick the strip so it lines up with the desk center line. Use double-sided smoothing tools to avoid bubbles, and trim edges with a sharp utility knife. After it dries, mount one small frame or wall shelf right on the wallpaper area for a clean focal point.
Wallpaper is a wall decor shortcut when you want luxury without stacking objects. A narrow accent strip behind your desk accessories creates depth and makes even simple decor look intentional. Choose a subtle pattern like micro-geometric, thin stripes, or a soft botanical in muted tones (sage + cream, or ink black + warm white). The strip width should be small — around 12-18 inches — so you don’t overwhelm the room. Pair it with one small frame or a slim shelf to finish the look. This idea works when your wall is blank and your desk area feels unfinished.
Watch outDon’t choose a loud, high-contrast pattern if your desk already has busy items or you’ll fight visual noise.
Pro tipKeep the wallpaper colors within your room palette — one neutral and one accent color is enough.
11. Wall Sconce With a Fabric Shade Glow
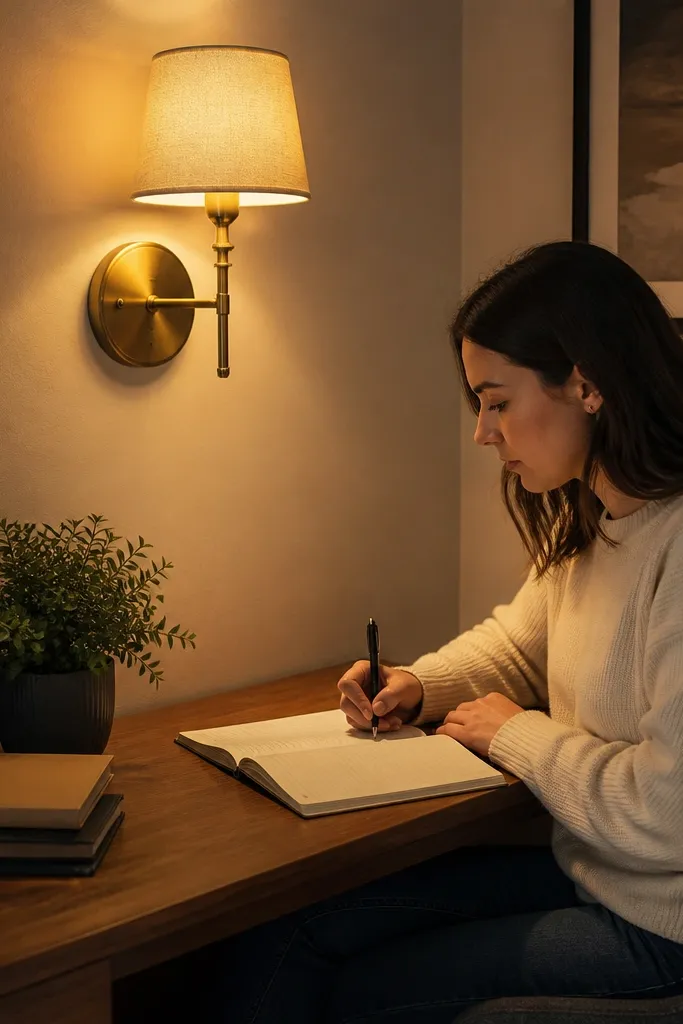
Lighting is decor in small study spaces because it changes how everything looks on the wall. A wall sconce with a fabric shade adds warm glow and makes the area feel more premium than a basic overhead light. Mount it beside the desk, not directly above, so you get better reading light and fewer shadows on your work. Choose a sconce in matte black or brushed brass, then pair it with a cream fabric shade. This is best when you already have a frame or shelf but want the whole setup to look styled at night.
Decide your light placement first: mount the sconce so the bulb center is about 8-12 inches above desk surface and slightly angled toward where you write. If you’re not comfortable with wiring, use a plug-in sconce kit designed for wall mounting. Install with a level and mark screw points; then add a small coordinating wall piece (a slim frame or narrow art print) to balance the composition. Use a warm bulb around 2700K for that cozy study feel.
Keep the shade color off-white, not bright white, so it doesn’t look cold next to wood furniture.
Avoid harsh white LED bulbs — they make the wall decor look flat and clinical.
12. Floating Art + Narrow Book-Ledge Combo
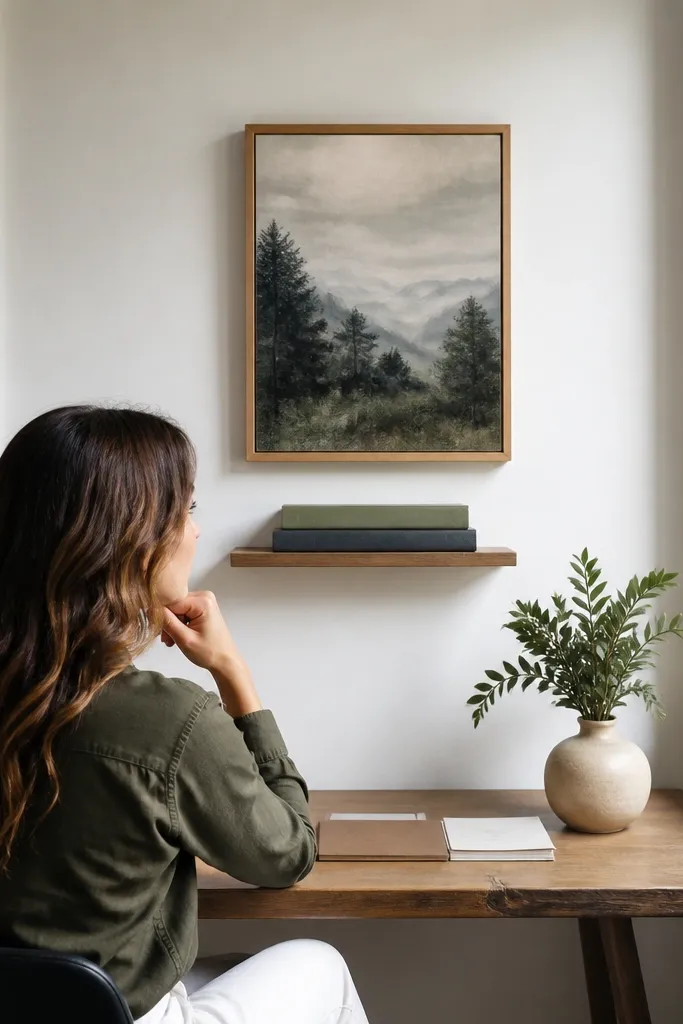
Measure the wall space and pick a frame width that’s about 50-65% of the desk width. Mount the narrow ledge first so its top aligns visually with the bottom third of the frame; then hang the frame centered above. Style the ledge with 2-4 slim books standing or stacked low, plus one tiny object like a pencil cup or small sculpture. Use level marks and anchors for the ledge; keep the total weight light to avoid sagging.
When you want the wall to look layered without adding bulk, pair a small framed piece with a narrow book ledge. The frame gives your eyes a clean anchor; the ledge adds a small amount of height and texture from book spines. Keep the ledge depth around 3-4 inches so it reads slim, and choose books with consistent spine colors (cream, charcoal, and one muted accent). Place the frame centered above the ledge, with a gap of about 6-8 inches between them. This setup is great for desk walls that need both art and a place for references.
Watch outDon’t place bulky decor on a narrow ledge — it makes the wall look crowded instantly.
Pro tipUse book spine colors that match your frame color for a tighter, more expensive look.
13. Triple-Panel Canvas Diptych Style
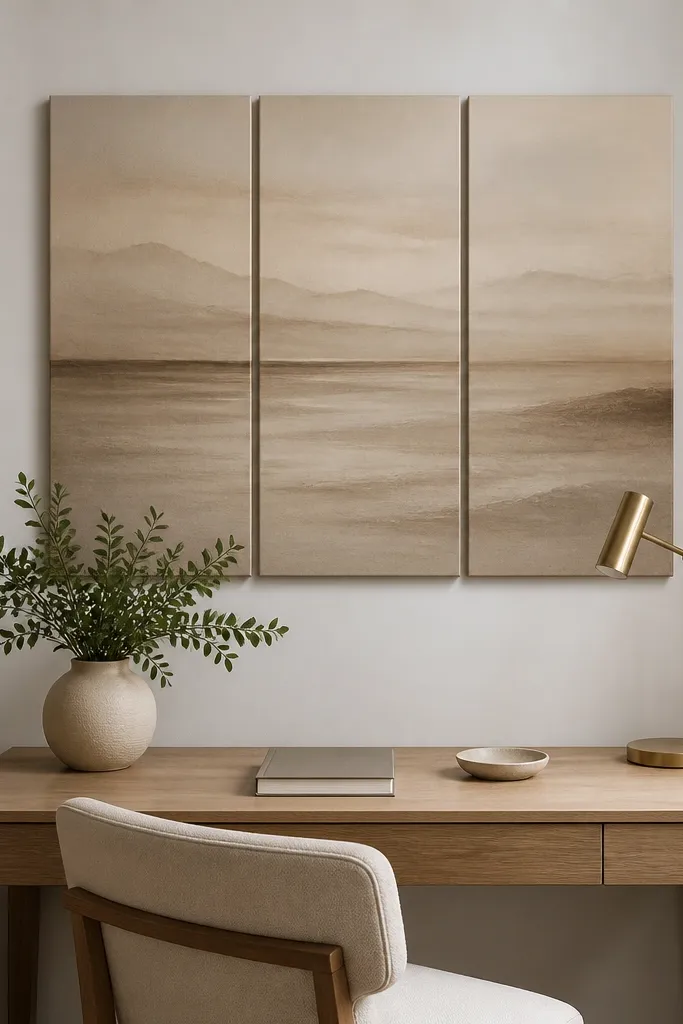
Pick a set where the total width matches your target: 60-80% of desk width. Hang it so the bottom edge sits about 8-12 inches above the desk surface, adjusting based on how tall you sit. Use the included hanging points or a measuring tape to mark the top line across the wall. For a clean look, align the center panel with the desk center line.
Multi-panel canvas art looks luxe in small spaces because it creates one cohesive image with less clutter than multiple separate frames. Choose a three-panel set where the combined width is about the desk width minus 10-20% — so it feels like a single piece. Soft neutral palettes work best for study areas: sand, oatmeal, warm gray, and charcoal line accents. The panels should be spaced slightly or aligned tightly depending on the set, but keep the overall composition centered. This is great when you want a statement that still feels calming for focused work.
Watch outAvoid extremely busy patterns — they steal attention from reading and writing.
Pro tipChoose art with subtle contrast; heavy black blocks can make a small wall feel heavier than you want.
14. Floating Peg Shelf for Headphones and Notes
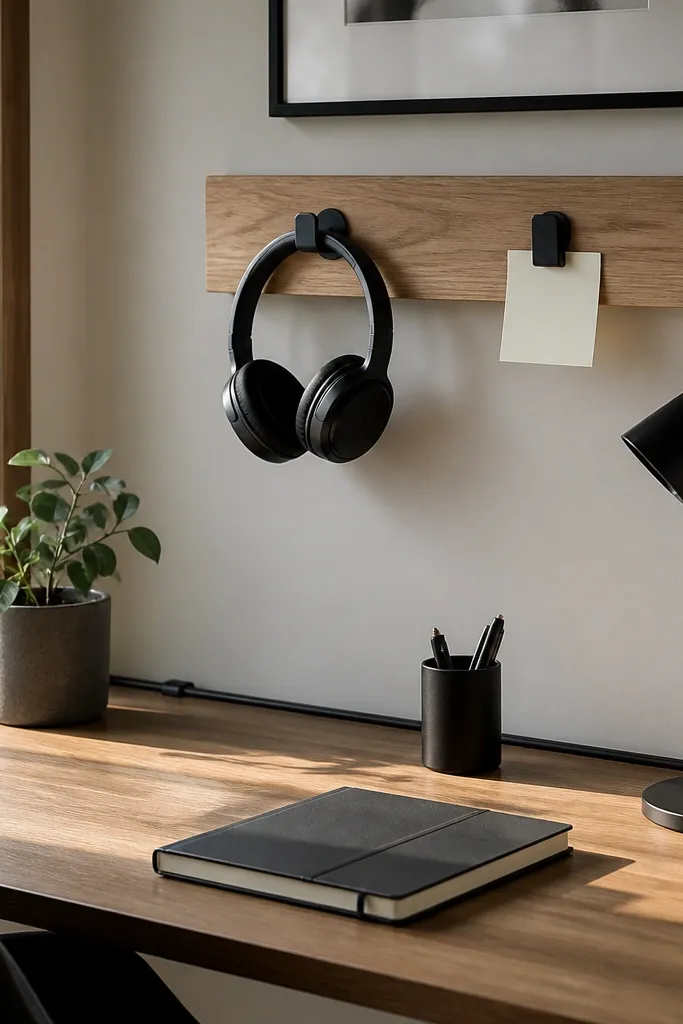
Install the shelf so it sits 6-10 inches above the desk surface and centered over the desk or slightly toward your writing side. Use wall anchors rated for the shelf weight and keep screws into studs when possible. Hang headphones on hooks so the cord isn’t dangling — route it neatly to a small cable clip. Add a simple note holder on the shelf front or side so you see it when you sit down.
If your study area is functional first, make it look intentional. A small floating peg shelf with a few hooks lets you hang headphones, a bag strap, or a cable — then pair it with a note holder so the wall stays useful. Choose matte black hardware and a light wood shelf for a modern luxury look. Keep the shelf length around 16-22 inches for small-space small study table decor, and keep items minimal: one pair of headphones, one pen organizer on the desk, and one note holder. This solves the “things everywhere” problem while making the wall look styled.
Watch outDon’t hang bulky bags or stacks of items on the hooks — it kills the clean look.
Pro tipMatch hook finish to your desk accessories (black to black, brass to brass) so the wall looks like one system.
15. Oversized Wall Typography With One Word Focus
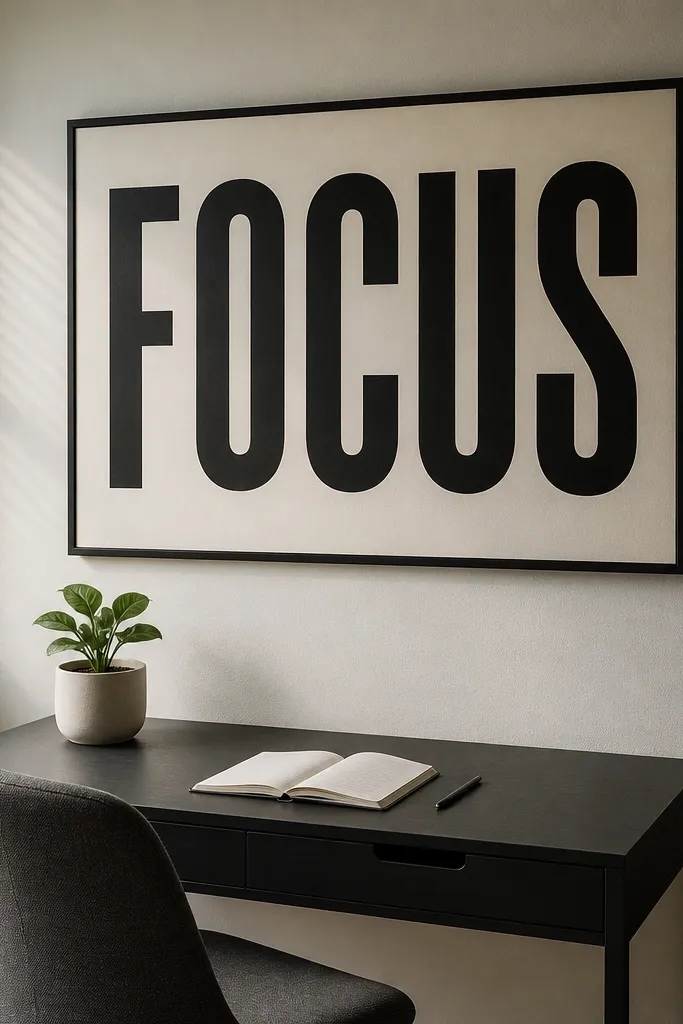
Typography is powerful in small study spaces because it creates focus without adding physical clutter. Use one oversized word or short phrase in a simple font, like “Focus,” “Study,” or “Write,” printed in black on off-white. The key is scale: the text should be large enough to read from across the room, but not so dense that it fills the entire wall. Mount it centered above the desk, with generous margins around it. This idea is best for minimal rooms where you want motivation without visual noise.
Choose a typography print sized so its width is about 55-75% of your desk width. Hang the center of the text about 4-6 inches above chair back height when seated. Use a frame with a thin mat, or mount it on a foam board if you want a lighter look. Keep the print color limited to two tones (black and cream) so it reads clean.
Use a matte finish print — it looks better under desk lamps and doesn’t glare.
Avoid multi-color typography; it turns the wall into decoration instead of focus.