1. Floating shelf + book spine gallery strip
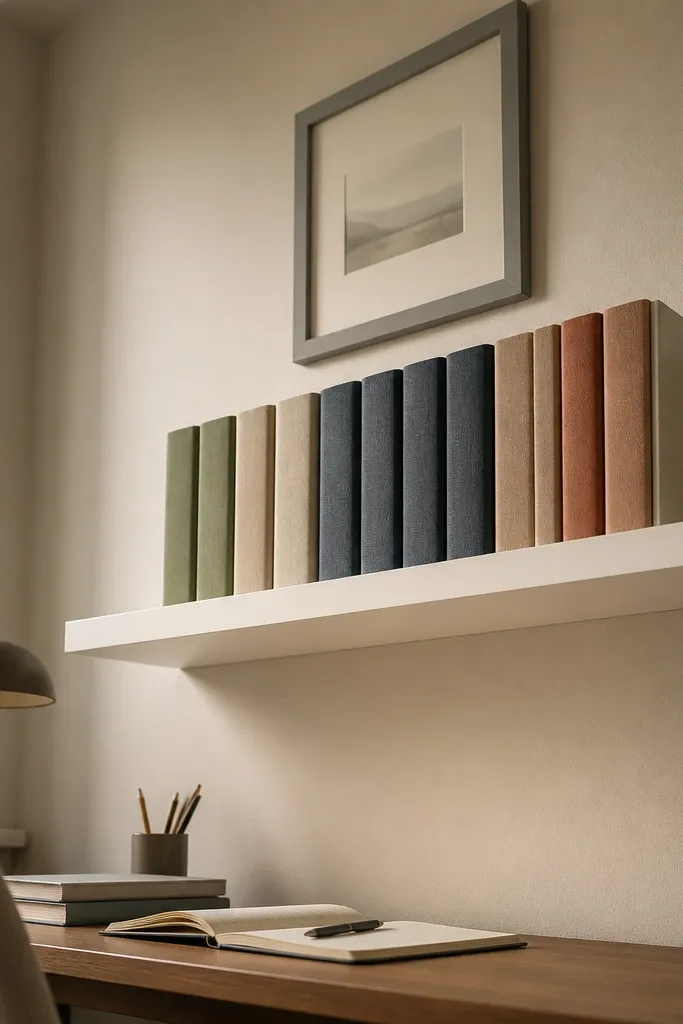
This setup works because it turns the wall into a controlled display instead of a pile of items. A floating shelf gives you a clean horizontal line that visually widens a narrow wall, while the upright book spines create a natural color pattern without adding extra decor. Keep the books limited to 8-12 spines so the display looks curated. Use a matte finish shelf in warm oak or off-white so it stays year-round even when you swap books. The desk stays clearer because you’re using the wall for the items you already own.
Mount a single floating shelf 8-12 inches above the desk surface, keeping its length about 60-70% of your desk width. Add 1-2 small objects on top (a ceramic tray or a closed jar), then place 8-12 books upright with spines facing out; aim for a tight mix of light and dark tones. Finish by adding a slim framed note or a minimal print to one side so the wall has a focal point rather than only objects. Use a level, wall anchors if you’re not hitting studs, and a shelf bracket kit that matches your wall type; expect $40-120 depending on shelf length and hardware.
Choose books with consistent spine height. If some are shorter, stack them flat at the bottom edge so the line still reads clean.
Avoid crowding the shelf with more than two types of objects — it turns into clutter fast.
2. Peg rail with color-coded clipboards
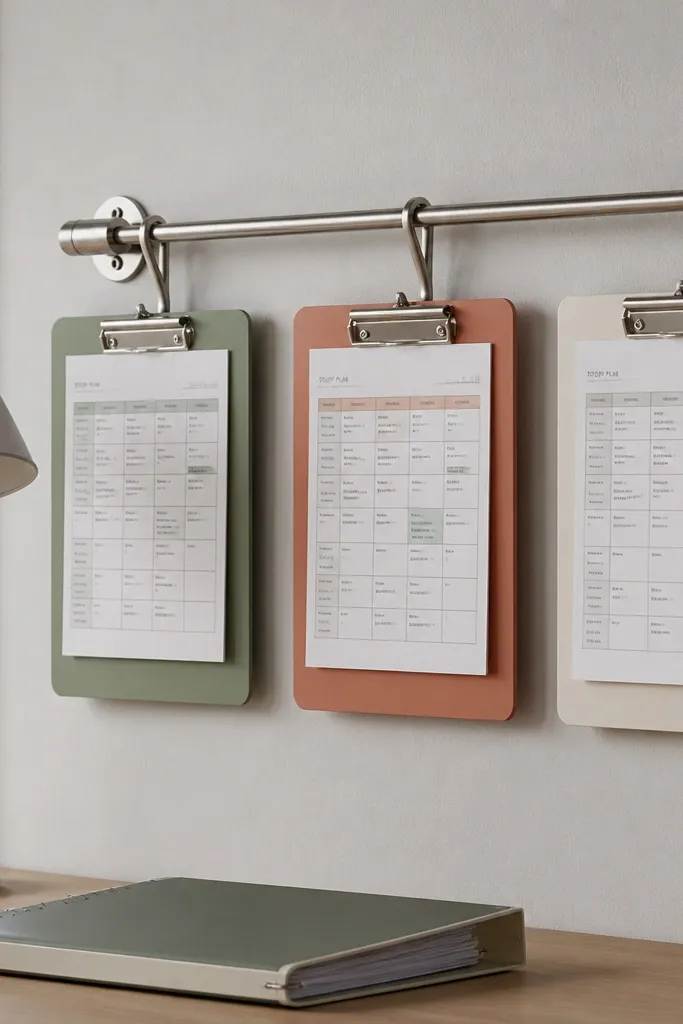
A peg rail is one of the best “year-round” wall decor systems because it changes with you. Clipboards let you pin current study plans, weekly to-dos, and printed sheets without taping paper to the wall. The rail hardware adds a sleek, architectural look that works in small spaces, and you can keep the visual palette consistent by using only three clipboard colors. Matte black or brushed brass on a neutral wall looks sharp and doesn’t date quickly. This also solves the common desk problem where notes scatter — everything has one home.
Install a peg rail centered above the desk at a height where the lowest clipboard edge sits about 6-8 inches above your eye line when seated. Hang two clipboards at the top for “active” tasks and one at the lower zone for reference sheets. Add small accessories like a pen cup and a mini label holder on the rail so the wall becomes functional, not just pretty. For tools, you need a stud finder, drill/driver, level, and the correct wall anchors; peg rails usually land around $60-180 depending on length and finish.
Pro tipUse a single accent color across clipboards and labels, then keep the rest white or off-white paper to keep it calm.
Watch outSkip glossy clipboards. The glare makes the wall look messy in daylight.
3. Vertical gallery frames with one accent mat
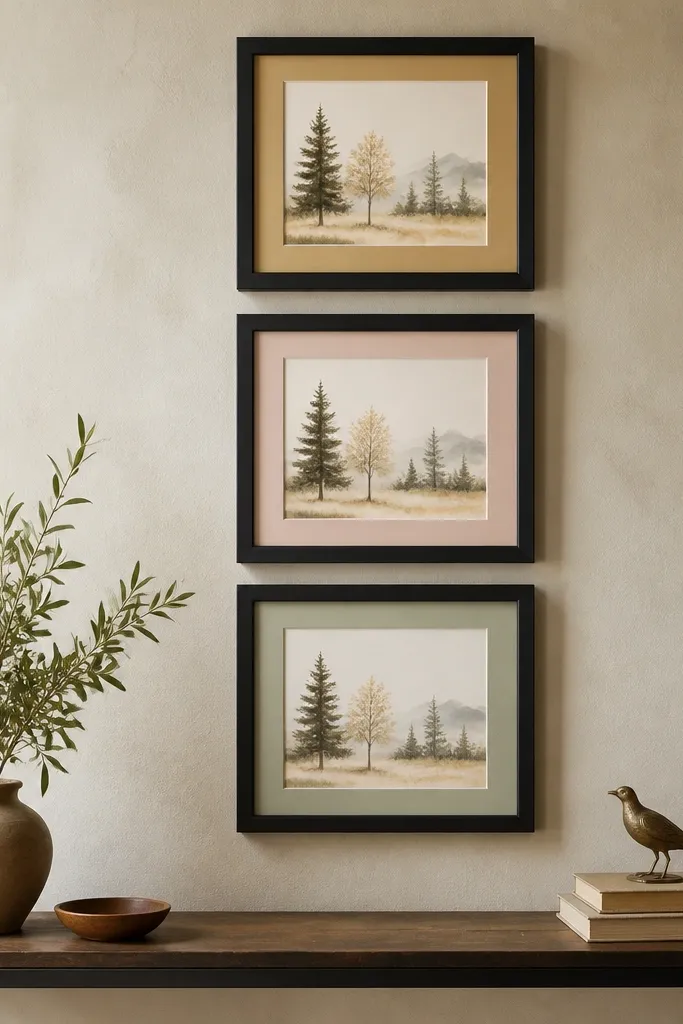
If your study table wall is narrow, a vertical frame stack gives you height without width. This works because tall frames pull the eye upward and make the wall feel taller, which visually expands the space around your desk. Choose three frames in the same finish and use one accent mat color inside each frame. That accent mat is what keeps the look year-round — you can swap the artwork based on season but the structure stays identical. Keep artwork simple: line drawings, typography, or minimal illustrations so it doesn’t compete with your work.
Pick three frames of the same size, like 8x10 or 9x12, and mount them in a straight vertical column with 2-3 inches between frames. Use one consistent mat color (muted sage, warm terracotta, or deep navy) and keep the artwork inside in a matching palette. Hang the column so the bottom frame sits about 6-10 inches above the desk surface. You can do this with removable picture hanging strips if the frames are light; otherwise use wall anchors and screws. Costs are usually $80-200 for three frames depending on finish.
Pro tipIf you rotate artwork seasonally, keep the mat color unchanged. That single choice makes the wall look styled all year.
Watch outDon’t mix frame finishes (wood + black + brass). The eye catches every change in a small space.
4. Woven wall pocket row for small supplies
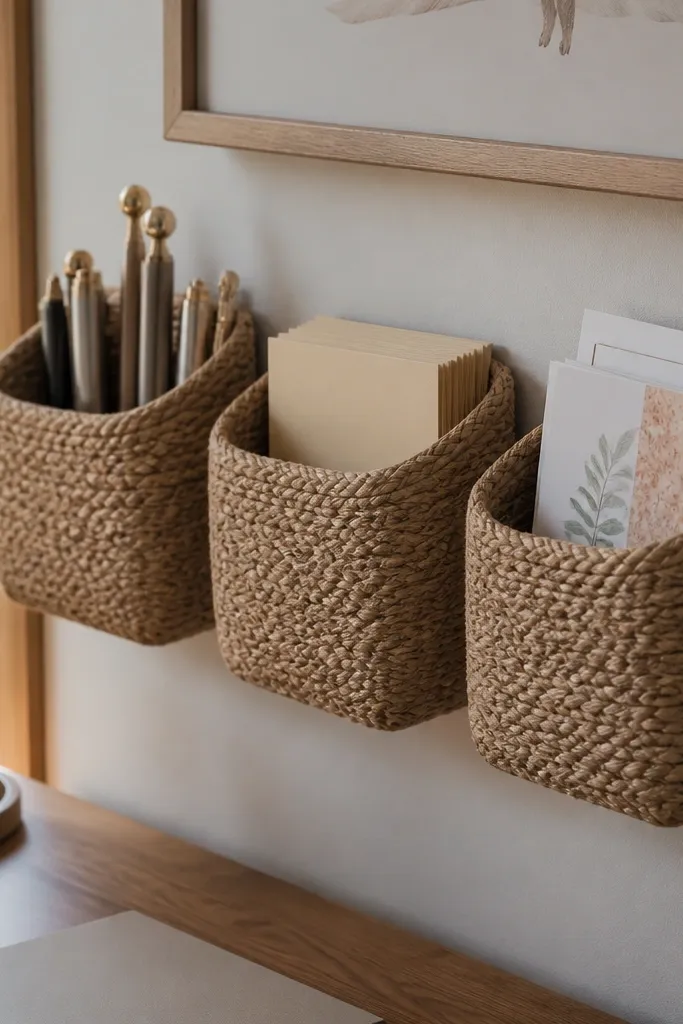
Woven wall pockets look soft and expensive, and they solve a real problem: small supplies disappear into drawers. A row of three pockets gives you an easy grab system for pens, sticky notes, and small reference cards. The texture reads warm and cozy, which makes the wall feel inviting even when your desk is busy. Keep the pockets in one neutral weave (natural jute, tan linen blend, or light rattan) so it stays year-round. This also prevents “desk clutter creep” because your everyday items have visible storage on the wall.
Mount the pockets in a horizontal row above the desk, spacing them so each pocket is about 5-7 inches wide. Place the row so the bottom edge sits roughly level with your shoulder height when seated, keeping items easy to reach. Add a simple color rule inside the pockets: one pocket holds pens, one holds paper goods, one holds small tools like erasers or clips. Choose pockets with reinforced backing or a hanging rod option so they stay straight. Expect $35-100 depending on size and mounting method.
Pro tipFold sticky notes into a consistent size stack. It makes the pockets look tidy, not stuffed.
Watch outSkip pockets that gap open loosely. If the contents spill, the whole setup looks messy.
5. Slim ledge + rotating desk-side decor line
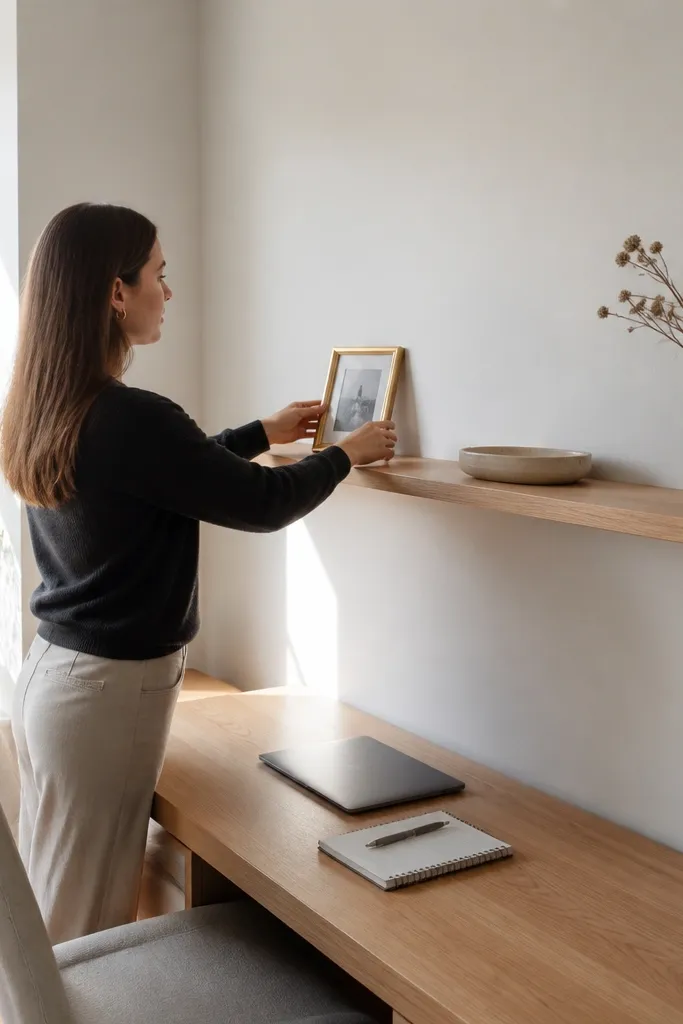
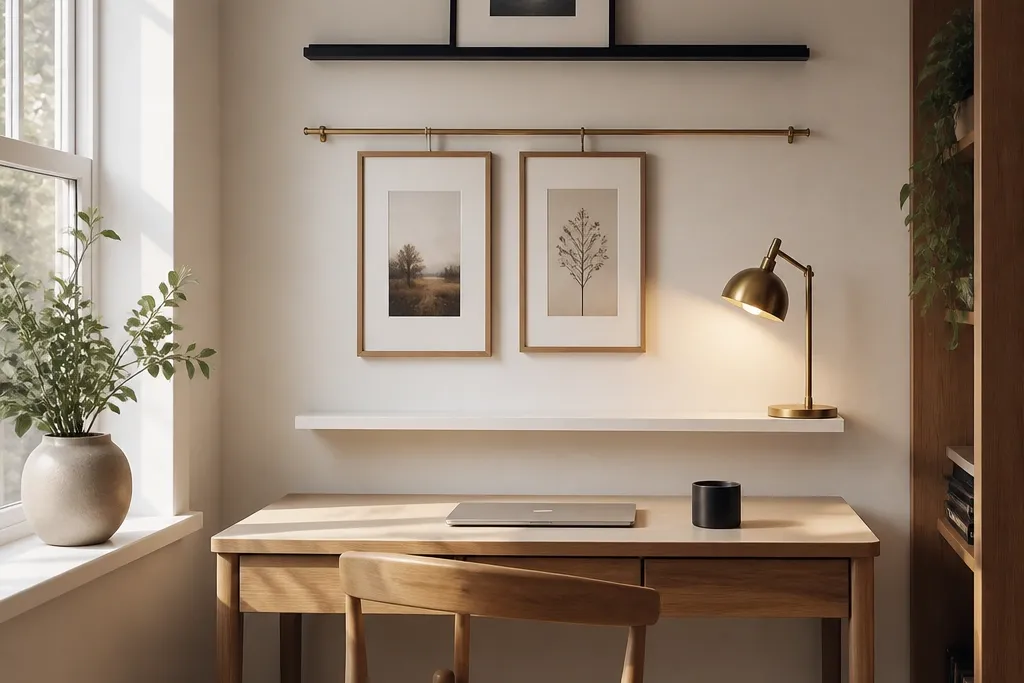
A slim ledge is a clean way to get year-round wall decor without turning your wall into a shelf full of random items. It creates a single “decor line” that you can rotate seasonally with minimal effort. The key is width: a ledge that’s too deep turns into a clutter shelf; a ledge that’s 3-5 inches deep keeps objects contained and photogenic. Use a neutral ledge finish and keep the objects small: one candle holder, one small tray, and one framed piece. When you swap items, the wall still looks intentional because the layout stays constant.
Install a ledge 10-14 inches above the desk surface and keep it centered on the workspace. Make the ledge length equal to about 70% of your desk width. Style it with three items only: a small tray (matte ceramic or wood), one framed mini print, and one sculptural object like a ceramic bud vase. Swap the framed print and one small object every season while leaving the tray in place. Ledges with brackets usually cost $30-120.
Pro tipUse museum-style spacing: leave at least 2 inches between the three items so shadows don’t merge.
Watch outDon’t put books on a ledge meant for decor. They break the “line” effect.
6. Matte black wall grid with mini pin map
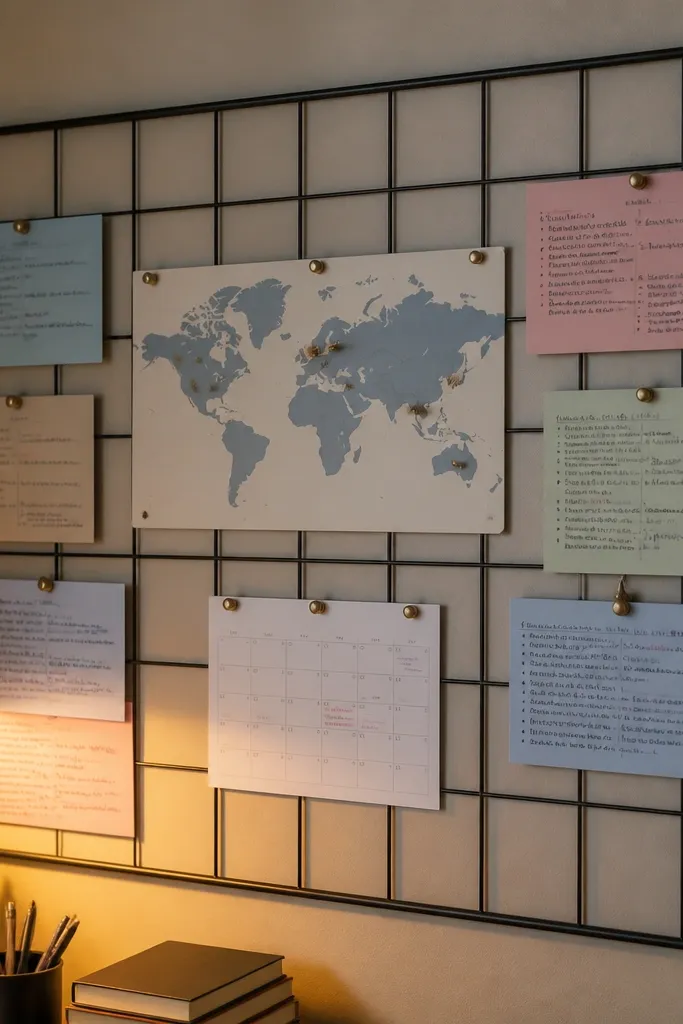
A grid wall turns your study wall into a command center that still looks stylish. The matte black grid looks sharp against light walls and adds structure without visual bulk. A mini pin map (or a small board with pinned cards) gives personality, and you can swap pins or cards for new projects while keeping the grid constant. This is a strong choice for students who need to see deadlines, reading lists, and project stages at a glance. The grid also keeps paper from curling on the desk because everything stays vertical and flat.
Mount a peg grid centered above your desk, with the bottom edge about 6-8 inches above your seated eye line. Add a small pin board insert or a mini map print in the center, then hang two baskets or hooks for “today” items. Use 3-4 pin colors maximum so the wall looks designed, not chaotic. Add one slim rail at the bottom for clipboards if you need extra function. Grid systems cost $70-250 depending on size and hardware.
Pro tipKeep your pinned cards in one size. Consistent card sizes make the grid look curated instantly.
Watch outSkip bright neon pins. They dominate the whole desk area in small rooms.
7. Mirrored panel with slim cork notes strip
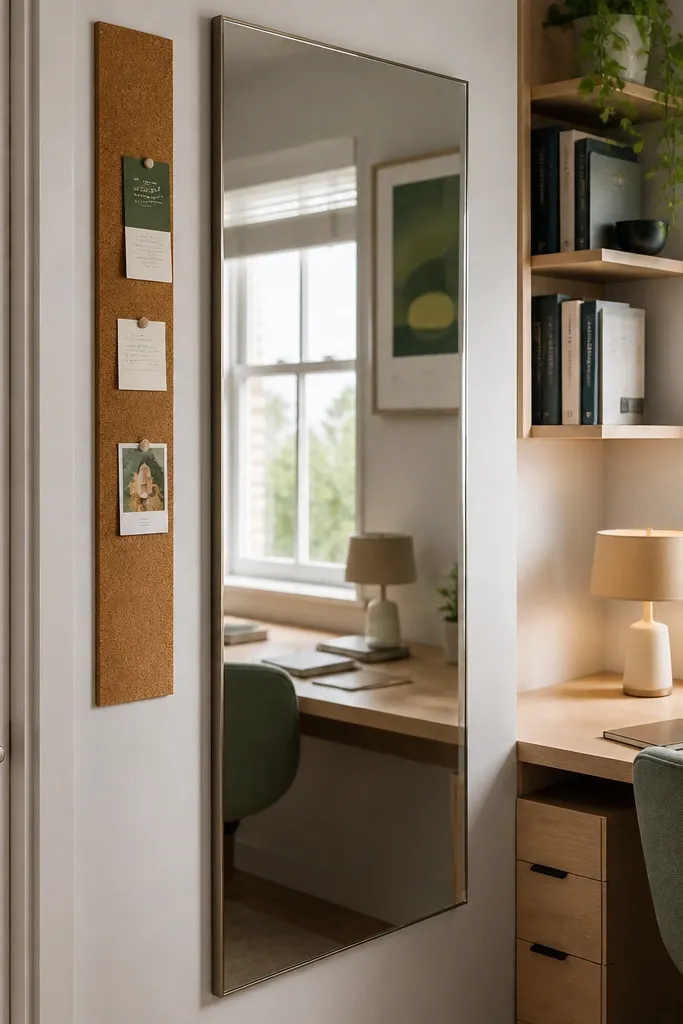
A mirror helps a small study area feel larger, and pairing it with a slim cork strip keeps it practical. The mirror reflects light and makes the wall feel deeper, which is perfect for compact rooms with limited daylight. The cork strip gives you a tidy place for reminders and sticky notes without covering the mirror. Use a simple rounded rectangle mirror with a thin frame in matte black or brushed brass. This is a year-round setup because the mirror stays constant while the cork notes change weekly.
Choose a mirror width about 50-65% of your desk width and mount it centered above the desk. Install a cork strip below it, about 2-3 inches under the mirror bottom, sized to match the desk width or slightly narrower. Pin 6-10 notes with push pins in one color family (black and brass looks best). Use small clips for thicker papers so they don’t bulge. Mirrors plus cork strips usually run $60-200 based on frame and size.
Pro tipPosition the mirror so it catches window light. Even a slight angle makes the wall feel brighter without extra lamps.
Watch outDon’t place the cork strip too high. If it sits at eye level, it competes with what you’re reading.
8. Textured wallpaper strip behind a single shelf
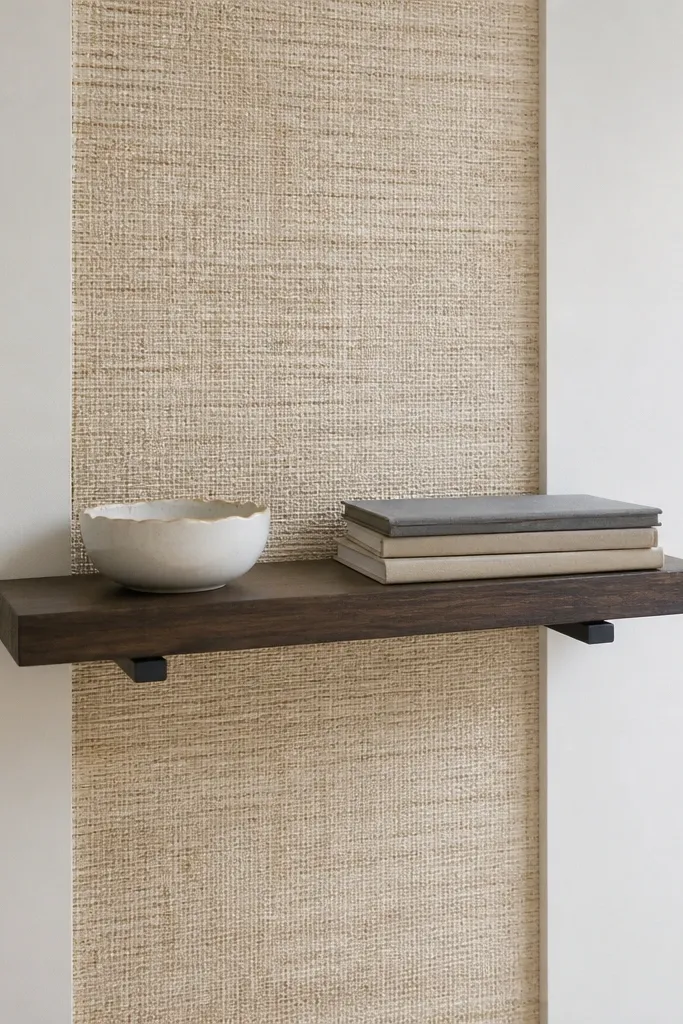
This idea is for when you want the wall to look styled even with minimal objects. A textured wallpaper strip behind one small shelf creates a focal background, so you can keep the shelf contents simple and still get a high-end look. Pick a subtle texture like grasscloth-style, linen-look, or embossed geometric in neutral tones. The texture reads year-round because it doesn’t rely on seasonal colors. You’ll also hide minor wall imperfections behind the strip, which matters in older apartments.
Apply a wallpaper strip 16-24 inches wide centered above the desk, starting about 6-10 inches above the desktop. Keep it tall enough to sit behind the shelf and a little below the shelf line. Mount one small floating shelf in front of the textured area, about 10-12 inches above the desk surface. Style only three items: one frame, one small plant pot, and one tray or book stack. Wallpaper costs $25-60 a roll depending on quality; adhesive and tools add a bit more.
Pro tipChoose a texture with a low-contrast pattern. It looks expensive in photos and doesn’t distract from your work.
Watch outSkip bold large-scale patterns. They overwhelm narrow desks and make the whole wall look busy.
9. Two-tone book ledge with vertical dividers
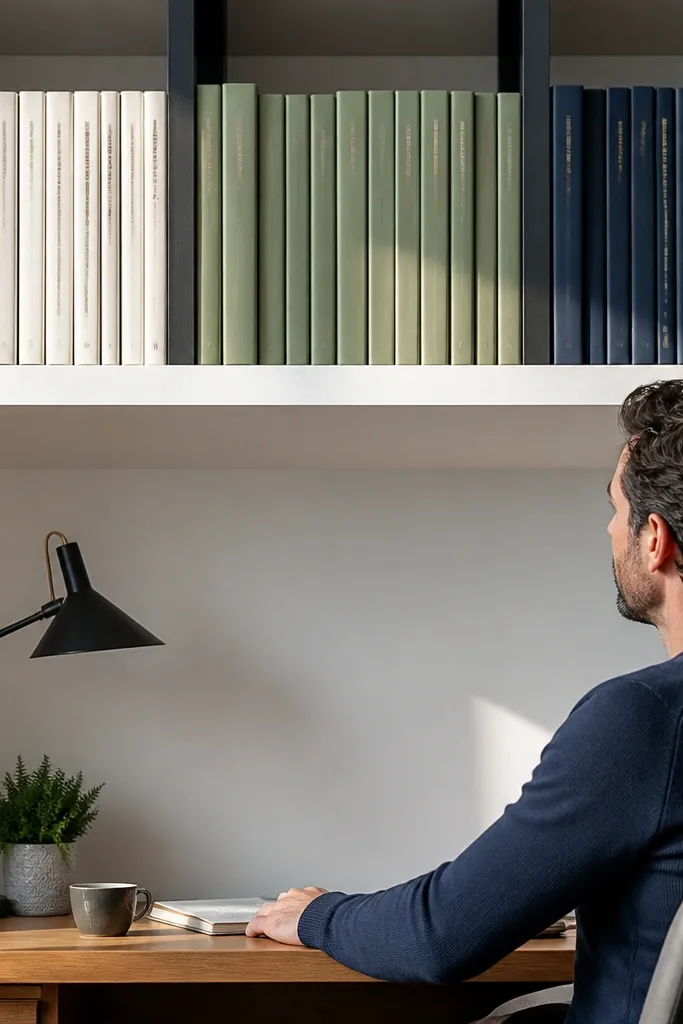
A book ledge with vertical dividers solves the “books look messy” problem. When you store books flat or loosely, the spines shift and the wall looks random. Dividers lock each row into a clean pattern, so the wall stays neat even when you rotate books for different subjects. The two-tone effect — for example, white dividers with a warm wood base — adds contrast without extra clutter. This is perfect for year-round study needs because you can swap titles and keep the same structure.
Install a ledge system with dividers 24-36 inches long, centered above your desk. Set the bottom of the ledge about 8-12 inches above the desk surface so you can reach books without stretching. Use two tones: keep dividers light (white or off-white) and choose a warm wood or walnut backing for depth. Arrange 3-4 sections with 2-4 books each, and add one slim framed card at the end for a focal point. Expect $90-220 for a divider shelf depending on size.
Pro tipKeep book cover colors muted and let spine colors do the work. Dark spines on light dividers look crisp.
Watch outAvoid mixing tall and short books in the same section. It breaks the grid look.
10. Slim floating cabinet with open cubby styling
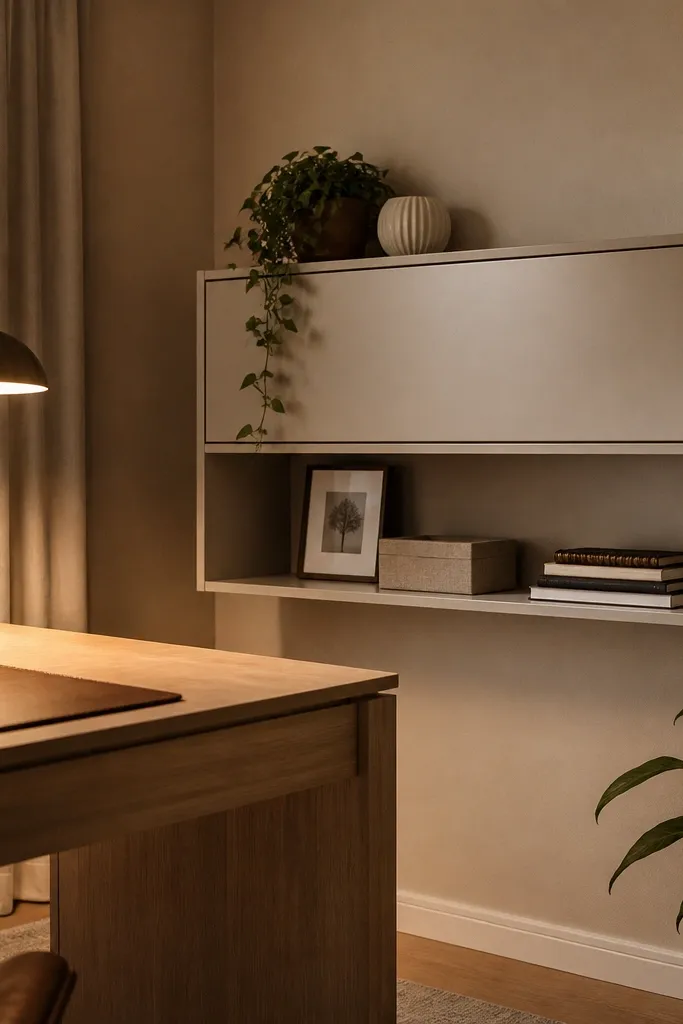
A slim floating cabinet gives you hidden storage and a styled front at the same time. The open cubby is where the decor goes, and the closed section hides the stuff that makes a desk look chaotic: extra notebooks, cables, and loose papers. This is ideal for year-round study table wall decor because your visible styling stays consistent while your actual study items change. Choose a cabinet with a matte finish and clean lines; keep the open cubby styling to one color story. It looks intentional even when you’re mid-semester and everything is active.
Mount the cabinet so its bottom sits about 10-14 inches above the desk surface, leaving enough headroom to work comfortably. Use the open cubby as your display zone and follow the 3-item rule: one framed print, one small organizer box, and one stack of books or magazines. Keep wires and supplies inside the closed section — add a small labeled bin inside if you store chargers. For installation, use wall studs or heavy-duty anchors; a floating cabinet usually needs proper hardware. Budget $120-400 depending on size and brand.
Pro tipPick one organizer material for the cubby — matte ceramic or fabric — and repeat it inside the cabinet for a matching look.
Watch outDon’t leave loose stacks visible. If you can see random paper edges, the wall will look messy.
11. Linen bulletin board with picture ledge
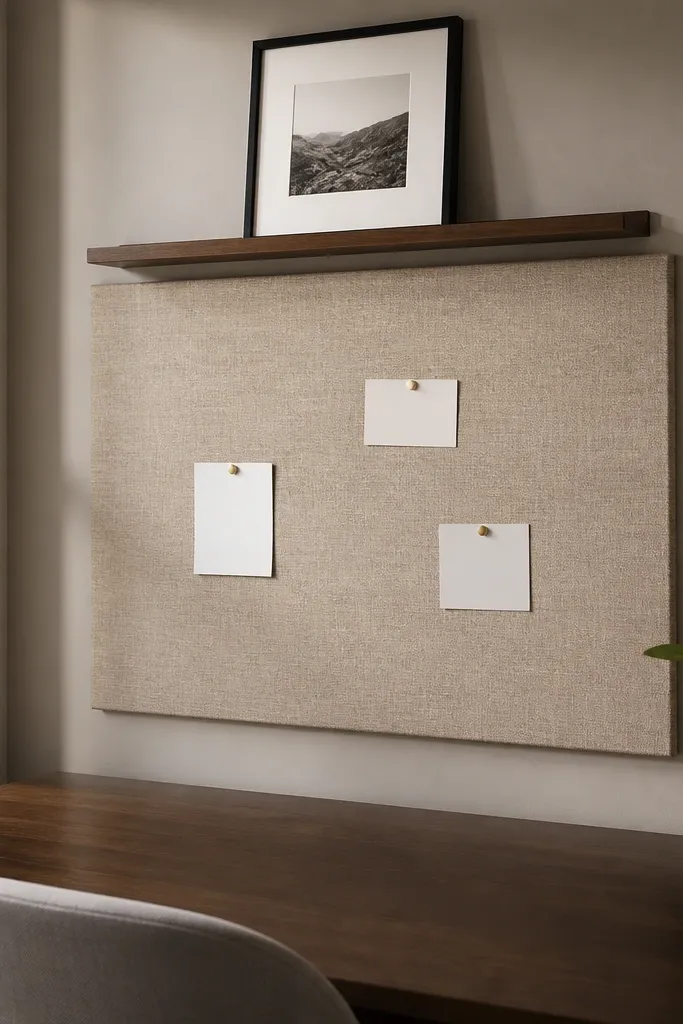
Linen bulletin boards look calm and premium, and they’re perfect for study walls because they hold notes without looking like office equipment. The fabric cover hides scribbles and keeps the surface looking neat, which matters when your wall is always in view. Add a small picture ledge on top for a framed print, and you get a stacked look: soft texture below, clean art above. This works year-round because you can pin different notes and swap the framed print while the linen background stays consistent. It’s also great for small desks because it uses one flat surface instead of multiple hanging pieces.
Choose a linen bulletin board sized about 60-75% of your desk width. Mount it centered above the desk, with the bottom edge around 6-10 inches above seated eye line. Add a narrow picture ledge above the board or use the board’s top rail if it has one. Place one framed piece on the ledge, then pin 8-15 items using matching push pins. For a clean look, use a simple pin set and avoid mixing metal colors. Costs usually land $80-250 depending on board size.
Pro tipUse one pin color and one paper style. A consistent look makes the linen board read as decor, not storage.
Watch outSkip pinning full sheets all over. A few tidy columns look better than scattered pages.
12. Color-block wall decals behind a desk height shelf
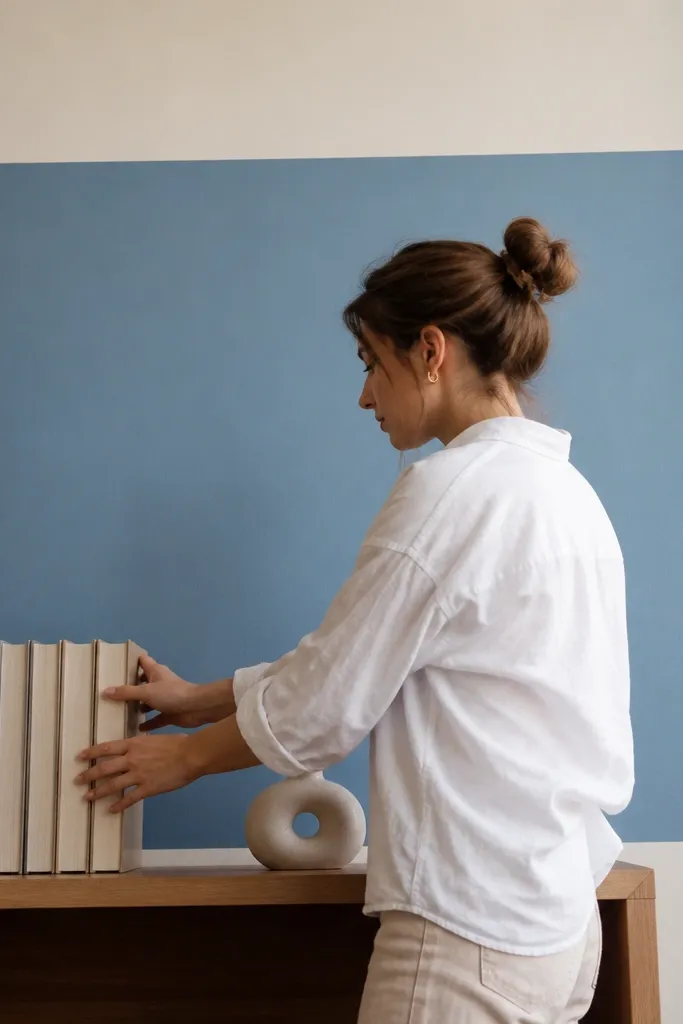
Color-block decals are the fastest way to make a small wall look designed, and they’re easy to keep year-round. Use a neutral base wall and add a single color block behind where your shelf sits. The shelf becomes the “frame,” and the color block creates a background that makes books and decor look more intentional. Pick a muted accent like clay, olive, or dusty blue so it doesn’t overpower your workspace. This is a strong choice when you rent or you want change without repainting.
Clean and dry the wall, then plan the color block area as a rectangle about 18-30 inches wide and 28-40 inches tall centered above the desk. Apply removable decals or fabric wall stickers in matte finish, keeping edges straight with a level. Mount a narrow shelf 10-12 inches above the desk surface, positioned so it sits on top of the color block background. Style with only two items on the shelf plus one small frame — keep it minimal so the color block stays the star. Decals typically cost $20-80 depending on size and material.
Pro tipUse matte decals, not glossy. Gloss makes the wall look uneven once light hits it.
Watch outDon’t add multiple color blocks. One block behind the shelf looks crisp; three blocks looks busy.