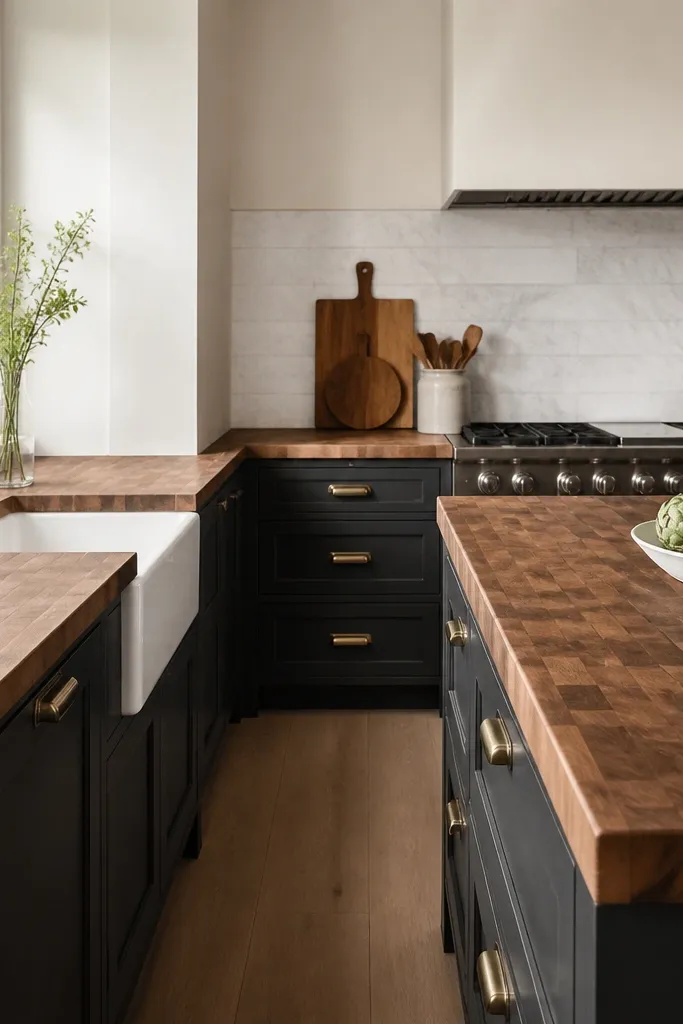
1. Honey Walnut Wash with Smoke-Tinted Clear Coat
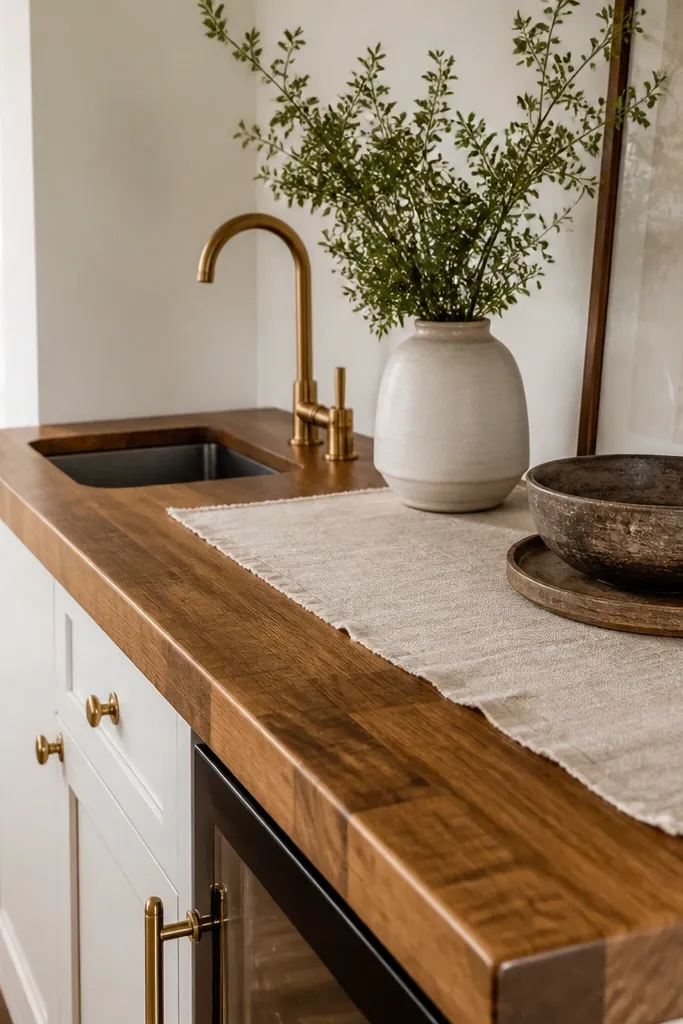
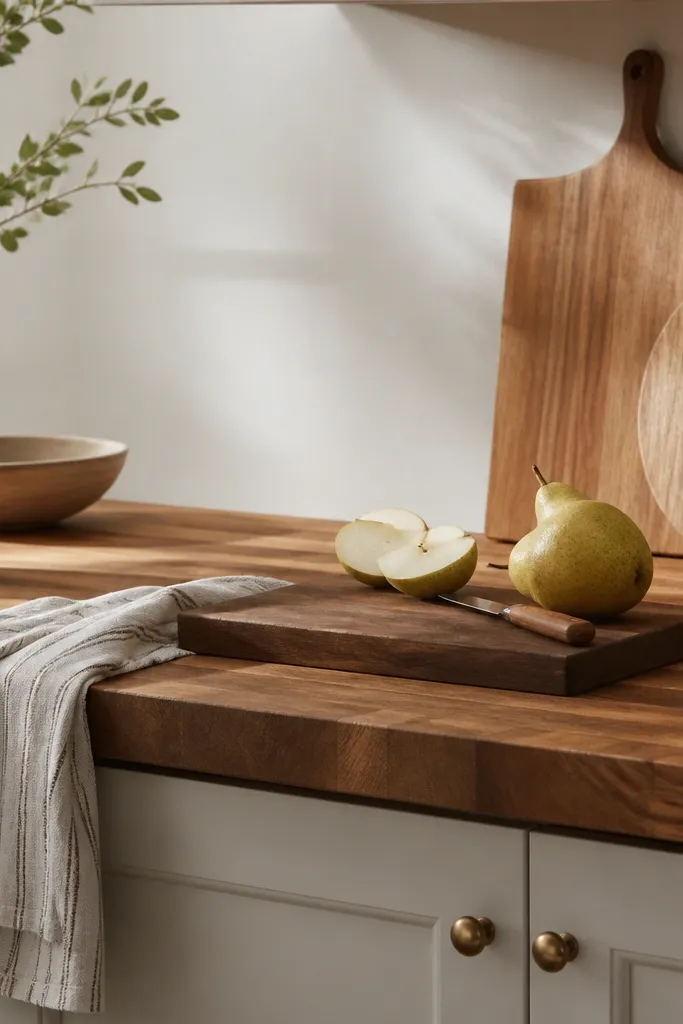
This look is warm without going orange. The honey walnut wash makes the grain read “antique furniture,” and the lightly smoke-tinted clear coat keeps it from turning into bright caramel. In daylight, it looks golden; at night, the smoky tone makes it feel calm and bedroom-friendly.
Use a walnut-based penetrating stain at a light-to-medium level, then apply a clear topcoat with a tint (or a toner step) so the final color sits more neutral. Keep the coat thin: you want the wood texture to show, not a thick film. Pair it with warm off-white walls and brushed brass accents so the counter doesn’t clash.
Do three sample wipes with different dwell times: 1 minute, 5 minutes, and 10 minutes. Pick the one that matches your bedding color temperature, not your favorite photo.
Avoid going straight to deep stain on maple — it often looks patchy around the grain and edges.
2. Olive-Oak Stain with Warm White Bedroom Contrast
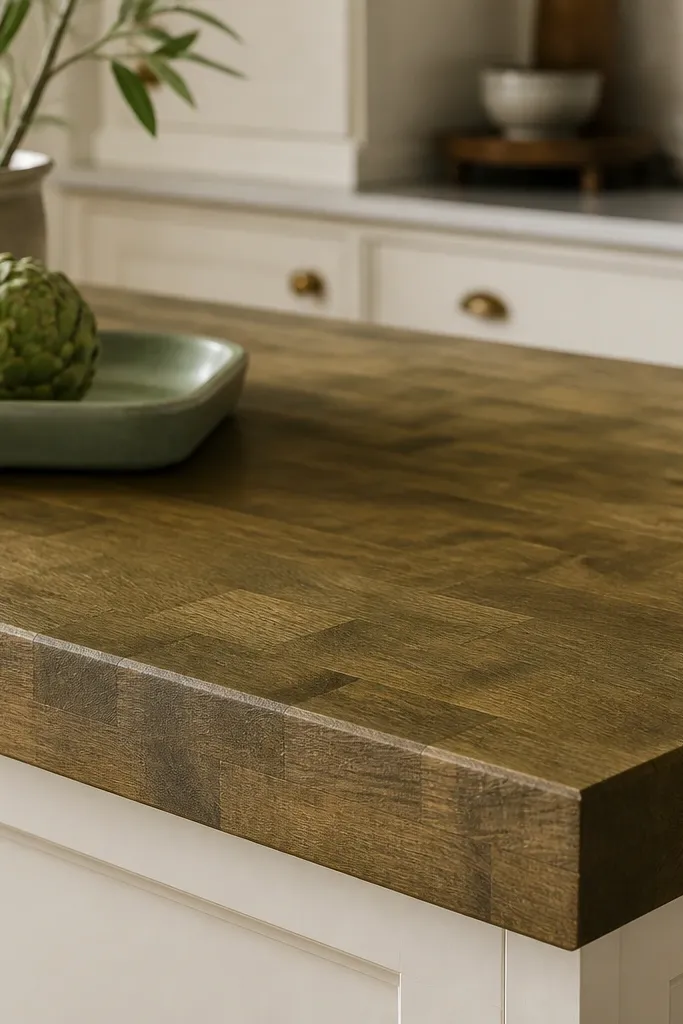
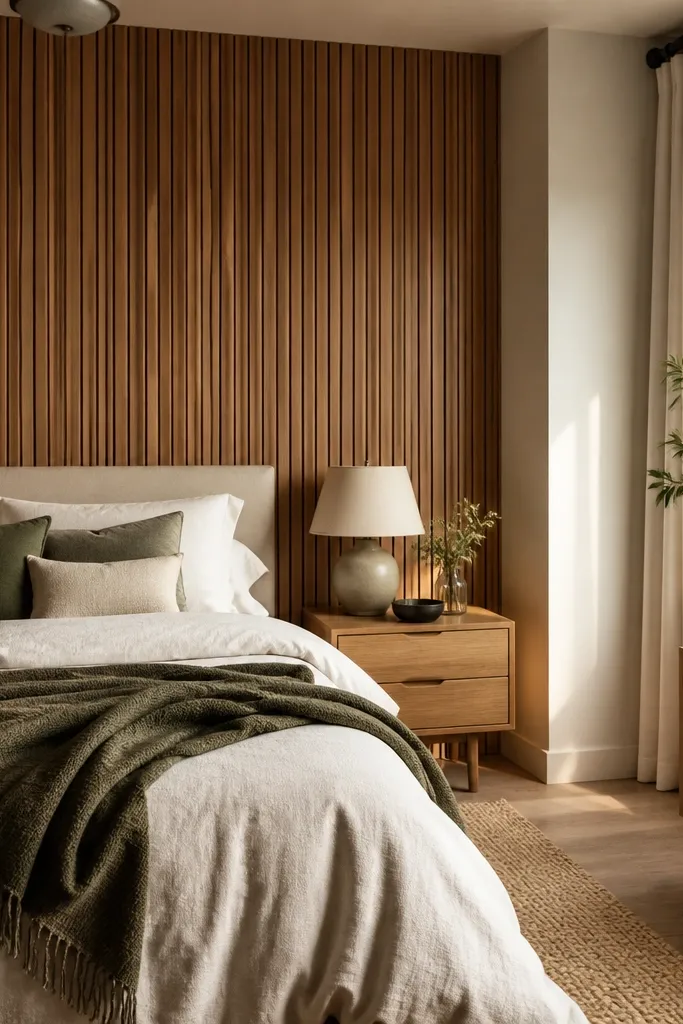
Olive-brown stains read grounded and a little moody, which is perfect if your bedroom has sage, olive, or muted green textiles. The oak’s natural pores take the stain deeper, so you get a built-in “movement” across the surface. It looks custom because the grain variation becomes part of the design.
Choose an oak butcher block if you want that porous depth. Stain in the direction of the grain using a rag, then wipe off within minutes so you don’t get dark puddles. Topcoat in satin so the olive tone stays soft rather than glossy.
Pro tipAfter the first wipe, hold a white sheet of paper next to the sample. If the stain looks too yellow, switch to a slightly browner stain rather than adding more coats.
Watch outSkip thick foam-brush strokes; they trap excess stain and leave halos along the grain.
3. Smoked Maple with Charcoal-Gray Edges
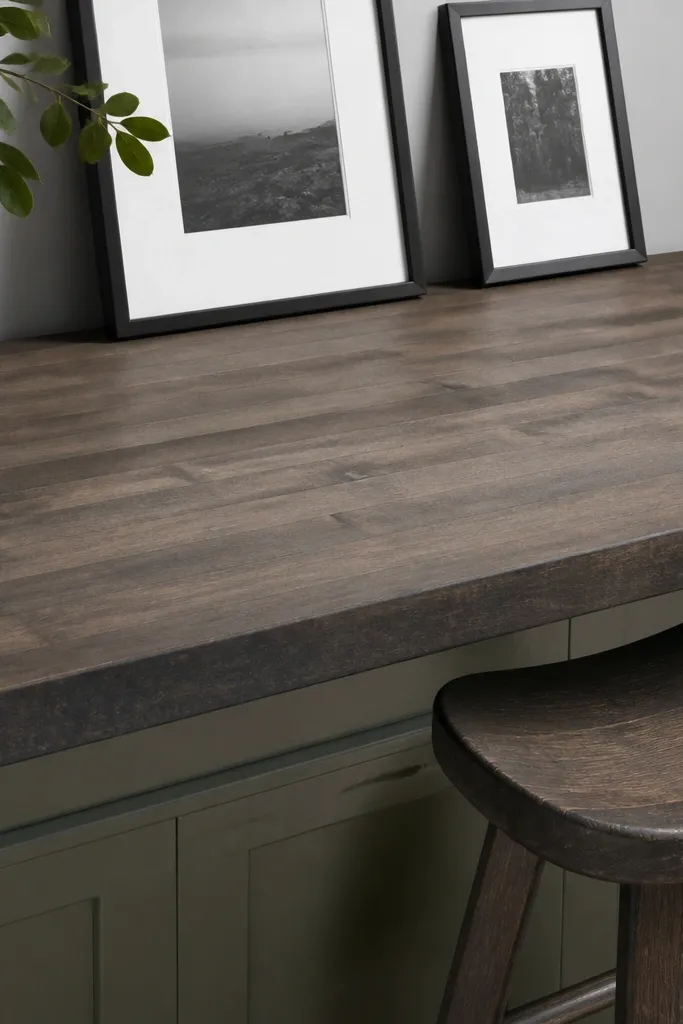
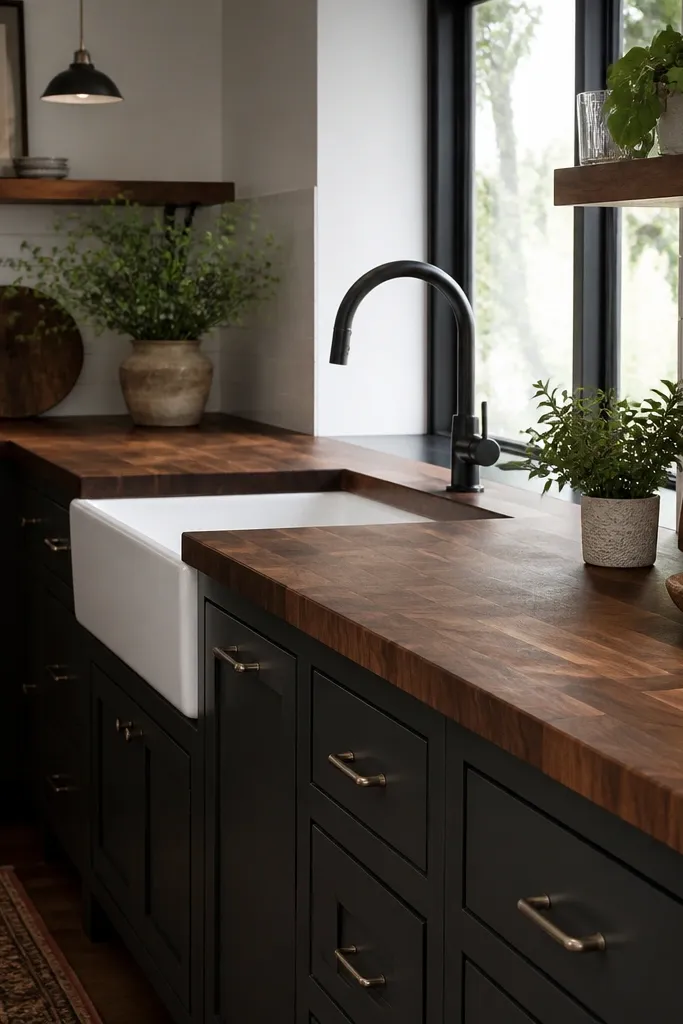
This is the “designer” look that still feels cozy. The smoky gray-brown stain cools maple just enough to feel modern, and the darker edge treatment makes the countertop look tailored like a built-in piece. It’s especially good in bedrooms with black accents and dark frames.
Use maple for the base because it takes gray tones evenly when pre-conditioned. Apply the main stain across the field, then use a separate rag to feather a charcoal-gray stain only at the front edge and corner zones. Seal with matte clear coat to keep the gray from looking shiny and plastic.
Tape off a 1-inch band on the edge while staining the field. After you wipe, remove tape while the stain is still wet so the transition stays soft.
Don’t blend charcoal stain too far into the center — it makes the counter look dirty instead of intentional.
4. Cognac Stain with Subtle Red Undertone
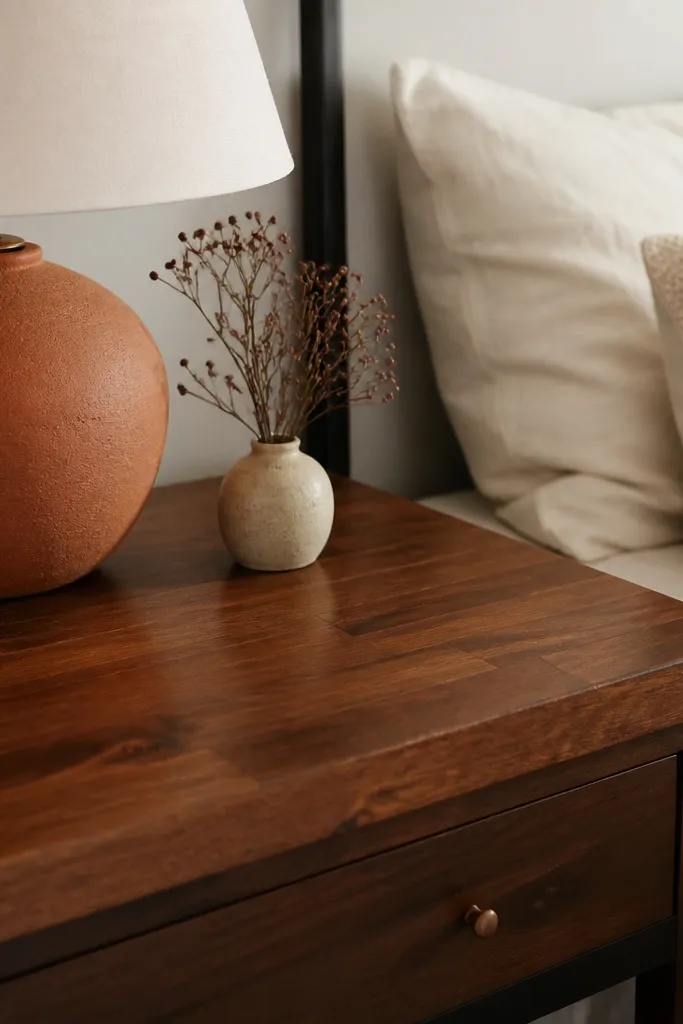
Cognac stains make a bedroom feel like a boutique hotel. The reddish undertone keeps the wood from reading flat brown, and the satin topcoat makes the grain look like it’s been polished for years. This is the stain direction I reach for when the room has warm metals and cream fabrics.
Pick a stain described as “cognac” or “red-brown” rather than plain dark brown. Apply thin coats, wipe off thoroughly, and build depth gradually so you don’t get a heavy red patch. Finish with satin clear coat for depth without mirror shine.
If your sample board looks too red, add one extra clear coat before you decide. Sometimes it calms down as the film cures.
Avoid over-wetting with stain on vertical seams; it can darken and create visible lap lines.
5. Antique Driftwood Gray-Brown
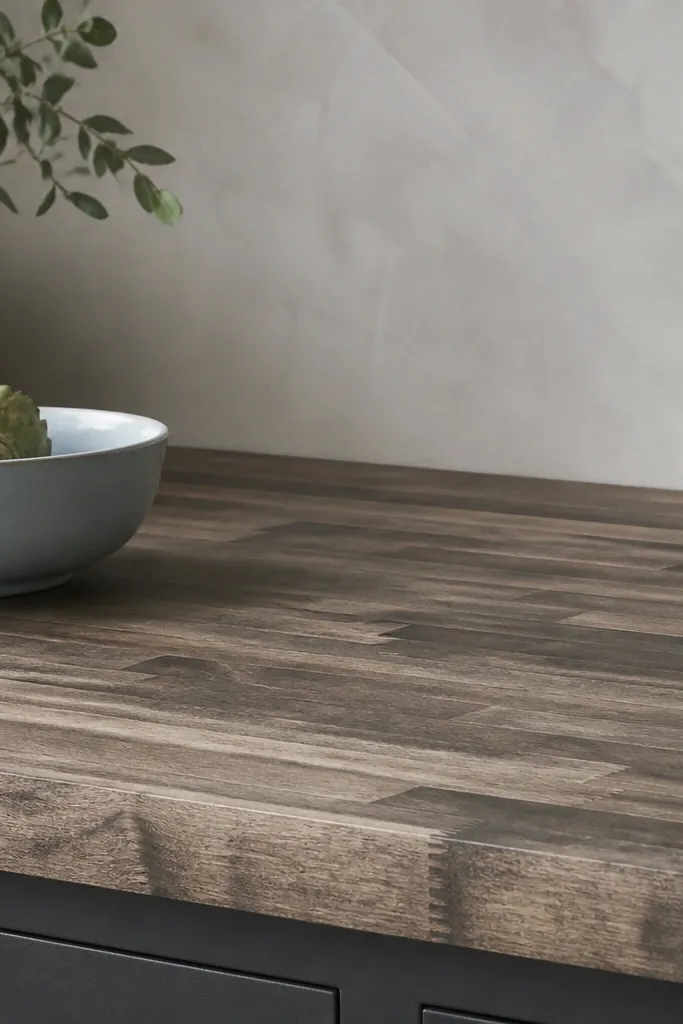
This look reads beachy without turning into icy gray. The stain is gray-brown, and when the grain shows through, it feels like weathered furniture. In bedrooms with linen, pale blue, or soft gray walls, it looks relaxed and deliberate.
Use a gray-brown stain and keep the first coat lighter than you think. After it dries, do a second light pass only on the grain to bring out streaks. Topcoat in matte to preserve the aged feel.
Use a dry rag to lightly buff after the stain dwell time. It lifts some surface color and creates that driftwood variation.
Don’t use a full-body dark gray stain — it often turns muddy on butcher block.
6. Midnight Mocha with Warm Lamp Lighting
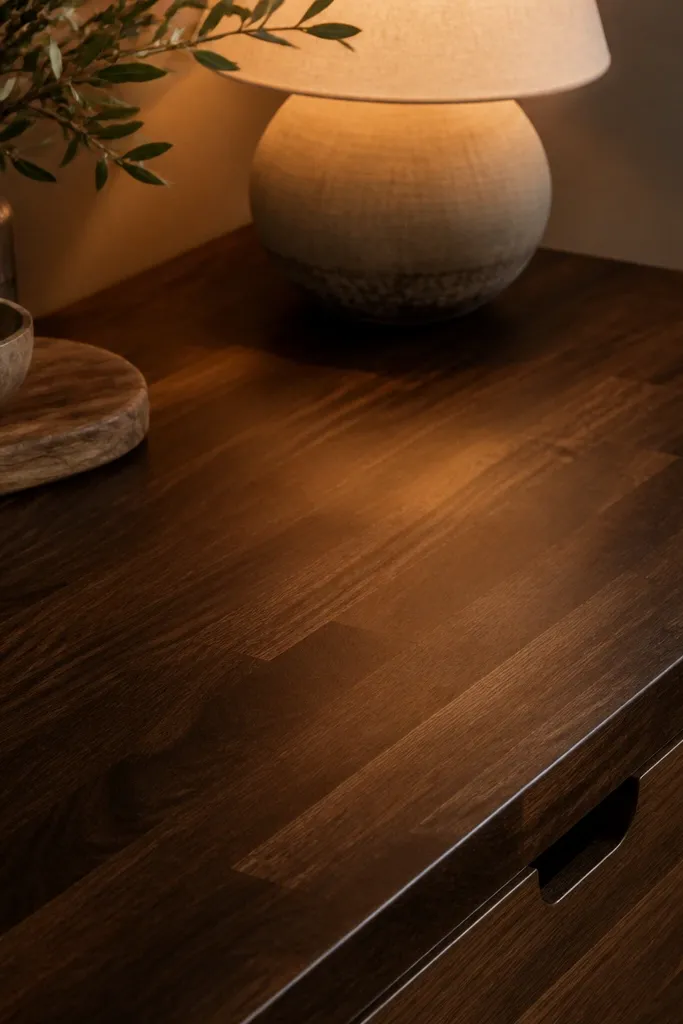
Mocha makes the bedroom feel cozy and a little dramatic. The undertone keeps it from looking like black laminate, and the satin sheen gives you depth around the grain. Under warm lamps, it looks expensive because the highlights are controlled.
Apply a medium-dark brown stain, then glaze lightly with a warmer brown or a thin second coat for depth. Work in sections so the stain dwell stays consistent. Seal with satin clear coat and let it cure fully before heavy use.
If the sample looks too dark, stop at the lighter coat and add one extra clear coat instead of adding more stain.
Avoid skipping the dry-time between coats; rushing creates uneven sheen and blotchy darkness.
7. Natural Blonde with Clear Amber Tint
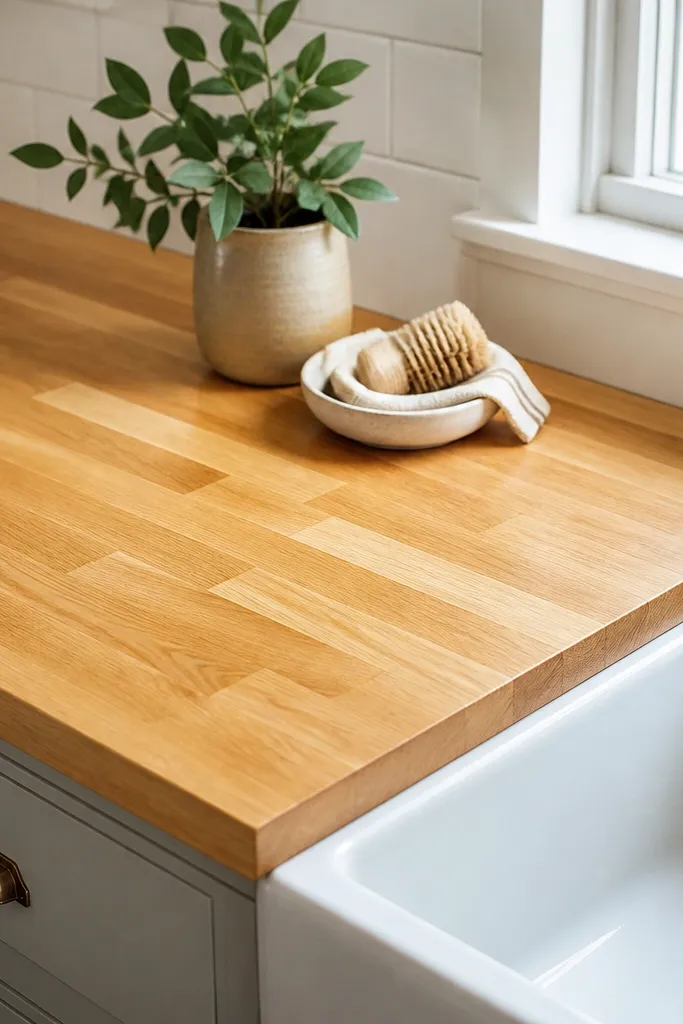
This is for bedrooms that already have a lot of light. The stain is light or nearly transparent, and the amber tint in the clear coat warms it just enough to match warm metals. You get the butcher block texture without the heavy color shift.
Start with the natural blonde option by using a clear stain or very light penetrating tone. Pre-condition if your wood is maple, then wipe fast and build one more light coat only if needed. Seal with matte so the wood looks calm and not glossy.
Match the amber tint to your lamp bulbs. If your bulbs are 2700K, go slightly warmer; if you use brighter 4000K, keep the tint more neutral.
Don’t use a dark stain “just to deepen it” — it kills the airy look and makes the grain feel heavy.
8. Espresso Center with Feathered Edge Burnish
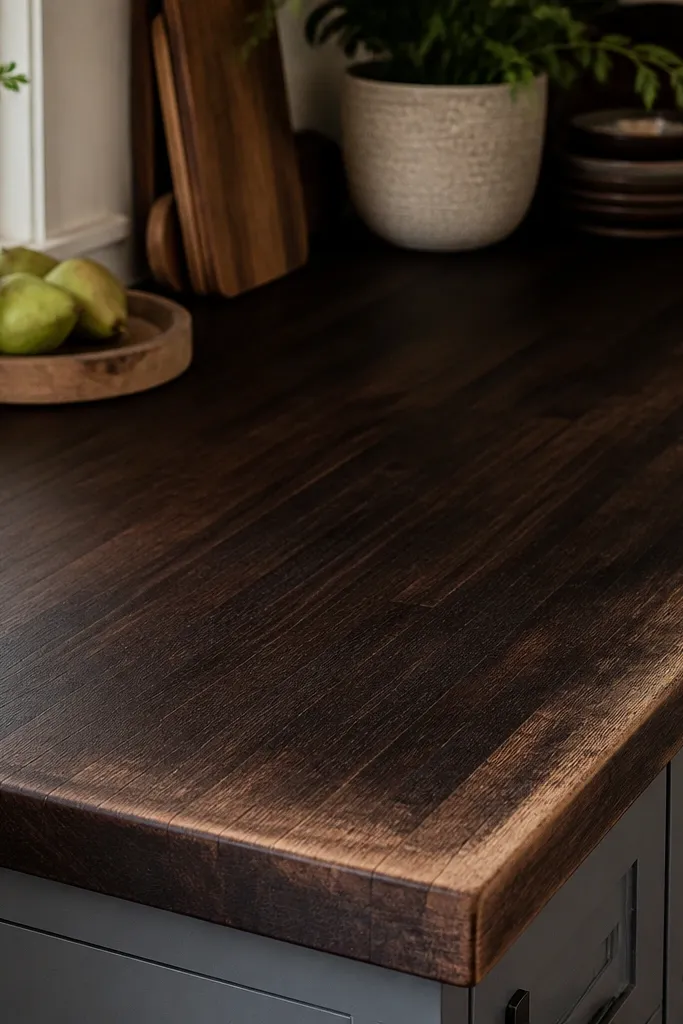
This creates a tailored, architect-style look without needing custom millwork. The espresso center gives contrast, and the feathered burnish keeps edges from looking like a stain accident. It reads intentional because the darker area is centered and the lighter frame guides the eye.
Stain the whole surface espresso, wipe evenly, then after it dries slightly, apply a lighter stain to the perimeter. Feather it with a damp rag so the transition blends. Use matte clear coat so the dark tone doesn’t reflect harshly.
Pro tipUse painter’s tape to mark a 2-inch border while staining the center. Remove tape after you wipe so the blend line stays natural.
Watch outAvoid leaving a hard line between tones; straight tape removal after full dry makes a ridge.
9. Vintage Rosewood Brown with Pinkish Warmth
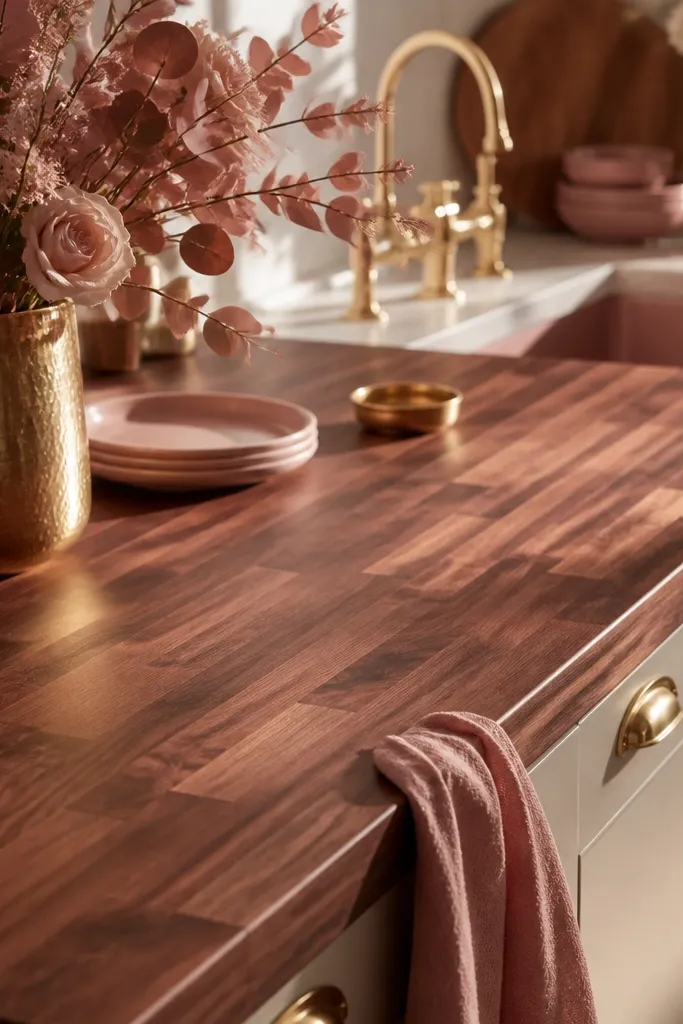
This color direction is for bedrooms that lean dusty rose, mauve, or warm blush. The rosewood tone adds warmth that feels softer than classic walnut. Because the butcher block grain stays visible, the pink warmth never looks flat.
Choose a stain described as rosewood or red-brown and apply two light coats instead of one heavy one. Wipe off thoroughly and keep dwell times short so the pink undertone doesn’t turn blotchy. Seal with satin clear coat for a gentle glow.
Test on the same wood thickness. Thin butcher block samples absorb faster and can look more pink than your real countertop.
Skip heavy sanding after staining — it can burnish the surface unevenly and remove the balanced tone.
10. Two-Tone Walnut Base with Brushed Clear Topcoat Pattern
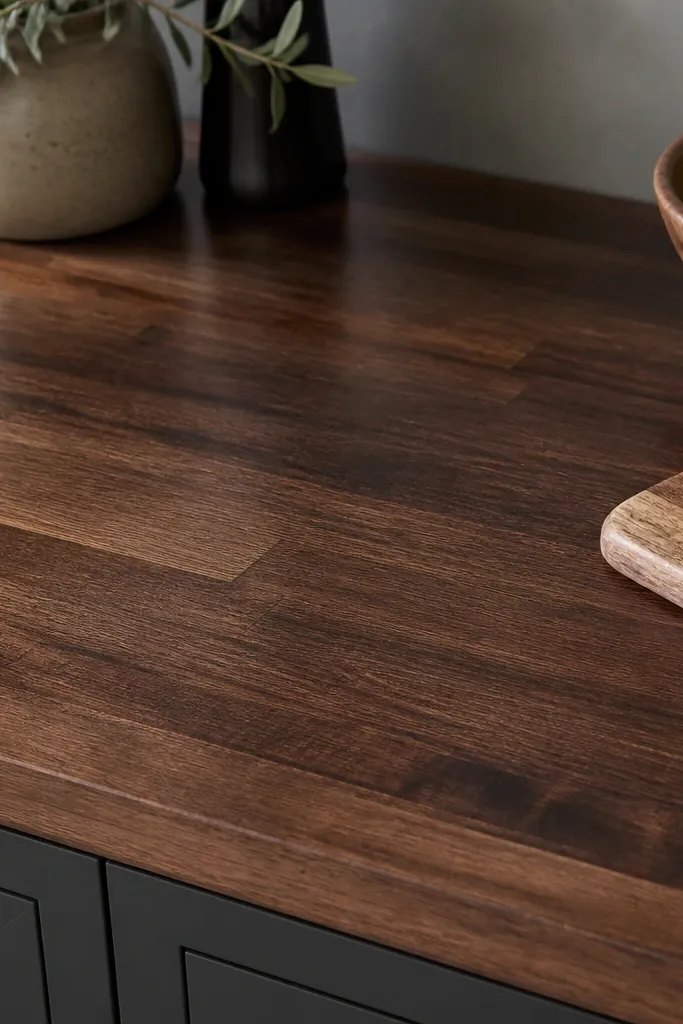
This one is for people who like texture. The walnut base stain gives the color, and a brushed clear topcoat pattern adds subtle movement so the grain doesn’t look “printed.” It reads handcrafted, especially in bedrooms with woven textures like rattan and linen.
Stain the countertop walnut medium and let it cure. Then apply a clear coat and lightly brush in the same direction to create faint streaks before it levels. Keep the pattern subtle — you should see it when the light hits, not in every angle.
Pro tipPractice on a scrap board and use a light touch. Too much brushing leaves ridges you’ll feel with your palm.
Watch outDon’t swirl your brush in random directions. It turns the topcoat cloudy and uneven.
11. Smoked Honey with Black Wax Edge Finish
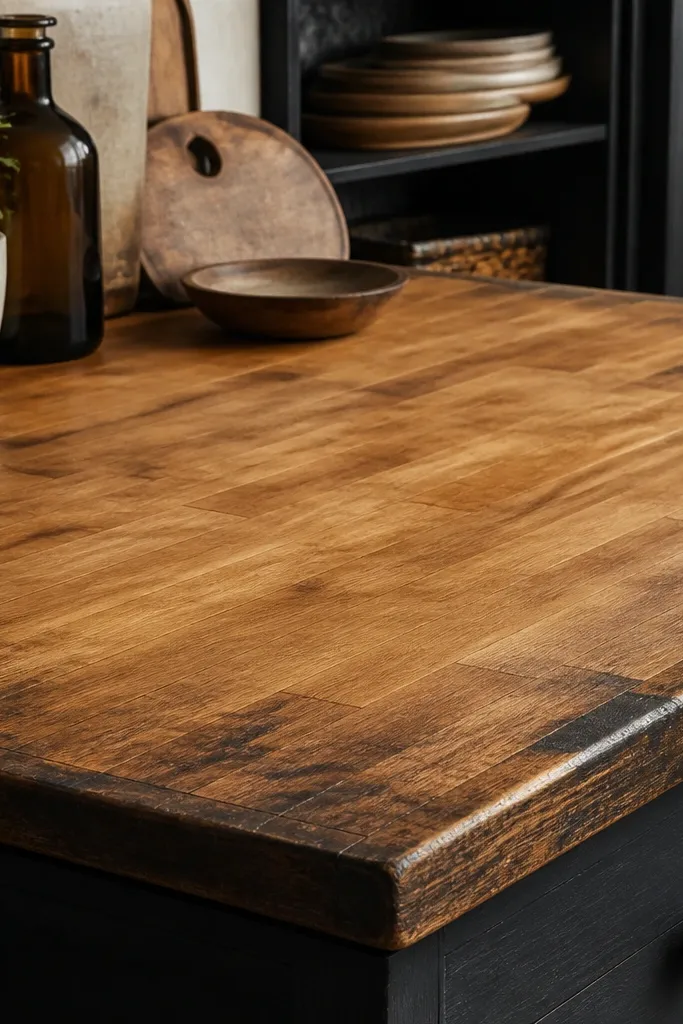
The smoked honey base keeps it warm, and the black wax edges make it look like an antique cabinet. This is a great bedroom look when you want warmth but still want contrast around the perimeter. The wax also makes edges feel richer when you touch them.
Use a honey or light walnut stain, then seal the field with matte clear. For the edge finish, apply black wax only on the front edge and corner lines after the clear cures. Buff it down so it’s darker but not greasy.
Apply wax with a small cotton rag and keep it to the edge thickness. If it spreads across the field, it looks dirty instead of aged.
Avoid putting wax over a fresh, uncured coat — it can smear and stain the clear surface.
12. Charcoal-Drip Glaze Over Light Maple (Controlled Streaks)
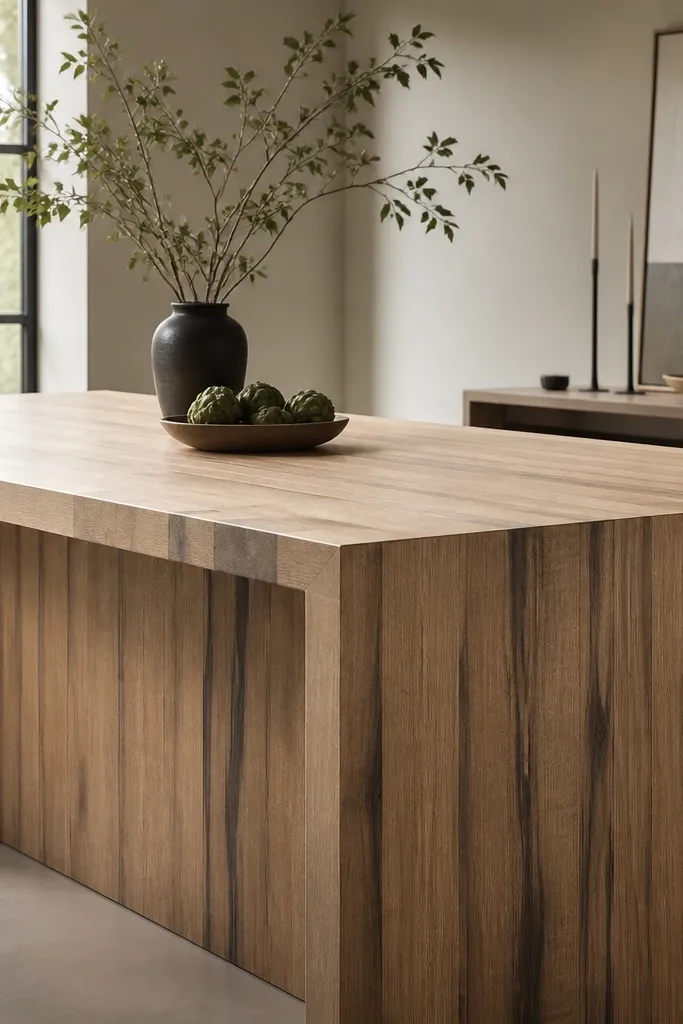
This is the dramatic option that still looks clean. The base stays light, so the room doesn’t feel heavy, while the charcoal glaze adds motion like a wood-burning effect. When done with restraint, it looks like studio-made furniture.
Pre-condition the maple, stain lightly, and seal with a thin clear coat. Then apply a charcoal glaze with a brush and a light “drag” so it forms short vertical streaks. Wipe the glaze back so only the grain channels hold the dark tone. Finish with satin clear coat to lock it in.
Tilt your brush and lift it often. Long drips look messy; short streaks look intentional.
Don’t glaze the whole surface evenly. That makes it look like a dirty wash rather than controlled streaks.