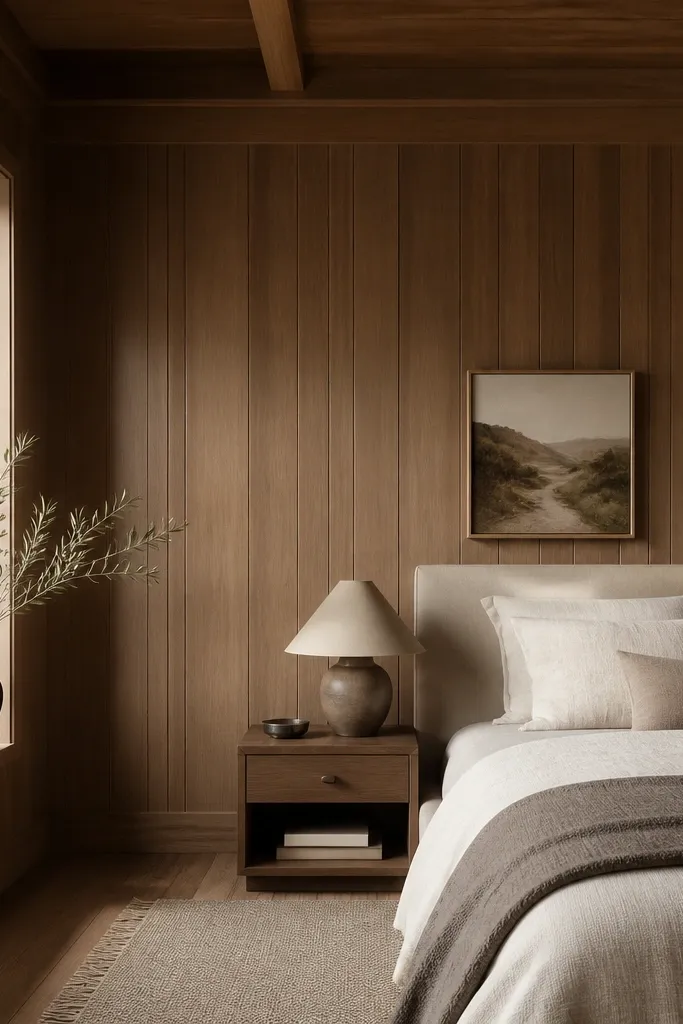
1. Honey oak slats behind the bed
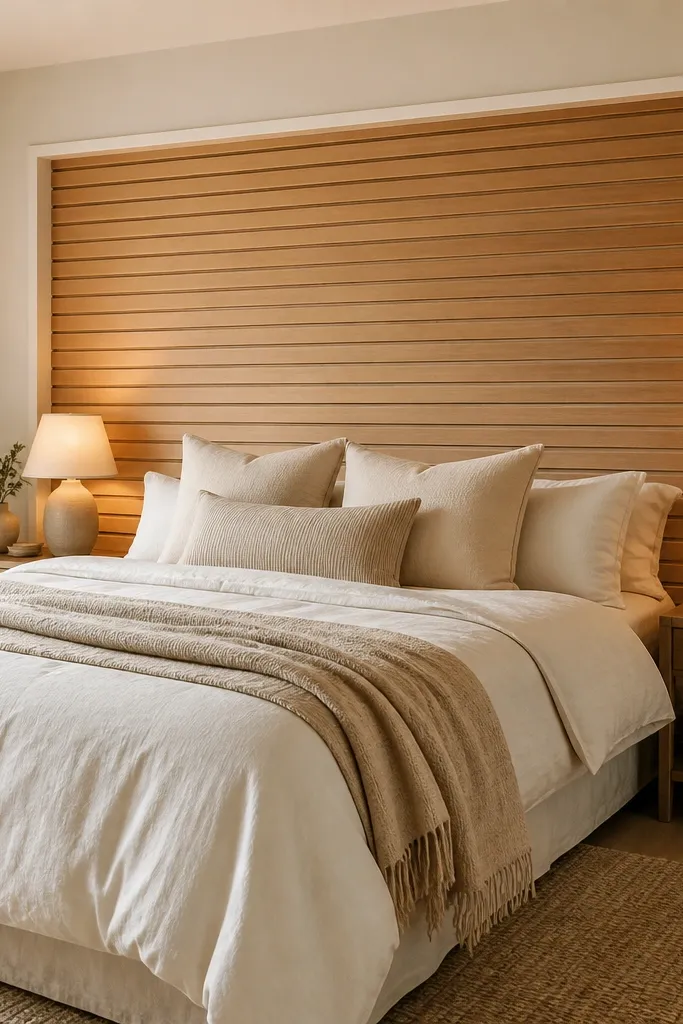
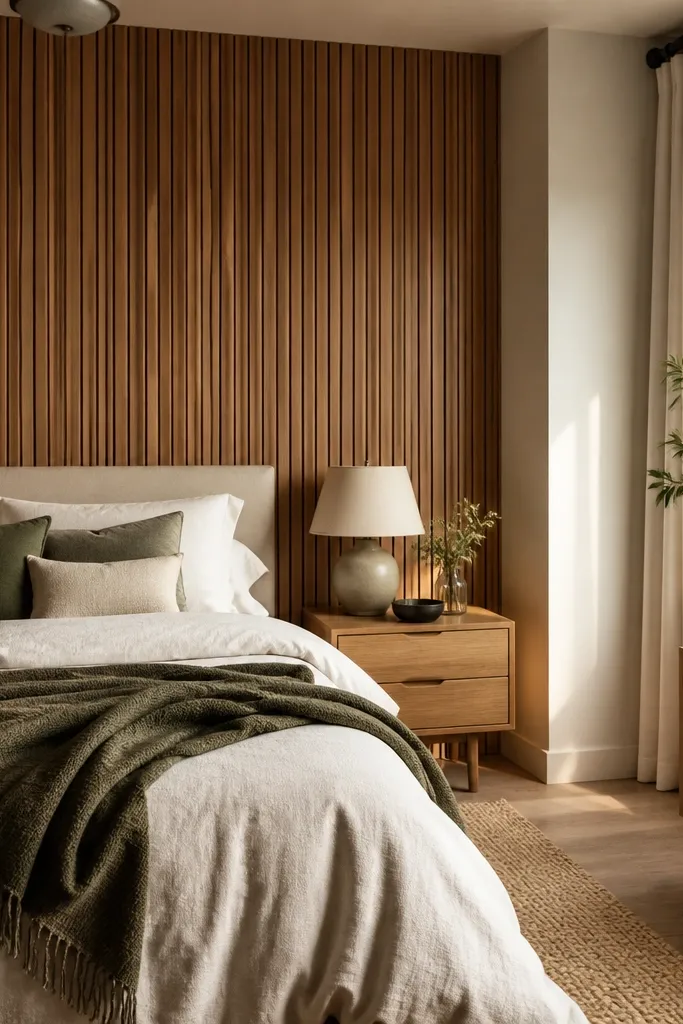
Horizontal honey oak slats warm up the whole room without turning it into a log cabin. The light tone keeps the space bright, and the slat lines give depth even when your bedding is simple. I like this look because it makes neutral sheets feel styled, not plain.
Use 1x3 or 1x4 style slats with consistent spacing, about 1/4 inch gaps. Keep the slat finish matte or satin so it doesn’t glare under lamps. Frame the panel area with 3/4 inch white trim to make the DIY edge look intentional.
Run your slats straight with a laser level from the headboard centerline, then measure outward in one direction only so the pattern stays even.
Don’t mix slat widths — uneven pieces read messy at night under warm lamps.
2. Vertical walnut panels to make the ceiling feel taller
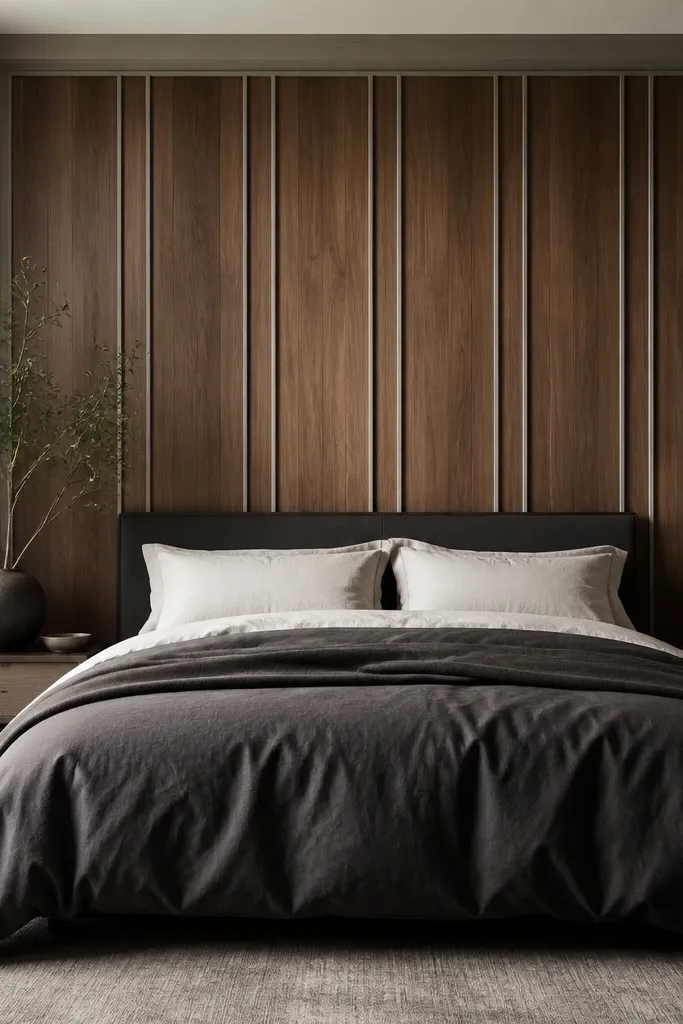
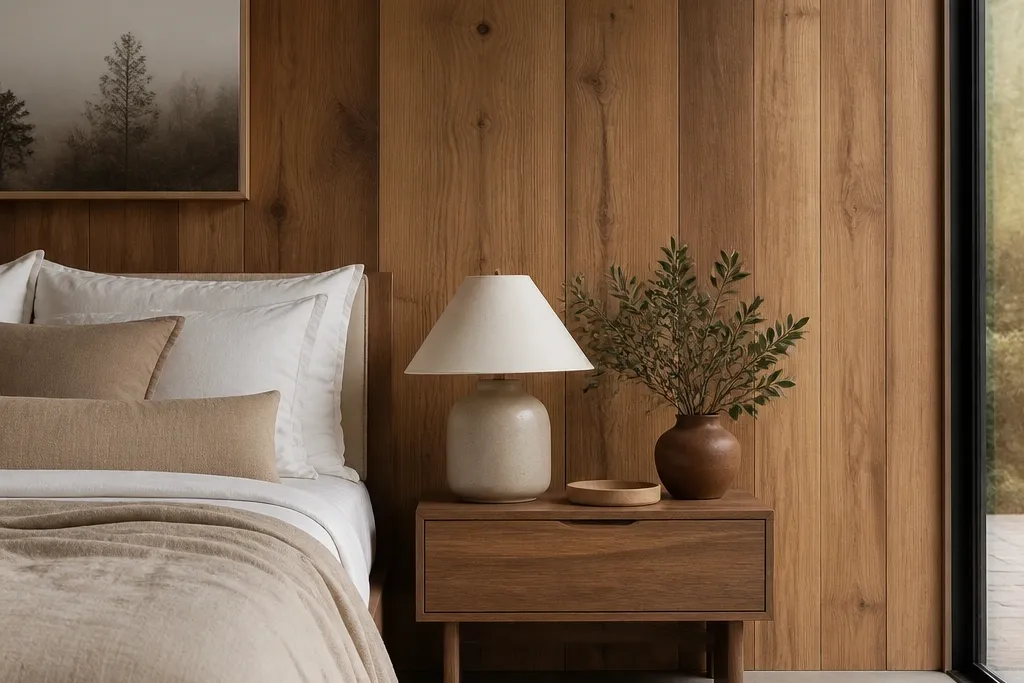
Vertical panels pull the eye up, which makes a low bedroom feel higher. Walnut adds warmth, and the dark bedding gives you contrast so the wall doesn’t disappear. This is the panel look I reach for when the room feels cramped.
Install planks vertical with a 1/8 to 1/4 inch spacing and a uniform finish (walnut stain with a matte clear coat). Keep the trim light gray or warm white — too dark around the edges makes the wall feel heavy. Aim for the panel height to cover most of the headboard area, plus a few inches above it.
Use a level line at the start and keep your first plank perfect — every other plank references it.
Skip glossy finishes; they show installer marks and look plasticky in bedroom lighting.
3. White-washed wood panels with crisp white bedding
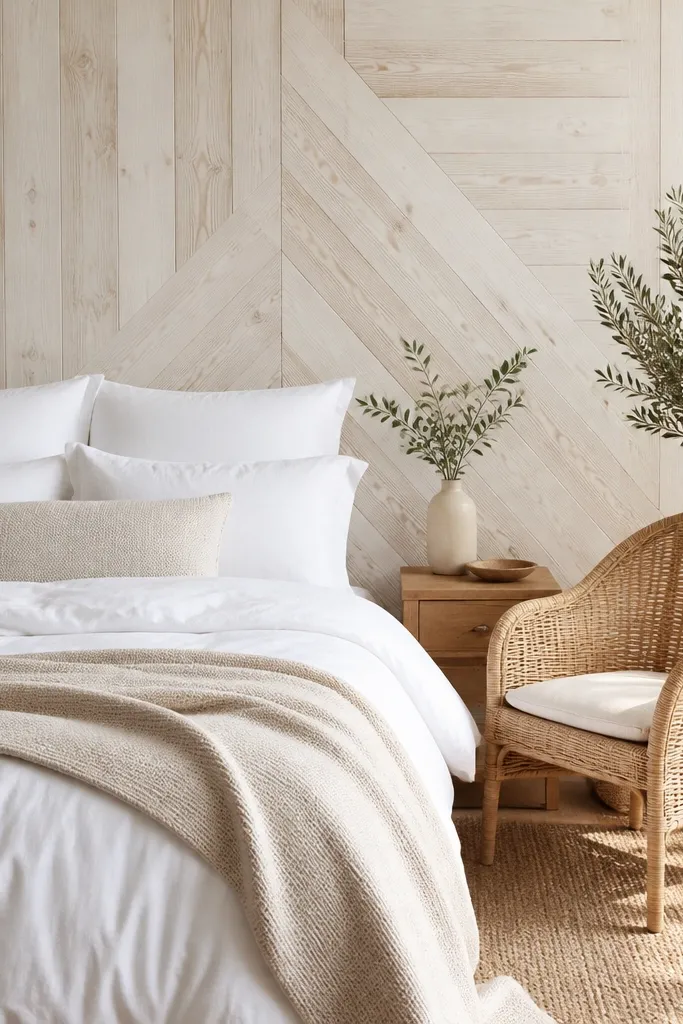
White-washed panels give you the wood texture without the strong color shift. They work especially well with crisp white bedding because the wall stays airy. I’ve used this when the room gets a lot of morning light and I don’t want the wood to look yellow.
Choose a white-wash stain or a paint wash that still shows grain. Go for a plank layout with small variation in tone so it looks natural, not painted flat. Keep trim and baseboards white, and use beige or oatmeal textiles to warm it up.
Test the white-wash on a scrap panel in the same room lighting before you commit to the wall.
Don’t paint over the grain completely unless you want a faux board-and-bat look.
4. Half-wall wainscot panels with a fabric headboard
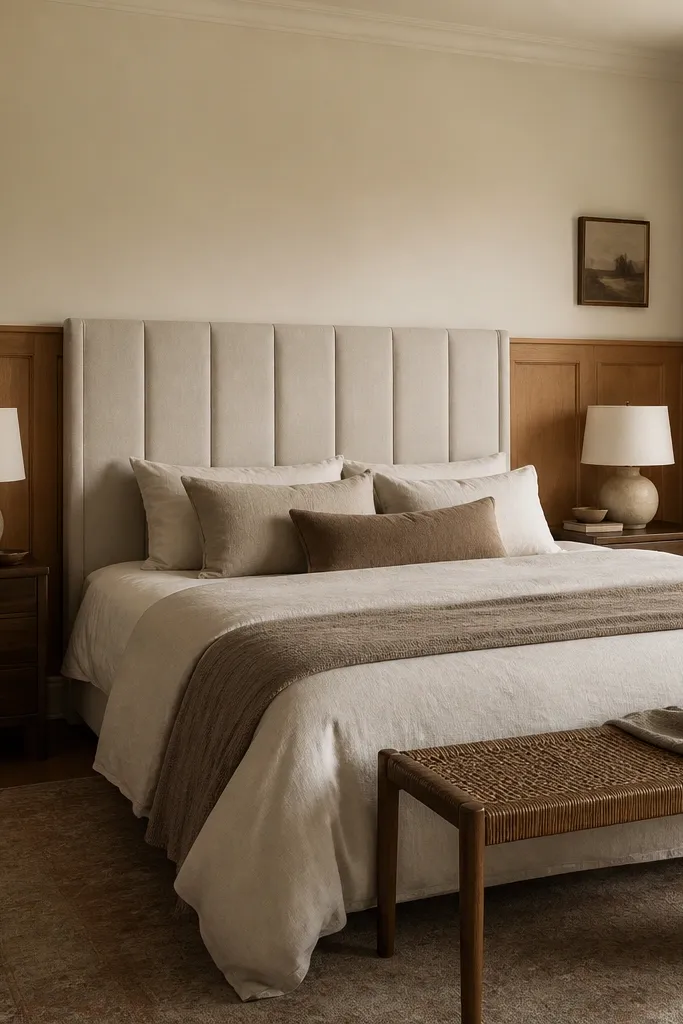
Half-wall paneling looks finished even if you’re new to carpentry. It gives warmth where your eye rests (around the bed), and the painted top keeps the room light. The fabric headboard adds softness, which balances the structured wood lines.
Set the panel top about 36 to 42 inches from the floor, then paint the upper wall in a warm cream. Use a chair-rail style trim or a simple 1x2 cap on top of the panels. Match the wood tone to your bed frame or nightstands.
Install a small ledge trim at the top of the wainscot — it hides minor unevenness and gives a clean shadow line.
Don’t set the wainscot height too high; it can cut the wall in an awkward place with most beds.
5. Tall accent strip behind the nightstands
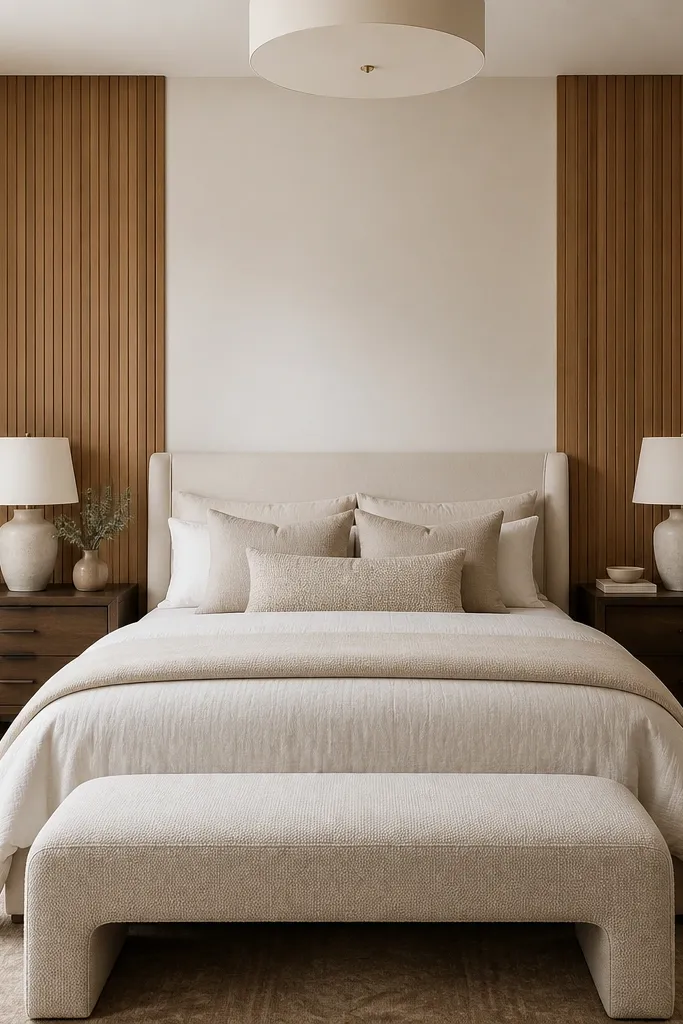
A tall accent strip is the quickest way to get wood character without committing to a whole wall. It frames your bedside area, making the nightstands look intentional. This works great if you already have art above the bed and don’t want the wood competing.
Use 6 to 10 inch wide vertical panels spaced evenly, keeping about 2 to 4 inches between the wood and the painted sections. Paint the surrounding wall a warm off-white so the wood reads the star. Keep the finish satin and consistent so it doesn’t look like mismatched samples.
Plan your spacing around where the nightstand lamps sit — you want the wood edges to land beside the lamp bases.
Don’t center the accent by guessing; measure from the bed centerline and keep both sides equal.
6. Board and batten panels in soft greige
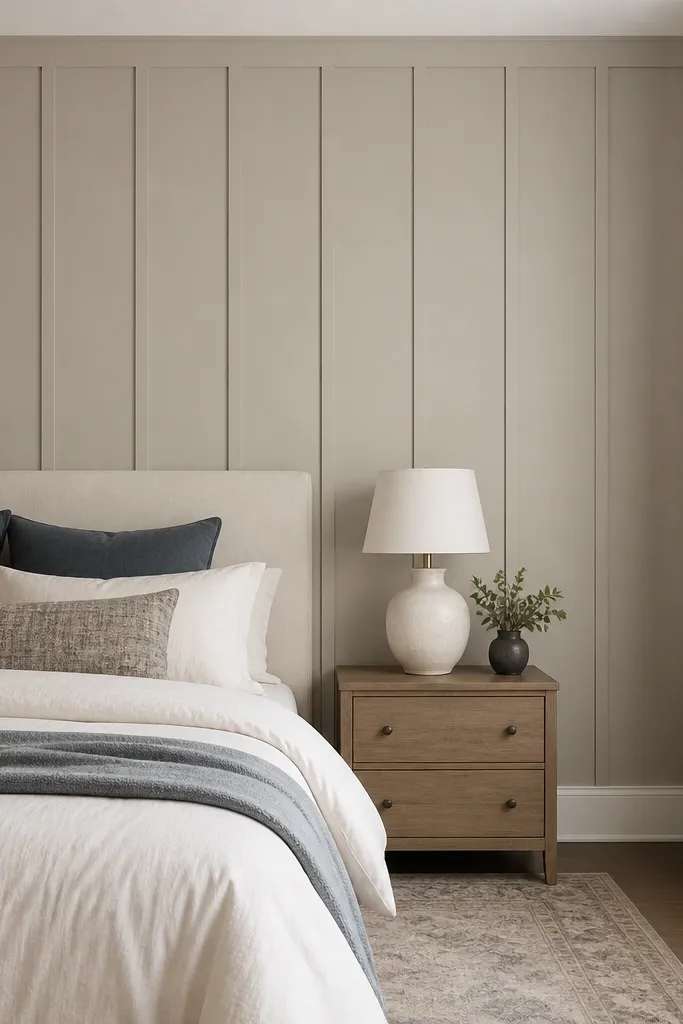
Use wider boards (around 6 inches) for the main panels and battens around 1.5 to 2 inches. Paint the whole system one color, then use crisp white trim at the perimeter. Keep the spacing consistent; your eye catches uneven battens fast.
Board and batten gives you that built-in look even when you’re using painted panels. Soft greige is forgiving — it blends with beige, taupe, and cool gray bedding. I like this when I want the wall to feel architectural instead of rustic.
Watch outSkip thick caulk beads — smooth, paintable caulk lines look best after you sand lightly.
Pro tipSand between coats and use a brush only for the edges, then roll the field to keep texture even.
7. Stained shiplap with a light linen headboard
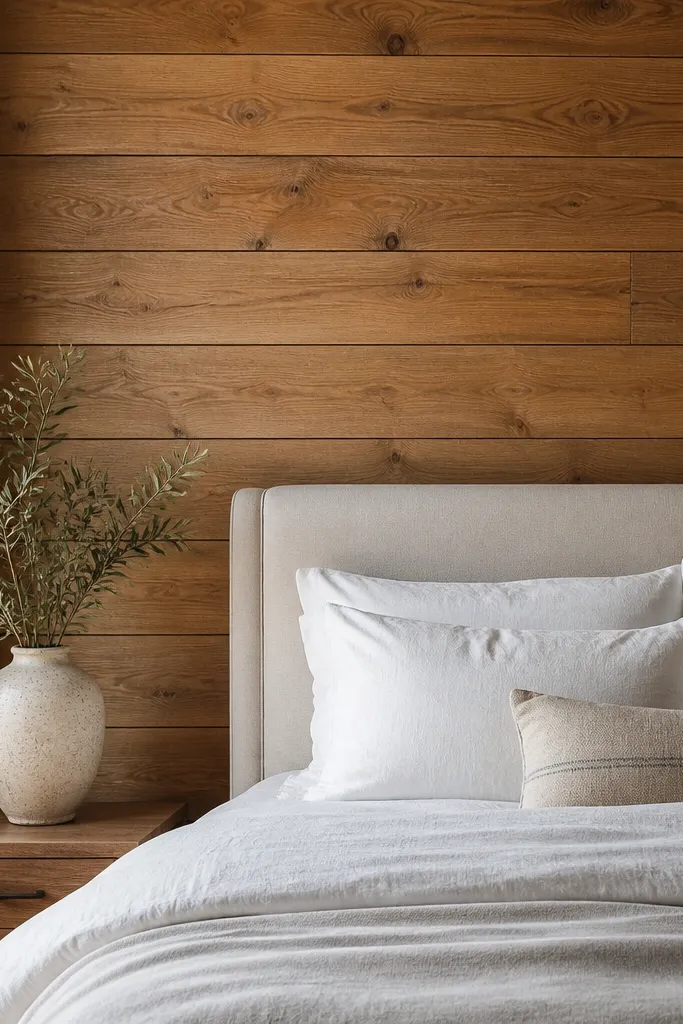
Shiplap has a natural shadow groove, so it looks dimensional without fancy styling. Staining it medium oak keeps it warm and modern, especially with light linen. This is the "cozy but clean" wood look I’ve used when people say they want warmth but not country.
Install shiplap with consistent reveal lines. Choose a medium oak stain and top with a matte clear coat to control shine. Keep your headboard and bedding light so the wall doesn’t feel too dark.
Wipe stain off the high points consistently — shiplap can get blotchy if you rush the wipe step.
Don’t leave it glossy; bedroom lighting amplifies shine and makes seams look uneven.
8. Dark walnut frame panels with painted center
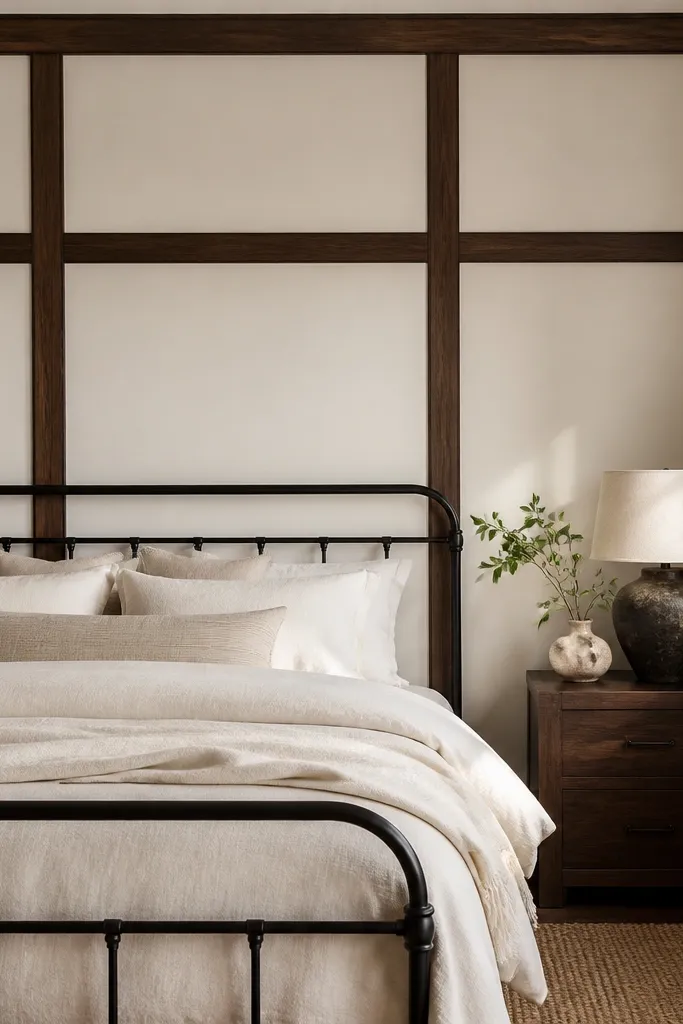
Build a grid with 1x2 frames in dark walnut stain. Paint the infill panels warm white, and keep the grid spacing around 12 to 18 inches. Use a satin wall paint so it doesn’t reflect light like eggshell.
This look gives you wood presence without covering the whole wall in stain. The dark walnut grid adds structure, and the painted center keeps it bright and calm. I like it when the room has lots of textures and you need the wall to stay visually quiet.
Watch outDon’t use a different sheen between wood and paint; mismatched sheen makes the wall look DIY.
Pro tipTape the infill edges carefully and cut in with a steady hand — clean lines make the grid look custom.
9. Reclaimed-looking plank wall with modern trim
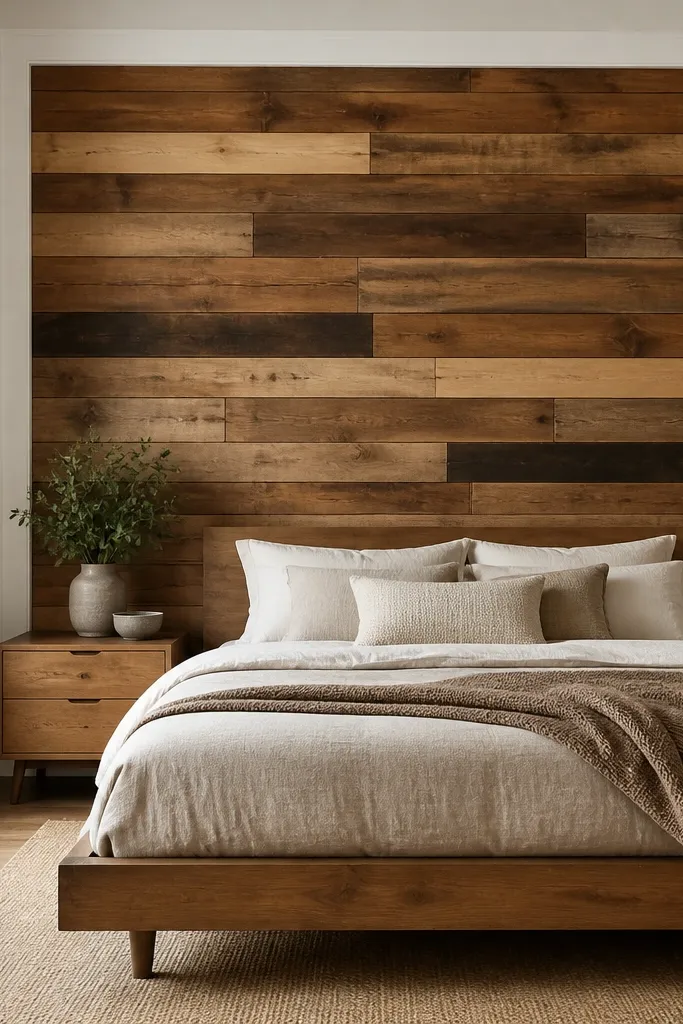
Use planks with variation but keep a consistent top and bottom line. Apply one stain tone across all pieces so the wall reads cohesive, then seal with matte clear. Frame with straight 1x4 trim in white or warm cream.
Reclaimed-style boards add character because the tones vary. The trick is keeping the edges controlled with consistent trim so it doesn’t look chaotic. I’ve done this with mixed plank widths and it only looks good when the perimeter is crisp.
Watch outDon’t leave random gaps and nail holes unplanned; it looks like a pile unless you repeat the spacing.
Pro tipLay the planks on the floor first and pick the order so the darkest boards land near the bed center and fade outward.
10. Mushroom-toned wood panels with black trim lines
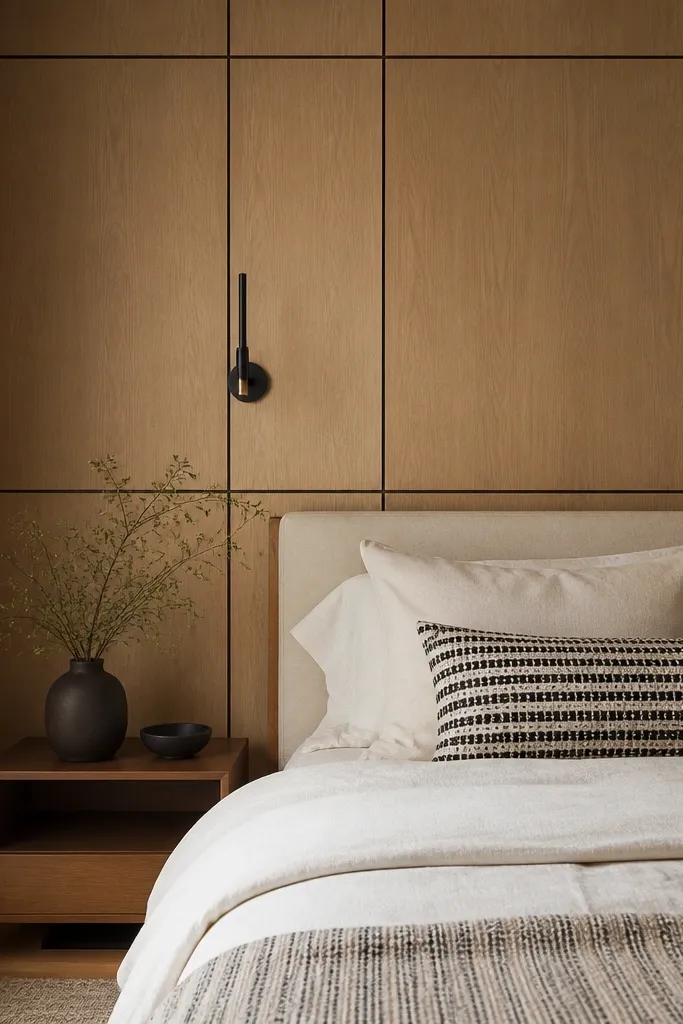
Black trim makes the wood pattern look graphic and intentional. Mushroom tones keep it soft, not harsh, and the black lines give you that modern contrast. This is a great option if your bedroom already has black hardware or frames.
Paint the trim lines matte black and use a light-to-medium mushroom wood panel finish. Keep the panel sections consistent in size, like 12x24 inch rectangles. Seal everything so the wood and trim don’t look different in sheen.
Use a laser level to map the trim lines first; freehand lines look crooked once the black trim catches light.
Skip glossy black paint; it reflects overhead light and shows brush strokes.
11. Light oak herringbone accent behind the bed
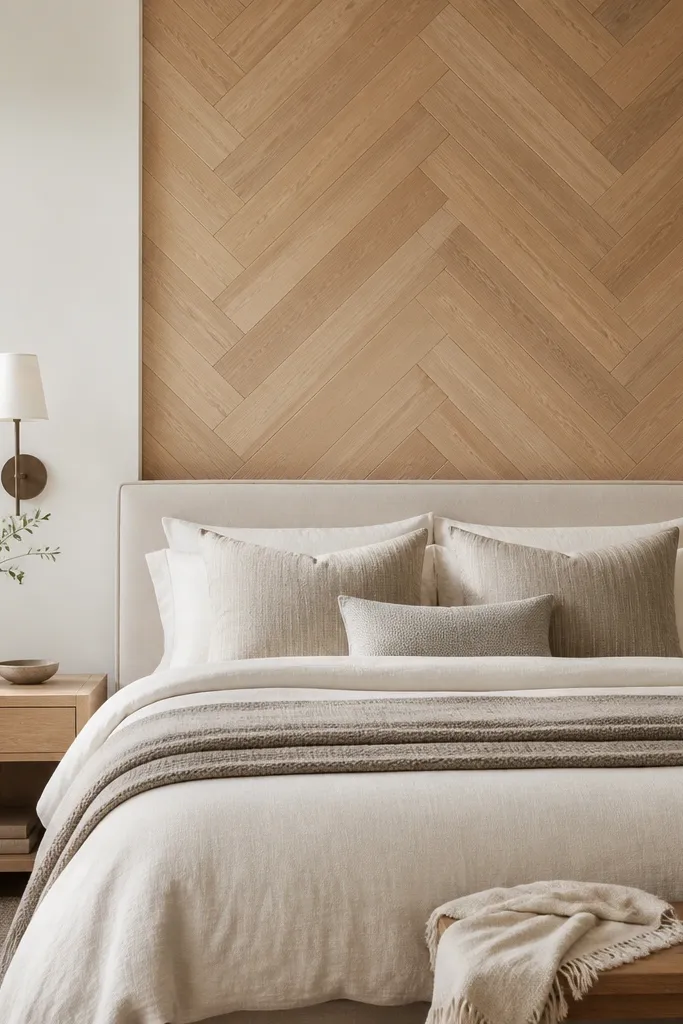
Herringbone adds movement, and light oak keeps it from feeling heavy. Because it’s only behind the bed, the pattern doesn’t overwhelm the room. I like this when the bedding is mostly solid color and you want the wall to carry the style.
Stick to an accent area about the width of the bed plus 12 to 18 inches each side. Use pre-cut herringbone panels if you want easier installation, or mark tile-like lines if you’re cutting. Finish with a matte clear coat so the pattern reads warm, not shiny.
Dry-lay the first row on the floor and take a photo; it helps you confirm the angle before you mount anything.
Don’t make the herringbone angle too steep; extreme angles look busy in small bedrooms.
12. Rustic plank wall with a limewash finish
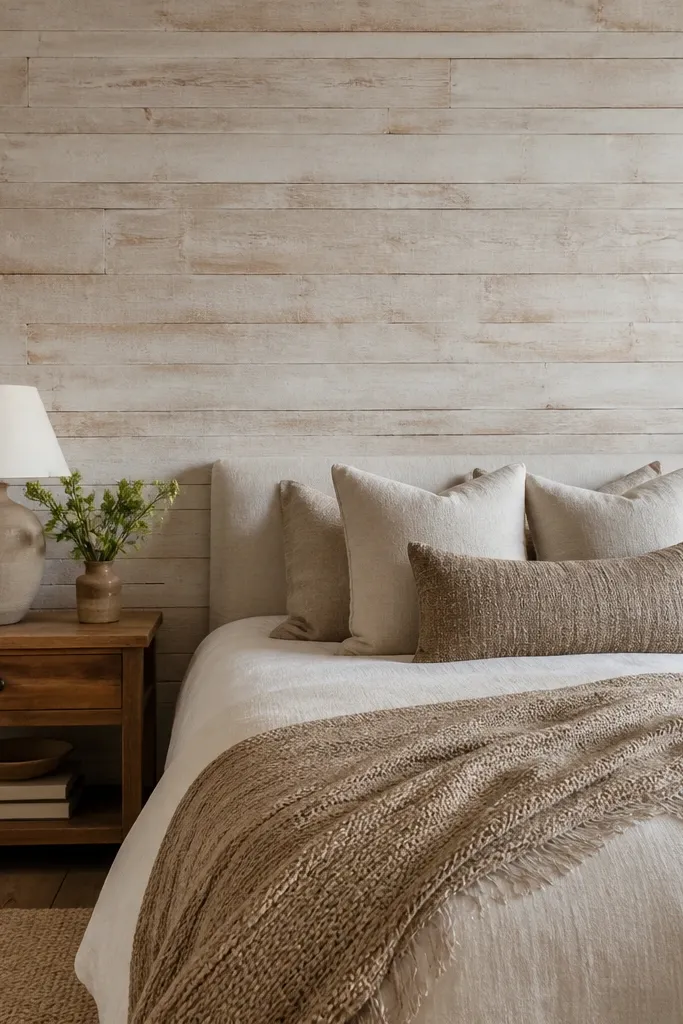
Apply a limewash product or a paint wash mixture over stained planks, then wipe back until you see grain. Use a soft off-white and pale beige mix so it ties into natural fibers. Pair with woven textures like jute rugs and cane chairs.
Limewash-style finishes blur the wood tone so the wall looks airy instead of heavy. Rustic planks bring texture, and the washed color keeps it cozy without going dark. I use this look in bedrooms that feel too modern and sterile.
Watch outDon’t coat it like solid paint; full coverage kills the limewash effect.
Pro tipWork in small sections and keep a wet edge so the finish doesn’t show lap marks.