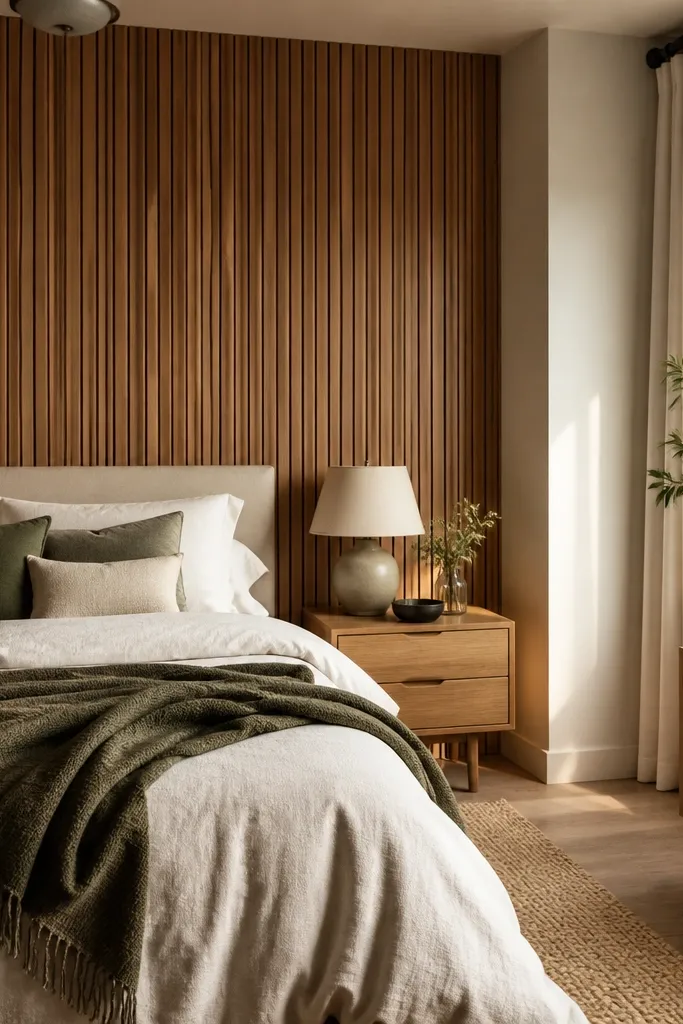
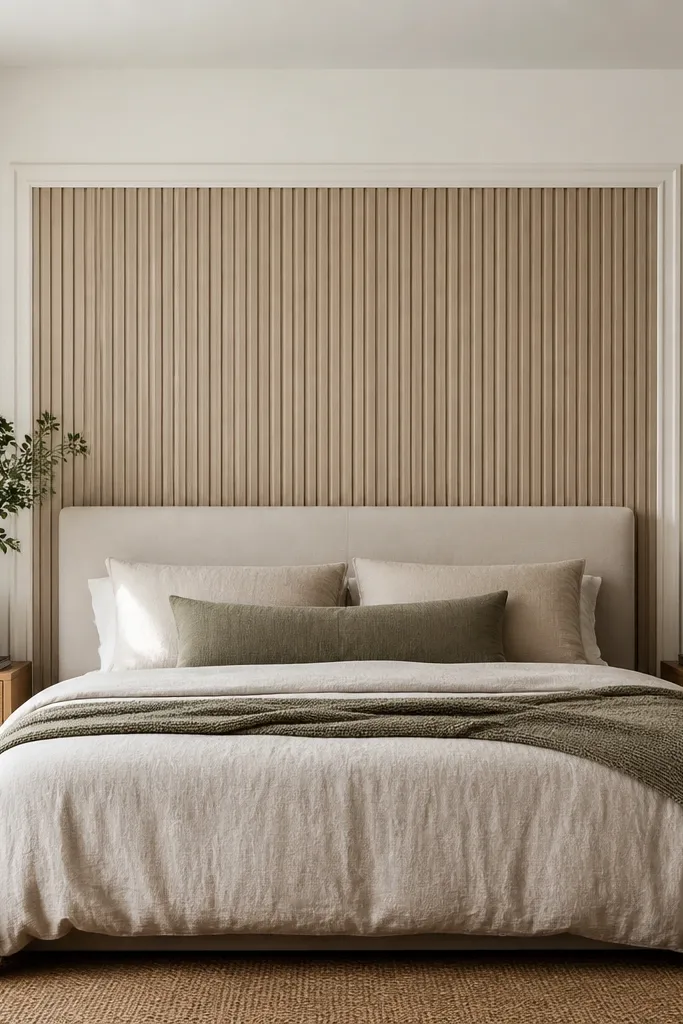
1. Full-height oak-look slats behind the bed with a thin top rail
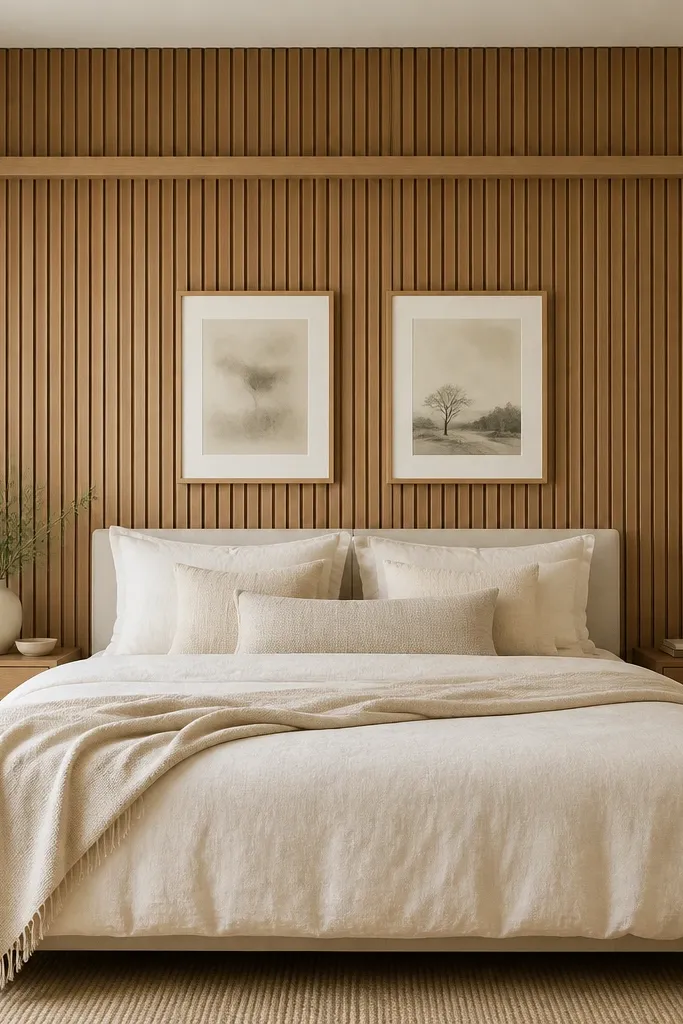
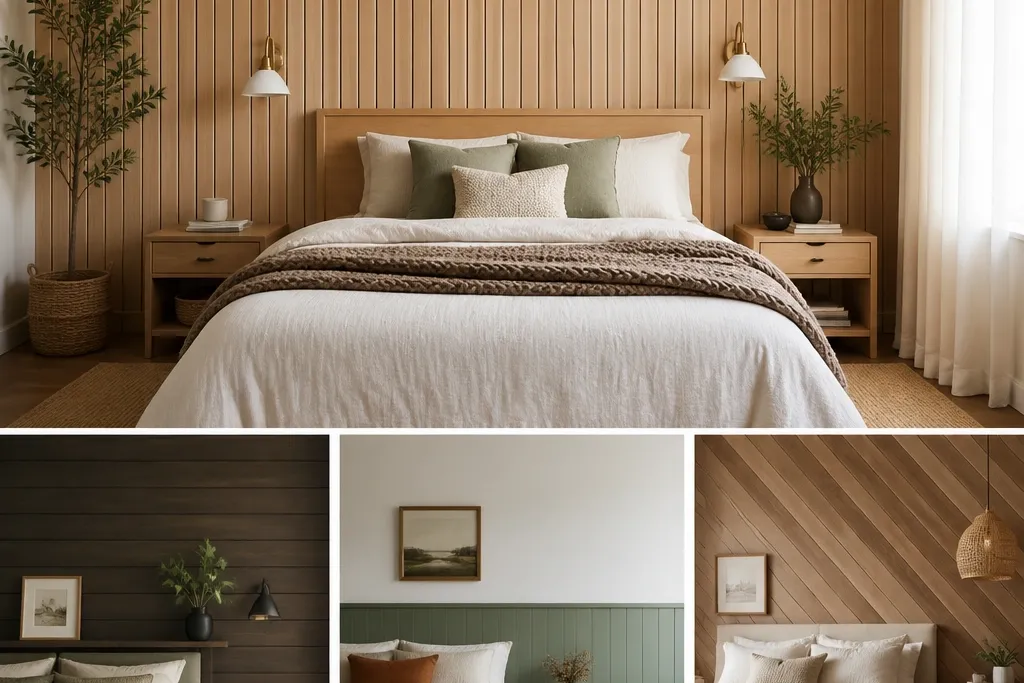
This layout makes your headboard area feel taller and more structured. Vertical slats pull the eye up, and the oak-look finish warms up cooler bedding colors like gray or crisp white. The thin top rail gives the wall a finished edge so it doesn’t look like temporary paneling. I like this when your room has decent natural light because the grain reads clearly.
Use 1.5-inch or 2-inch wide slats and keep spacing consistent — measure from your first slat edge, not from the wall edge. Install the slats level with a long spirit level, then add a 3/4-inch top trim rail across the full width. For the rail, use MDF primed trim painted the same tone as the slats' light highlights.
Pro tipDry-fit your slats around the bed center first, then mark the seam lines with painter’s tape so you don’t drift while installing.
Watch outDon’t start with a crooked first slat — every seam after it will look off in photos.
2. 60-inch greige shiplap wainscot with a chair-rail line
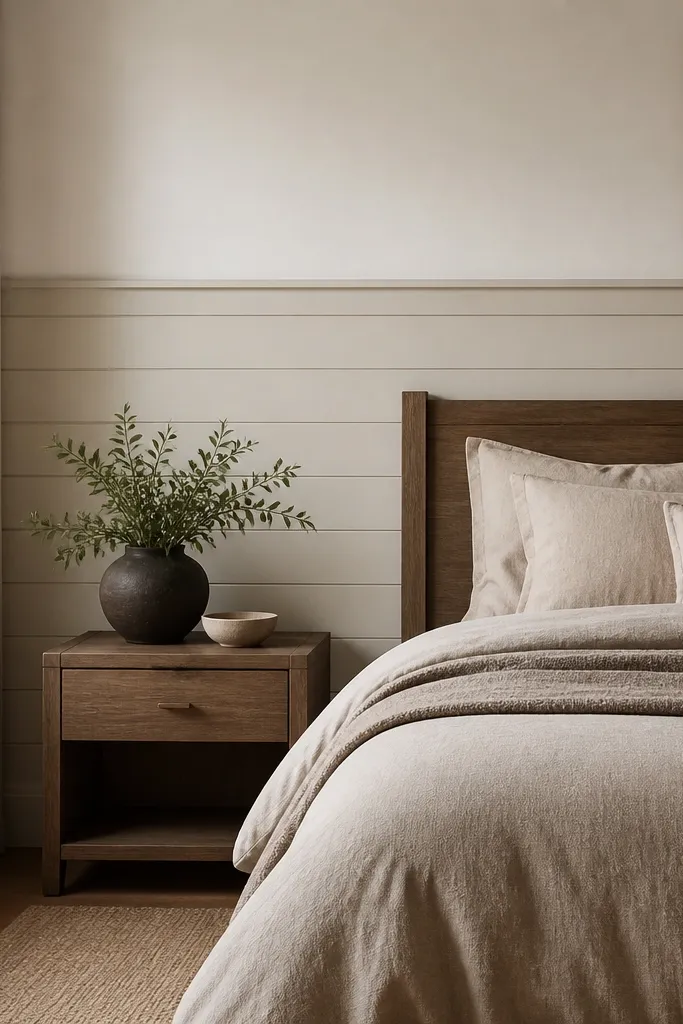
A wainscot height keeps the room feeling cozy instead of heavy. Greige shiplap adds texture without going too dark, and the painted top section keeps the ceiling feeling higher. The chair-rail line acts like a visual bookmark, so your eye understands the wall at a glance. This works great in bedrooms that feel too bright or too bare.
Mark a level line at 60 inches from the floor for the top of the panels. Install panels from that line down, then cap with a straight chair-rail trim. Paint the top wall in a soft warm white with the same undertone as your trim to prevent a harsh separation.
Pro tipUse a 2-inch foam roller for the top paint — it avoids roller lines that show up behind the shiplap texture.
Watch outDon’t let the chair-rail sit on a wavy pencil line — measure with a level every time.
3. Painted "wood" panels in a vertical plank pattern using MDF strips
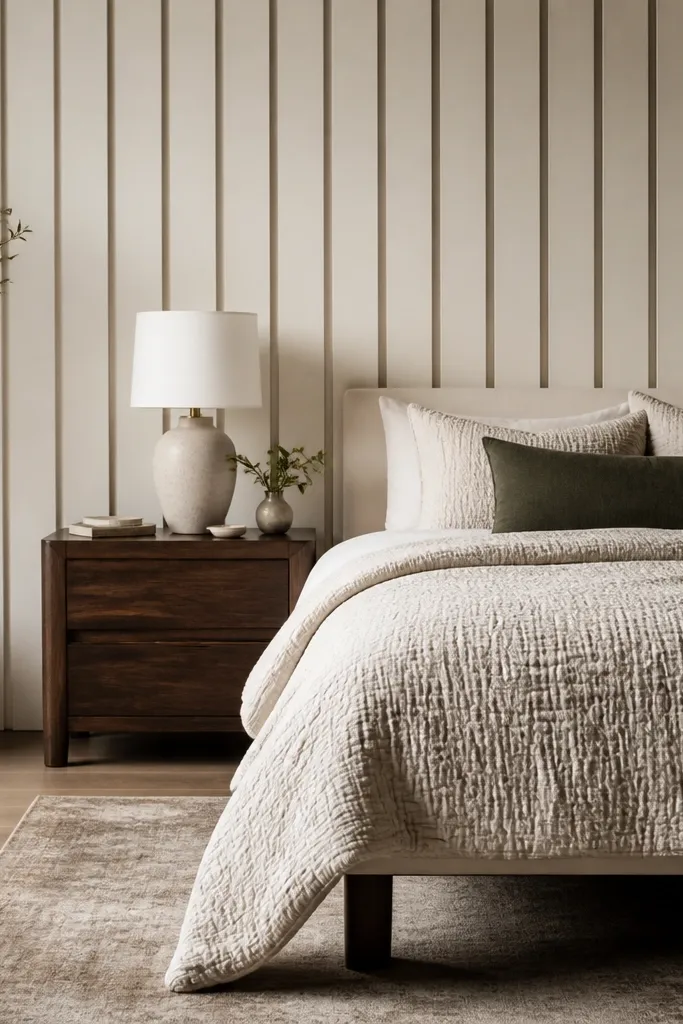
If you’re allergic to orange oak tones, painted panels are the cleanest route. MDF strips let you create a crisp plank look with controlled spacing and smooth edges. The off-white color brightens the wall so your bedding becomes the star. The shadow gaps between strips give the texture depth even when the panel color is light.
Buy primed 1/2-inch thick MDF strips around 3-4 inches wide, cut to your wall height, and install with construction adhesive plus small finishing nails near the top and bottom. Keep a consistent 1/8-inch gap for shadow — use thin plastic spacers while you tack the first row. Paint with a satin wall paint for easy wipe-down.
Pro tipSand the nail holes after the first coat and spot-prime before the final coat so the wall looks smooth up close.
Watch outDon’t use flat paint on textured panels — it scuffs and looks dull fast.
4. Corner-to-bed "frame" panels: wood slats only inside a rectangle
This is the fastest way to get the wood-panel look without covering the entire wall. The rectangle outline makes the feature feel designed, and it keeps the rest of the wall calm. I’ve used this in rentals where you can’t commit to a full wall and it still photographs beautifully. The wood feature also works when your wall has outlets or a tricky layout.
Choose a rectangle width that leaves 6-10 inches of painted wall visible on each side of the bed. Use 1x2-inch trim boards painted the same finish as the slats, then fill the center with peel-and-stick slats or narrow plank panels. Install the trim first so your panel lines stop cleanly at the edges.
Mark the bed center and keep the rectangle centered to the mattress, not the headboard frame.
Don’t cut the slats to “almost fit” the rectangle — tight seams make the whole thing look intentional.
5. Herringbone wood-look panels on the headboard wall (budget vinyl version)
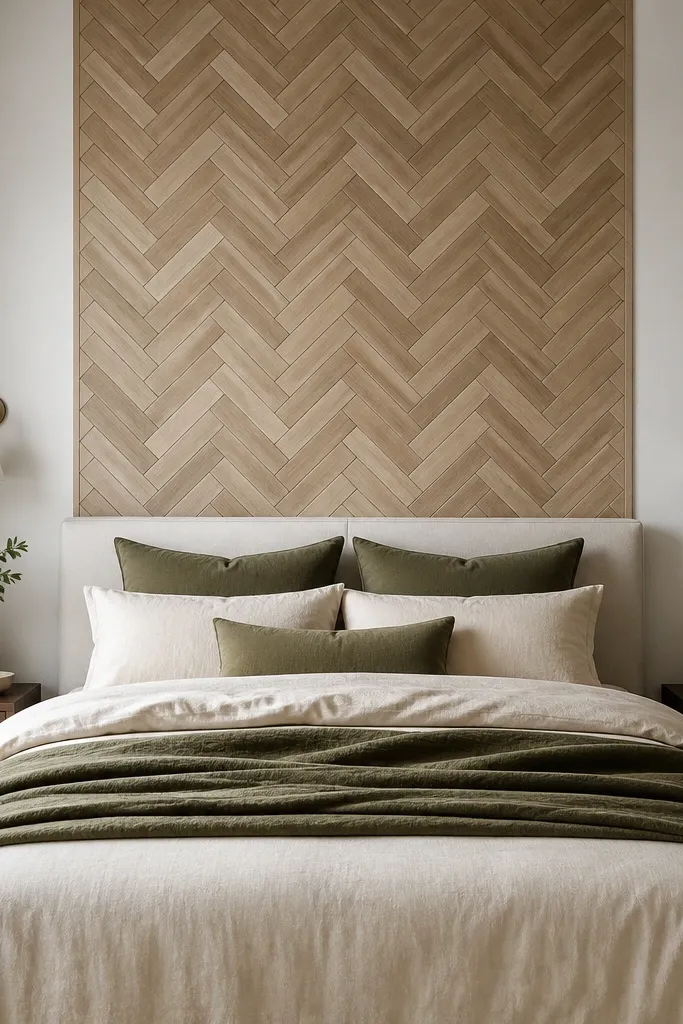
Herringbone adds movement without needing a lot of furniture. Because the pattern is busy, I keep the rest of the room simple: solid bedding and minimal wall art. Wood-look vinyl panels make herringbone doable on a budget because they’re lighter and install faster than real wood blocks. The angled lines also make the wall feel more “architectural.”
Pick a herringbone panel sheet that has pre-cut angles or a tile-style system so you don’t spend your weekend measuring every row. Keep the herringbone contained behind the bed so the pattern doesn’t overwhelm the room. Use a matte white paint on the surrounding wall and choose bedding with one warm accent color like olive or caramel.
Do a test section on cardboard first by taping two rows together — check that the pattern aligns the way you expect.
Don’t install herringbone starting at the corner — start from the center line so the pattern stays symmetrical.
6. Light walnut-look panels with a dark bedding contrast wall
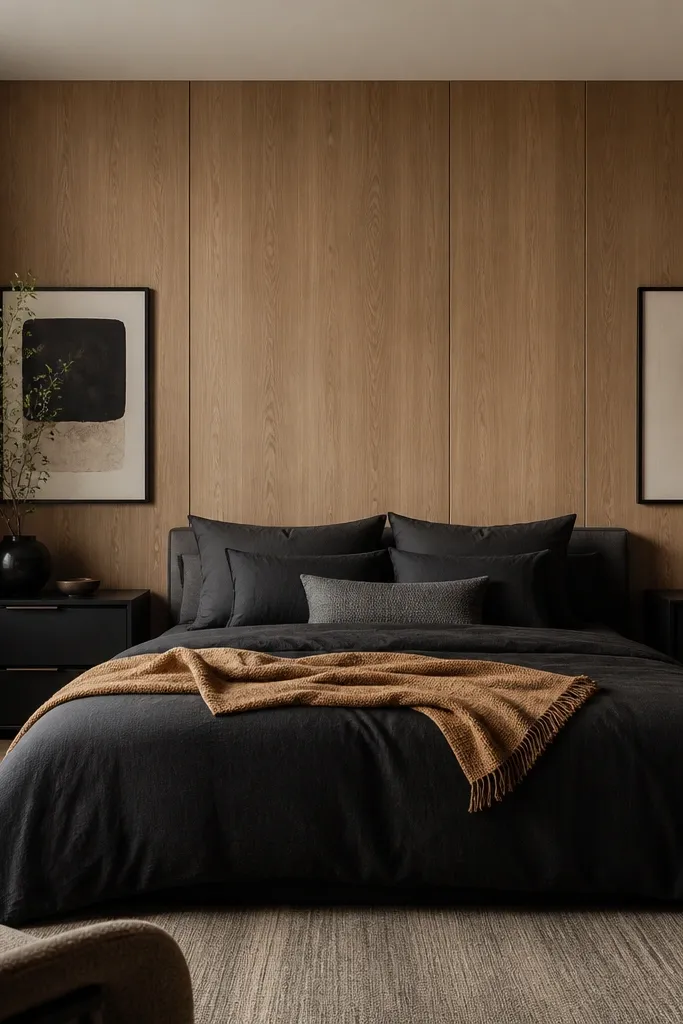
When you use a light walnut or warm oak-look panel, dark bedding makes the wood look richer. This combo gives you that cozy, hotel vibe without needing expensive furniture. The key is contrast: your panels should be the midtone, and your bedding should be clearly darker. I’ve done this with peel-and-stick panels and it still looks grounded.
Choose a panel finish labeled “walnut” or “natural oak” but check it under your light. Install vertical slats or narrow planks behind the bed center, then keep the rest of the wall plain. Add black metal wall sconces or a single black picture frame so the contrast feels intentional.
Use warm bulbs (2700K) — the walnut-look tones read better than under cool 4000K lighting.
Don’t pair light wood panels with light bedding in the same undertone — the wall and bed blend together.
7. Two-tone half wall: white panels on top, warm wood panels on bottom
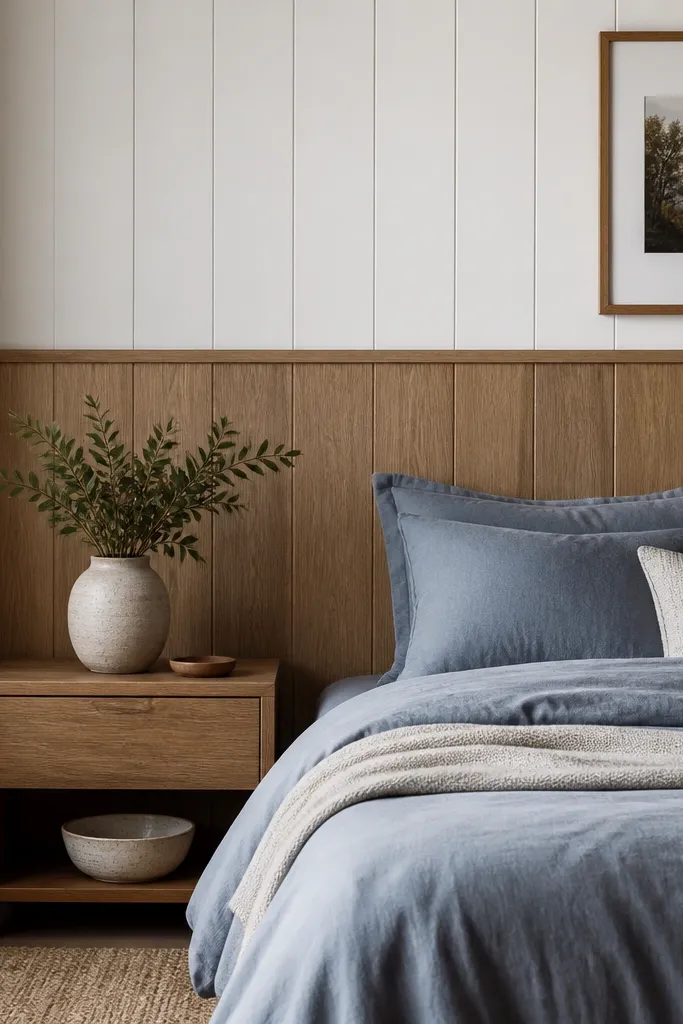
Two-tone walls make small bedrooms feel bigger because the top stays bright and the bottom adds warmth. The straight separation line keeps it clean, and you get texture without turning the whole room into a “wood cave.” I like warm wood on the lower half because it grounds the bed area. Blue-gray bedding looks especially good with this warm/cool contrast.
Install warm wood-look panels from the floor up to about 36-48 inches, depending on your bed height and rug size. Paint the upper half in a crisp soft white. Use a 1x2 trim board as the divider so the edge looks sharp instead of taped.
Cut the divider trim to length, then caulk the gap after installation. Caulk makes the line look factory-made.
Don’t rely on paint edges alone — if the divider line wobbles, the whole wall looks DIY.
8. Textured "wood panel" look using vertical battens over painted drywall
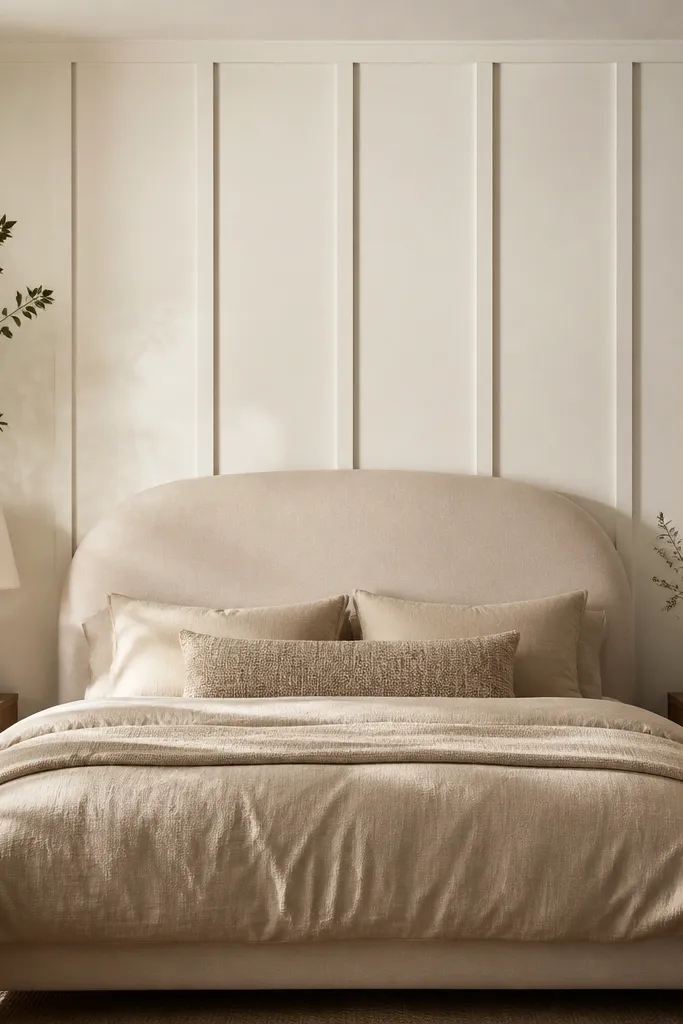
This one is for when you want the wood-panel look but your wall isn’t perfectly smooth. Battens go over paint, so you can cover minor wall imperfections. The shadow gaps give that real-wood depth even if you paint the battens. It’s also easy to change later because you’re not stuck with a specific wood tone.
Paint the wall first, then mark batten lines with a laser or long level. Use 1x2 battens or similar thin strips, leaving 1/4-inch gaps for shadow. Paint battens in satin to stand up to daily touch and cleaning around the bed.
Use a straightedge to draw your first batten line and install from there — one straight line makes the rest effortless.
Don’t skip caulking at the batten edges — uncaulked gaps look like unfinished carpentry.
9. Narrow plank panels with a floating shelf for bedtime styling
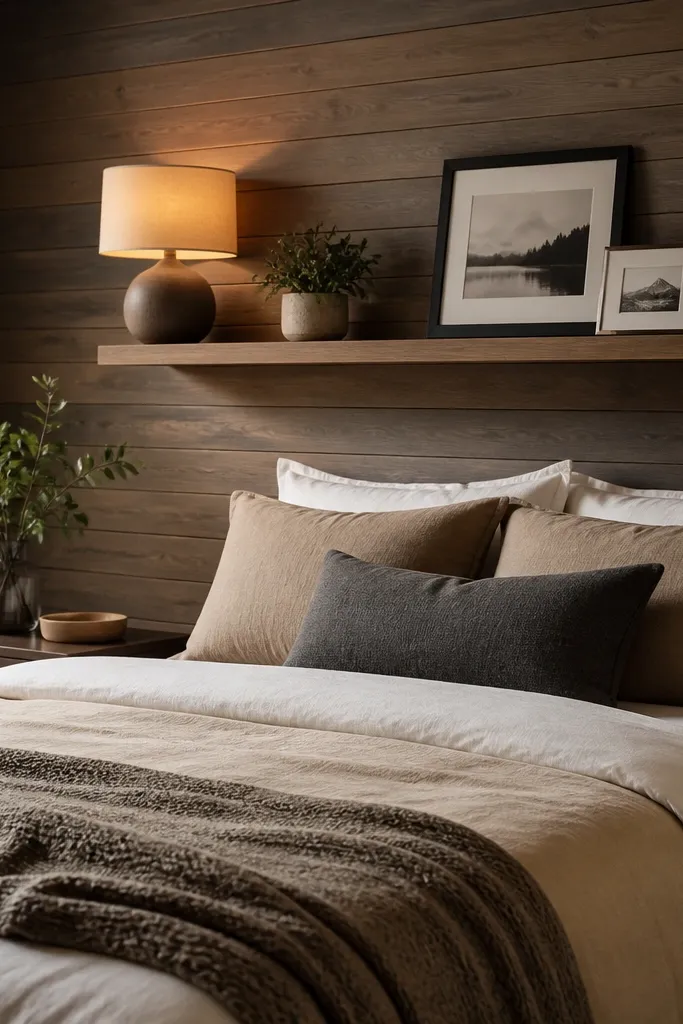
Narrow planks make the wall feel more tailored, especially if your bedding has a simple pattern. Adding a floating shelf turns the wall into a functional display zone, which keeps the look cozy instead of empty. The shelf also breaks up the vertical texture so it doesn’t feel like a hallway. I like this setup when you don’t want bulky nightstands.
Choose narrow panels around 2-3 inches wide and install them vertically or slightly staggered if the kit allows. Mount a floating shelf centered over the headboard area with proper anchors — don’t rely on drywall screws alone. Style with one lamp plus a small tray so objects look intentional.
Keep shelf items within a 24-inch width so the shelf doesn’t compete with the bed.
Don’t mount the shelf first — align it after the panels so your spacing stays symmetrical.
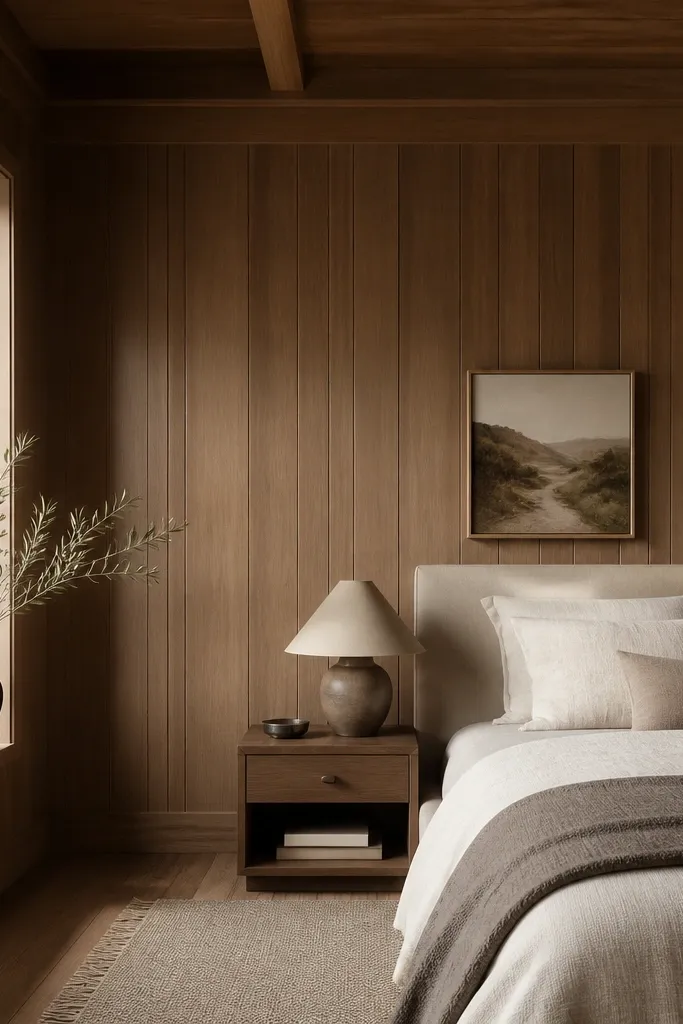
10. Dark espresso wood-look panels with linen and brass accents
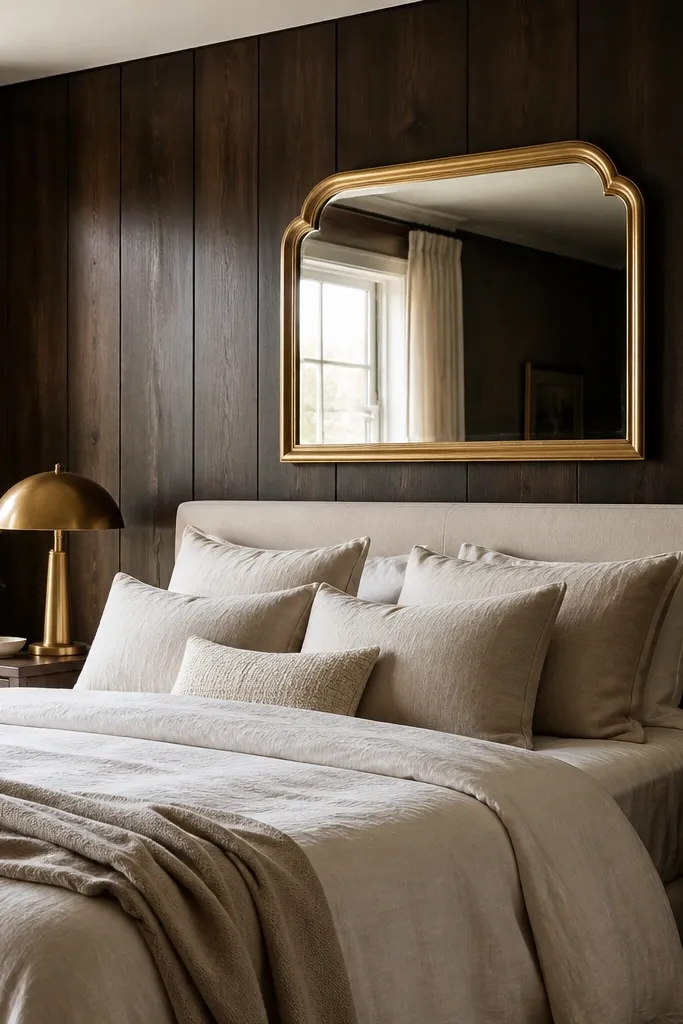
Dark panels create instant coziness. They make cream bedding feel warmer and the brass hardware pops without needing more decor. This is a strong choice if your room has lots of natural light or if you want a moody, calm bedroom. The trick is balancing the darkness with soft fabrics and warm metals.
Pick an espresso or dark walnut wood-look finish so the grain reads even in low light. Install it behind the bed only, then keep other walls painted a warm off-white. Use satin or linen bedding and add brass accents like a mirror frame or lamp base.
Pro tipHang curtains higher than the window frame by 6-8 inches so the dark panel wall doesn’t make the room feel shorter.
Watch outDon’t pair dark panels with cool gray bedding — it looks sterile fast.
11. Wood panel walls budget makeover with peel-and-stick planks plus corner boards
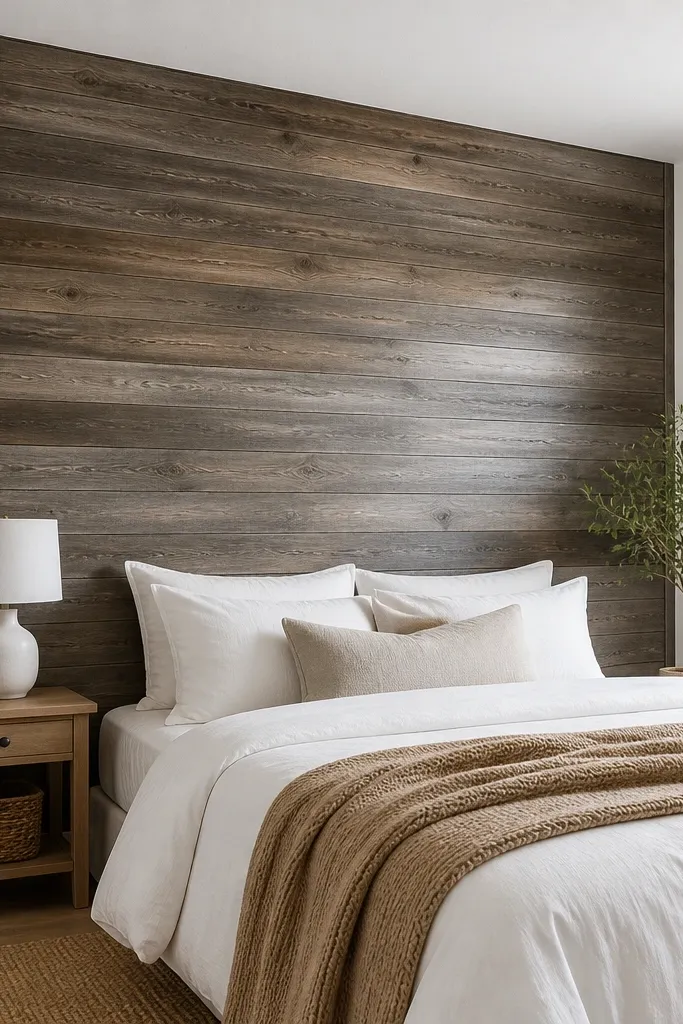
This is the “it actually looks finished” approach. Peel-and-stick planks are fast, but the weak point is corners and edges where seams show. Corner boards and edge trim make the wall look built-in, even if the panels are removable. I’ve used this on budget makeovers where the owner wanted something that could come down later.
Clean the wall with a degreaser wipe, then install planks from a measured center line. Add corner boards at inside corners and L-shaped edge trim at outside edges so the seam lands behind trim. Use a small bead of paintable caulk where trim meets the wall for a smooth finish.
Press each plank firmly with a roller and don’t rush the first row — alignment errors multiply.
Don’t install over dust or chalky paint — the adhesive fails and you’ll be redoing rows.