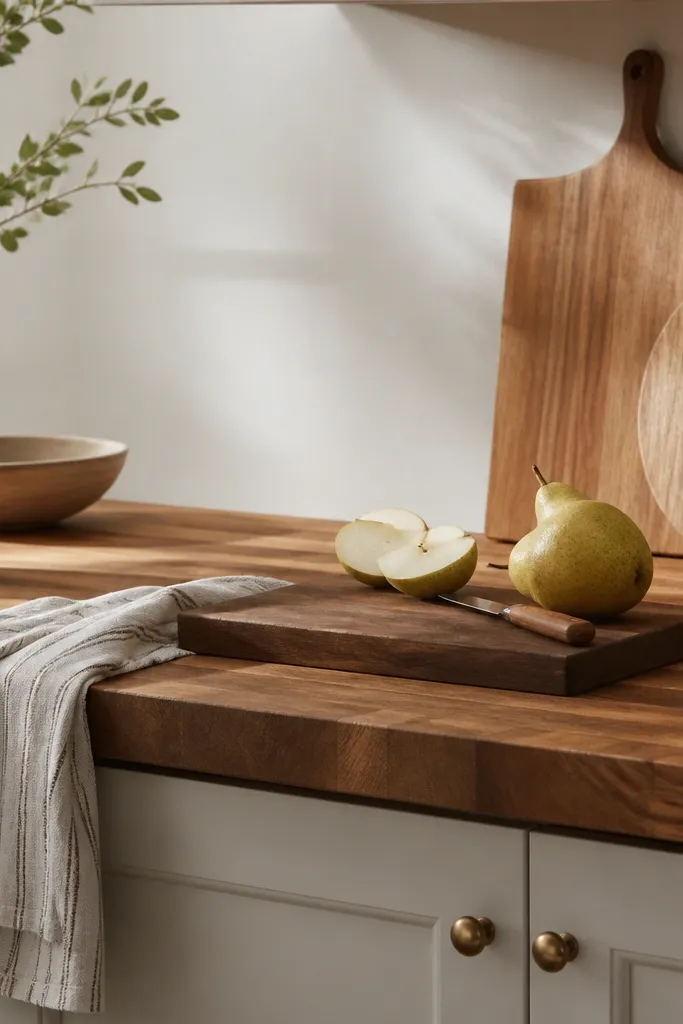
1. Warm honey stain with matte black pulls
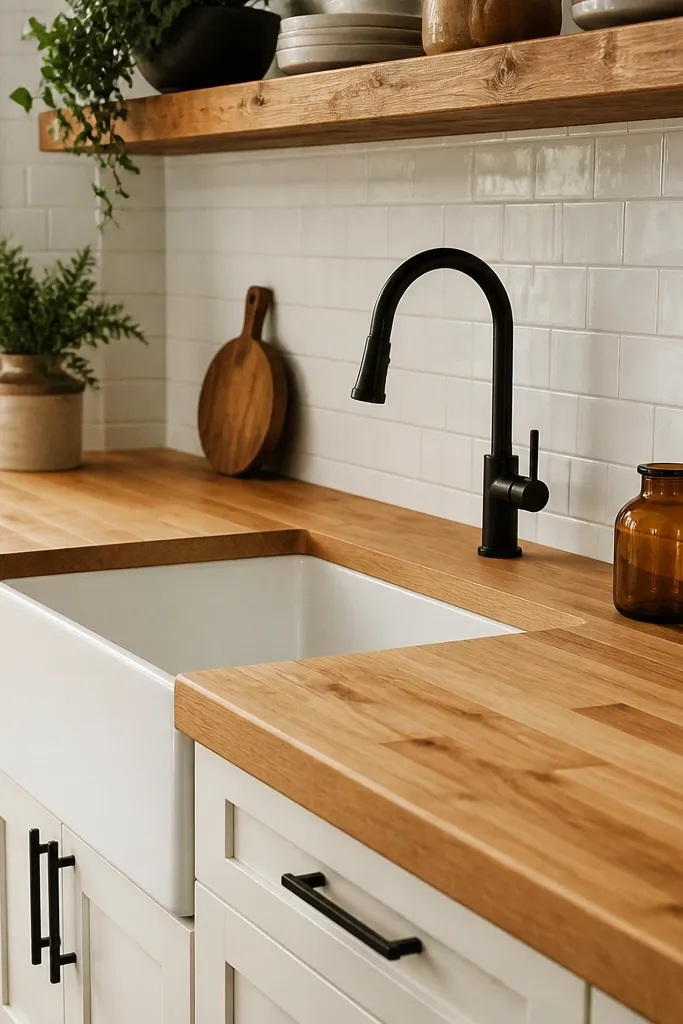
Honey-toned butcher block makes a kitchen feel sunlit even with flat lighting. The wood grain stays warm and readable, and it pairs cleanly with matte black hardware for contrast without looking harsh. I like this combo because it hides everyday wear - small scuffs blend into the lighter color instead of showing up like a pale stain on dark wood.
Use a face-grain butcher block slab, then wipe on a honey stain evenly before sealing. Keep the edges slightly rounded (a 1/8-inch round-over looks right) so the counter looks finished even before you style it. Choose a white backsplash with warm undertones, not blue-white.
Put a cutting board on a tray near the sink so the countertop stays dry in the exact spots that stain first.
Skipping edge sanding before sealing is the quickest way to get darker, splotchy edges that look unfinished.
2. Natural, no-stain butcher block with creamy backsplash
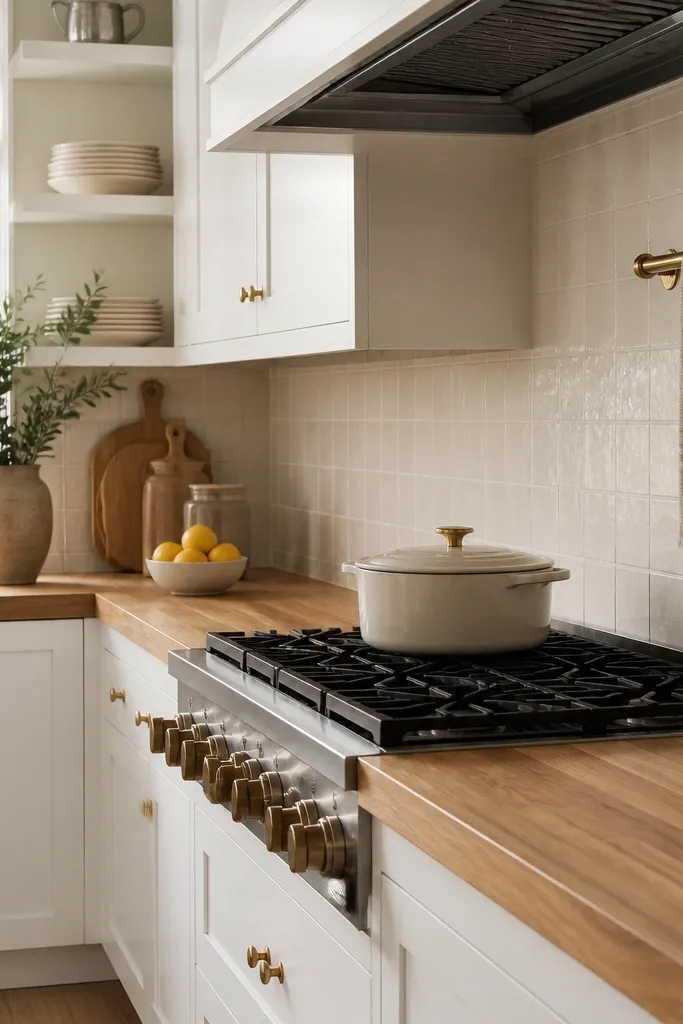
Going natural keeps the wood’s character front and center. The look works when your backsplash and paint are creamy, not icy white, because the warmth of the wood needs a warm companion. I’ve used this in kitchens where people wanted “cozy but not yellow,” and it lands right when you seal with a satin finish instead of a glossy one.
Pick a face-grain slab for a calmer pattern, then seal with a satin hardwax oil. Keep the counter edge profile simple — a straight edge with light chamfer reads clean. Style with warm whites, linen, and brass so the natural wood doesn’t fight with cool colors.
Use a water-safe mat under your dish rack. Even sealed wood can darken if water sits for hours.
Using a high-gloss topcoat makes natural wood look plasticky under kitchen lights.
3. Darker stain for a moody, grown-up kitchen
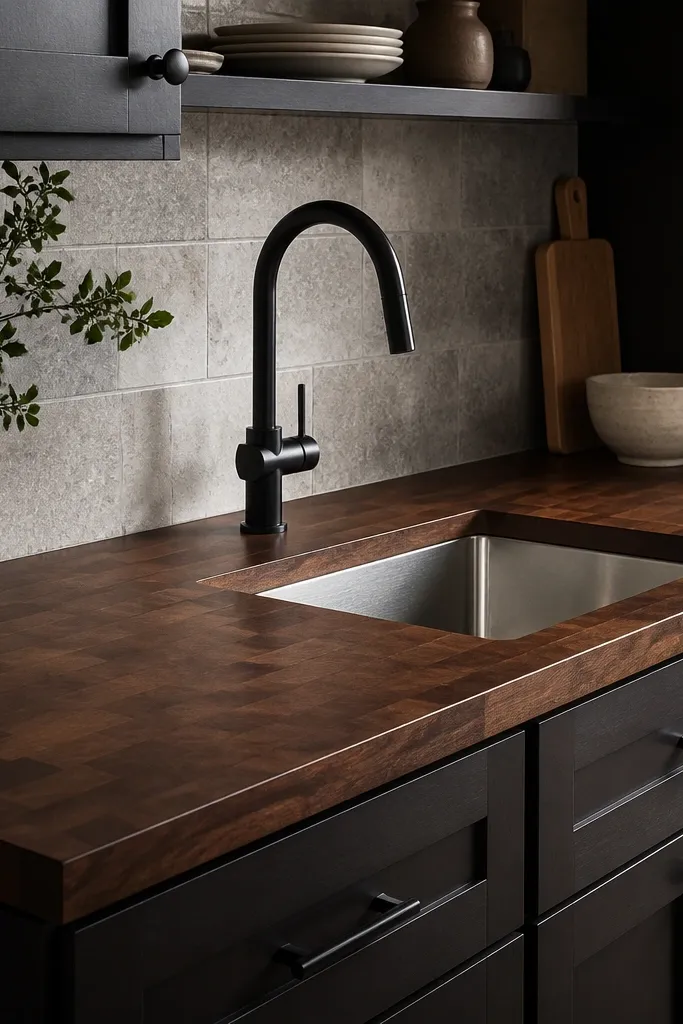
A darker stain makes butcher block look like it belongs in a modern kitchen. It’s especially good if your cabinets are already dark, because the wood becomes a bridge between cabinet color and metal fixtures. I like this look because it hides minor water marks better than lighter finishes.
Choose an end-grain or mixed orientation block if you want a stronger texture. Apply stain in thin coats, wiping consistently, then seal with a satin topcoat so the surface stays smooth but not shiny. Add a light-colored backsplash or open shelving to keep the room from feeling heavy.
Pro tipIf you’re staining dark, do a test board and compare in morning and evening light. Dark stains shift fast.
Watch outRushing stain application — uneven wiping creates blotches that are hard to fix after sealing.
4. Two-tone look: butcher block prep table + white perimeter
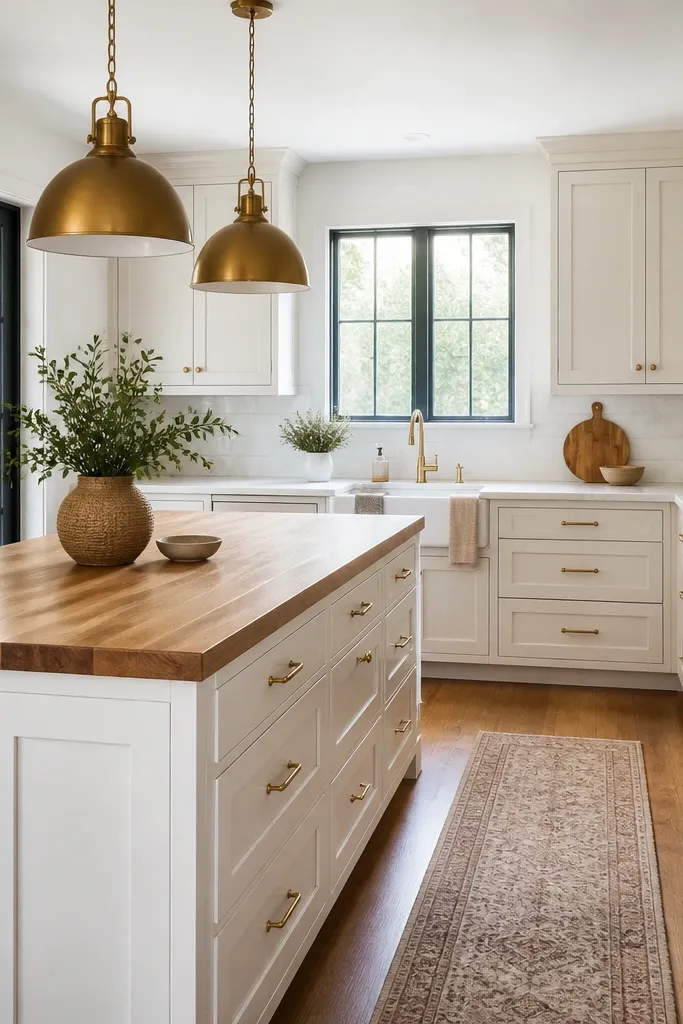
This is the easiest way to add butcher block without committing to the whole kitchen. The butcher block becomes a focal point where you prep, chop, and set coffee, while the white counters keep the rest bright. I’ve installed this setup in rental layouts where the landlord wouldn’t replace all counters, and it still looked cohesive because the wood tone matched the brass lighting.
Run butcher block only on the island and prep area. Keep the island edge slightly thicker visually — 1.75-inch thickness looks substantial against standard base heights. Seal all faces and the underside edges so the wood doesn’t fade differently from the rest.
Use the same finish sheen on any nearby wood items like open shelves so the island doesn’t look “more finished” than everything else.
Leaving the island’s underside unfinished. It’s where you’ll see uneven color first.
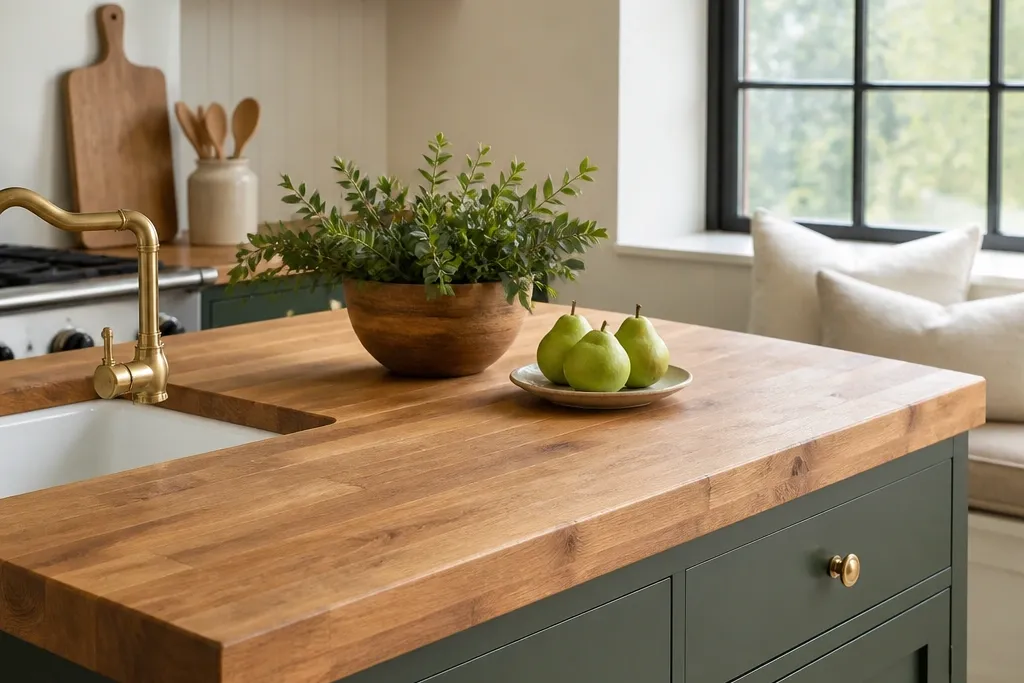
5. Brass and warm white subway tile combo
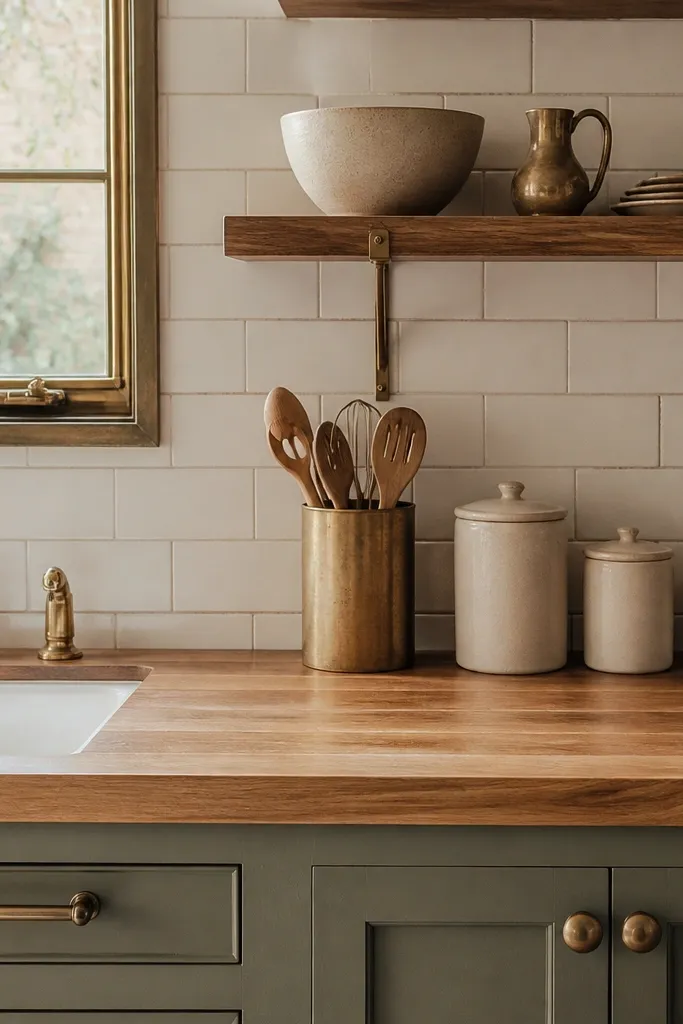
Warm white tile has a creamy tint that makes honey and natural butcher block look richer. Brass adds that “handmade” warmth, and it also reflects light in a way that makes the wood grain look crisp. This combo works in small kitchens because it keeps the visual palette tight and cozy.
Use 3x6 subway tile with a slight offset and a warm grout (not bright white). Install a brass faucet or at least match the hardware finish to brass accessories. Choose a satin finish on the countertop so the brass highlights don’t feel glare-y.
Pro tipKeep your canisters and utensil holders in one ceramic family — cream, ivory, or speckled — so the counter stays calm.
Watch outMixing cool chrome fixtures with warm brass accents. The metals fight and make the wood look off.
6. Open shelving to repeat the wood tone
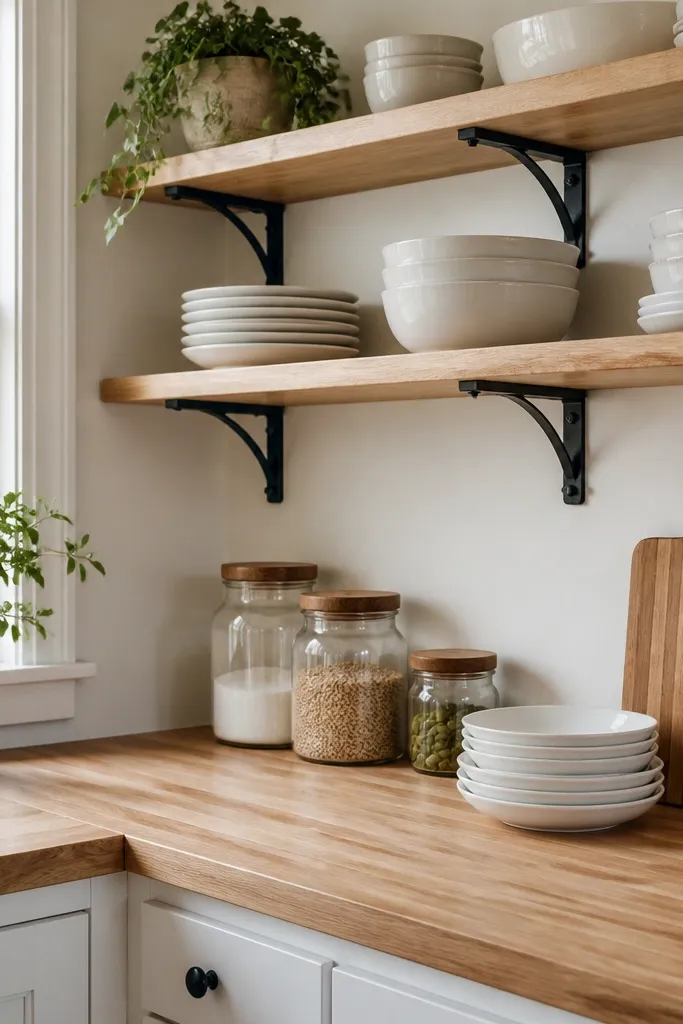
Butcher block looks best when the room repeats wood somewhere else. Open shelving gives you a place to show oak, walnut, or the same butcher block tone, so the countertop doesn’t feel like a random upgrade. I’ve found that even a small shelf section above the counter is enough to tie the look together.
Match shelf wood to your countertop stain level. If your counters are honey, choose light oak shelves; if counters are darker, pick walnut. Use black brackets if you want a modern edge, or natural brackets if you want farmhouse-soft.
Pro tipPut one taller item (like a vase or stack of bowls) at each end of the shelf so the counter styling doesn’t look like it’s floating.
Watch outOvercrowding the shelf. Too many colors around warm wood makes it look busy.
7. Routed edge with a shallow bevel for a tailored look
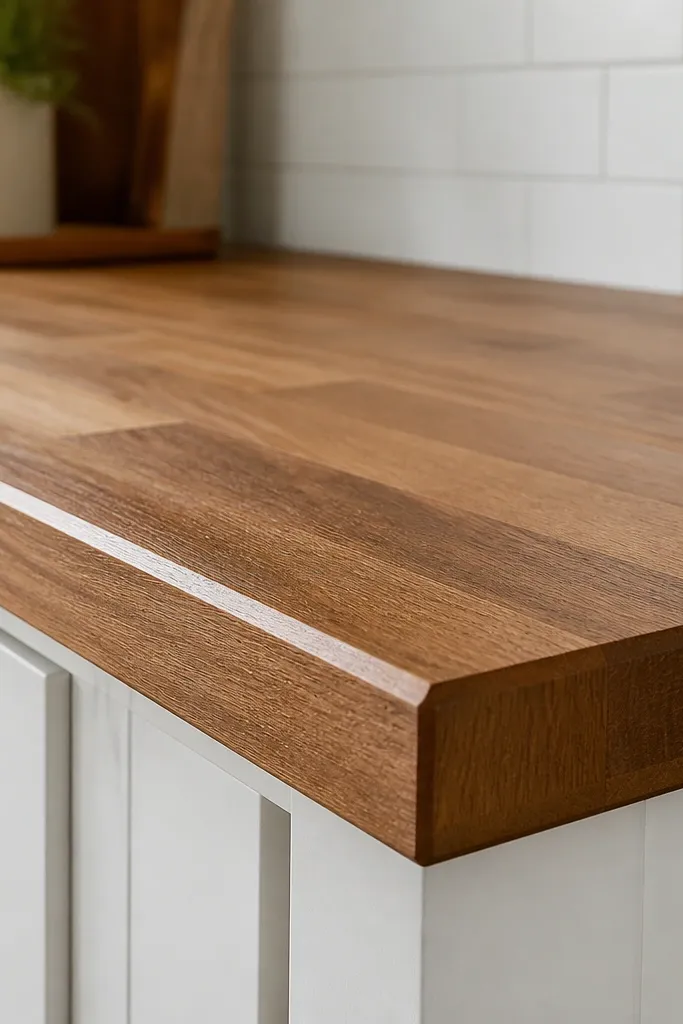
The edge profile is the fastest way to control how “finished” butcher block looks. A shallow bevel makes the countertop look built-in and crisp, even when the wood grain is busy. I’ve seen cheap installs where the edge is left too sharp or too rounded; this bevel sits in the sweet spot.
Ask for a 1/4-inch shallow bevel or a mild round-over at the corners. Sand the edge to the same grit as the top surface, then seal the edge separately so it doesn’t soak unevenly. Pair with simple cabinetry — flat fronts or shaker — so the edge detail reads.
Pro tipRun painter’s tape along cabinet faces before sealing edges. It keeps drips from staining the cabinet trim.
Watch outLeaving end grain edges exposed. They drink stain and look darker unless you seal perfectly.
8. Butcher block with a built-in backsplash rail
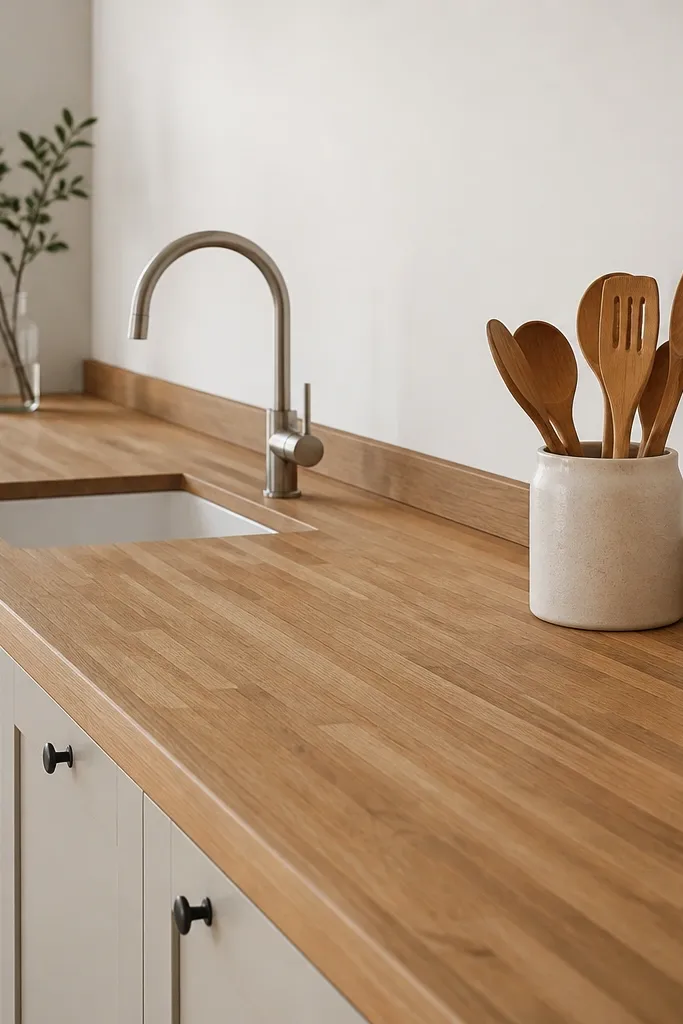
A built-in rail makes the back edge look intentional and gives you a tiny “ledge” for styling. It also protects the wall from splashes better than a flat countertop edge. This look works in kitchens where you don’t want a full-height tile backsplash but still want visual structure.
Use a block thickness that stays sturdy at the rail height — around 1.5 inches thick works well. Seal the rail top and front faces carefully since water hits there. Keep the wall color neutral so the wood rail doesn’t compete with paint.
Use a small tray on the rail for daily items like oils and salt so you don’t scratch the wood with metal caps.
Skipping a proper seal on the rail front. That’s the spot that shows wear first.
9. Butcher block + patterned tile floor for a warm contrast
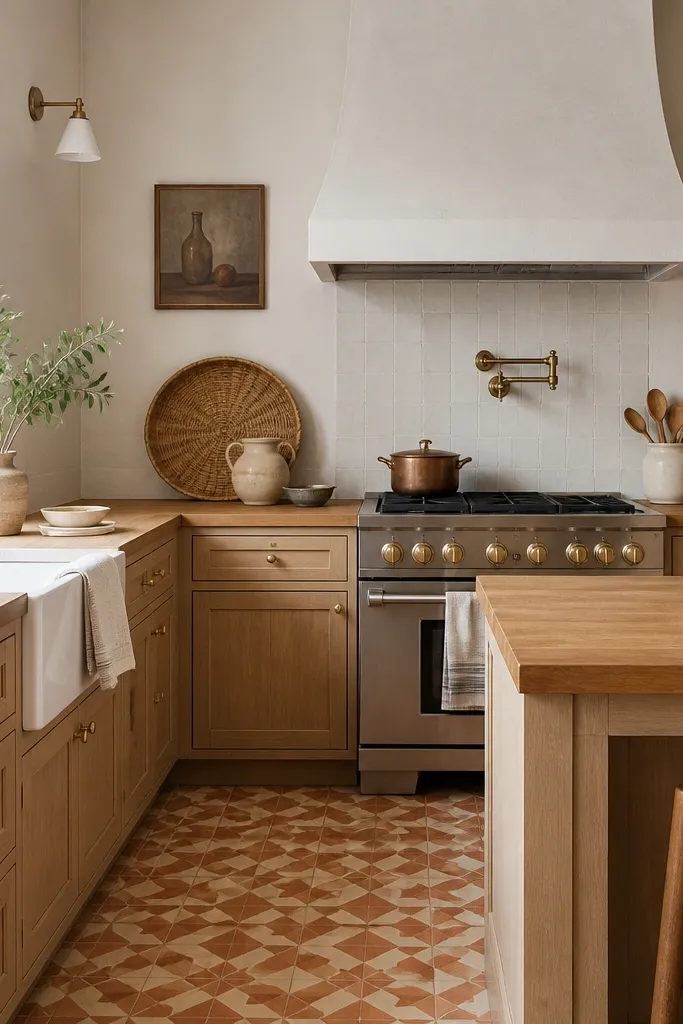
Patterned tile adds energy, and butcher block calms it down. When you match the wood tone to one color in the tile (usually honey or walnut), the whole room starts to feel designed instead of random. I’ve used this pairing in kitchens with busy floors because the counters keep the palette grounded.
If your tile has terracotta, choose a honey or light walnut stain so the wood echoes the orange-brown. Keep the cabinets simple — white or off-white — and use matte finishes on fixtures. Seal with satin so the floor pattern doesn’t fight a glossy countertop.
Pro tipKeep your counter decor single-color (like cream ceramics) so the floor pattern stays the star.
Watch outPlacing bright, multi-color items directly on the butcher block. The wood already adds warmth; too many colors makes it chaotic.
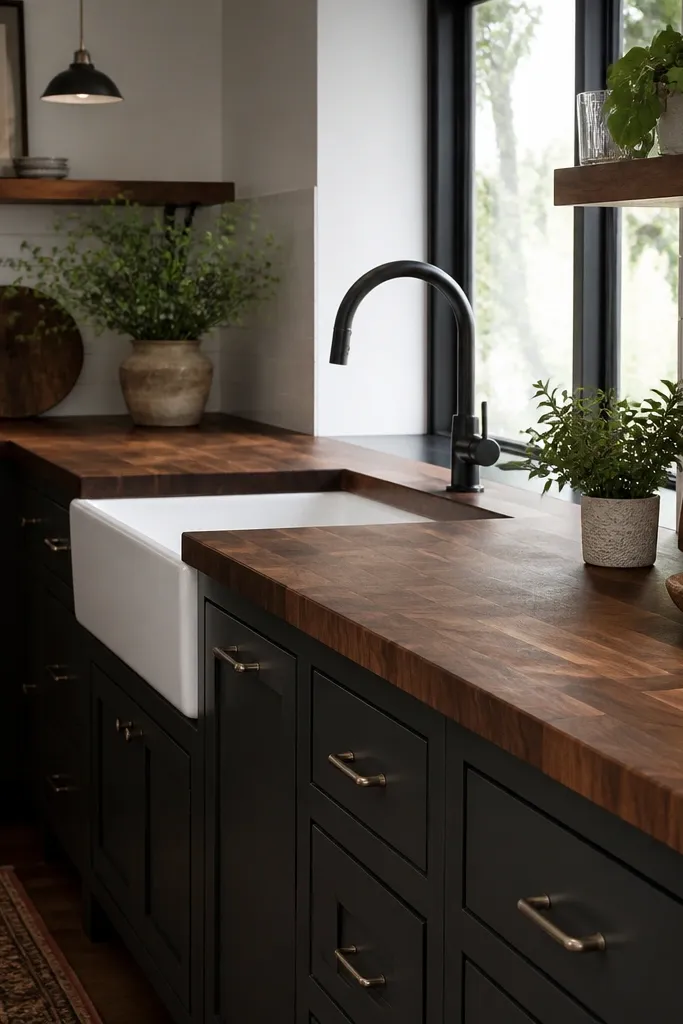
10. Matte black sink + butcher block for high contrast
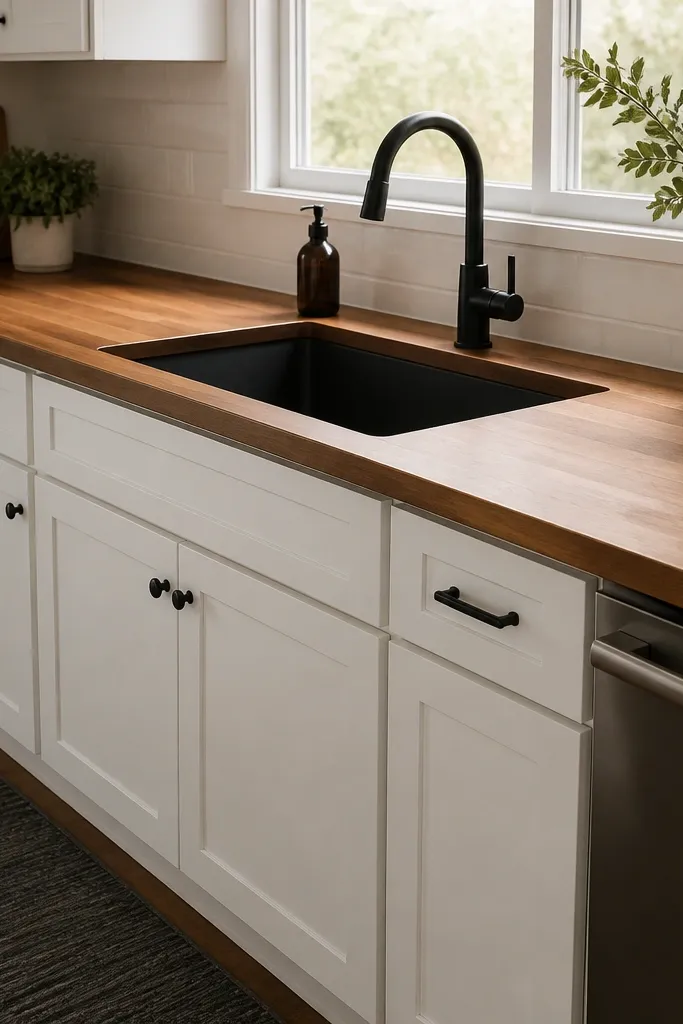
Matte black fixtures make butcher block look intentional and modern. The wood’s warmth softens black’s sharpness, so the kitchen feels grounded instead of industrial. This combo also hides water spotting on the sink area because black doesn’t show it like stainless.
Pick a undermount sink so the wood edge stays clean and continuous. Seal the counter around the sink with extra care — two thin coats of topcoat where splashes land. Keep the backsplash simple so the wood and black sink stay the main focus.
Add a sink grid made for undermount sinks. It keeps water from sitting against the wood edge over time.
Using a glossy black finish. Gloss reflects kitchen lighting and makes the countertop sheen look uneven.
11. White shaker cabinets + butcher block with a rolled front edge
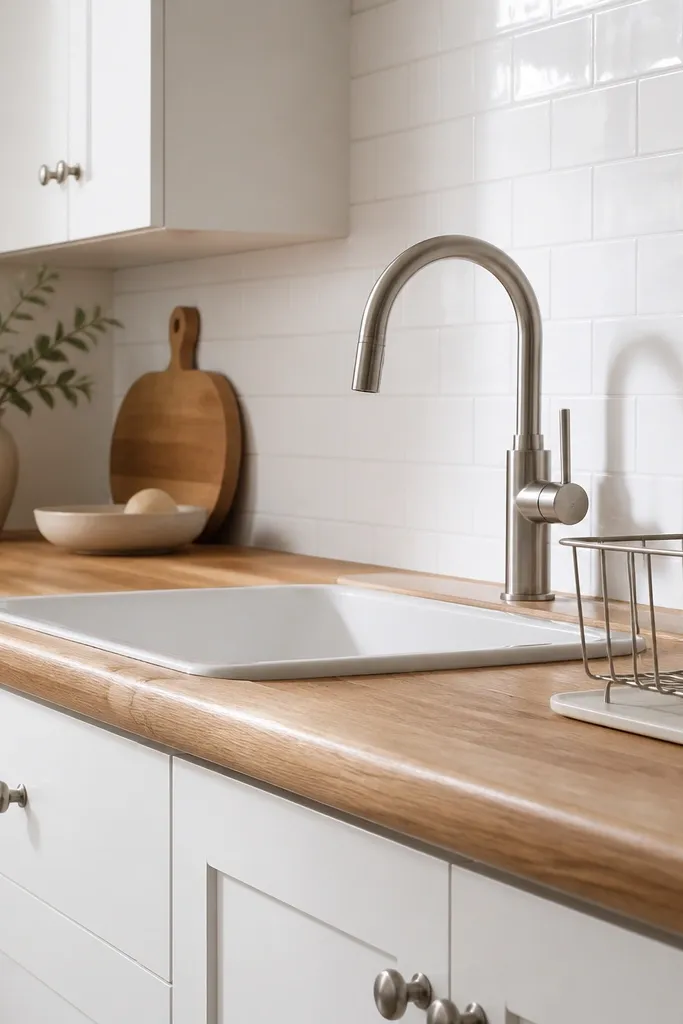
A rolled front edge reads classic and friendly, which pairs perfectly with shaker cabinets. The wood adds warmth, while the cabinets stay crisp and clean. I’ve used this edge style in family kitchens because it hides minor chips at the front lip better than a sharp corner.
Ask for a rolled profile around 1/8 to 1/4 inch radius depending on your preference. Seal the front edge with the same finish as the top, then do a quick touch-up sand on the edge if you see raised grain after the first coat. Style with simple whites and one wood cutting board.
Pro tipKeep the drying rack on a mat. Wet metal can leave dark lines on sealed wood.
Watch outPicking a super shiny countertop finish with shaker cabinets. It looks mismatched and cheap under warm bulbs.
12. Butcher block waterfall edge on a kitchen island
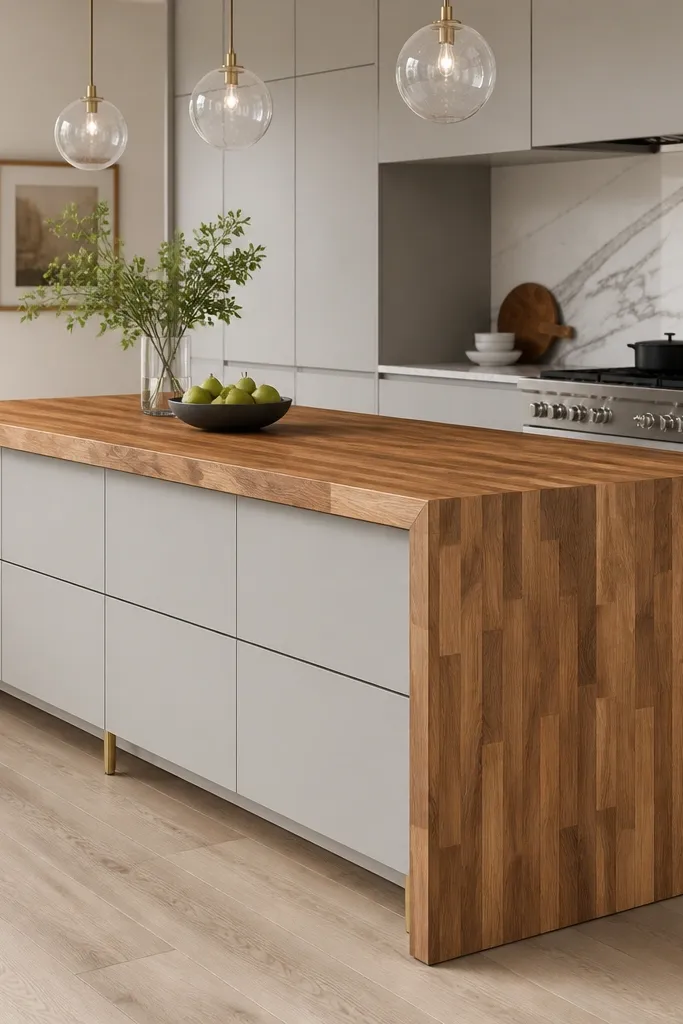
Waterfall edges look expensive because they visually thicken the island. Butcher block waterfall sides also show off grain movement, which makes the island feel custom. I like this style when you have a big island because the wood layers become a feature instead of a distraction.
Use thick butcher block slabs for the waterfall — 1.75 inches looks best. Make sure the seams line up cleanly at the corners and seal the side faces thoroughly, especially at the underside where moisture can collect. Pair with light gray or white cabinetry so the wood doesn’t swallow the room.
Plan your pendant height: with a thick waterfall, hang pendants slightly higher to keep the island from feeling crowded.
Trying to do waterfall with too-thin stock. Thin boards look flimsy once the sides are exposed.