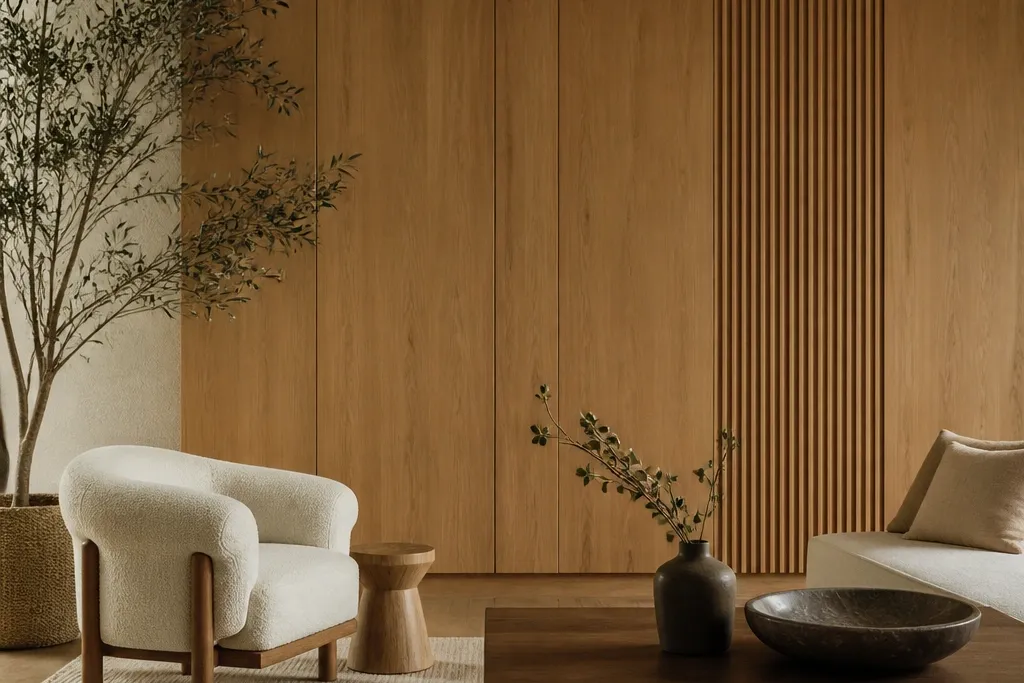
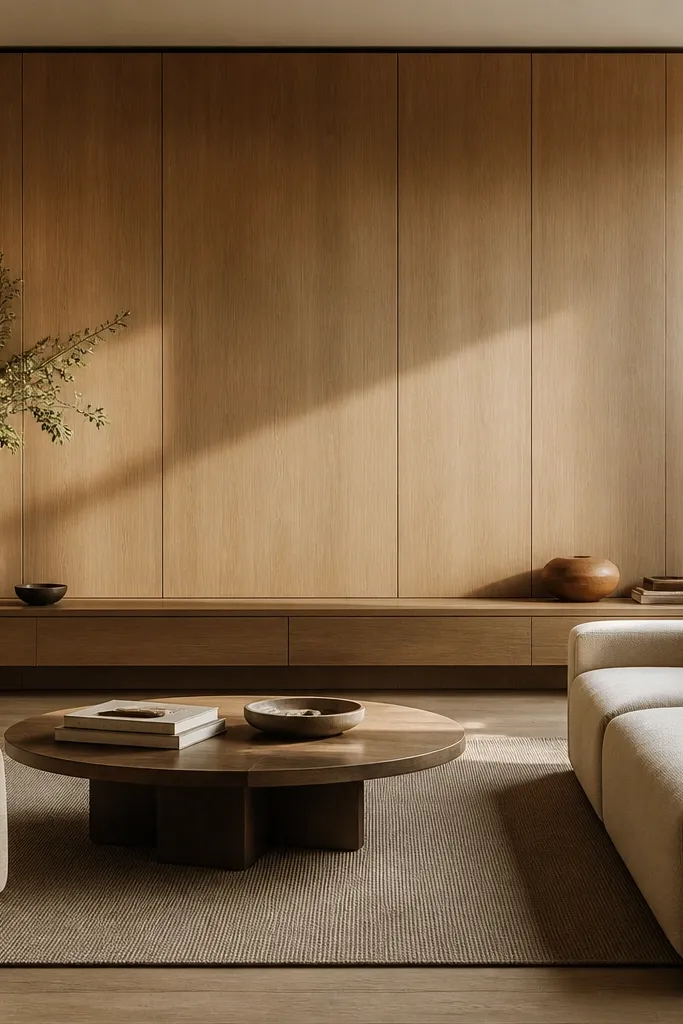
1. Matte whitewash over existing grooves
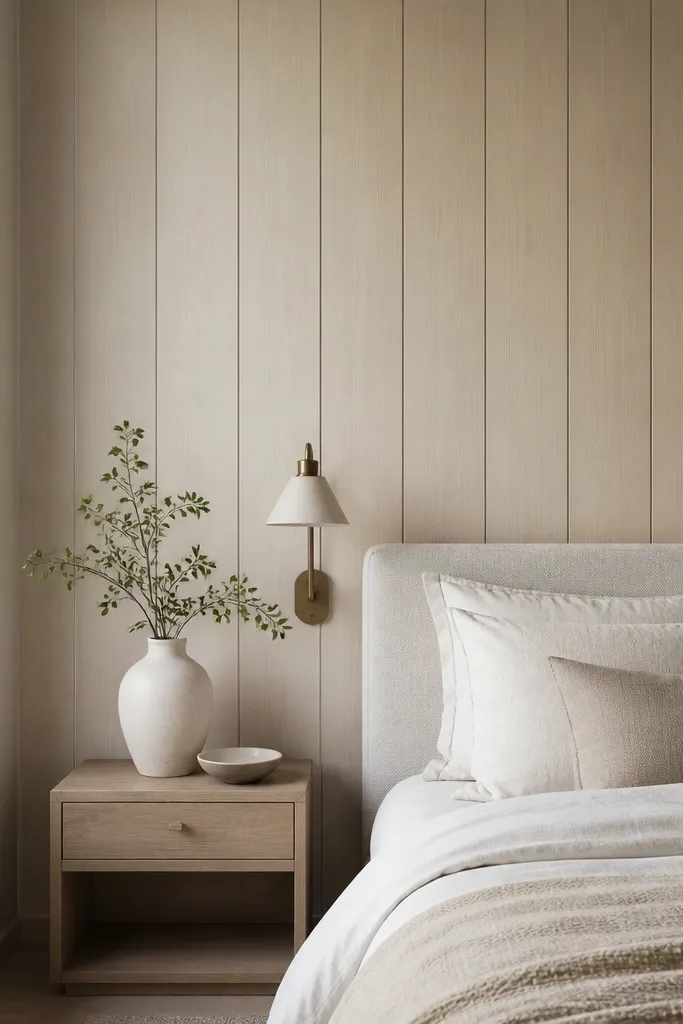
This update keeps the wood texture but removes the heavy contrast that makes grooves look old. Whitewash works best when it’s thin and matte so the wall reads as one light surface from across the room. I like it with warm off-white bedding because the panel shadows stay subtle instead of looking grey. The result is modern minimalist without turning the wall into plain drywall.
Use a water-based whitewash stain or a DIY mix of white paint and water, then wipe it on with a rag across the grain and into the grooves. After it dries, apply a matte clear coat (satin turns too “furniture-like” and catches light). Keep the wall color closer to warm white than bright optical white so the wood still feels natural.
Pro tipDo a test panel section first and stop when the grooves are visible from 6 feet away but not dramatic up close.
Watch outDon’t use glossy clear coat — it exaggerates groove shadows and makes the whole wall look dated.
2. Cool grey tint with a dead-matte topcoat
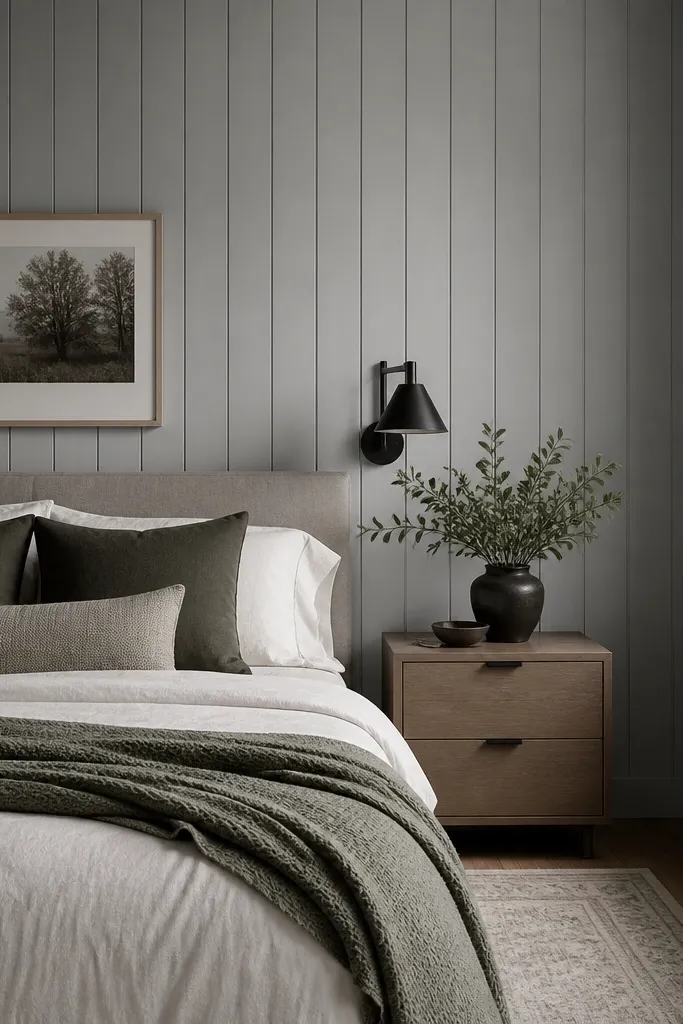
If your room has lots of daylight or you want a calmer, cooler palette, a grey tint can make wood panel walls feel contemporary. The most minimalist version is a dead-matte finish that kills shine and stops the wood from looking like furniture. Grey also plays nicely with black metal bed frames and light stone-colored bedding. You get a crisp, architectural look without losing the wood texture.
Sand lightly to scuff the existing finish, then wipe with a tack cloth. Apply a grey wood stain tint in a thin coat and wipe evenly so you don’t get blotches in the knots. Finish with a dead-matte clear coat — I use a true matte, not “satin.”
Pro tipMatch the grey to your bedding undertone — if your sheets are slightly blue, go cooler; if they’re creamy, keep the grey warmer.
Watch outSkip heavy stain build-up — thick layers create dark bands where panels meet.
3. One feature wall behind the bed, painted light and left matte
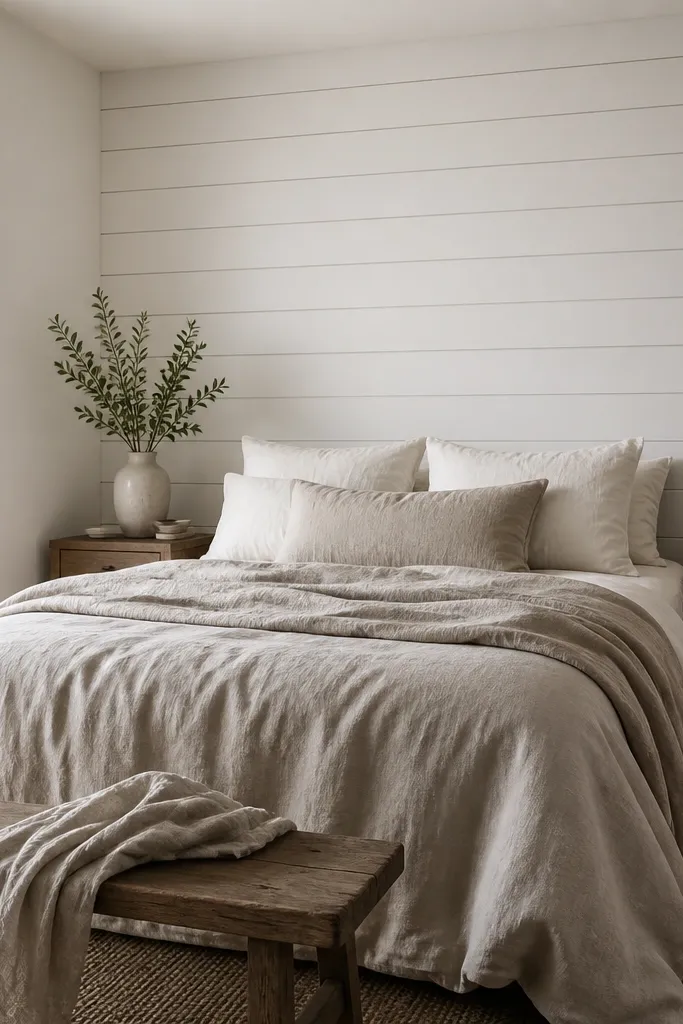
I use this when the whole room has too many competing elements. Painting only the wall behind the bed gives you the clean focal point modern minimalist rooms need, while leaving the rest of the space quieter. Matte paint over panel grooves reduces glare and makes the wall read like intentional architecture. It also gives you a clean backdrop for art, a headboard, and wall sconces.
Tape off trim and baseboards, then scuff-sand the panel surface so primer grabs. Prime with a bonding primer, then apply two thin coats of paint in a warm off-white. Keep it matte or eggshell — flat matte looks best on panel walls because it hides minor groove unevenness.
Hang your headboard so it overlaps the panel pattern slightly; it makes the wall look designed, not covered.
Don’t paint over glossy panels without sanding and primer — the finish peels where the sheen is slick.
4. Thin slat overlay for a "new build" rhythm
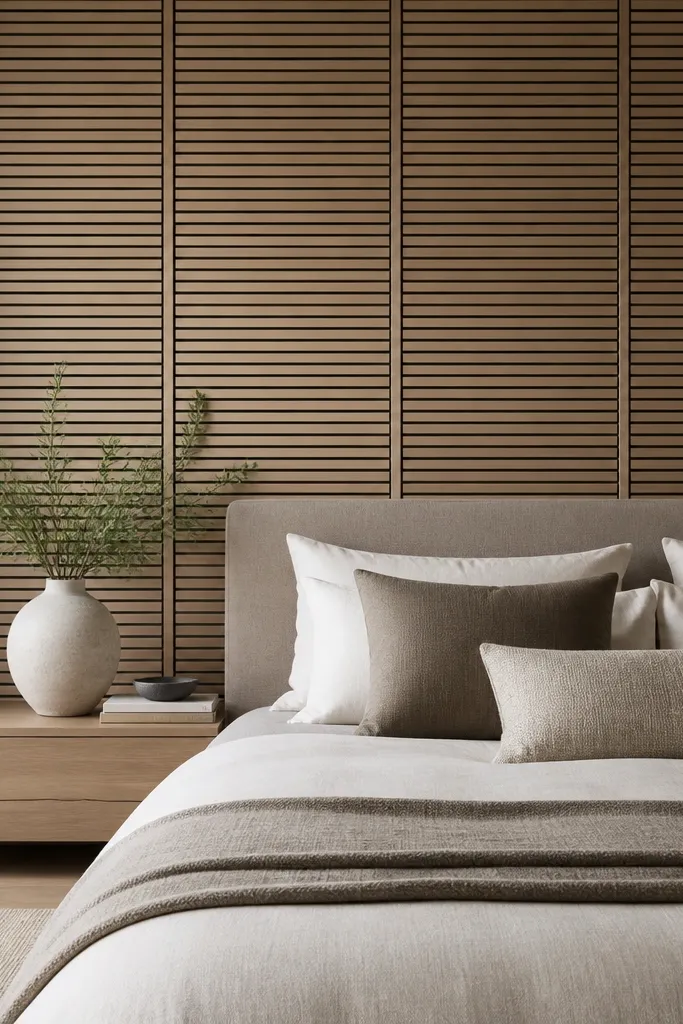
When your current panels are too wide or too deep, an overlay is the cleanest fix. Thin slats reduce the shadow contrast and make the wall feel more controlled. You can choose vertical or horizontal depending on how you want the room to feel — vertical makes ceilings feel taller, horizontal makes the wall feel wider. This is the closest DIY path to “fresh modern makeover” without removing the original panels.
Use 1x2 or 1x3 furring strips or pre-primed slats, spaced evenly with painter’s tape as a guide. Keep the slat thickness consistent and leave a small gap (about 1/8 inch) so the pattern stays crisp. Prime and paint the slats in a matte white or warm greige, then run caulk along edges for a smooth look.
Pro tipUse a laser level and mark every slat line — eyeballing spacing shows up fast on minimalist walls.
Watch outDon’t mix slat thicknesses — even a 1/16 inch difference creates a wavy pattern.
5. Stain dark, then lighten edges with a soft limewash effect
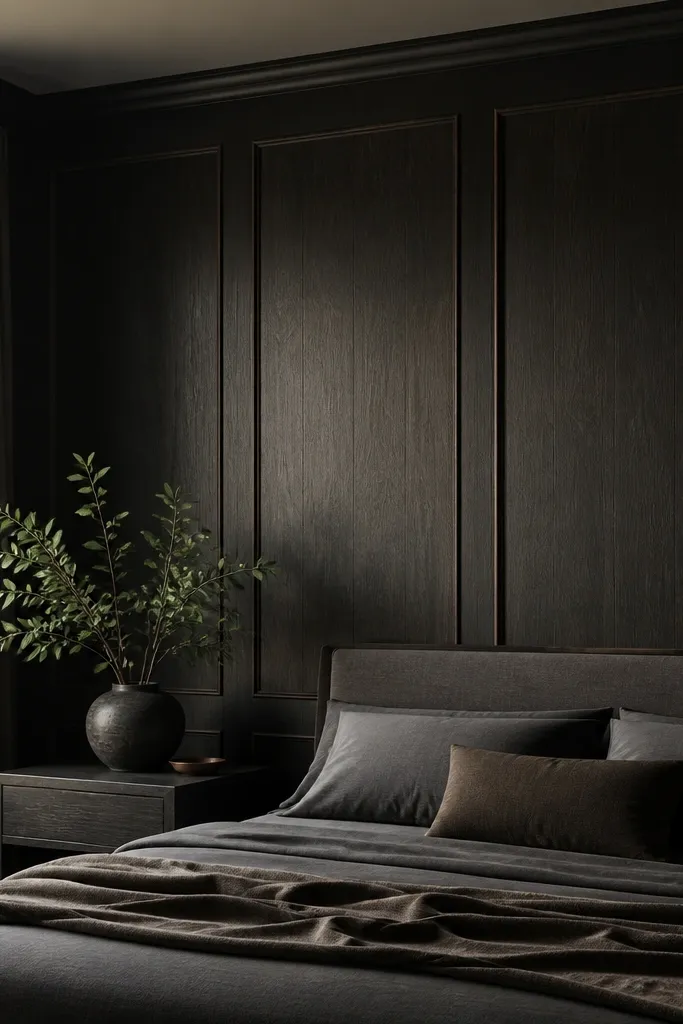
This is for people who want drama but still want minimalist clarity. Dark stain makes the wood grain look intentional, and a light limewash-style effect on the groove edges reduces the heavy “stripe” look. It reads modern because the wall stays consistent — you’re not adding random colors, just controlling depth. Pair it with light curtains and a cream rug so the dark wall doesn’t swallow the room.
Stain the whole wall in a deep tone, let it cure, then lightly brush a thin limewash mixture into the grooves only. Wipe the surface immediately so the lighter effect stays in the recesses. Seal with matte clear to keep the wall from looking glossy and heavy.
Use a small angled brush and do one panel at a time so you don’t get smeared edges.
Avoid thick limewash coats — they dry chalky and can crack along the raised areas.
6. Natural honey oak, sealed matte with no tint
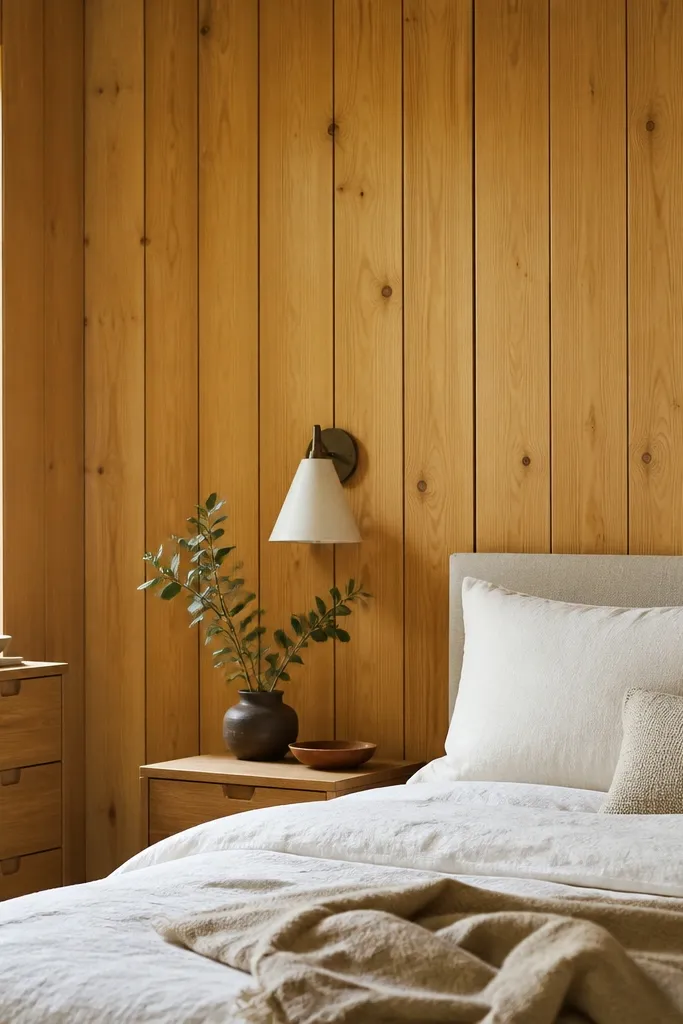
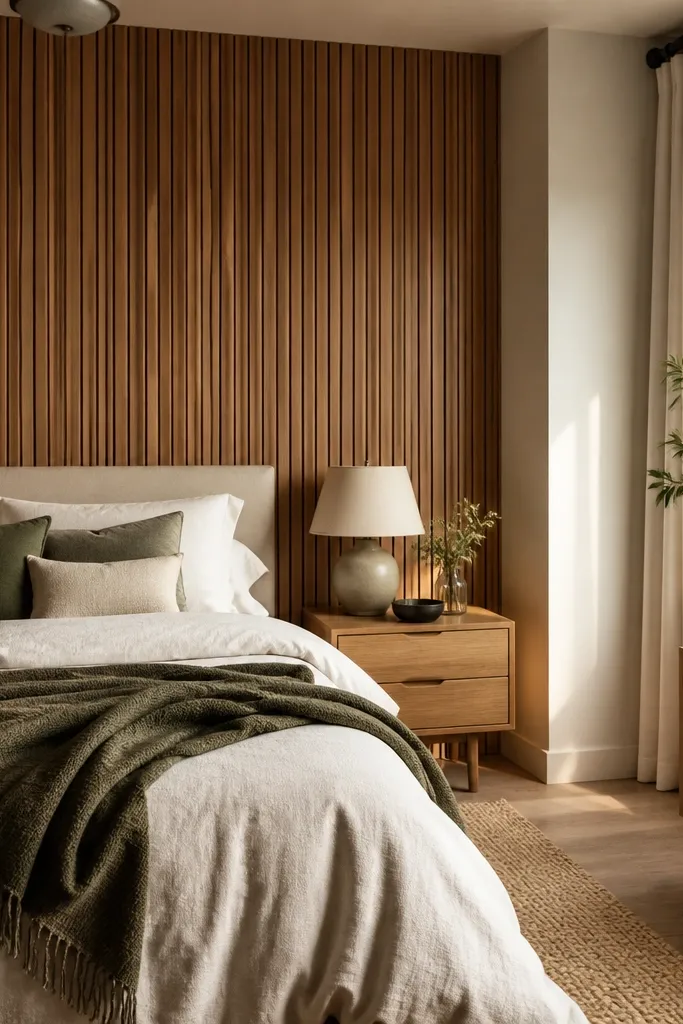
If your wood is already a nice oak tone, you don’t need to cover it. My favorite minimalist version is “clean natural” — the wall stays warm, and the finish is matte so it doesn’t look like a cabinet. Honey oak also pairs well with white linen and light walnut furniture. The room feels cozy without becoming traditional.
Degloss existing finish by sanding lightly with a fine grit, then clean thoroughly. Apply a clear matte sealer (water-based if you want less amber shift). Keep the sealer thin and do two coats, lightly sanding between if the first coat raises any grain.
Pro tipStand across the room during drying and check for shiny spots — hit them with a light scuff sand before the final coat.
Watch outDon’t apply thick sealer — it can turn grain areas uneven and shiny.
7. Vertical panels painted warm greige with matching trim
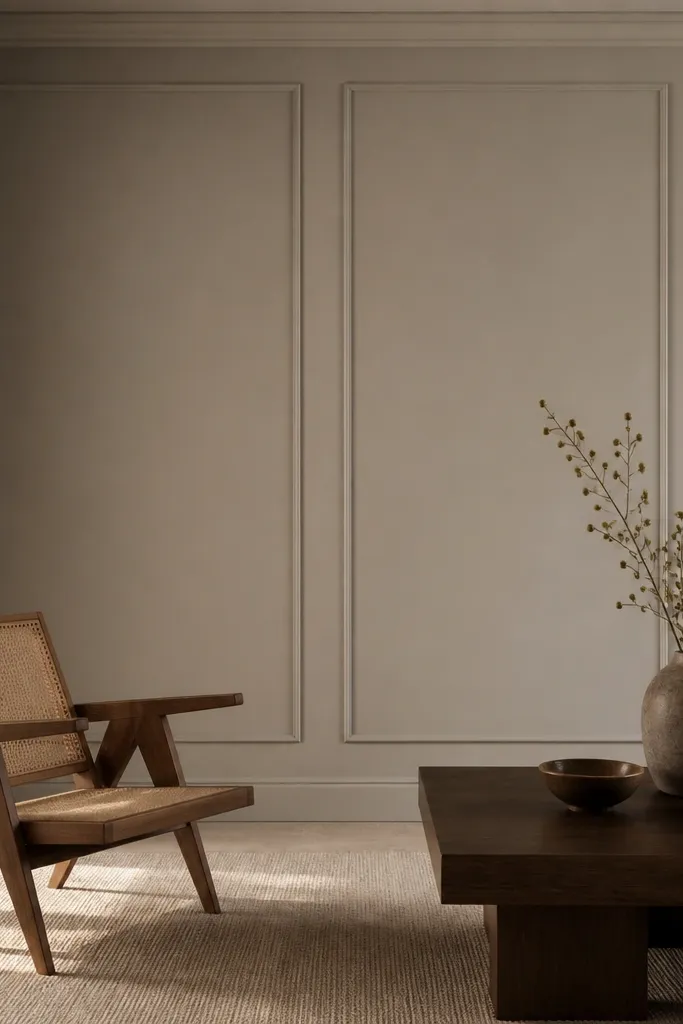
Greige is my go-to when you want minimalist but you don’t want the wall to look like cold grey. Painting panels in warm greige smooths the visual noise while still letting the groove lines show. Matching trim in the same color makes the wall feel built-in, not patched. This looks sharp with black or dark bronze lighting.
Prime, then paint panels and trim in one warm greige using the same sheen level. Use a small angled brush for groove edges and a roller for the flat faces. Two thin coats matter more than one heavy coat because panel grooves trap drips.
Use a corner brush and keep a wet edge so you don’t get streaky overlap in the grooves.
Skip different sheen levels on wall and trim — it makes the panel lines look accidental.
8. Keep panels, add a linen headboard and wall sconce alignment
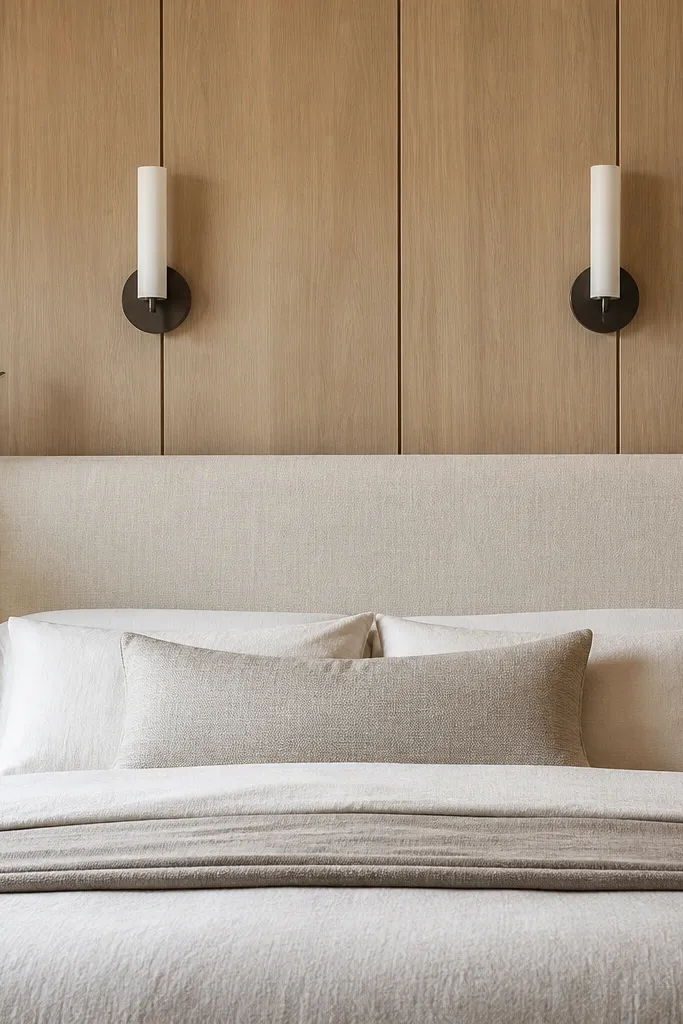
Sometimes the panels are fine. The update is about what you put against them. A tall linen headboard softens the hard wood texture, and centered wall sconces make the wall look intentional rather than random. This is modern minimalist because the lighting and bed frame create clean vertical lines over the panel rhythm. It also keeps your wall finish unchanged.
Choose a headboard height around 48-54 inches for most queen beds, and center it so it covers the densest part of the panel pattern behind your pillows. Mount sconces so the bottom edge sits roughly 66-70 inches from the floor, then keep the cord hidden along the trim. Use warm white or oatmeal linen, not stark white.
Pro tipMeasure sconce height from the top of the headboard, not from the floor, so it stays centered with your pillows.
Watch outDon’t mount sconces too low — on panel walls, low lighting makes grooves look darker and heavier.
9. Matte black accent panel strip for a modern frame
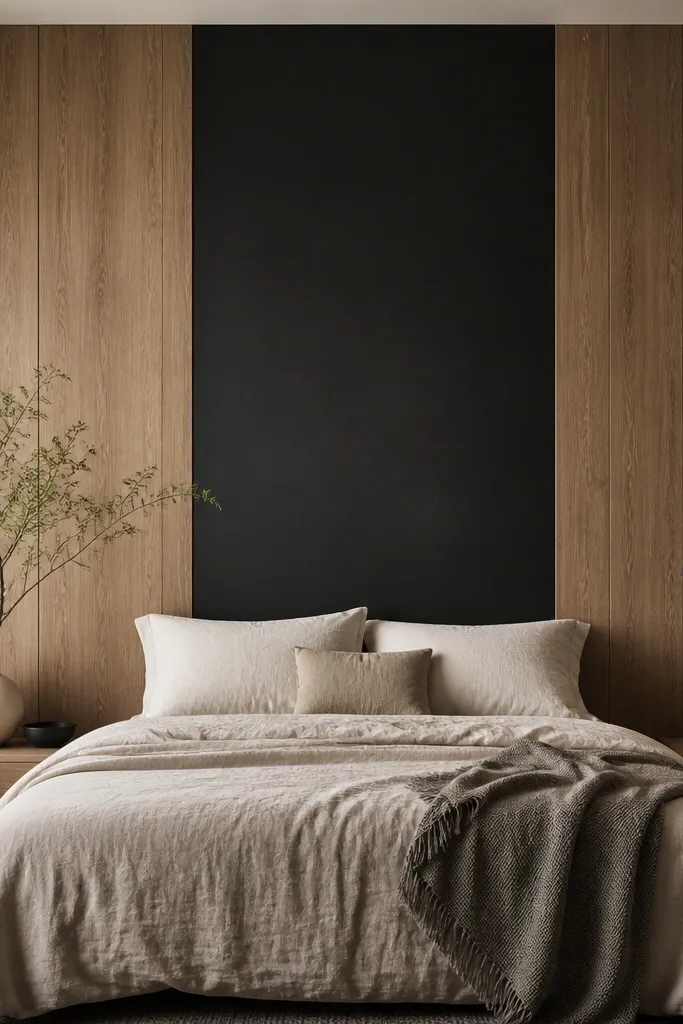
A single matte black strip turns the wood wall into a designed backdrop. The black doesn’t need to cover the whole wall; it just gives your eye a clean frame. Matte black also hides minor unevenness in groove edges because it absorbs light. This works especially well if your bedroom furniture is white, cream, or light oak.
Tape a rectangle behind the bed — I like 30-36 inches wide and about 54-60 inches tall for a queen. Paint the taped area matte black (spray or roller with foam for smoothness), then remove tape while paint is still slightly tacky. Leave the surrounding panels lighter so the black reads crisp.
Use a laser level to keep the rectangle straight; minimalist lines show every wobble.
Don’t choose satin black — it reflects and makes the panel texture look messy.
10. Horizontal panel reframe with paint over the original vertical
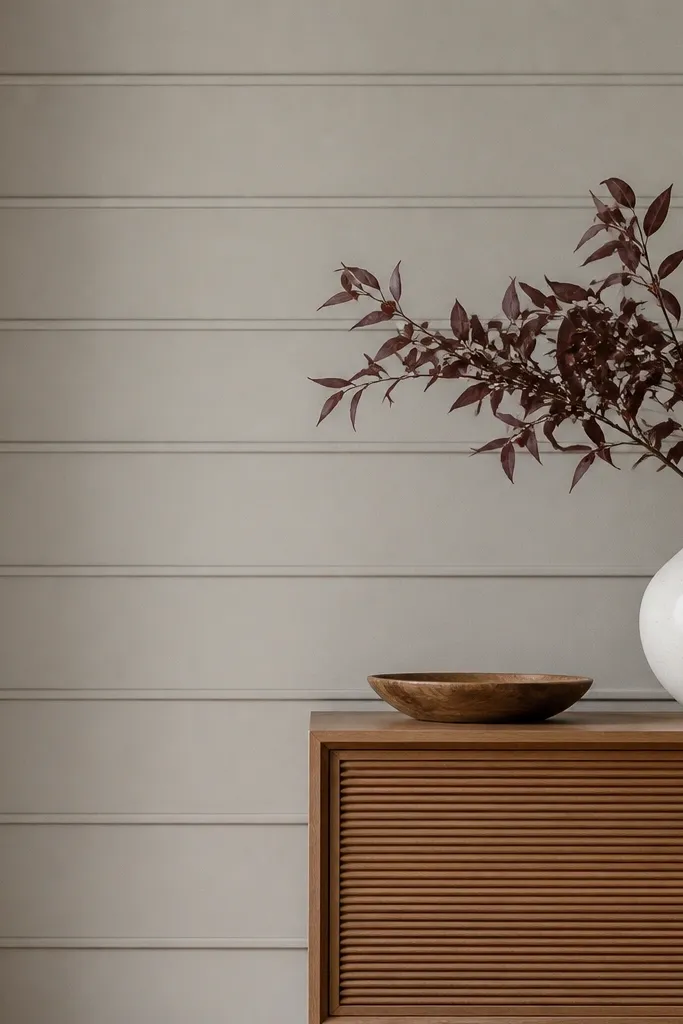
If you hate the vertical direction but can’t remove the panels, you can visually reframe them. Adding thin trim lines and painting in horizontal zones reduces the “tall stripe” look and makes the wall feel more grounded. Keep the palette simple: one wall base color and one accent line color. This is modern minimalist because it creates a graphic structure instead of busy texture.
Paint the whole wall a light warm white first. Then add 1x2 or 1/2-inch trim strips horizontally at two heights, spacing them evenly with a level. Paint trim in a slightly darker tone like warm greige or soft taupe, and caulk the edges for crisp lines.
Pro tipKeep the horizontal lines at pillow height and around the top of the nightstands — it matches the way you actually look at the wall.
Watch outAvoid more than two horizontal bands — extra lines look like DIY signage.
11. Whitewashed panels + warm walnut floating shelves
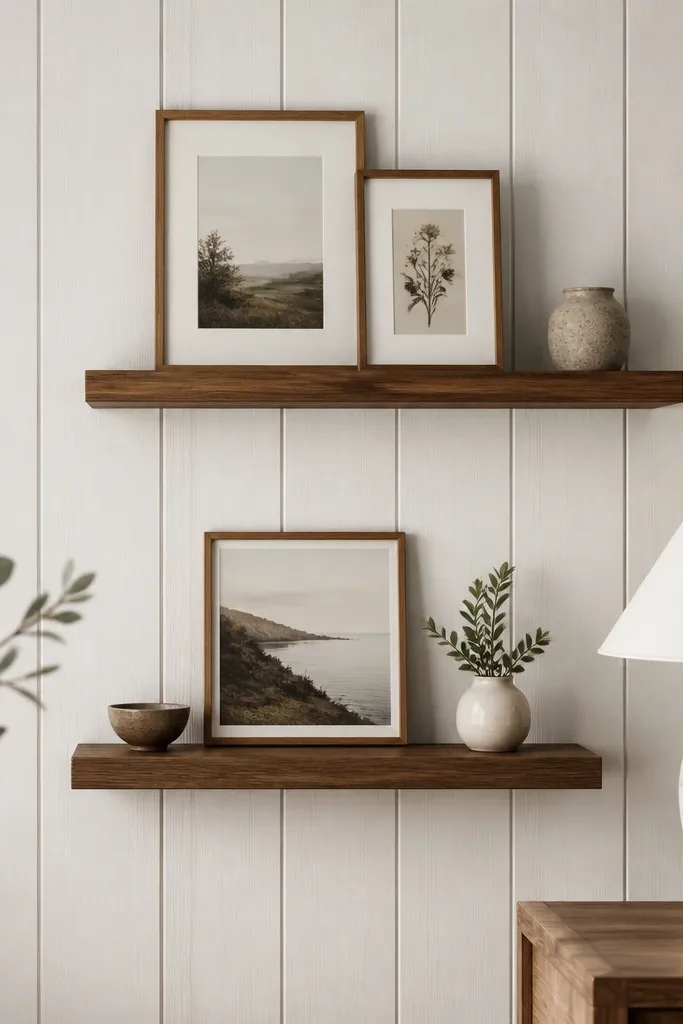
Whitewash handles the wall, and walnut brings warmth back in without adding busy color. The shelves give you a place to repeat wood tone so the wall doesn’t look like a separate project. I keep shelf items minimal: one small plant, one ceramic, one stack of books. That keeps the wall modern minimalist instead of turning into storage.
Use floating shelves with a thickness around 1-1.25 inches for a solid look. Space shelves about 10-12 inches apart vertically, then mount them centered over the bed or slightly staggered to match your nightstands. Seal walnut with a matte oil finish so it doesn’t glare under overhead lights.
Use picture ledge brackets if you’re mounting into studs — panel walls can hide stud positions and screw placement matters.
Don’t crowd the shelves — on panel walls, every item competes with the texture.
12. Matte plaster look over panels using skim-coat texture control
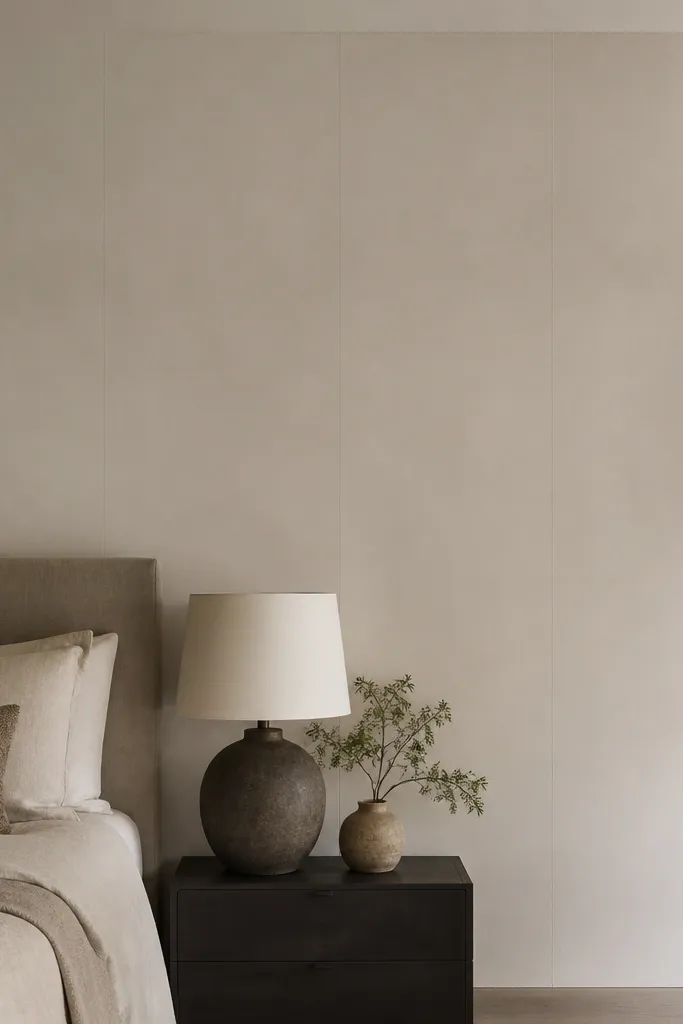
This is the “I want zero wood texture” option while still using the existing wall. A thin skim coat can level grooves enough that the wall reads like plaster. When you finish it matte, it looks modern and soft against linen bedding. I do this when the existing panel pattern is too deep or the boards are mismatched.
Use joint compound or a thin skim-coat product rated for walls, press it into grooves, then scrape flat with a wide drywall knife. Sand lightly after drying, then prime and paint in matte. Work in sections so the compound doesn’t dry before you feather edges.
Pro tipRun your hand across the wall after sanding — if you feel ridges, spot skim those areas before paint.
Watch outDon’t skip primer — compound can drink paint and leave patchy sheen.