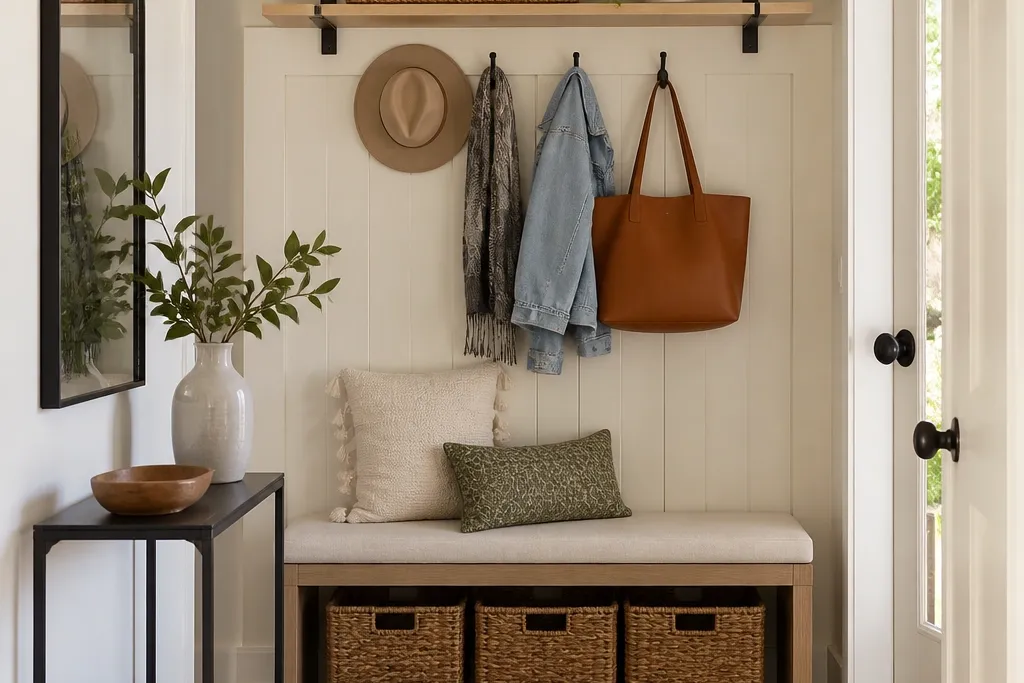
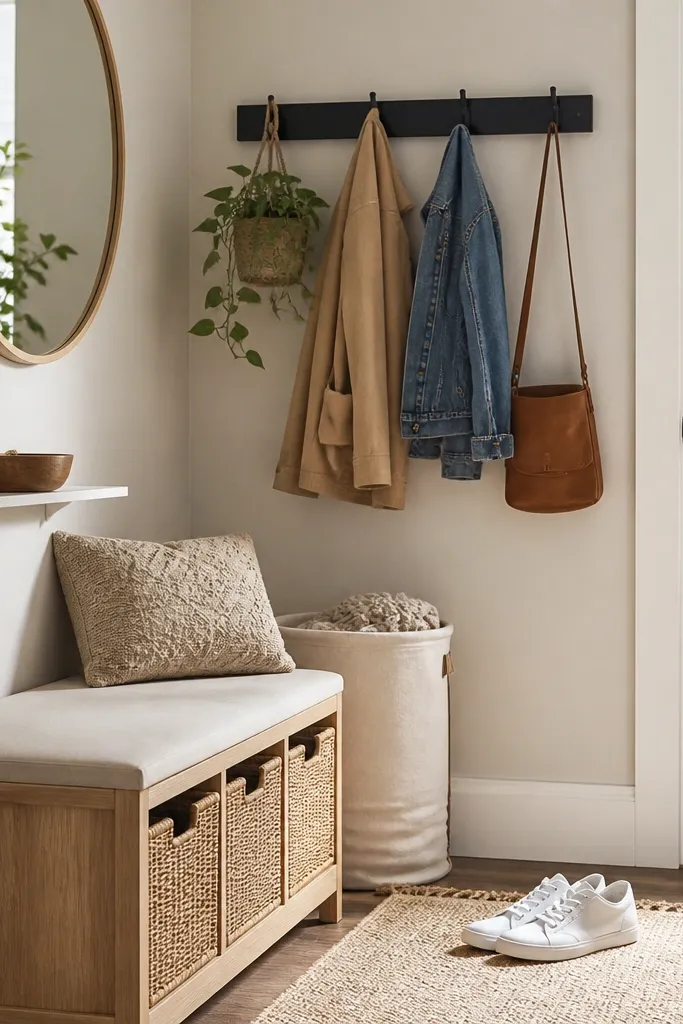
1. Over-the-Door Coat Ladder with Wipeable Baskets
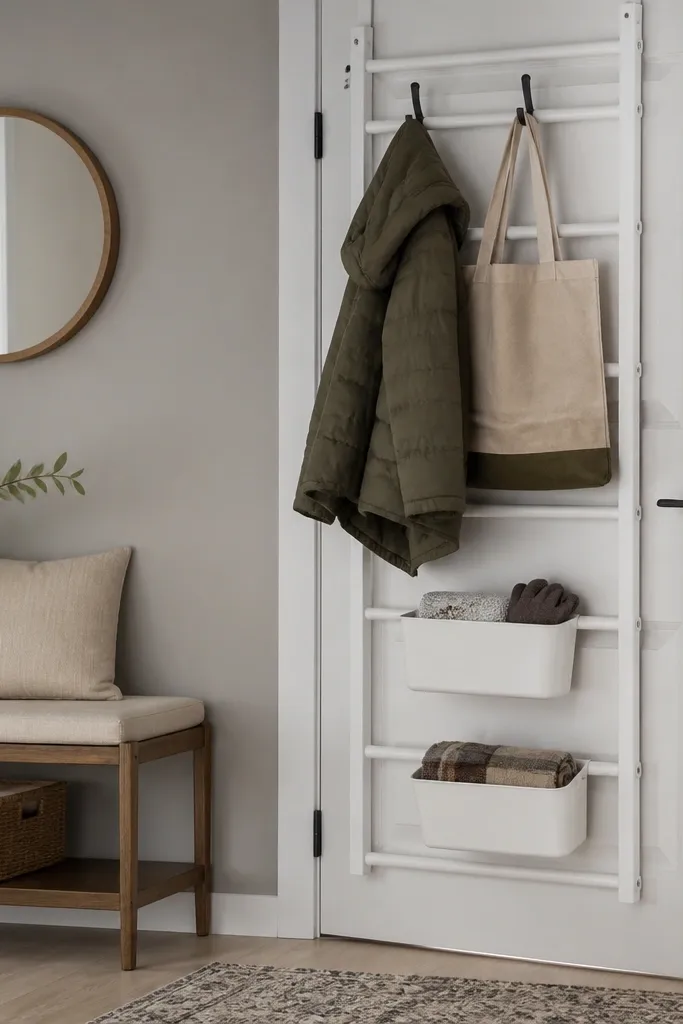
This setup turns the back of your door into coat storage without touching the wall. The ladder shape is the trick — it gives multiple hook points at different heights, so scarves and bags don’t end up in a heap on the floor. I pair it with wipeable baskets (vinyl or coated canvas) so muddy items don’t turn into a permanent stain. The white rack keeps the entry bright, and the black hooks look crisp against light walls.
Hang the ladder on the door using the built-in over-door hangers. Keep the bottom rung about 6 inches above the floor so you don’t kick it and so boots can clear when you step in. Place the bench or shoe rack 24-30 inches to the side so you’re not crossing traffic to grab shoes.
Pro tipBuy one extra basket and label it with painter’s tape for “wet stuff” so guests know where to put umbrellas.
Watch outDon’t hang heavy winter coats only on the top rung — it makes the door rack sag and the whole look turns sloppy.
2. Tension-Rod Hanging Rail with Cloth Storage Pockets
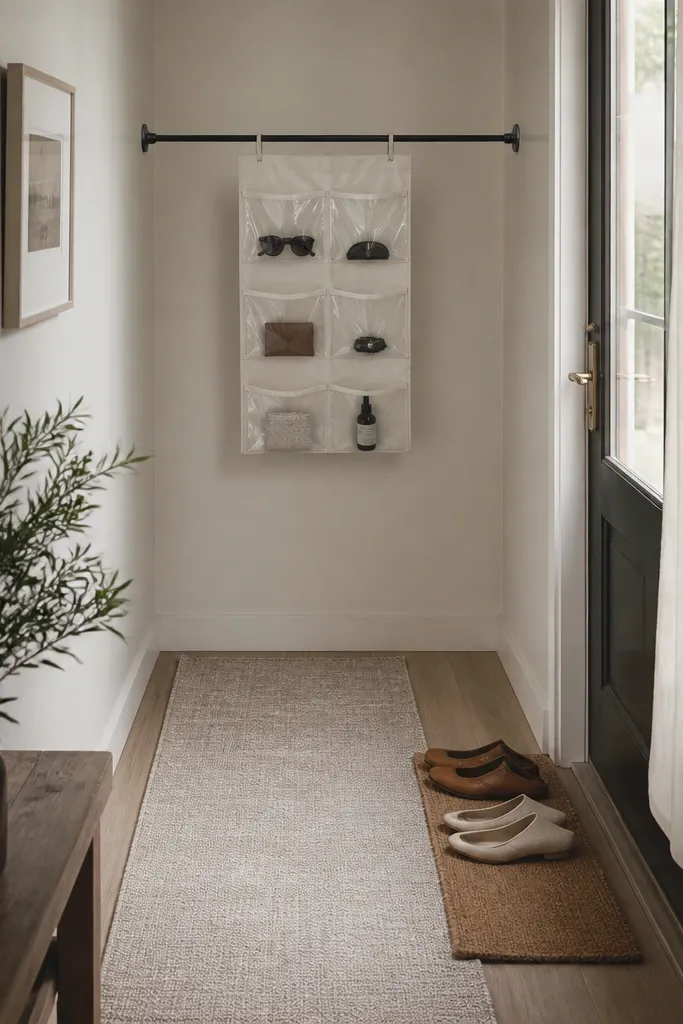
A tension rod gives you a “micro closet” effect in a hallway where you can’t mount a rail. I like cloth pockets because they visually sort items — gloves in one row, hats in another, and leashes or charging cables in the deeper pockets. The rod creates vertical order, so your entry doesn’t look like a drop zone explosion. Use a matte rod so it doesn’t reflect harsh light and look cheap.
Choose a rod rated for 20-30 pounds and measure the span so it doesn’t bow. Install the organizer so the bottom pocket sits about 2 inches above the floor. If your entry is only 30 inches wide, use one organizer panel instead of multiple rows to keep it from crowding the walkway.
Pro tipHang a light scarf loop on one end of the rod so it becomes a “visual cue” for where soft items go.
Watch outSkip shiny chrome tension rods — they scream “hardware store” against warm decor.
3. Freestanding Entry Bench with Hidden Shoe Pull-Outs
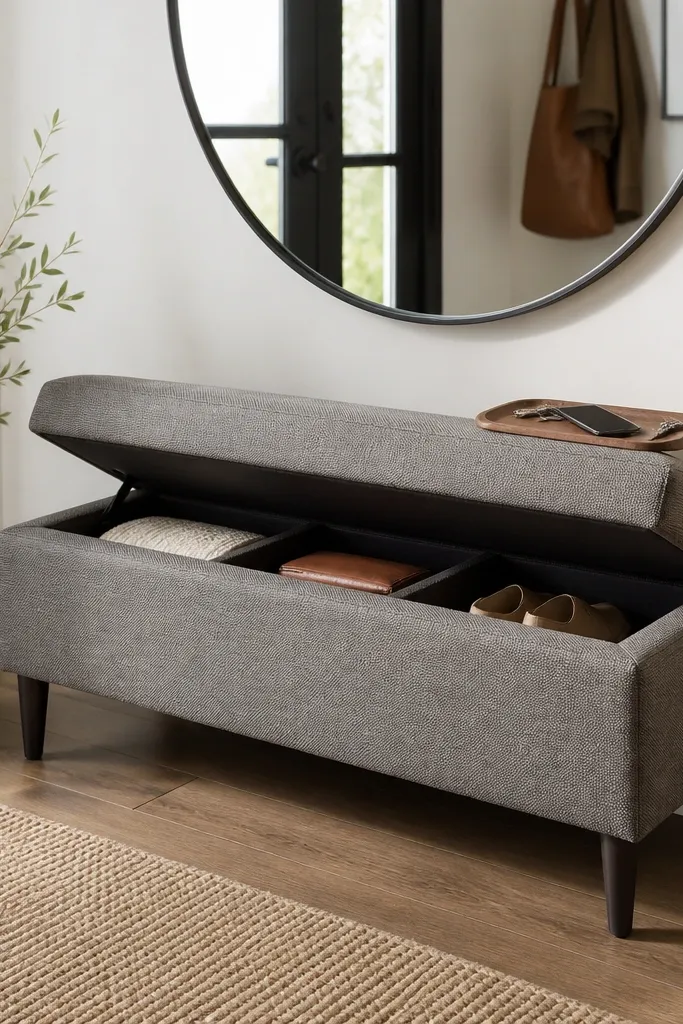
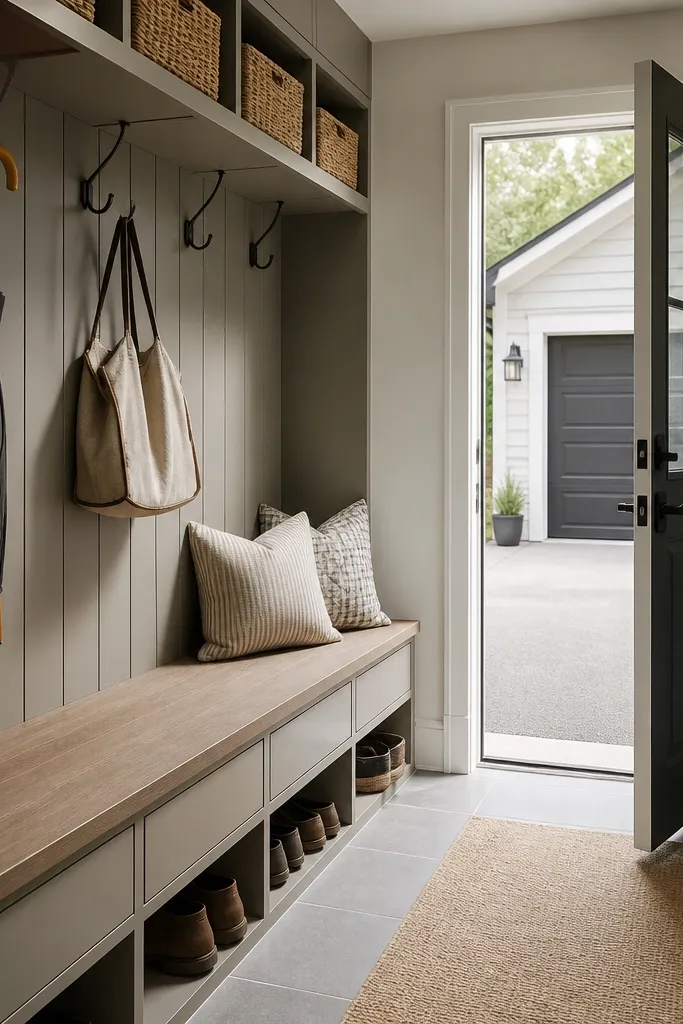
If you want a mudroom feel without drilling, a bench with internal storage is the easiest win. Shoes disappear instantly, which makes the entry look styled even when life is messy. I like upholstery on top because it softens the hallway and gives you a place to sit while tying boots. The hidden compartments keep the visual clutter down, especially in tight rentals.
Pick a bench length that matches your wall — in a small entry, 36 inches is my sweet spot for two adults. Make sure the compartments open without hitting the door swing. Add a washable seat cover or a removable cushion so spills wipe up fast.
Pro tipUse a slim boot tray or a doormat at the bench edge so wet soles don’t get dragged into the fabric.
Watch outDon’t choose a bench with exposed wire shelves — it catches dust and makes the shoe area look unfinished.
4. Magnetic Key Tray on a Metal Door Frame Panel
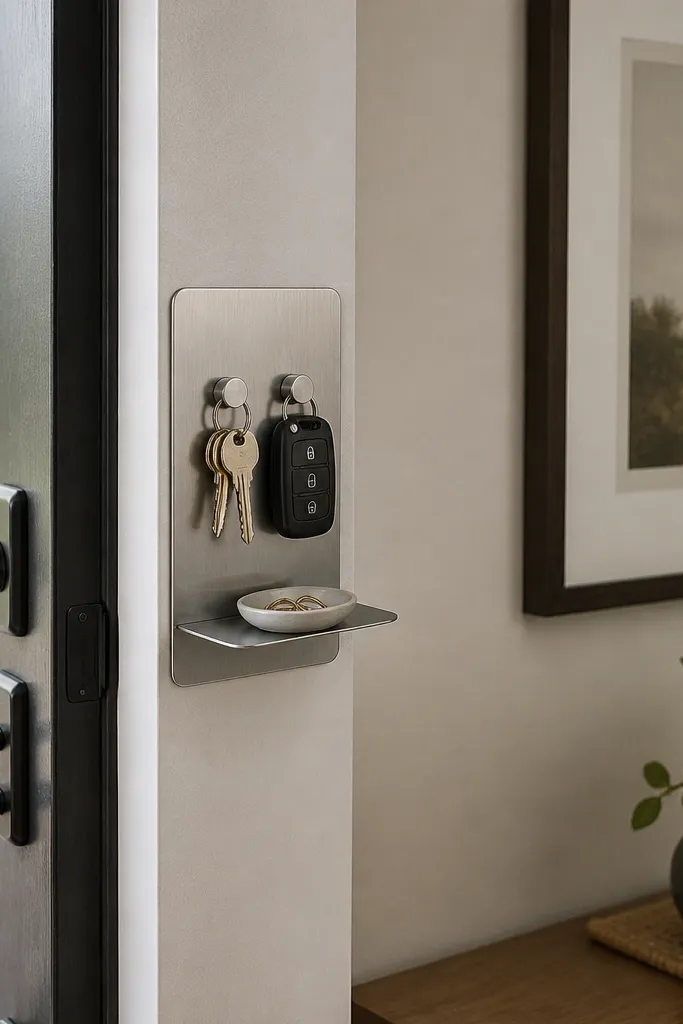
This is one of my favorite “small-space” tricks because it stops key pile chaos immediately. Instead of mounting hardware on the wall, you add a thin metal panel where keys naturally land. Magnetic trays feel clean and intentional, and the items don’t slide like they do on open shelves. It looks like a built-in without the commitment.
Use a thin steel or aluminum panel sized about 8x10 inches. Mount it with renter-safe adhesive strips rated for the panel weight, then hang nothing heavy from it — just keys and small items. Keep the tray low so you can drop keys while unlocking the door.
Put a small felt pad under the tray so key fobs don’t rattle.
Don’t mount a metal panel on textured paint that’s flaking — the adhesive will fail and you’ll be stuck peeling.
5. Corner Shelf Unit with Woven Bins and a Floor Runner
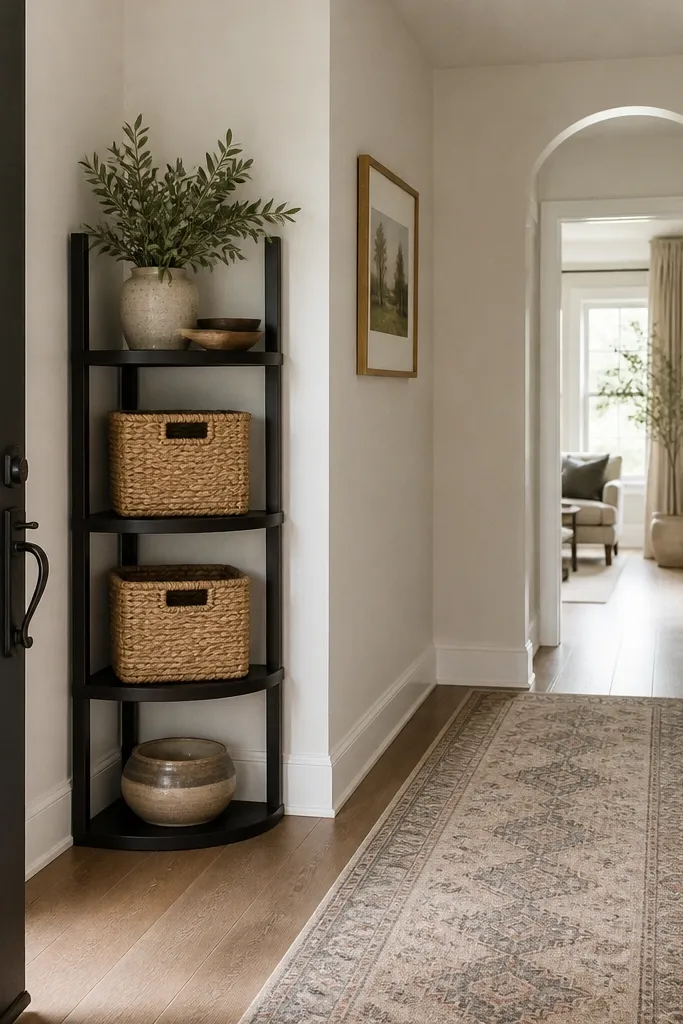
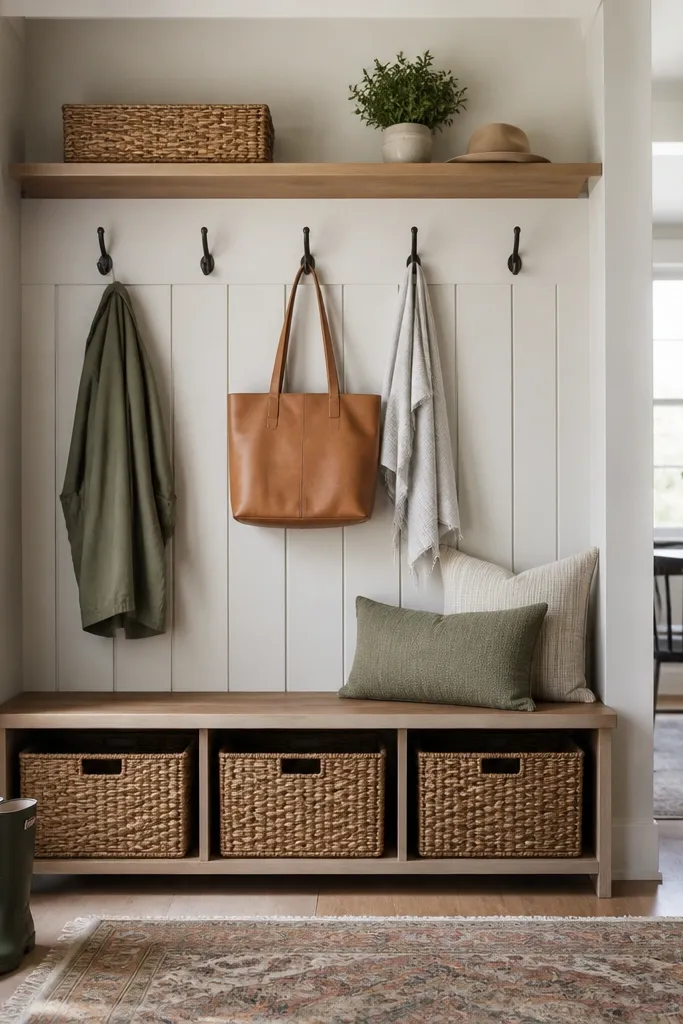
Corner storage is the only way I’ve found to make a narrow entry feel like a mudroom instead of a hallway. The shelf unit gives you levels, and woven bins hide the messy stuff without making the space look plastic. I like natural tan bins because they soften the geometry and blend with wood floors. A floor runner ties it together and protects the floor from scuffs.
Choose a shelf unit that’s stable and heavy enough not to wobble — look for a unit with a wide base. Place shoes on the bottom shelf or in two bins sized for your boot height. Run the rug 6-12 inches longer than the entry path so it doesn’t curl at the edges.
Pro tipLabel the bins with a tiny piece of painter’s tape on the inside front so you don’t ruin the look.
Watch outSkip bins that are too tall — if they stick above the shelf line, the whole corner looks cramped.
6. No-Drill Wall Hooks Using Removable Rail + Coat Hangers
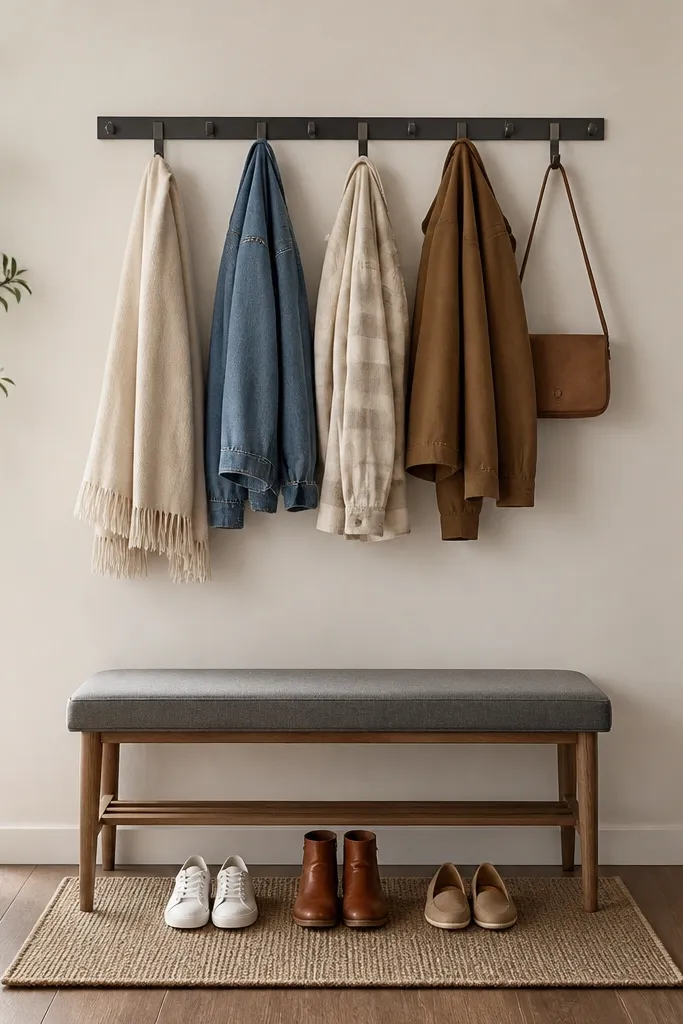
If you want the “real mudroom” look, a continuous rail line matters. It makes coats hang in a row instead of random clumps, which instantly looks cleaner. I use a removable rail because it gives you a straight visual line from left to right. Pair it with matching hangers so the coats look intentional even when they’re different lengths.
Use a rail designed for screw-free mounting and mount it at consistent height so hangers clear the bench. Measure from the floor: aim for hanger hooks about 60 inches high for adult coats. Keep the bench centered under the rail so you’re not reaching across traffic.
Use one plain wooden hanger for each coat and keep the rest of the entry on metal hangers for contrast.
Don’t rely on adhesive alone for heavy wet coats — use the rail system that spreads weight and follow the install cure time.
7. Slim Console Table with Open Shelf for Shoes and a Front Tray
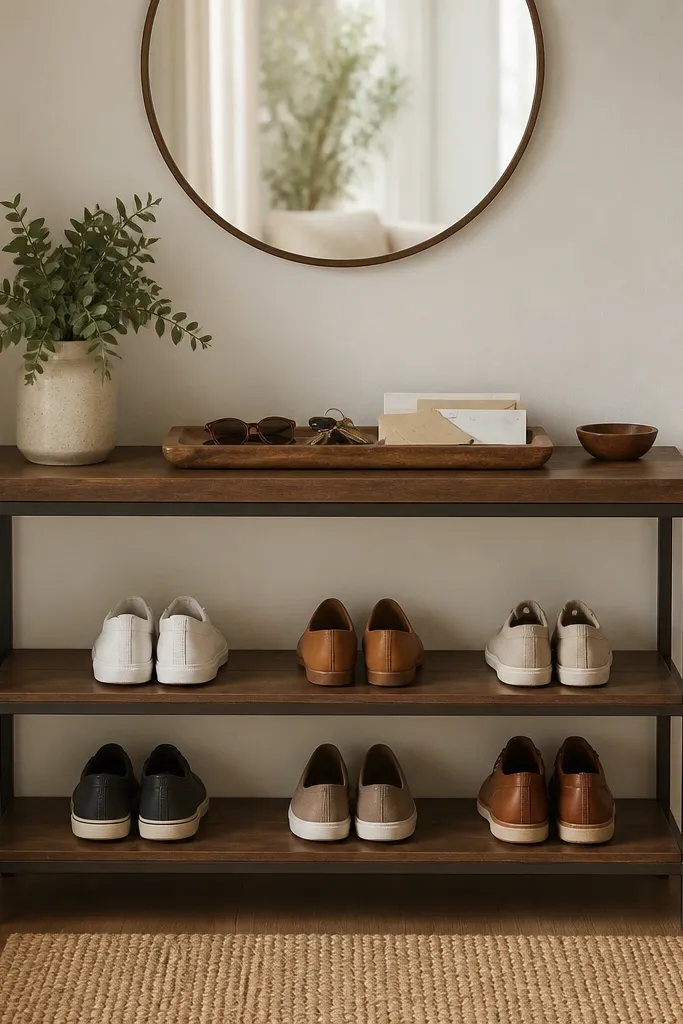
A console table is the fastest way to make a rental entry feel designed. The open shelf is where shoes go, and the top becomes your catch-all surface. I like a tray because it turns random mail into one tidy object. With a mirror above, you get the “more space” effect without adding more furniture.
Pick a console that’s 10-12 inches deep so you don’t pinch the walkway. Use baskets or dividers on the shelf so shoes don’t slide. Mount the mirror with renter-safe strips and add a thin felt strip under the tray so it doesn’t skid.
Pro tipUse a mail sorter with two compartments and keep it inside the tray so you never see loose envelopes.
Watch outSkip tall clutter on the console — if mail and bottles tower, it looks chaotic in seconds.
8. Pegboard Look with Peel-and-Stick Panels for a Rent-Friendly Drop Zone
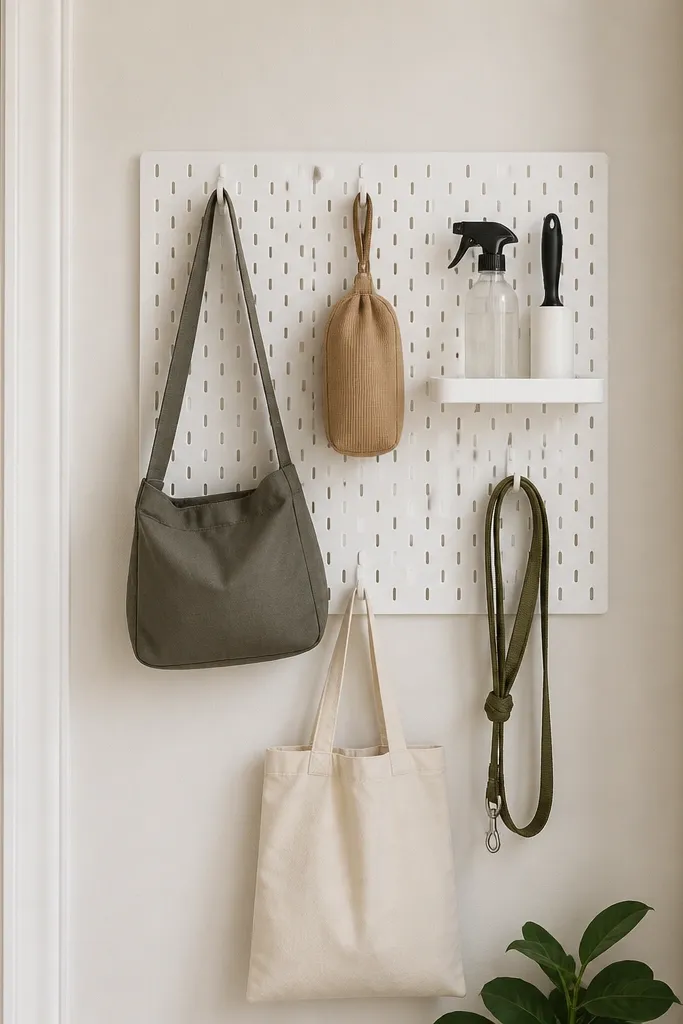
The pegboard look gives you instant organization because hooks create a grid. Peel-and-stick panels are a cheat that still looks like you planned it. I like white panels with black hooks for a clean, modern entry. It’s especially helpful if your entry wall is plain and boring — you get function and style in one move.
Cover a section about 24-36 inches wide so it doesn’t overwhelm a narrow hallway. Place hooks on the grid so coat hangers don’t tangle. Keep the shelf light — think lint roller, stain spray, and a small brush, not heavy bottles.
Pro tipPress the panel edges with a credit card to remove bubbles so it looks factory-installed.
Watch outDon’t put hooks in a way that forces coats to overlap — tangles make the system fail.
9. Two-Stack Shoe Rack with Bin for Wet Items
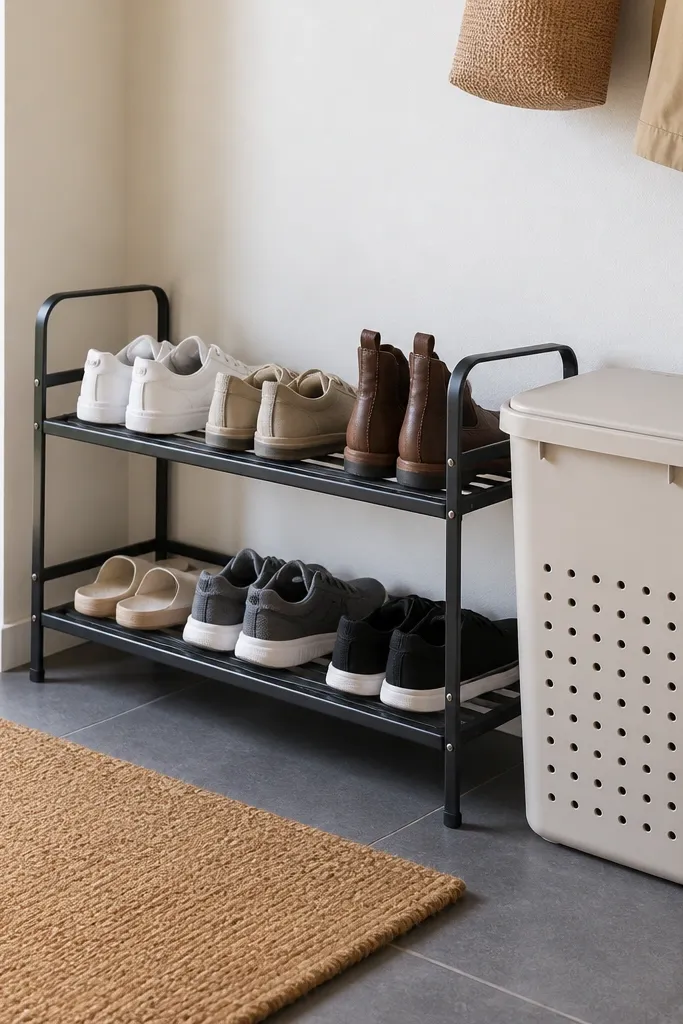
This is my “no drama” mudroom setup for renters because it handles wet boots without turning your entry into a swamp. The two-tier rack keeps shoes off the floor, and the separate wet bin is where you put umbrellas and damp gear. The metal frame is easy to wipe down after muddy days. It also works in tiny spaces where a bench is too wide.
Choose a rack width that fits within your door opening swing — measure the clearance before you buy. Put the wet bin on the side closest to the door so you can grab it without walking through the hallway. Add a mat that’s slightly larger than the rack footprint to catch drips.
Use a roll of paper towels under the wet bin liner for quick cleanup after rainy weekends.
Skip fabric shoe organizers near the door — they soak up water and smell fast.
10. Floor-to-Ceiling Storage Cabinet with Open Bottom for Boots
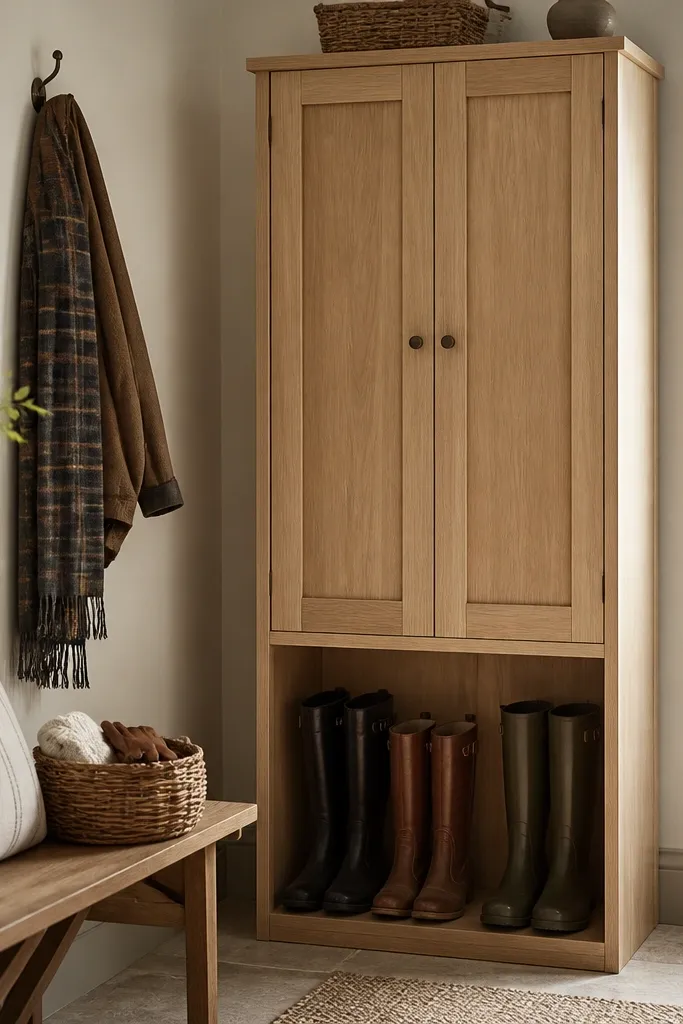
When you need storage without wall mounting, a freestanding cabinet makes the entry look built-in. The open bottom is where boots go, and the closed top keeps the visual mess hidden. I like light oak because it warms up rentals that have gray walls. Add a bench and basket and you get a proper mudroom rhythm.
Leave a small gap at the top for air circulation and to prevent rubbing — about 1/2 inch. If your cabinet has adjustable shelves, set them so bags fit flat. Place it so you still have a clear path from the door to the hallway.
Pro tipAdd felt pads under cabinet legs so it doesn’t scrape when you move it for cleaning.
Watch outDon’t buy a cabinet that’s too tall for the entry — if you can’t reach the top shelf comfortably, you’ll stop using it.
11. Woven Basket Wall Corner with Removable Command Shelf
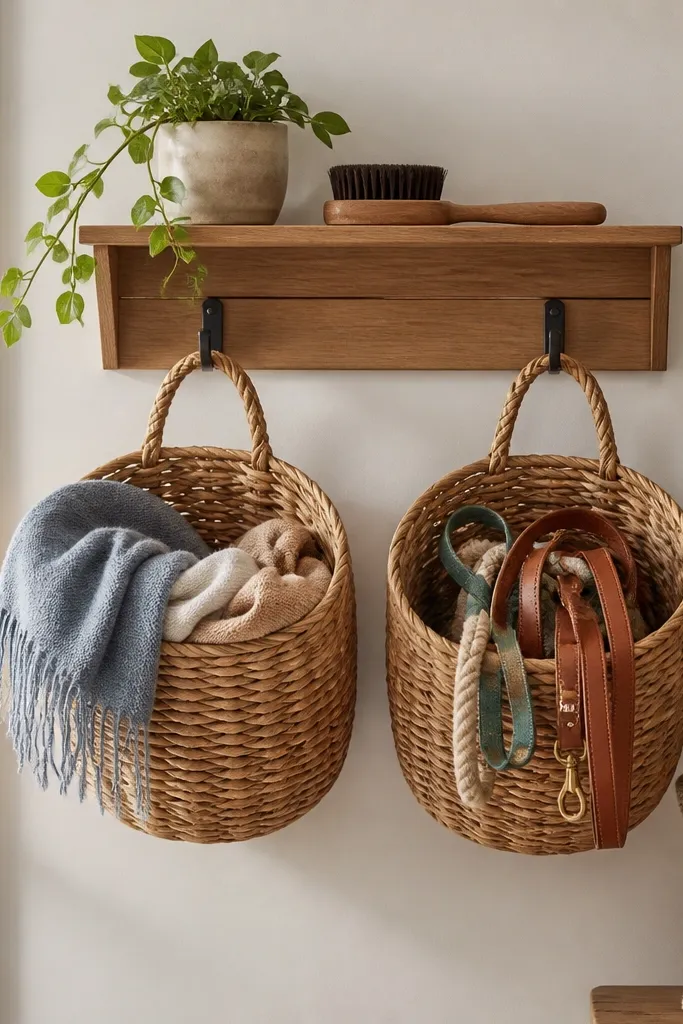
Baskets on the wall corner add softness and hide daily clutter without bulky furniture. The removable shelf keeps the setup renter-friendly, and the baskets bring texture so the entry doesn’t look like “all storage, no style.” I like neutral woven baskets with a tight weave because they hold shape and don’t sag. The result is a drop-zone that looks like decor, not a utility station.
Use a small removable shelf or hook bar above the cabinet or bench height. Hang baskets with handles over the hooks so the weight sits on the basket itself. Keep baskets no wider than 14-16 inches so they don’t bump when you walk past.
Put a small plastic liner inside each basket to protect the weave from wet items.
Skip baskets with loose fibers — they shed onto floors fast and look worn.