1. One-piece wood-grain wrap on an old laminate top
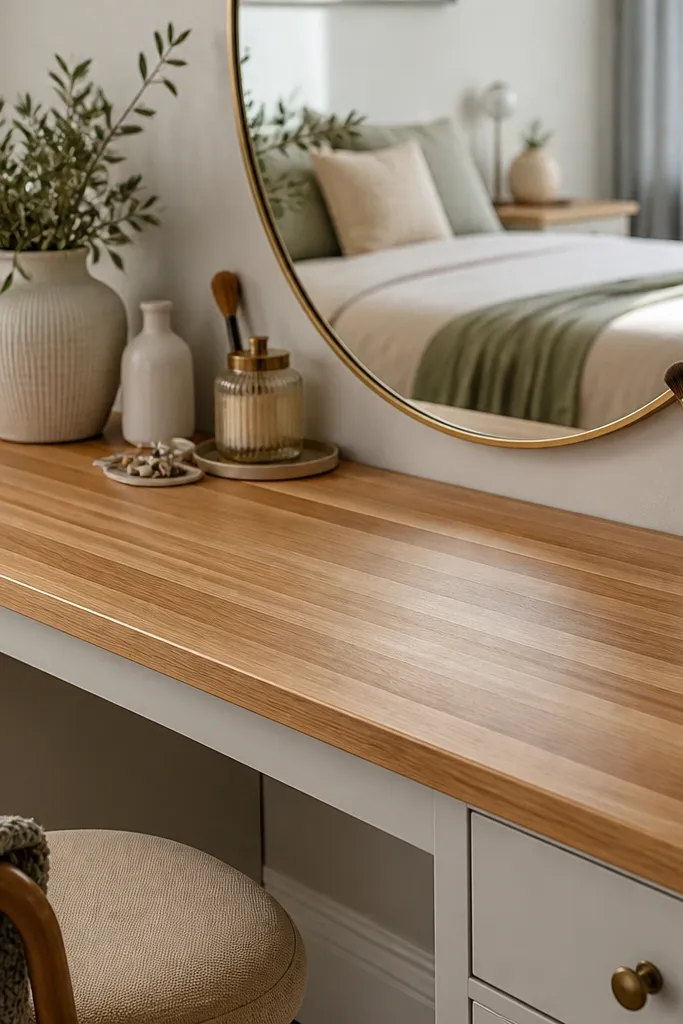
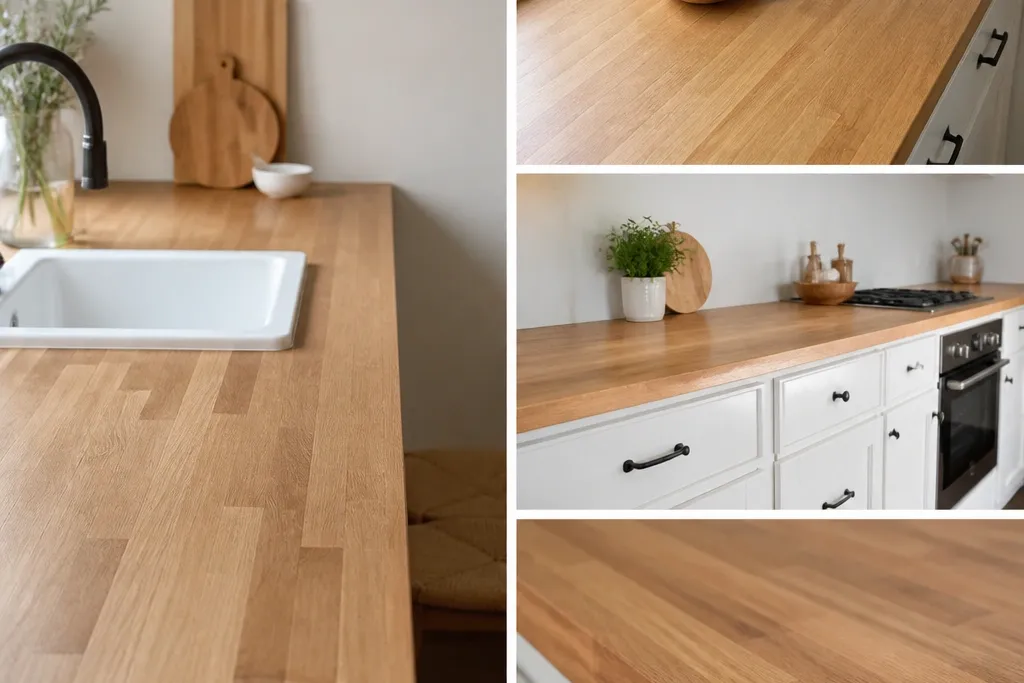
This works because you’re not relying on a printed “photo” — you’re using a wood-grain wrap that repeats like planks. The warmth comes from choosing a honey or golden oak pattern, not gray “driftwood” tones. The straight strip lines make the top read like butcher block rather than random wood. I like it in bedrooms because vanity lighting is usually softer and makes the grain look deeper.
Prep the laminate with a degreaser wipe, then lightly scuff with 220-grit until it feels dull. Cut the wrap with a little extra around the edges, then press from the center outward to avoid bubbles. Finish by adding a matching trim strip along the front — a 1-inch wide wood-look strip in the same color family — and seal everything with a satin clear coat.
Pro tipUse a clear ruler and mark cut lines before you peel the backing. One crooked seam is all it takes to ruin the illusion.
Watch outAvoid high-gloss topcoat — it turns the grain into a shiny sticker look under bedroom lights.
2. Peel-and-stick faux butcher block panels with aligned plank seams
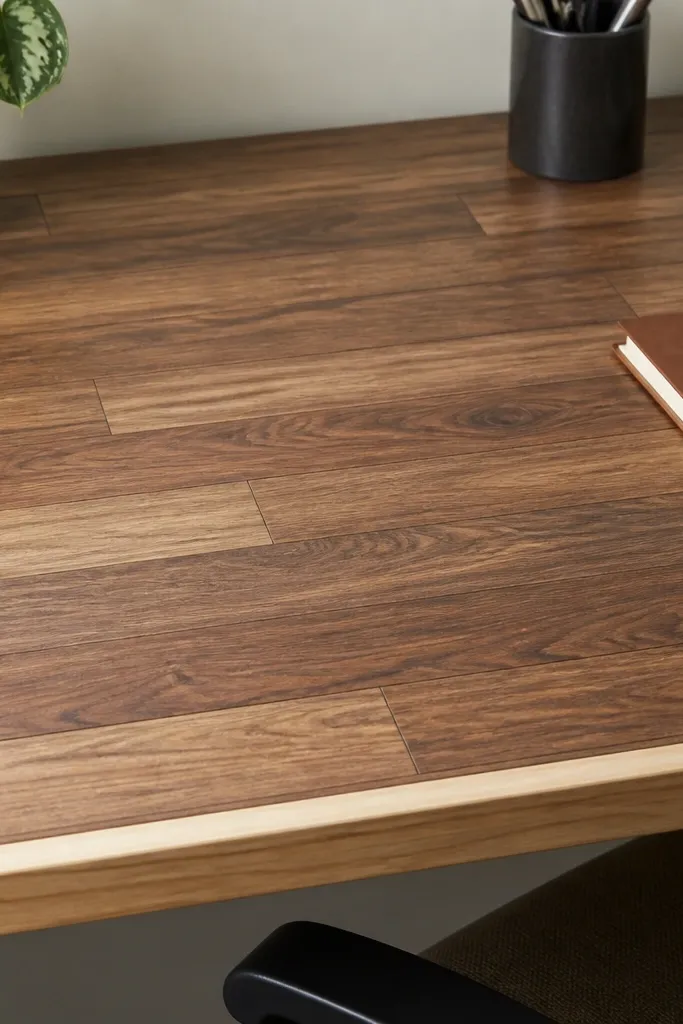
Panel seams can look real if you align the plank lines like actual butcher block strips. Choose panels that show narrow strips (about 1/2 to 3/4 inch strip width in the print) so the scale matches furniture-sized countertops. The reason it reads believable is that the pattern repetition mimics how butcher block is built. This is also the fastest route for renters because you can lift it later with heat.
Lay dry first: set panels on the surface without sticking, then shuffle until the plank lines match across boundaries. Press down with a plastic scraper and work slowly so edges don’t lift. Use a thin caulk line at the seams in a matching tan (not white) to hide gaps, then add a 3/4-inch trim strip on the front edge.
Pro tipChoose a tan caulk, not gray. Gray caulk makes seams look like repair work.
Watch outDon’t overlap panels to hide gaps — the overlap shadows look fake in close-up.
3. Faux butcher block top made from thin plywood strips painted and glazed
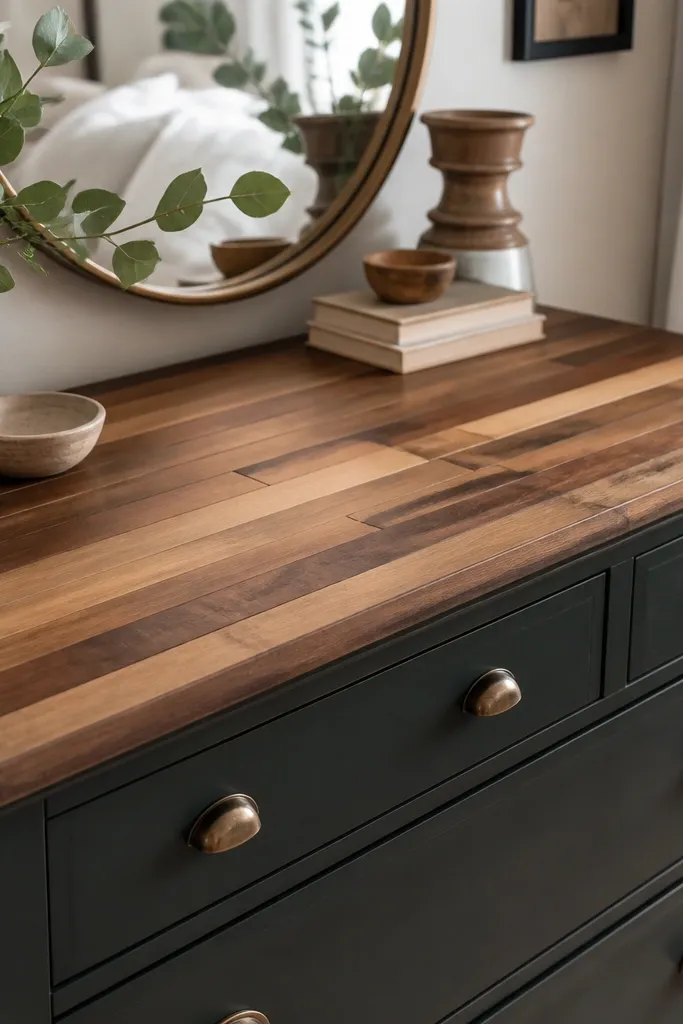
This is the most “handmade” option and it looks real because you create depth in the strips. By painting thin strips in 3-4 close wood colors and then glazing over them, you fake the way wood absorbs stain. The small variations in tone keep it from looking like a flat print. I used this on a vanity where the surface gets touched daily, and it never looked plasticky.
Cut 1/2-inch-thick strips from thin plywood (or use pre-sanded craft plywood), then glue them to a base sheet with wood glue. Paint with a base coat of warm tan, then add darker streaks using a dry brush. After it dries, glaze with a brown wash (thin acrylic or wood stain diluted with water) and wipe back so streaks remain. Seal with satin polyurethane.
Pro tipSand between glaze coats with 320-grit so the finish feels smooth, not gritty.
Watch outSkip the flat, single-tone paint — one color reads like faux.
4. Contact paper butcher block + waterproof spar urethane on top
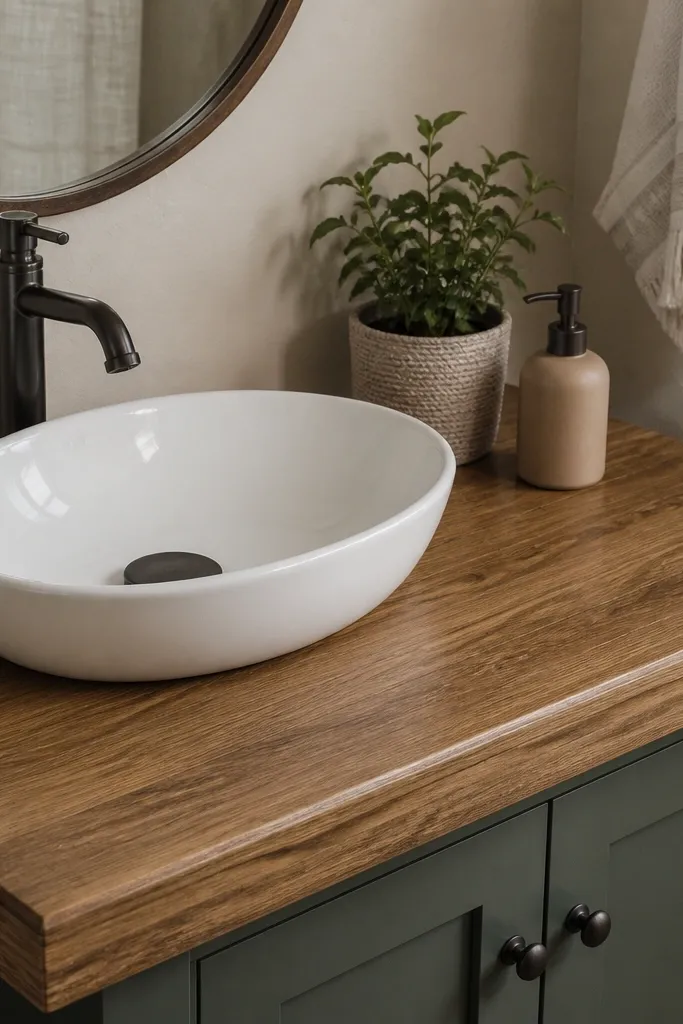
Contact paper alone looks cheap. The magic is the clear topcoat that locks it down and changes how light hits the surface. When you apply multiple thin coats of satin spar urethane, the grain looks like it’s under a finish instead of on top of one. This is a great fit for powder rooms where you wipe down often.
Apply contact paper carefully with a squeegee, then trim the edges with a sharp utility knife. Let it sit 24 hours so it relaxes. Brush on 3-4 thin coats of satin spar urethane, sanding lightly with 400-grit between coats to remove any raised texture.
Pro tipUse a foam brush for the first coat. It lays down smoother than a bristle brush on glossy contact paper.
Watch outAvoid thick coats — they pool at edges and create a fake “plastic lip.”
5. Vinyl wood-grain sheet with a faux butcher block edge cap
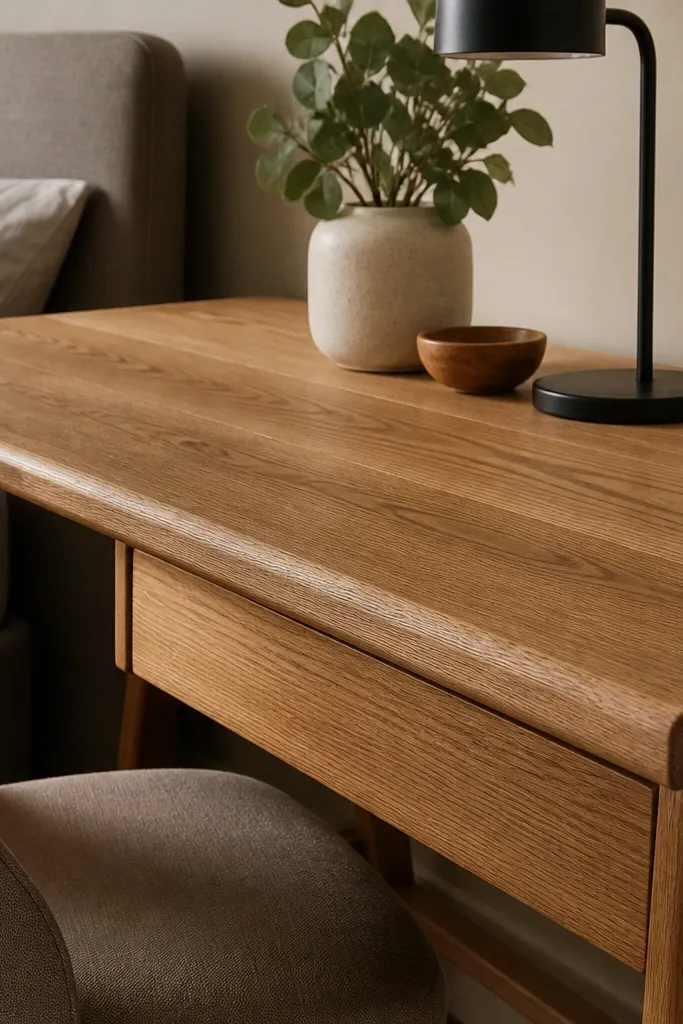
The surface reads like wood because the vinyl sheet has realistic strip grain, but the edge sells it. A proper edge cap mimics the thickness of butcher block and gives the top a shadow line. I’ve used this on desks with exposed front edges where people lean their arms on the counter — you can feel the difference.
Choose vinyl with a woodgrain pattern that repeats in strips, not random swirls. After installing, add an edge cap strip — either real wood trim or wood-look PVC trim — cut to match the countertop thickness. Round the cap edges slightly with sandpaper if it’s real wood, then seal the whole top with satin clear.
Dry-fit the cap and check height against your drawers so nothing rubs or catches.
Don’t leave raw vinyl at the front edge. Exposed edges lift and look unfinished fast.
6. No-sand faux butcher block using laminate threshold strips
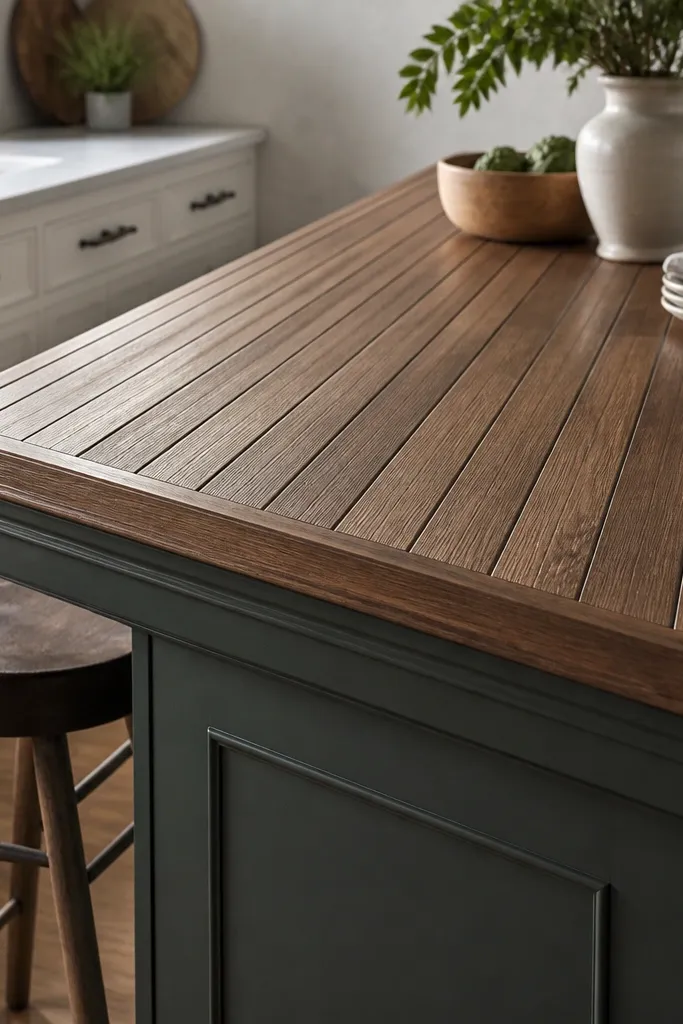
This method creates real “striping” using actual raised lines. Instead of relying on print texture, you build the butcher block pattern with thin strips, then cover the field with wood-grain film. The raised lines catch light and make the surface look dimensional. It’s a great trick for weird countertop shapes where one flat sheet is hard.
Attach narrow threshold strips or thin wood-look strips (about 1/2 inch wide) across the surface spacing evenly. Use construction adhesive made for laminate or plastic if your strips are PVC. Then fill the gaps with wood-grain wrap cut to fit between strips. Finish with satin polyurethane over the whole field.
Pro tipKeep strip spacing consistent — measure once and mark a guide line for every row.
Watch outDon’t use super thick strips. Too much height makes it look like a craft project.
7. Wood-grain laminate top with "end grain" paint on the front band
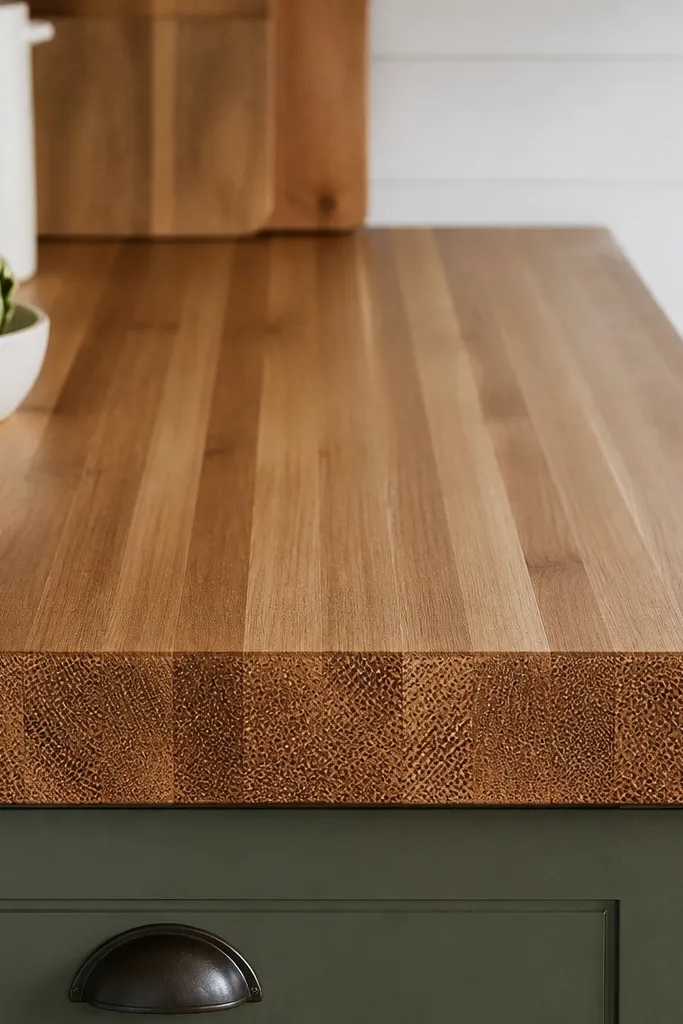
Real butcher block has a front edge that reads like end grain — you see tiny dots and a speckled pattern when you look close. You can fake that with a small front band. I’ve done this on a console table countertop where the front edge is always in view. The end-grain band makes the whole top feel authentic even if the top is a vinyl print.
Cover the main top with wood-grain wrap in strip pattern. For the front band, paint a 1.5 to 2-inch strip with a base tan, then dab a darker brown using a sponge tip to create speckling. Add a light gray-brown glaze wash to blend, then seal everything with satin clear.
Pro tipUse a sponge that’s not too dense; you want small irregular dots, not perfect circles.
Watch outAvoid a solid dark front edge. End grain needs variation.
8. Faux butcher block using stained craft sticks as a texture layer
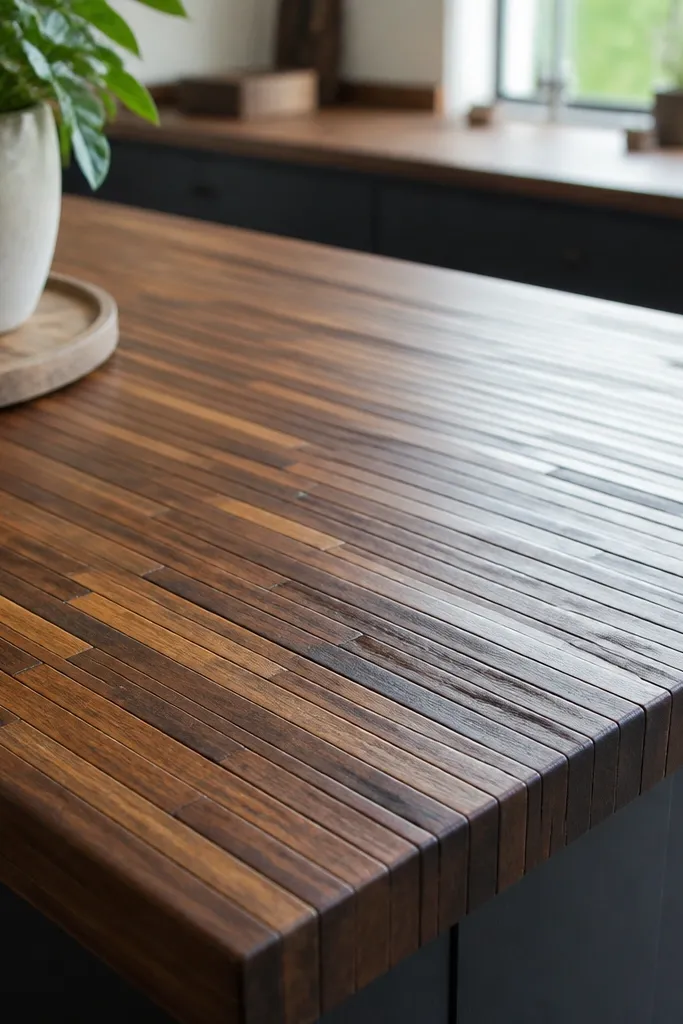
This looks real because you’re creating actual wood texture, not just a print. Stained craft sticks give you natural variation in grain lines and color. When you seal, the texture smooths slightly but you still get micro-variation that reads as wood. It’s a little more work, but the result is hard to fake convincingly with vinyl alone.
Glue sticks to a flat base in tight rows, leaving tiny gaps like real strips. Stain with 2 colors — a medium walnut and a lighter oak — then wipe back so the lighter tone shows through. Once dry, fill gaps with thin wood filler tinted tan, sand lightly, then seal with satin polyurethane.
Pro tipUse a straight edge to keep rows aligned. Crooked rows show up immediately in photos.
Watch outAvoid skipping the filler — gaps without filler look like unfinished construction.
9. Budget faux butcher block countertop with wood-look laminate sheets and caulked seams
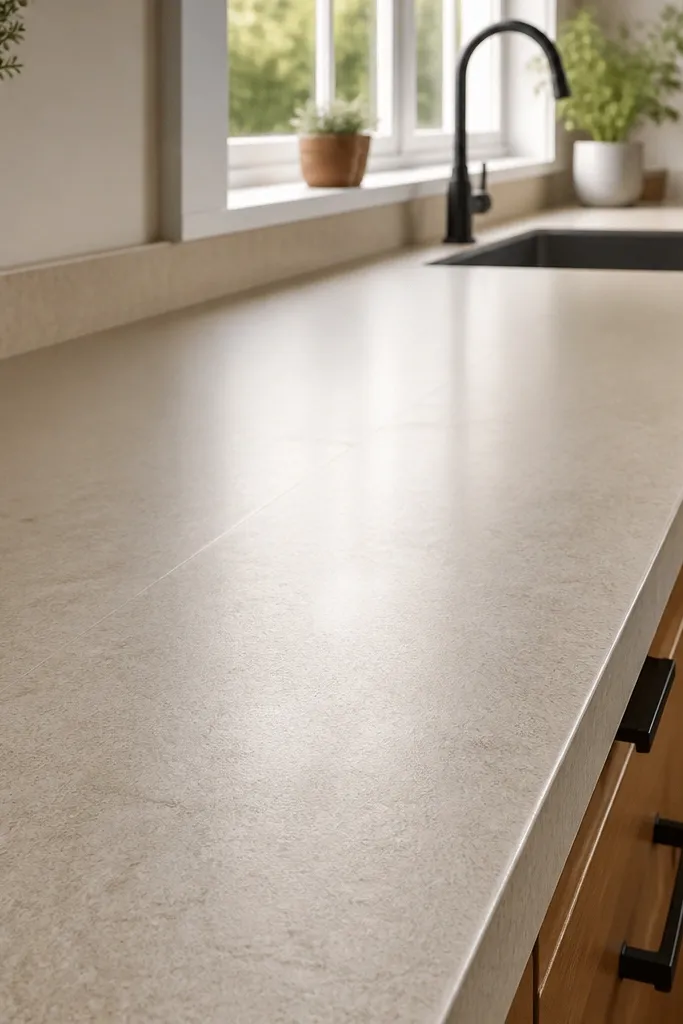
Seams are where people notice “faux.” If you join sheets with a visible seam, it looks like a patch. When you caulk a seam with a matching tan and then seal over it, it disappears. This is a good choice for long vanities where you need two pieces to fit. The clear satin coat makes the wood-look laminate look like it’s sealed like real block.
Cut laminate sheets so the seam hits a spot that won’t be constantly wet (like away from the sink edge if possible). Apply laminate adhesive to the seam line, then press both sides together. Run tan caulk along the seam, let cure, then sand lightly and seal with 2-3 satin coats.
Pro tipPick caulk color by holding it next to the laminate in the room’s lighting, not daylight.
Watch outAvoid white caulk. It turns every seam into a repair line.
10. Matte wood-grain wrap with a wax finish for a bedroom feel
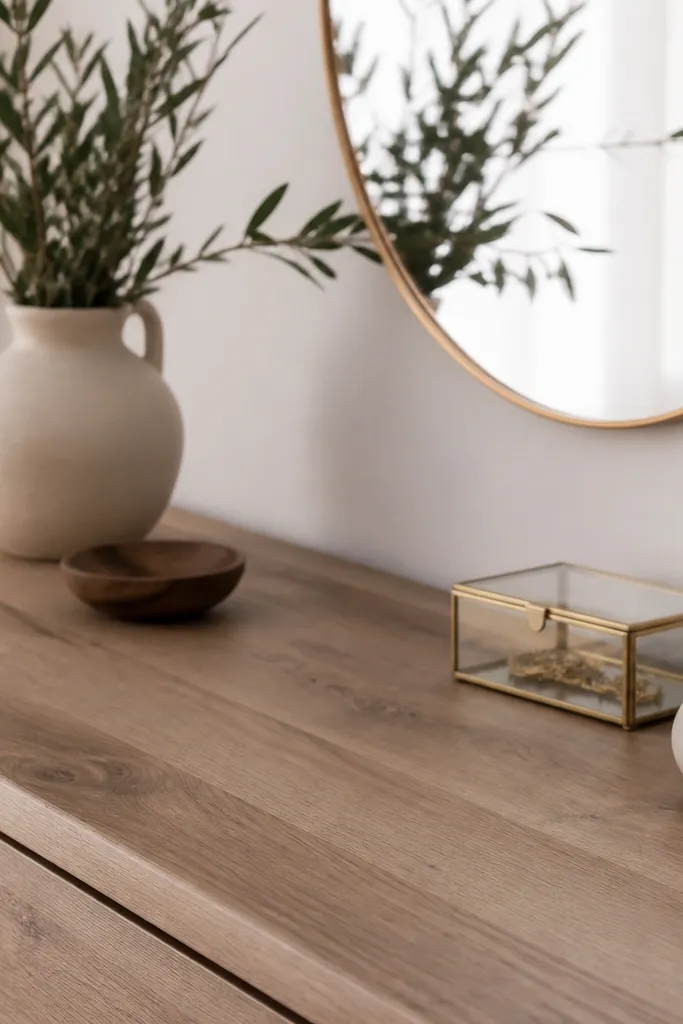
If you want the countertop to feel less like a kitchen and more like furniture, matte wrap plus wax works. Real butcher block can look matte after years of use, and wax creates that “worn-in” softness. This is perfect for a bedroom where the surface gets occasional contact but not constant water exposure. The low sheen also hides small imperfections in the wrap.
Install matte wood-grain wrap and seal edges with a thin clear sealer to keep moisture from getting underneath. Apply a wax finish in thin layers, buffing until it stops looking streaky. Let it cure before placing anything heavy on it.
Pro tipUse two thin wax coats instead of one thick coat. Thick wax stays tacky longer.
Watch outAvoid high humidity rooms. Wax can soften if the space stays damp.
11. Faux butcher block countertop with a peel-and-stick wood runner pattern
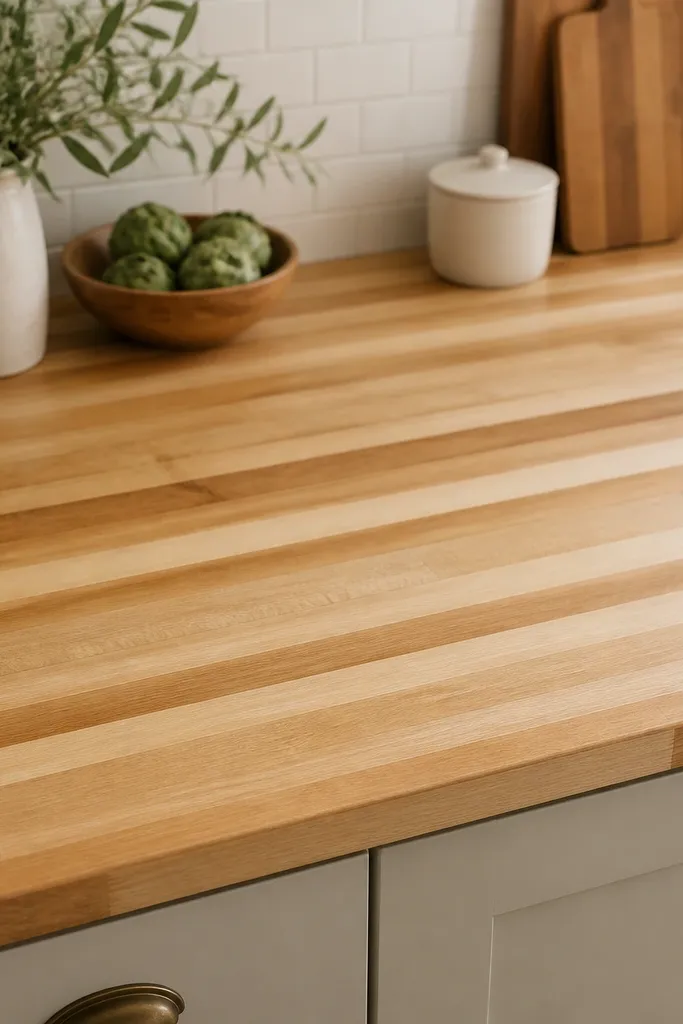
This is the “budget but still believable” option when you can’t cover the whole thing in one sheet. The trick is choosing a runner-style pattern where the repeats are tight and consistent. With the right grain scale, your brain reads it as strips. I’ve used this on small nightstand tops where the surface area is too weird for large panels.
Use narrow strips of peel-and-stick wood runner material, laid parallel across the width. Overlap by a hair at seams, then trim the overlap with a knife so it’s flush. Add a thin trim strip at the front and seal the top with satin clear to lock everything down.
Pro tipPlan your seam locations so they land under a decorative tray or along a backsplash line.
Watch outDon’t stretch the material as you apply. Stretching distorts the grain and makes it look printed.
12. Wood-tone paint base + faux grain lines with a dry brush
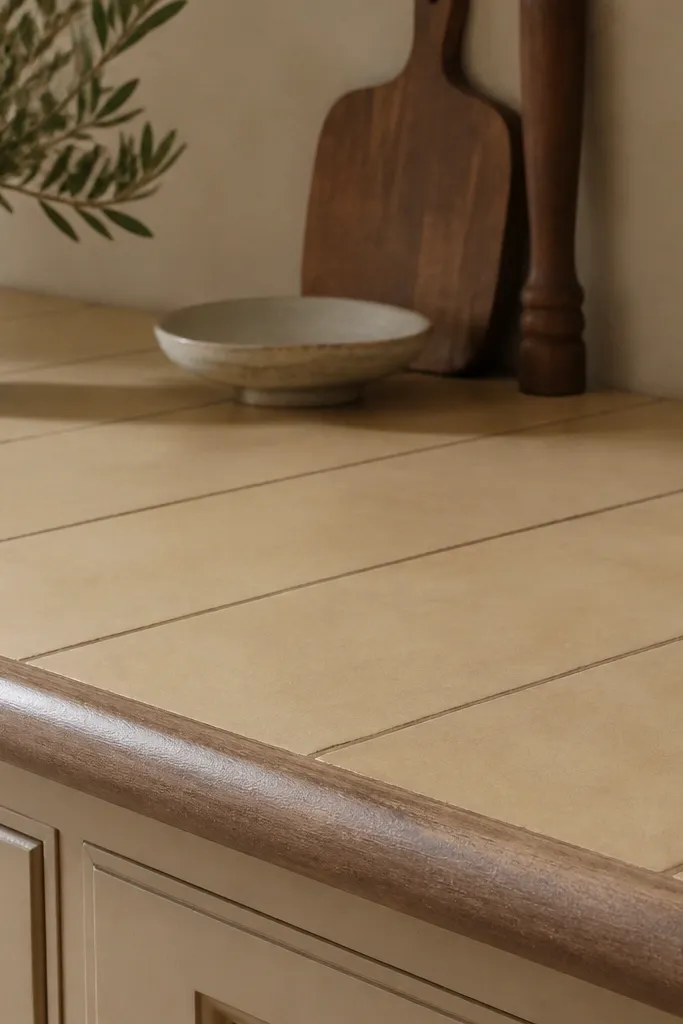
Paint sounds risky until you do it the way woodworkers do — build a base tone, then add controlled streaks. The dry brush method creates fine texture like wood pores. You can also match the exact undertone of your bedroom furniture by mixing paint colors yourself. This method looks best in matte or satin finishes where brush texture can show.
Paint the surface a warm beige or light tan. Then use a dry brush loaded with mid-brown paint and skim the brush lightly to create striping. Add a few darker “knot” spots sparingly. Seal with satin polyurethane in 2-3 coats.
Pro tipPractice on a cardboard scrap first. Your hand pressure is the whole difference between realistic and streaky.
Watch outAvoid heavy wet paint lines. Thick stripes look like faux wallpaper.