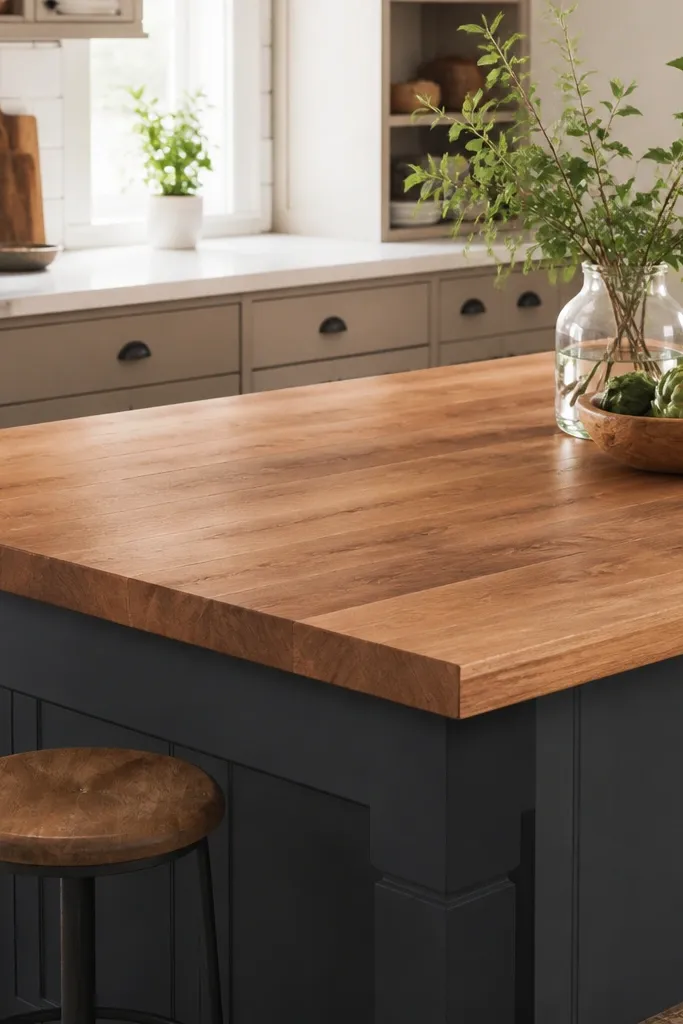
1. Rolling prep island with a toe-kick bar
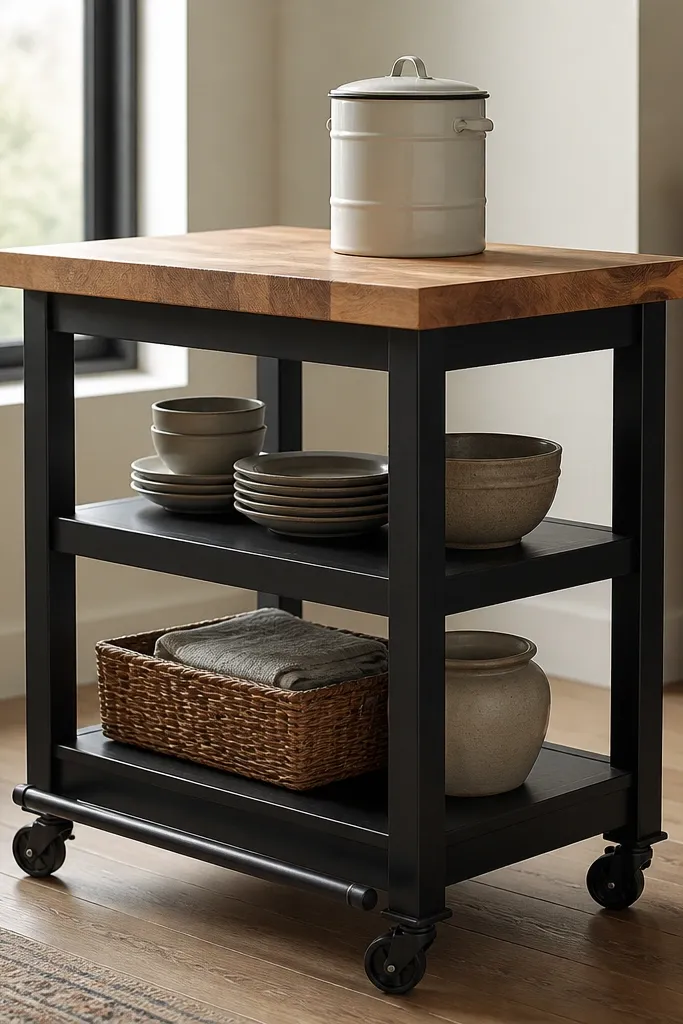
A rolling island is the quickest win when you don’t want to commit to a fixed build. The toe-kick bar makes it look like furniture instead of a cart, and the matte black base contrasts with the honey wood. I’ve seen this combination work in narrow kitchens because the wheels let you pull the island out for cleaning without losing storage. Keep the top uncluttered and let the wood color do the styling.
Use a butcher block top cut to your space, then mount it to a rigid base frame. I like casters that have locking brakes and a load rating, and I set the base so the long sides overhang by about 1 inch. Paint the base with a durable cabinet enamel, then seal the butcher block with your chosen finish before assembly.
Pro tipAdd a simple rail under the top for a towel and a single utensil hook so you keep the surface clear.
Watch outAvoid tiny casters without locks — the island drifts every time you chop.
2. Built-in look with cabinet doors and a butcher block face
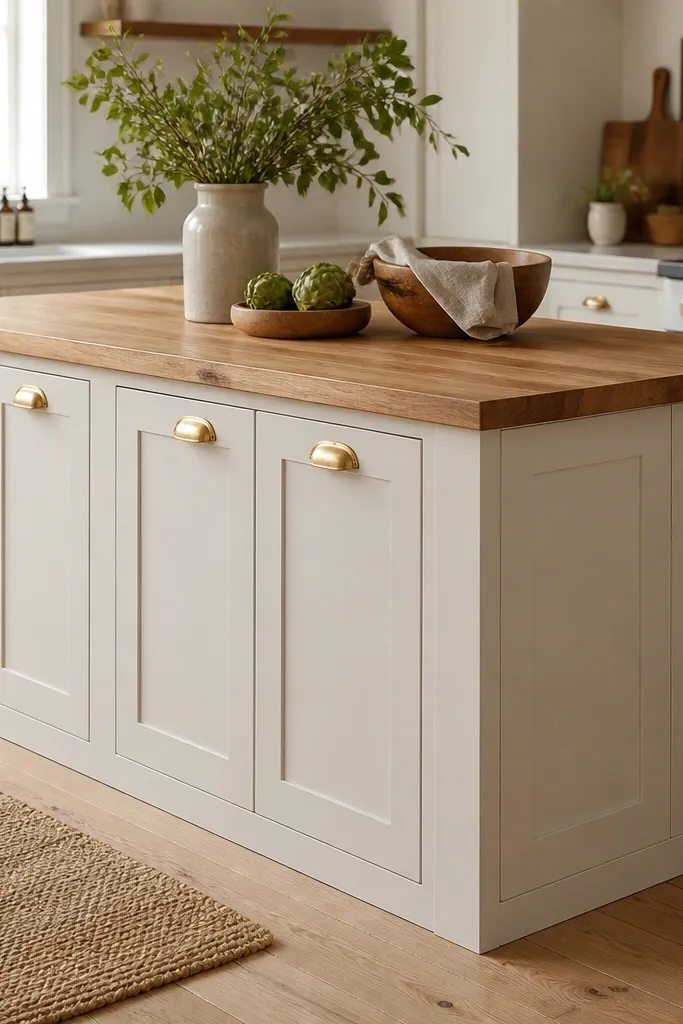
If you want your bedroom-style “built-in” calm to show up in the kitchen, this is it. Cabinet doors hide countertop clutter and keep the wood looking intentional instead of temporary. Brass pulls next to warm butcher block make the whole island feel warmer and less industrial. The overhang gives you leg room without exposing the base.
Build or buy a base with standard cabinet dimensions so door alignment is easy. Set the butcher block on spacers or cleats so it sits level, then use wood screws from underneath into the base frame. Stain only if you want a deeper tone; otherwise, sand to 180 grit and finish with a food-safe sealer.
Use the same pull style as your kitchen cabinets so the island reads like it was planned from day one.
Don’t leave the block edge unfinished — raw edges soak and look blotchy.
3. Two-tier island: butcher block prep top over open wine storage
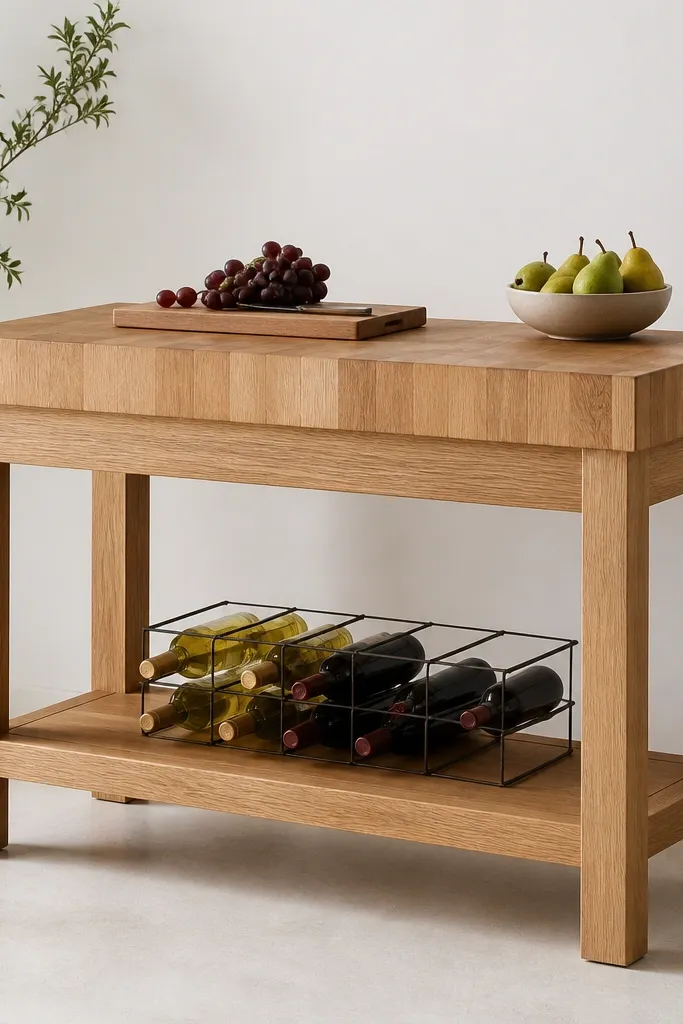
A two-tier setup makes the island feel more “designed” without adding more countertop clutter. The open wine storage keeps the visual line interesting, while the butcher block top stays warm and grounded. I like this in kitchens where the fridge and pantry already take up visual space — the island balances the room. The key is making sure the lower shelf is sturdy enough not to sag under bottle weight.
Choose a butcher block top that’s wide enough for a prep zone, then build the base with 3/4 inch plywood or solid wood rails. Add a wire wine rack that sits 1 to 2 inches below the underside so bottles don’t rub the wood. Finish the butcher block first, then assemble so you don’t trap unfinished wood inside the cabinet.
Pro tipPut a thin drip tray under the wine rack if your bottles sweat in summer.
Watch outAvoid a lower shelf that’s too shallow — bottles will tilt and scrape the wood.
4. Narrow butcher block island for galley kitchens
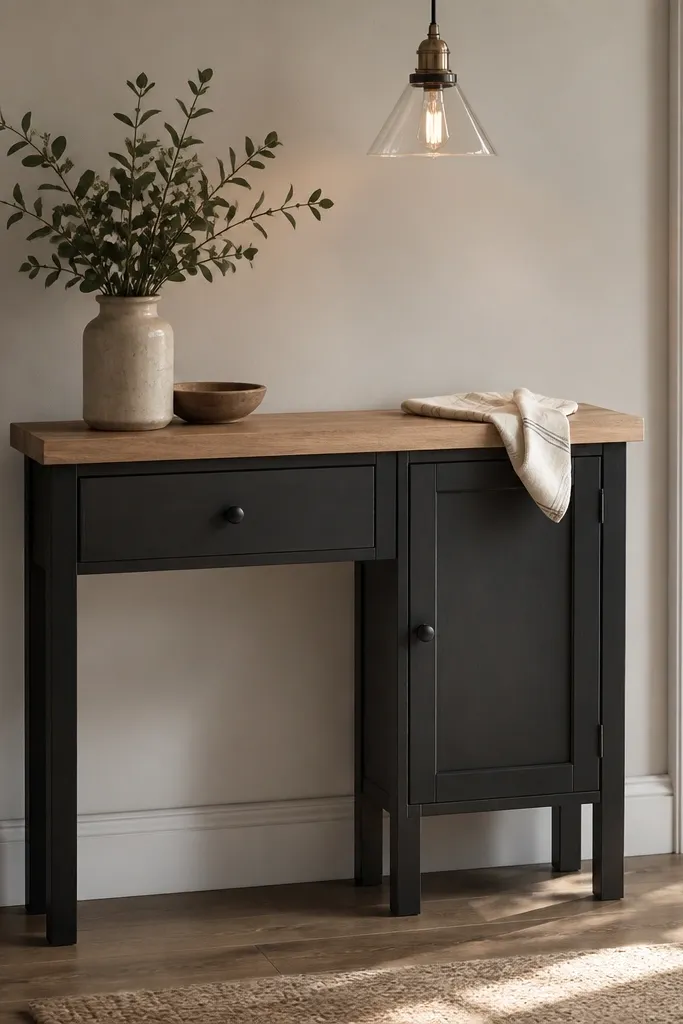
Galley kitchens need a different scale. A narrow island keeps the walkway open, and the butcher block top still gives you that warm prep surface. I like a depth around 14 to 16 inches because you can prep without bumping into cabinets. The drawer side helps because you’re not reaching across the room for utensils.
Use a base that’s at least as deep as your drawer fronts so the drawer tracks mount cleanly. Cut the butcher block to match the depth, then add a 1 inch overhang on the open side for knee clearance. Seal the end grain edges carefully since narrow tops get more splash exposure.
Mount a magnetic knife strip on the wall next to the island so the countertop stays calmer.
Don’t make it deeper than 18 inches — you’ll hate the traffic flow.
5. Butcher block island with a built-in charging station
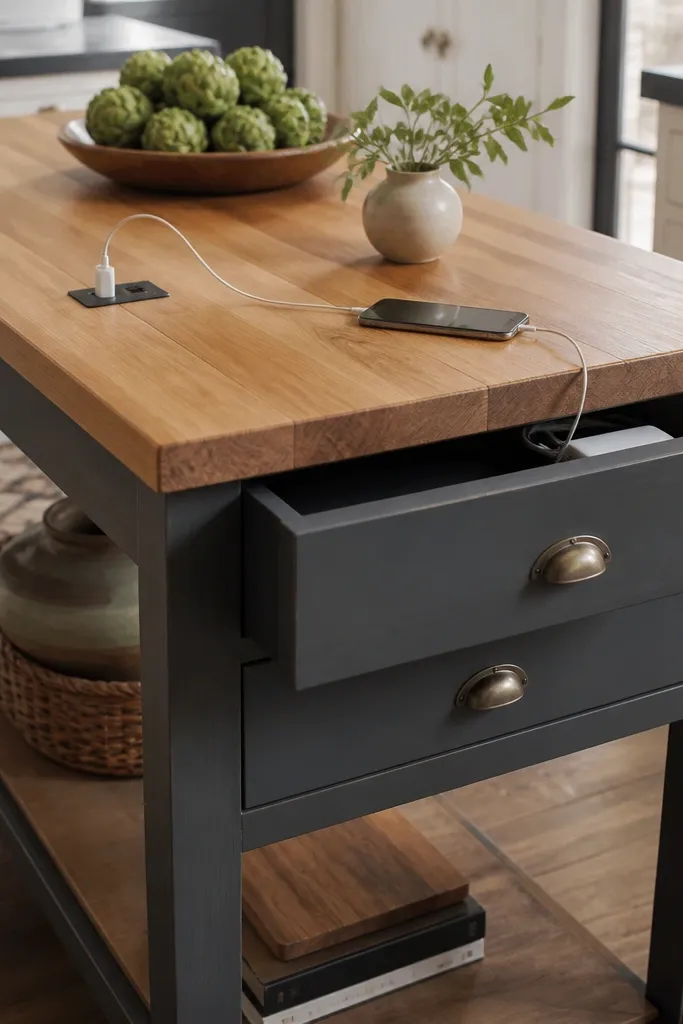
This one looks clean because the power goes away. A recessed charging station keeps phones and tablets off the counter edge, and the butcher block makes the black panel feel intentional instead of techy. I’ve used this in kitchens where people do homework, recipes on tablets, and quick calls while cooking. The wood surface still reads “warm” even with the electronics.
Choose a recessed charging module and set it during top assembly if possible. If you’re cutting the hole yourself, measure twice and use a template to keep the panel centered. Seal around the cutout with a thin layer of finish so moisture can’t creep into the wood.
Pro tipUse a cable sleeve behind the drawer so cords never hang in front of the drawers.
Watch outDon’t rely on a loose cord hole — water and crumbs get into gaps.
6. Corner island with a butcher block L-shape top
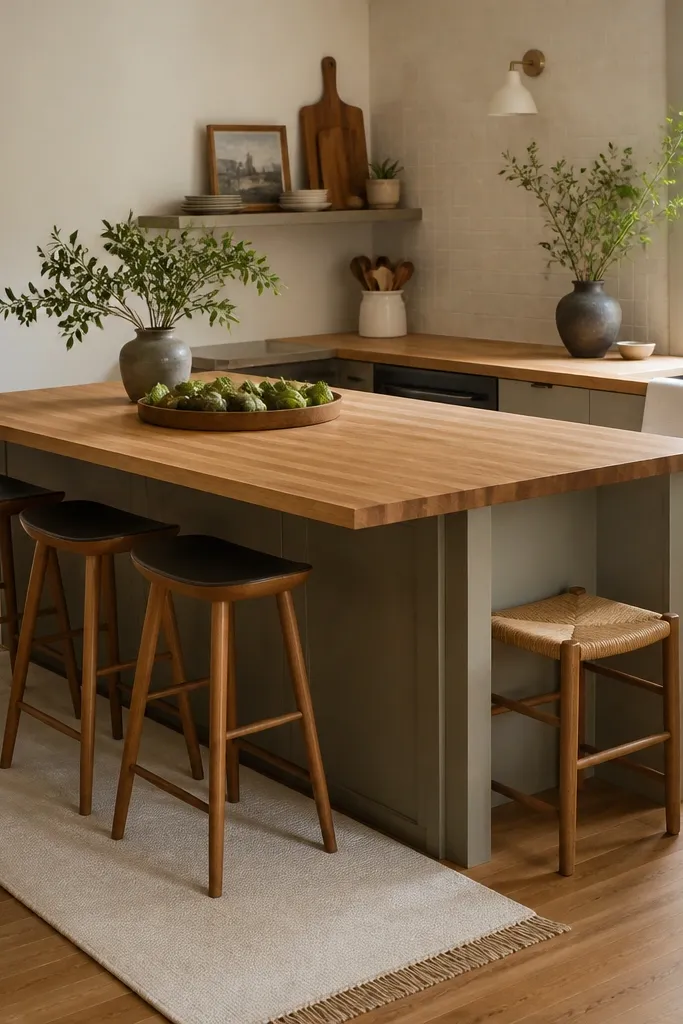
An L-shaped butcher block island makes a corner usable without crowding the room. The wood’s warm tone softens the hard angles, and you get two prep zones instead of one. I like it for homes where the dining table sits close to the kitchen — it gives you extra counter space without a second island. The corner overhang also gives you a place to rest a plate while you work.
Use two bases that are perfectly square to each other, then cut the butcher block top pieces to form the L. Join the seams with alignment dowels and keep the seam location away from the heaviest chopping area. Finish the seam edges well; moisture loves seams.
Add a corner tray under the overhang so you don’t lose small items into the seam.
Avoid a seam right where you chop — it will show wear first.
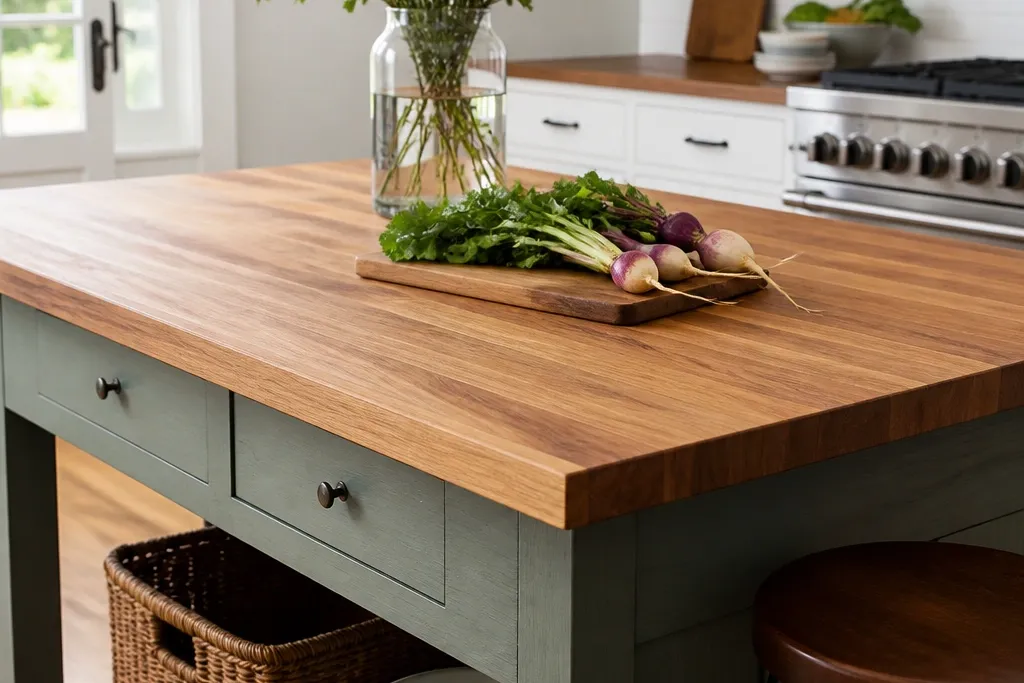
7. Butcher block island with a farmhouse apron skirt
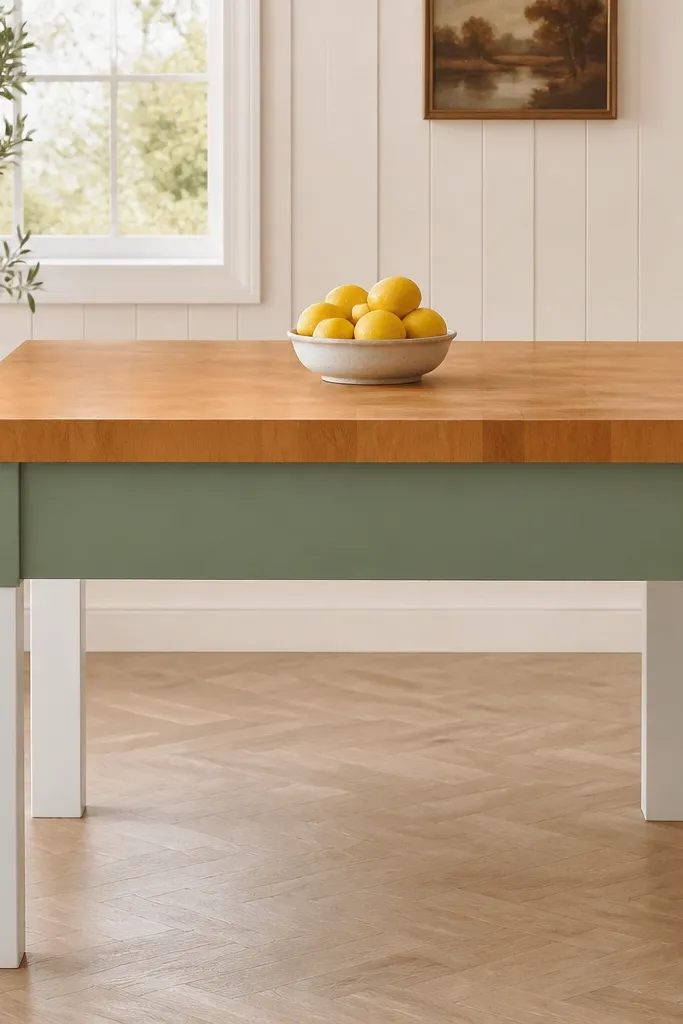
The skirt panel makes the island look finished from every angle, especially in open-plan kitchens. Sage green with honey butcher block looks calm and lived-in, not trendy. I’ve used this setup in homes where the rest of the kitchen is more traditional — it ties the island to the cabinets. The apron also hides the gap between base and floor.
Build a skirt panel from 1/2 inch plywood, then paint it with cabinet paint and a clear topcoat. Keep the apron height about 10 to 12 inches from the floor so it doesn’t look like a barrier. Install the butcher block on top of the base frame so the wood edge is never exposed to daily splash from the floor.
Pro tipUse a matte paint finish on the skirt so it doesn’t glare under kitchen lights.
Watch outDon’t leave a visible raw strip at the top of the skirt — it reads unfinished.
8. Butcher block island with a deep drawer for sheet pans
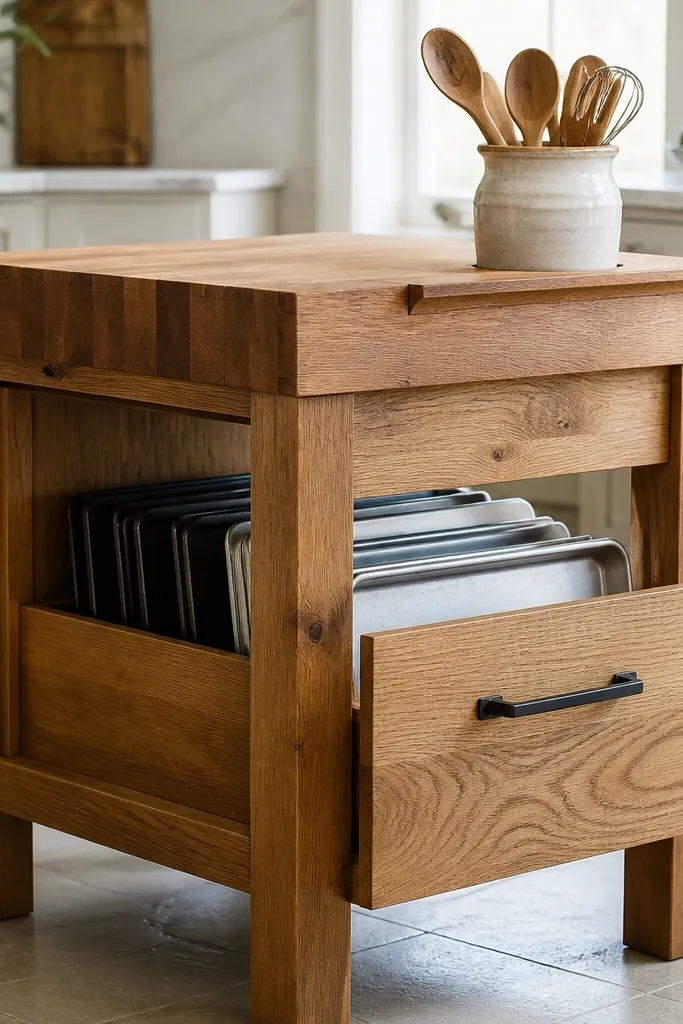
This is the island idea that earns its keep fast. A deep drawer means you stop storing sheet pans in awkward stacks and you stop dragging them across countertops. The butcher block top stays clean because the heavy items live below. I like a black pull and matching hardware because it grounds the warm wood. It makes the island feel practical, not just pretty.
Choose a base that has a drawer opening at least 18 inches tall if you want to store standard sheet pans. Add drawer slides rated for the weight you plan to load. After installing the drawer, sand and finish the butcher block, then mount it so the drawer doesn’t bind when the top is tightened.
Pro tipAdd a simple sheet pan divider so pans don’t scratch each other.
Watch outAvoid shallow drawers — you’ll end up stacking pans on the top anyway.
9. Butcher block island with a bar-height overhang for stools
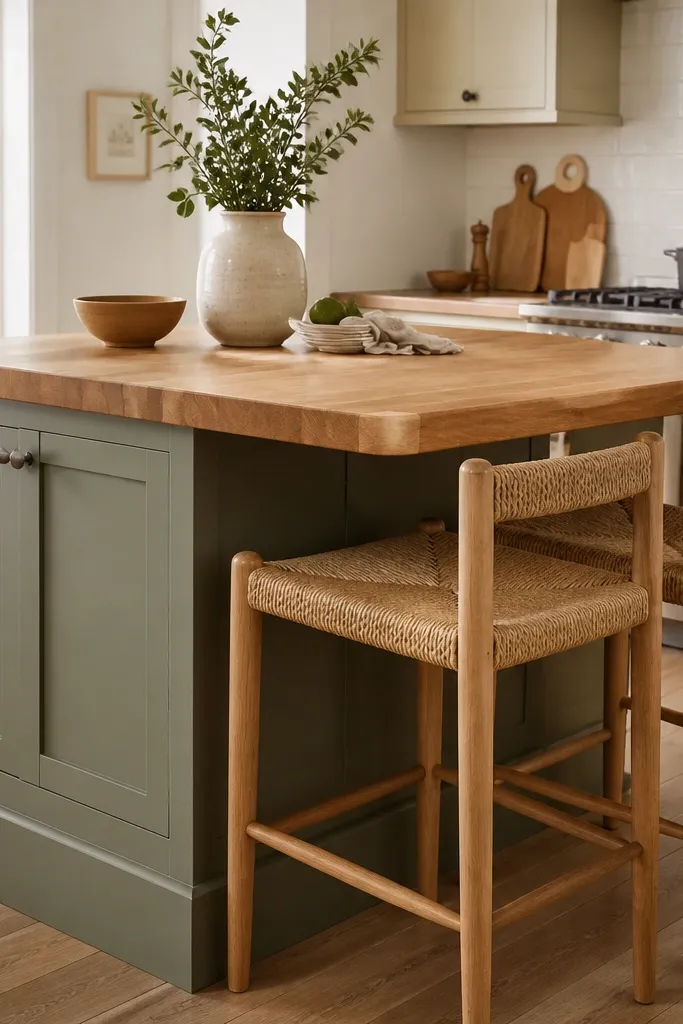
The overhang gives you seating without building a full bar island. Bar-height contact makes the island feel like a social spot while the wood top stays comfortable to prep on. I’ve done this in kitchens where there’s already a breakfast nook; it creates a second “drop zone” for mail, snacks, and quick bites. Keep the seating area tidy since guests see the surface more.
Build the base to a counter height, then create a small overhang ledge or add a raised section on one side. Round the top edge slightly with a router or edge sander so chairs and hands don’t catch sharp corners. Seal the underside overhang edges carefully because they get more condensation from drinks.
Pro tipMatch stool color to your cabinet hardware — I like woven seats with matte black legs and warm wood tops.
Watch outAvoid a sharp 90-degree edge on the overhang — it looks rough and feels uncomfortable.
10. Butcher block island with a removable top tray system
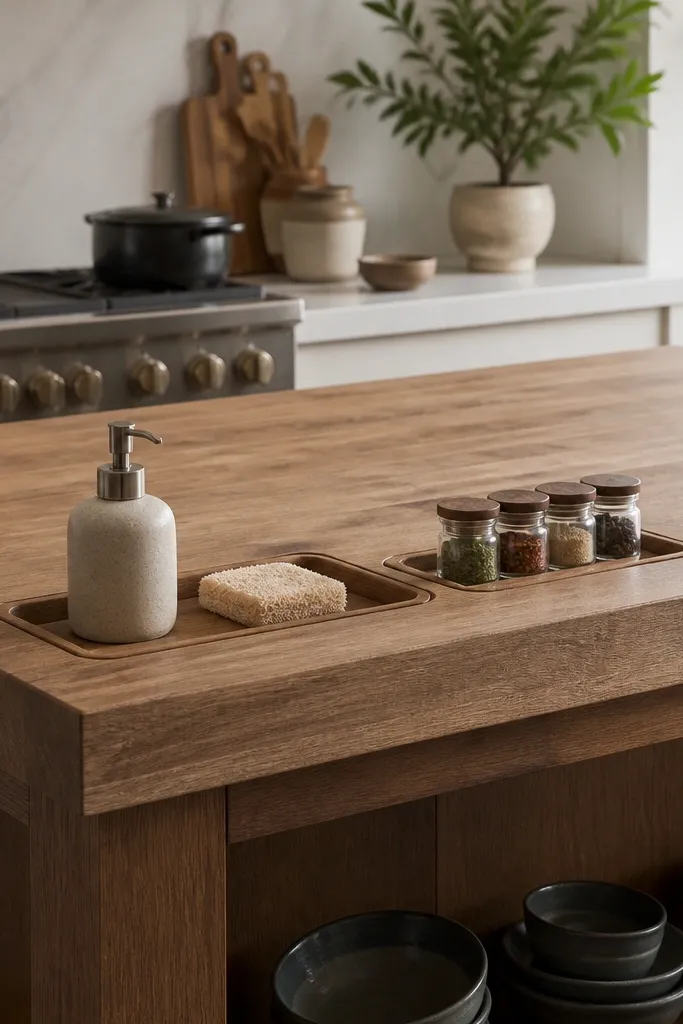
This keeps the island looking staged even when you’re cooking. Recessed trays stop bottles and spice jars from sliding around, and they create a defined “zone” for everyday items. The wood tone stays consistent because everything sits in the same material family. I use this when I want the island to look clean in photos and in real life.
Use a router to create shallow recesses about 1/4 inch deep for trays, or buy insert trays sized to your jars. Finish the recesses the same as the top so water doesn’t wick into bare wood. Plan the tray sizes around what you actually use — I built one for 6 spice jars and one for a sponge and soap.
Pro tipLabel your jars with small metal lids or simple paper labels sealed with clear tape so they don’t smear.
Watch outAvoid leaving random items on the wood edge — they stain and look messy fast.
11. Butcher block island with a matte black peg rail
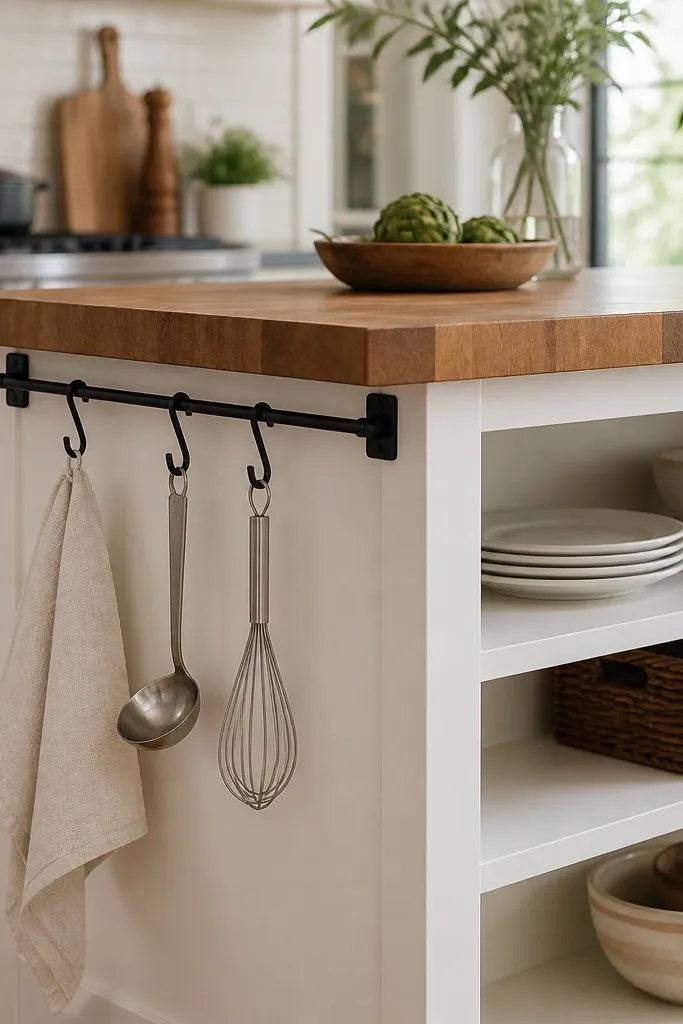
A peg rail keeps your tools at hand without crowding the countertop. Matte black reads clean against honey butcher block, and it gives the island a clear “purpose” line. I like this setup in homes where people cook a lot and hate rummaging through drawers. The rail also hides clutter because everything has a hook.
Mount the rail under the overhang so it doesn’t interfere with prep space. Use screw points into the underside framing, not just into the butcher block surface. Keep hooks spaced so long tools like whisks don’t hit the cabinet doors when you open them.
Hang one utensil you use daily and keep the rest in a drawer — too many hooks look busy.
Avoid mounting into the top grain — it can loosen and the rail will sag.
12. Butcher block island with a light backsplash and open cubbies
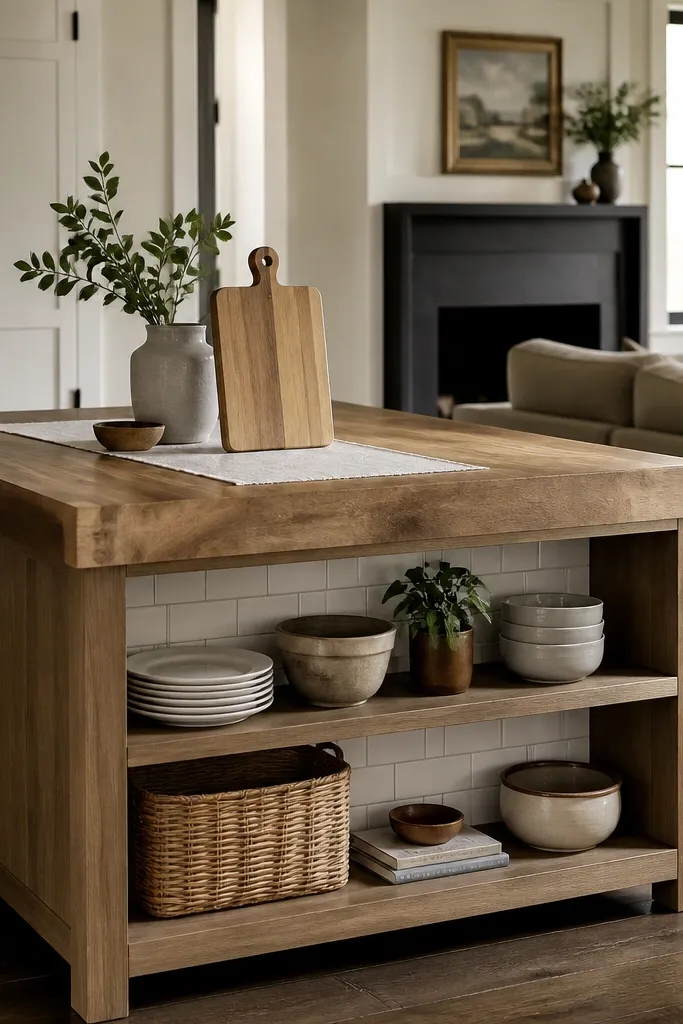
Open cubbies make the island feel like a built-in console, and the light backsplash keeps the wood from looking too heavy. White tile and butcher block look great together because the tile reflects light and the wood absorbs it. I like this in kitchens with dark cabinets where you need visual lift. The cubbies let you store cookbooks, small bowls, or a coffee canister.
Use a side panel with a backsplash area that’s easy to wipe — ceramic tile or a peel-and-stick tile sheet works. Keep cubby depth shallow so items stay visible and you don’t create a junk shelf. Finish the butcher block top with a matte or satin oil finish so it doesn’t glare.
Pro tipAdd a small ledge lip on the cubbies so things don’t slip forward during cleaning.
Watch outAvoid deep cubbies for loose items — they turn into a catch-all fast.