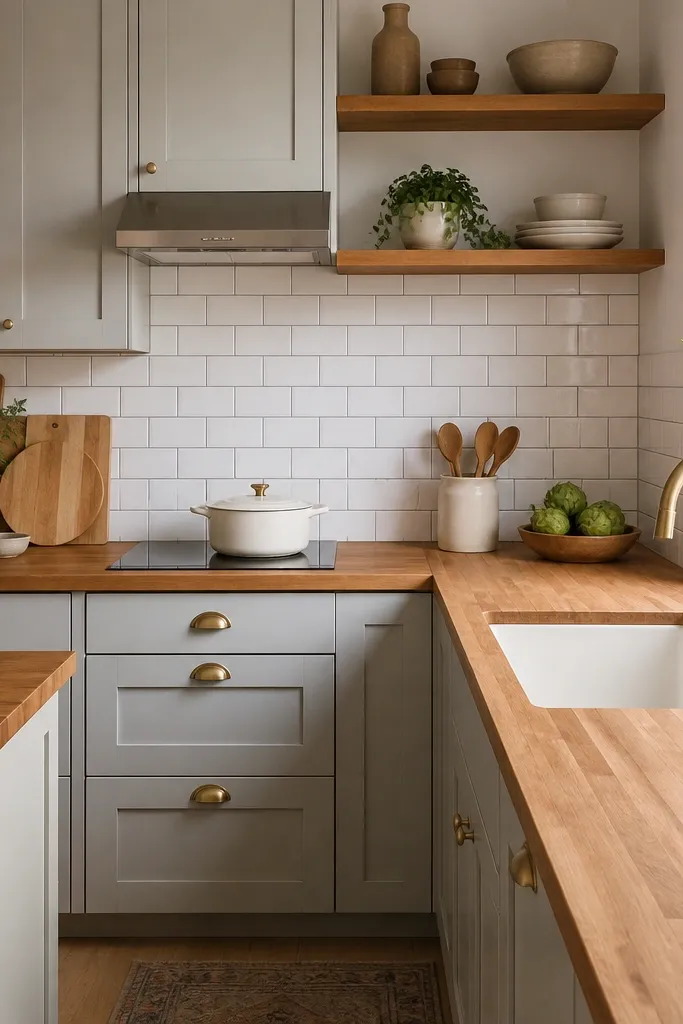
1. 24-Inch Prep Counter on the Wall Cabinet Line
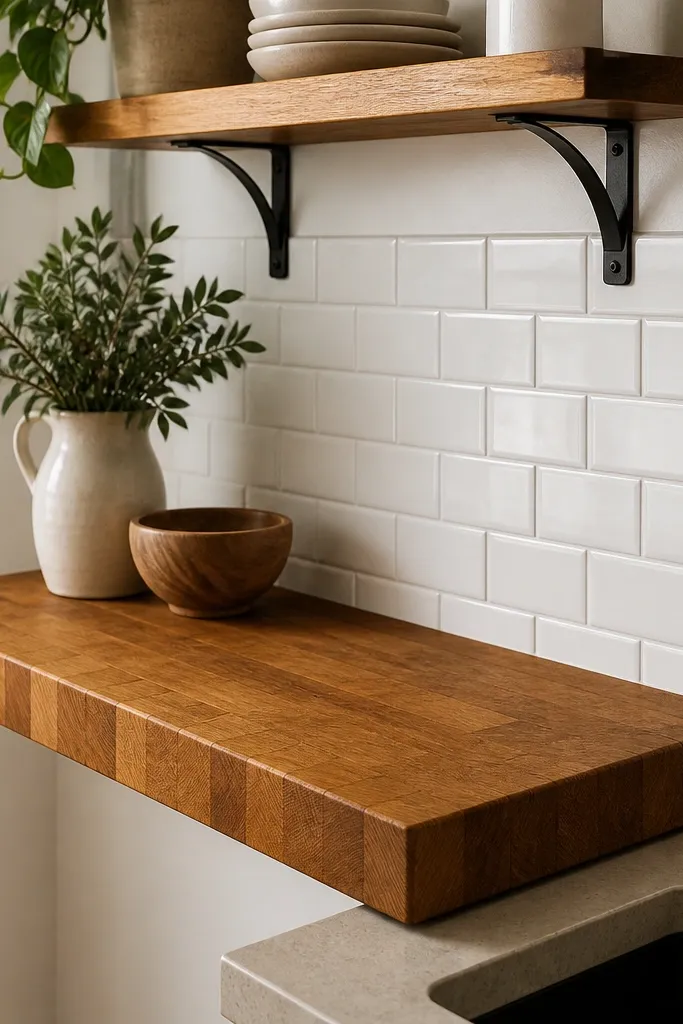
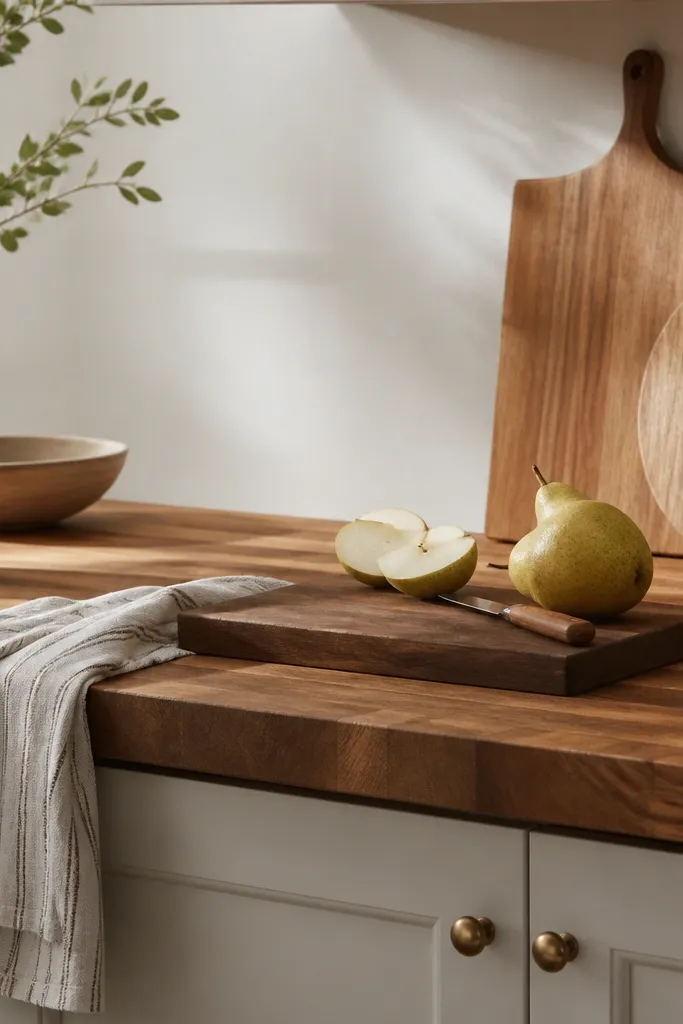
This is the easiest way to get small_space butcher block kitchen countertops impact without rebuilding your whole kitchen. The 24-inch length gives you a landing zone for chopping, mail, or a coffee setup, and the end-grain-looking front edge makes it feel thicker than it is. Honey and warm oak tones look best against white tile and black hardware because the contrast keeps the wood from turning yellow.
Install it at countertop height that matches your existing counters if you have them. If you’re building a standalone prep ledge, aim for 34.5 to 36 inches from floor to top. Use 1.5-inch thick butcher block and a simple white tile backsplash that is no deeper than 3 to 4 inches.
Run a thin bead of clear silicone where the wood meets tile to stop grime from creeping into the seam.
Avoid leaving the raw underside unfinished — it looks unfinished fast when you wipe around it.
2. L-Shape Butcher Block with a Single Seam at the Corner
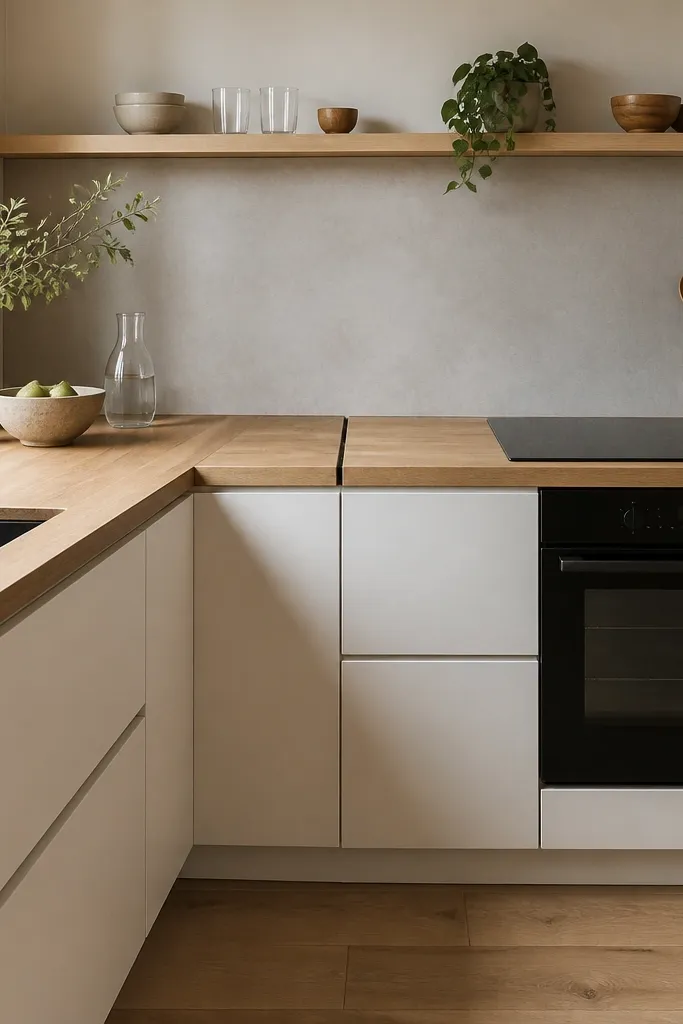
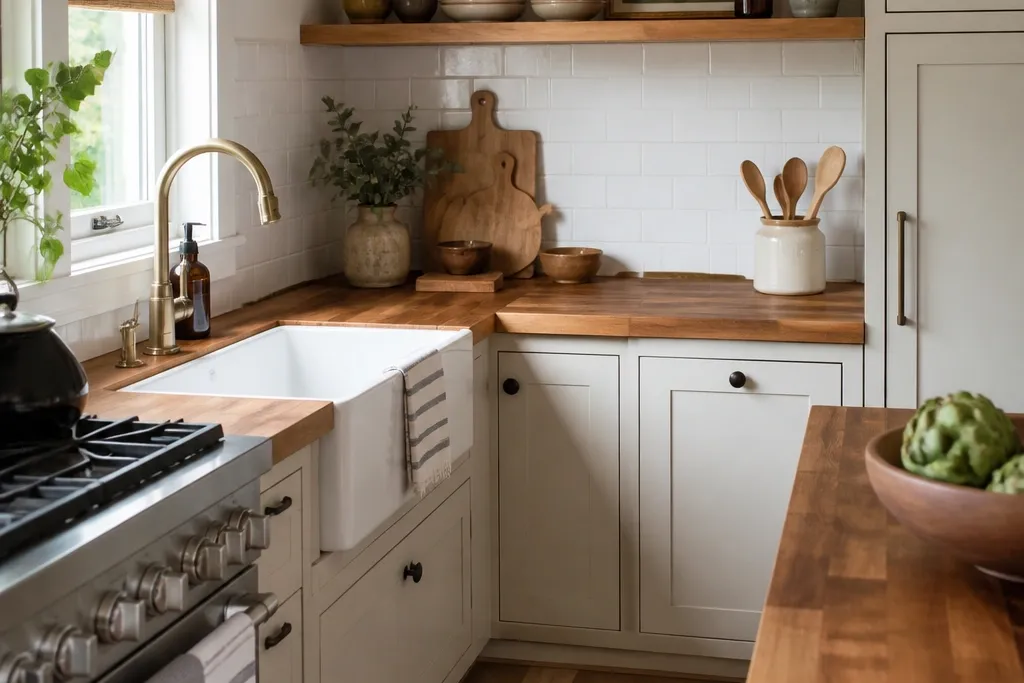
In small kitchens, the corner seam placement matters more than people think. Putting the seam at the inside corner hides it in shadow and prevents it from catching direct light. Walnut tones add depth, and the off-white cabinets keep the room bright so the wood doesn’t feel heavy.
Use a butcher block top cut into two legs that meet at the corner, then align the grain so the pattern doesn’t “jump.” Add a corner filler strip or use the same wood species for the seam patch. Keep the backsplash smooth — a gray slab or painted drywall — so the grain stays the texture.
Dry-fit the two pieces and mark the seam location with painter’s tape before you glue anything.
Don’t center the seam on the longest wall — it becomes the visual “line” that makes the room feel narrower.
3. Vertical Grain Look with a Rounded Bullnose Edge
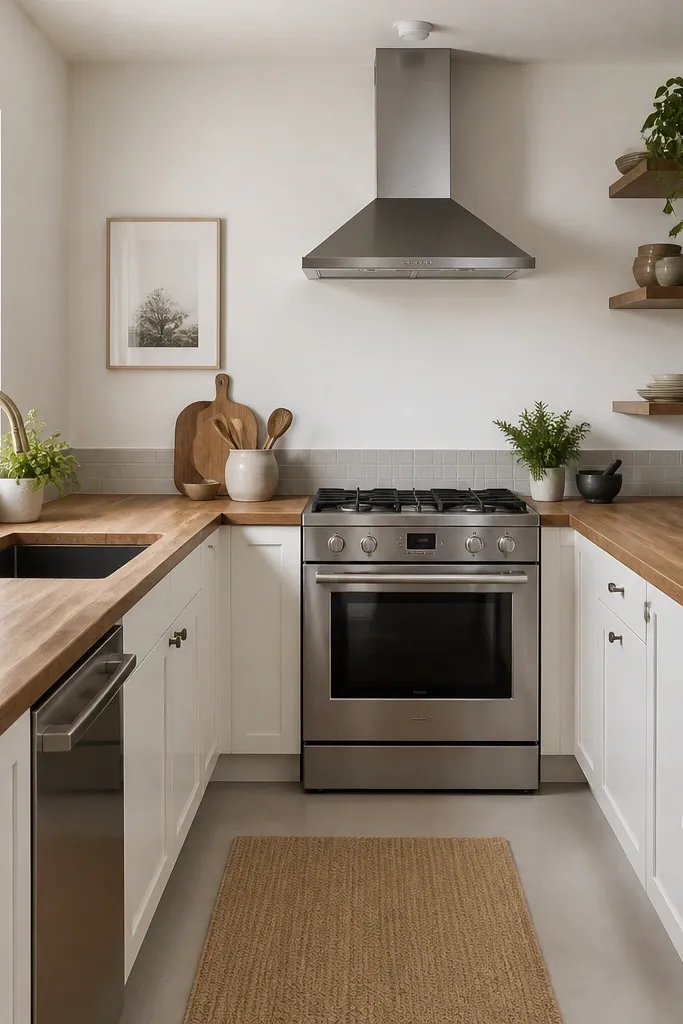
A bullnose edge reads finished and soft, which is great in cramped spaces where sharp corners feel aggressive. Vertical grain looks cleaner than end grain when your kitchen lighting is overhead, because it doesn’t sparkle as much. Pair it with stainless or brushed steel so the wood warmth and metal stay balanced.
Choose a finish that dries matte or satin, not glossy, so dust doesn’t show. Keep your backsplash grout lines minimal with larger tile sheets or a simple painted panel. If you’re using a U-shape, leave at least 36 inches between opposing counters for comfort.
Pro tipAfter sealing, buff the surface with a gray scuff pad to remove any raised fibers so the bullnose stays smooth to the touch.
Watch outSkip high-gloss finishes in small kitchens — they reflect overhead lights and make specks obvious.
4. Dark Walnut Counter with White Quartz Backsplash
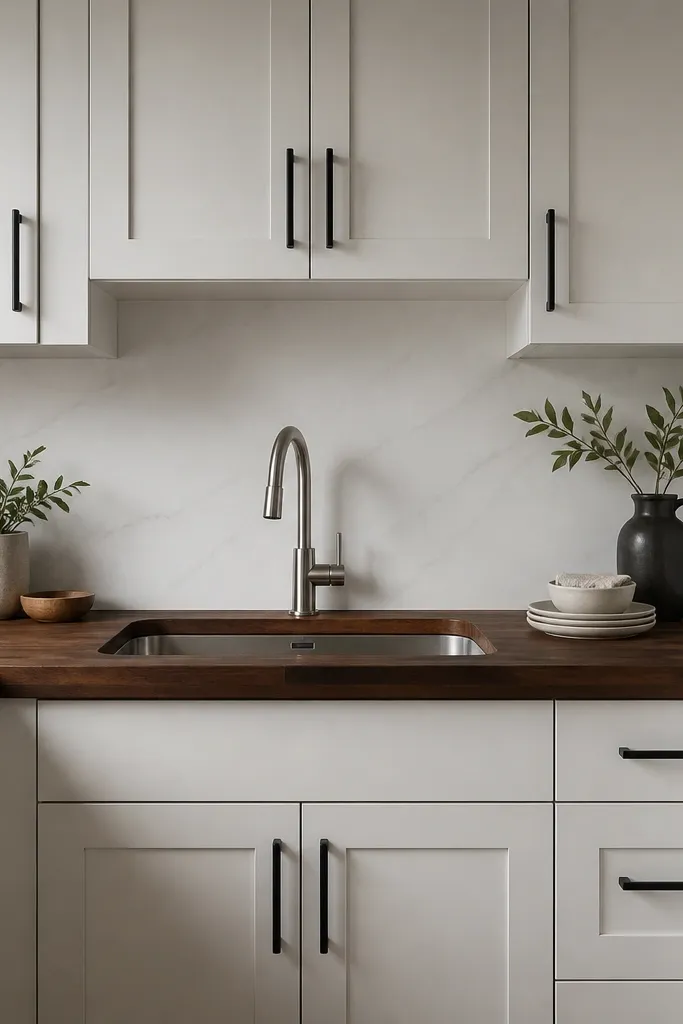
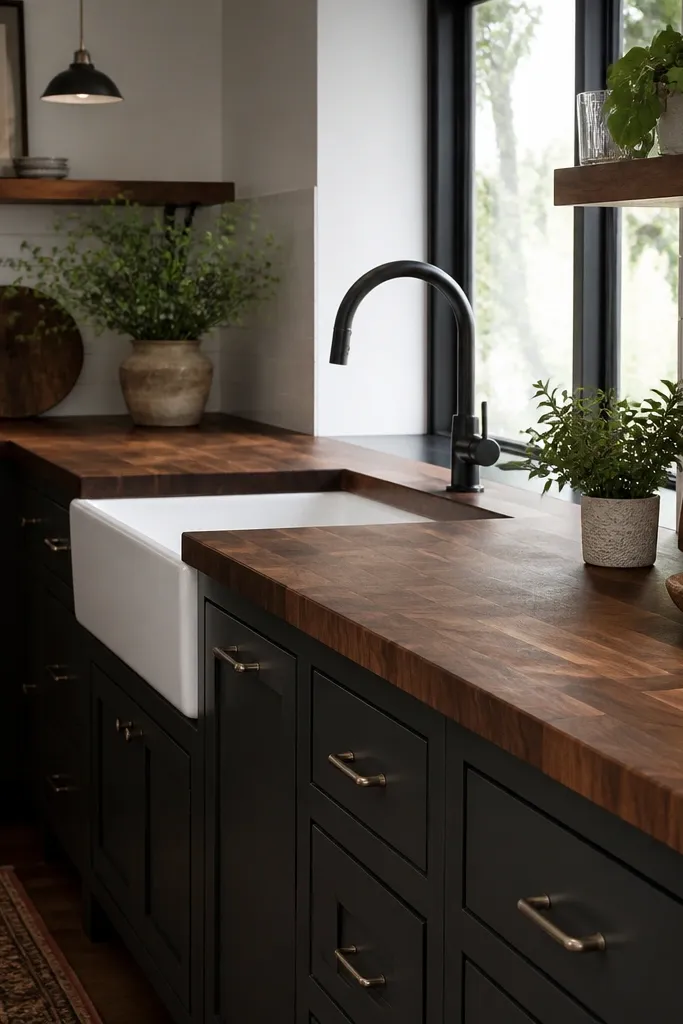
Dark walnut gives you a built-in “anchor” when your room has lots of white walls. The white quartz backsplash stays cool and smooth, so the wood texture doesn’t compete. This combo makes small_space butcher block kitchen countertops look intentional even when your counter run is short.
Use a sealed finish in a satin sheen so the walnut doesn’t look oily. Keep the backsplash tall enough to cover the area behind the sink and stove — at least 18 inches. Match hardware finish to your sink and faucet so the kitchen doesn’t feel mixed.
Pro tipUse a light-colored cutting board when prepping near the sink — the contrast makes it easier to see scraps and wipe clean.
Watch outAvoid pairing dark wood with warm brass everywhere — it can make the whole kitchen feel orange.
5. Butcher Block Islandette with Two Seating Stools
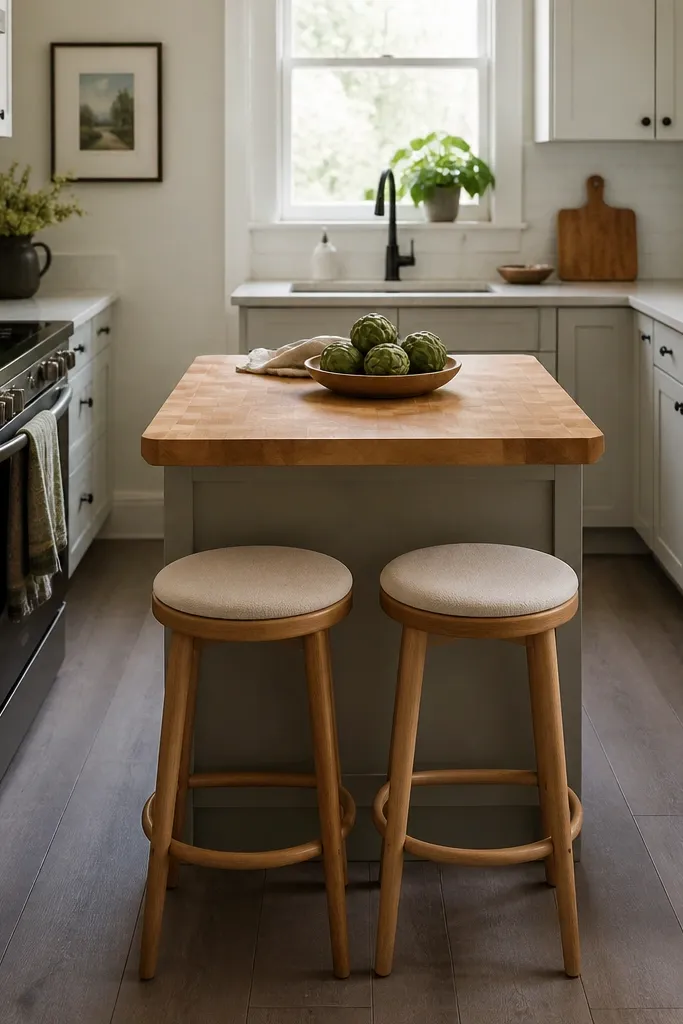
A small islandette turns butcher block into a social surface, not just prep. The chamfered edge reads modern and keeps the island from feeling bulky. When you add two stools, the kitchen feels like a real room instead of a hallway.
Choose an island size that leaves a clear path. In my kitchen, I needed about 36 inches from island edge to the opposite counter. Use 1.5-inch thick butcher block and install a toe-kick or skirt so the underside doesn’t look hollow.
Put a magnetic rail for knives on the side panel, not the top — it keeps the counter clear for seating use.
Don’t make the island too wide — if you can’t reach the back of the counter comfortably, the butcher block stops getting used.
6. Butcher Block Counter Extension Over a Washer Niche
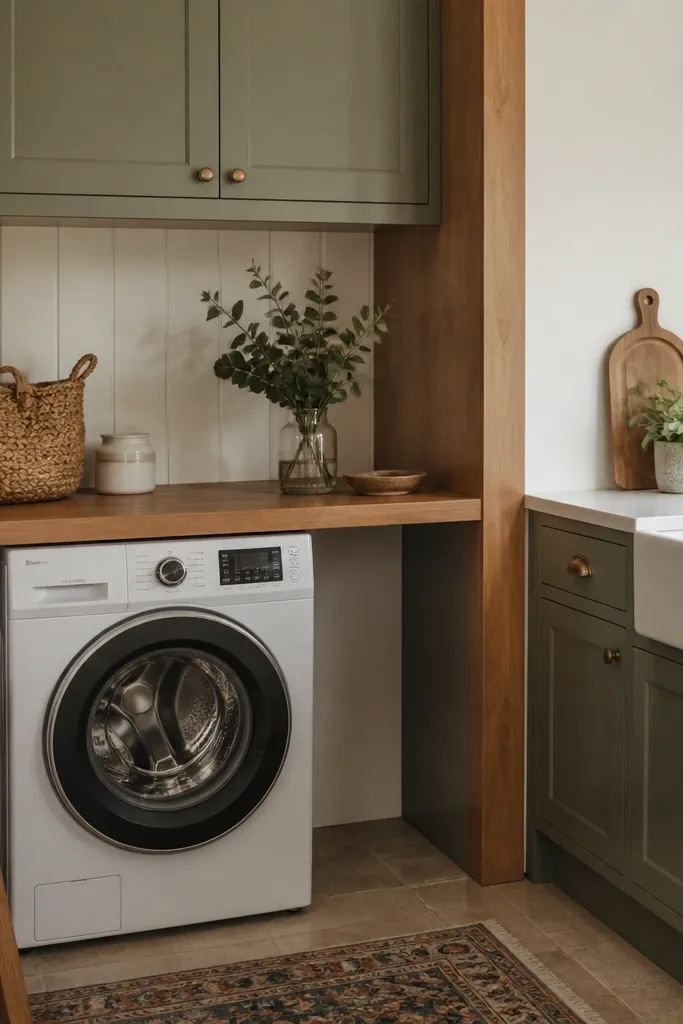
This is a clever way to get extra countertop without buying a new kitchen. The butcher block bridges the gap and makes the washer area look designed instead of accidental. Keeping the wood tone close to cabinet trim makes the extension feel built-in.
Use a countertop depth that keeps the washer door usable. Plan for clearance around the washer — 1 inch minimum for hoses and door swing, then seal the wood edge where it meets the wall. Finish the wood with a food-safe sealer since it will get splashes.
Pro tipAdd a thin backsplash panel behind the extension so detergent splatter doesn’t hit raw wood.
Watch outSkip open gaps under the extension — crumbs and detergent mist collect there.
7. Light Oak Butcher Block with Sage Green Cabinets
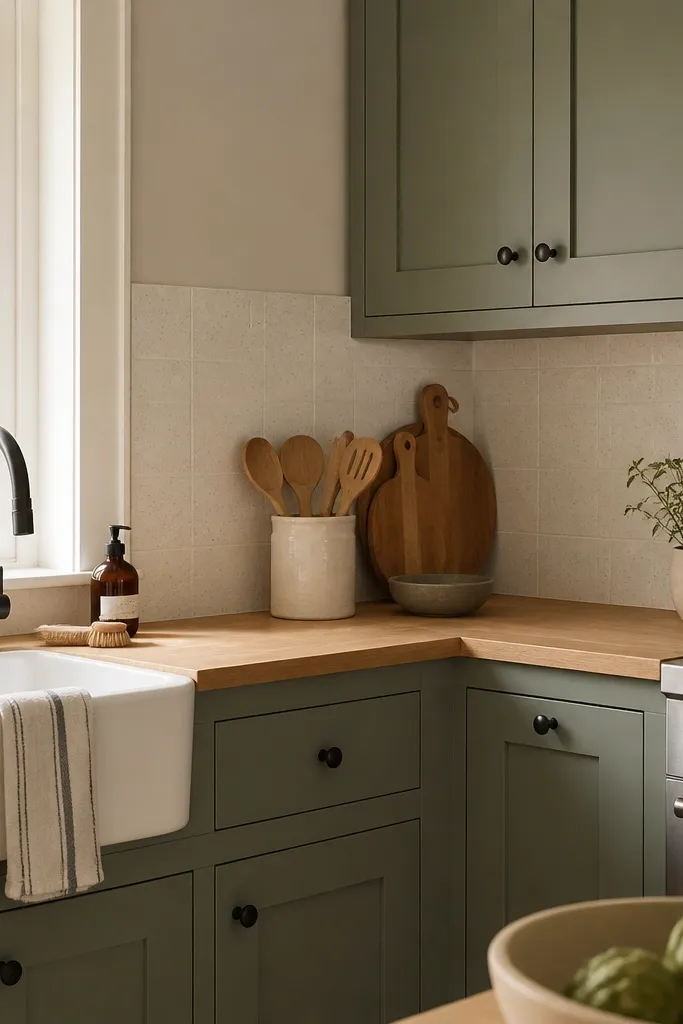
Sage green calms the warmth of light oak and makes the wood look fresher. In small spaces, the color combo keeps the kitchen from feeling like a showroom while still looking styled. Matte black hardware adds crisp contrast without adding shine.
Pick a butcher block finish that reads light and clean, not amber. Keep your backsplash grout warm white so it doesn’t turn the wood muddy. If your cabinets are painted, let the paint cure fully before installing so you don’t dent the surface.
Use warm white dish soap and a microfiber cloth to prevent streaks on matte black pulls.
Avoid pairing sage with yellow lighting bulbs — the wood turns too golden.
8. Butcher Block Sink Wall with a Matching Cutting Board Shelf
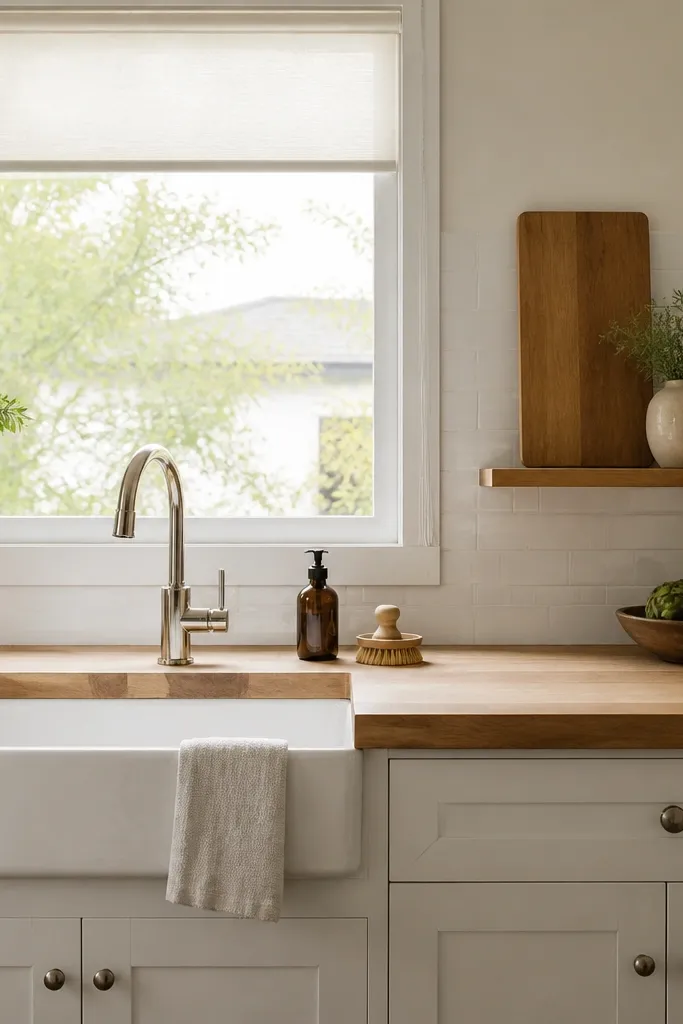
Matching wood tones make your small kitchen look curated without buying a bunch of decor. A cutting board shelf also gives you a place to store boards so they don’t lean on the backsplash and stain it. This setup makes the countertop practical and pretty at the same time.
Use a 10 to 12 inch deep shelf, and keep the cutting board flush against the back so it doesn’t warp. Seal the shelf and board with the same finish as the countertop for a consistent sheen.
Pro tipLabel your boards by size with a tiny pencil mark on the underside so you grab the right one fast.
Watch outDon’t store wet boards on open shelves — they stain and warp.
9. Butcher Block with a Thin Waterfall Front on a Short Counter
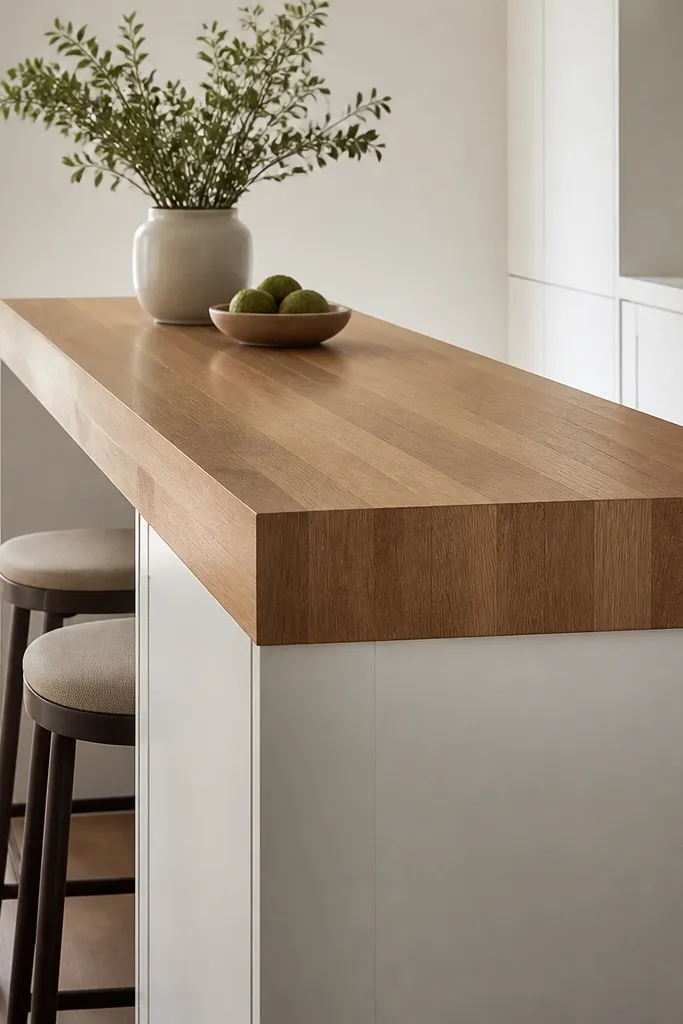
A waterfall front makes a short counter feel like furniture instead of a slab. The drop adds visual weight where you need it, while the thin height keeps it from crowding the room. This works great when your small_space butcher block kitchen countertops run is only 30 to 48 inches.
Keep the waterfall drop around 2 to 3 inches so it doesn’t look like a bulky cart. Use a straight, planed edge and seal it thoroughly on all sides. Pair with simple cabinet fronts so the waterfall line stays clean.
Pro tipUse a foam sanding block to smooth the waterfall edge — you want it to feel rounded, not sharp.
Watch outAvoid leaving the waterfall front unfinished — the end grain will drink water and show dark spots.
10. Two-Tone Look with Dark Drawer Panels and Light Counter
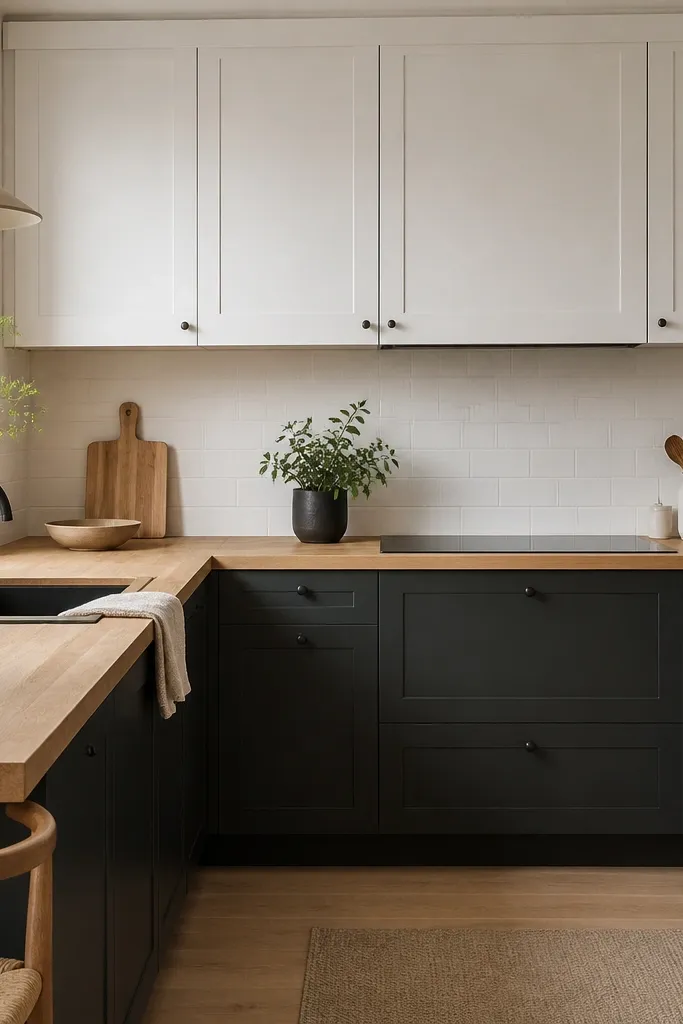
Two-tone cabinets let the wood stay light without disappearing. Light butcher block keeps the room bright, and dark base cabinets add definition where your eye lands when you’re cooking. In tight kitchens, that contrast makes everything feel organized.
Match the countertop finish to the upper cabinet undertone — warm white for honey oak. Keep the backsplash neutral so it doesn’t add another color layer. Install drawer pulls that are matte and slim so you don’t fight the wood texture.
Pro tipIf your wood is honey, use warm white paint, not cool white, or the combo looks off.
Watch outDon’t pick a countertop that’s too dark for the room — it shrinks the visual space.
11. Butcher Block Counter with a Tile Backsplash Only Behind the Sink
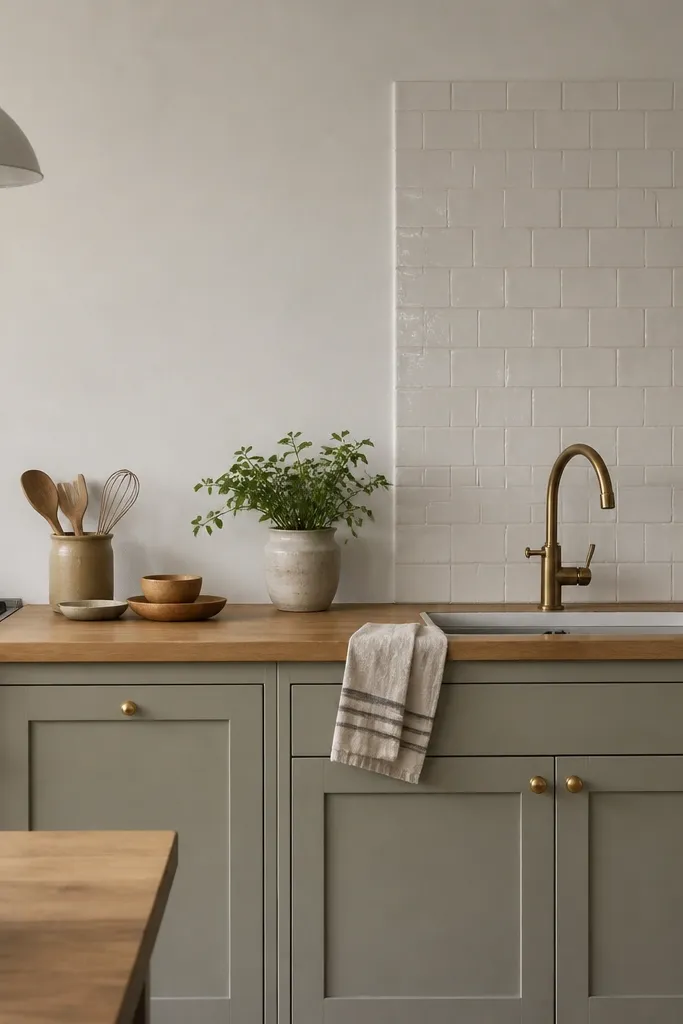
In small spaces, too much tile can make the room feel busy. Limiting tile to the splash zone keeps your line of sight calmer while still protecting the wall. The butcher block stays the main texture, and the painted wall keeps the kitchen airy.
Use tile height of 18 to 20 inches behind the sink area. Paint the rest of the wall with a washable kitchen paint — satin or eggshell. Seal the countertop edge at the wall line so splashes don’t wick into the seam.
Pro tipBring your tile grout color close to the cabinet trim color so it blends instead of drawing a grid.
Watch outAvoid mismatched tile sizes that look random — small kitchens punish visual noise.
12. Butcher Block Corner Table Style with a Round Overhang
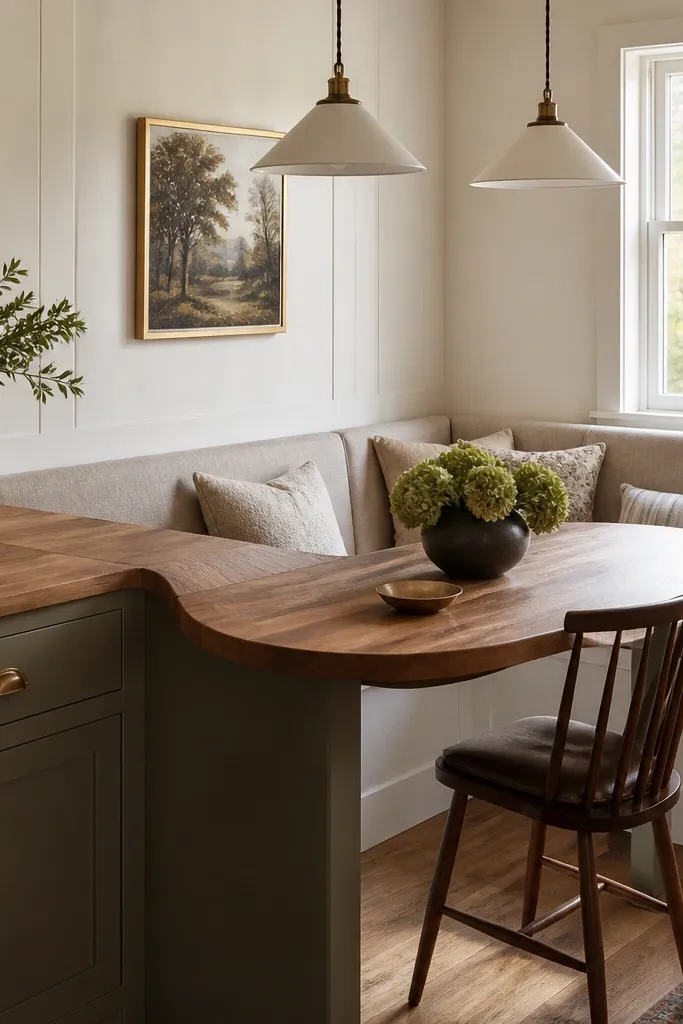
A rounded overhang softens the geometry of a small kitchen corner. Butcher block feels warm against linen upholstery, and the rounded edge makes the area inviting for quick meals. This is a great way to add function without adding a full island.
Use a corner radius that matches your space — I’ve used 6 to 8 inches on a tight nook and it felt friendly. Seal the rounded edge well and keep the finish satin so it doesn’t glare under pendants. Place the pendant so the light hits the countertop surface, not your wall.
Pro tipAdd a small tray on the counter for keys and napkins so the nook stays tidy.
Watch outSkip sharp 90-degree corners on a seating edge — it looks harsh and hits your knees.