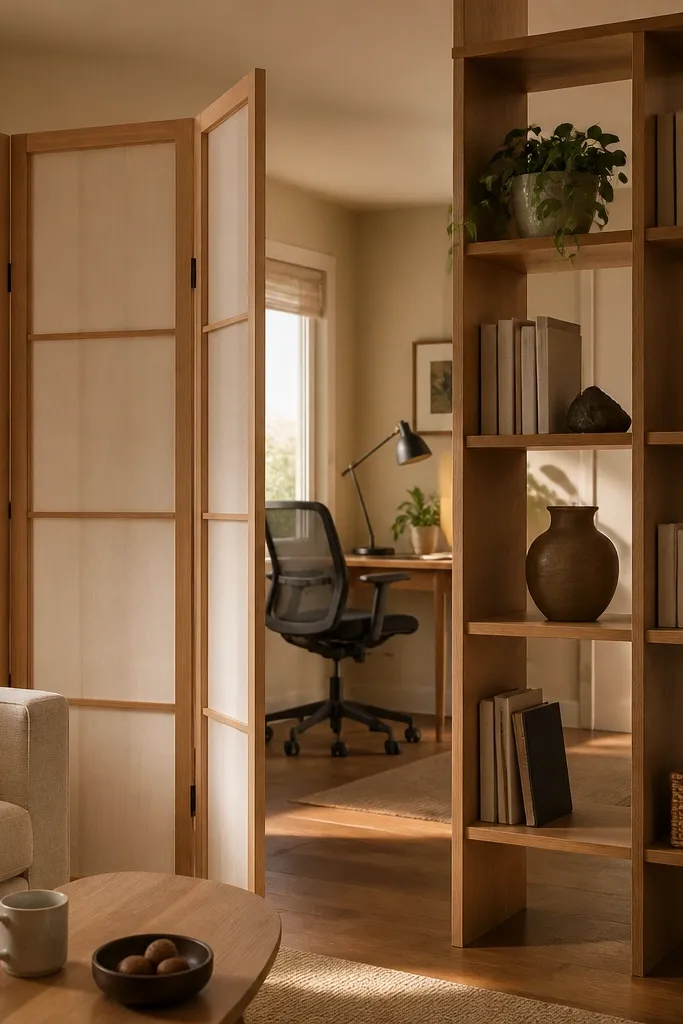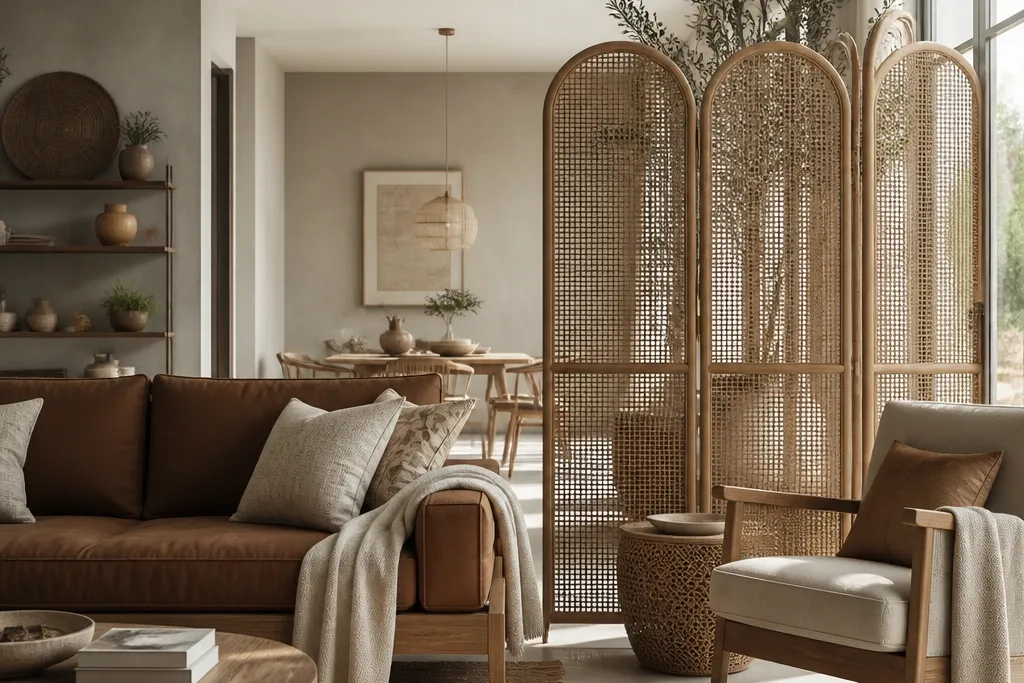
1. Cane panel screen with a sofa-side anchor
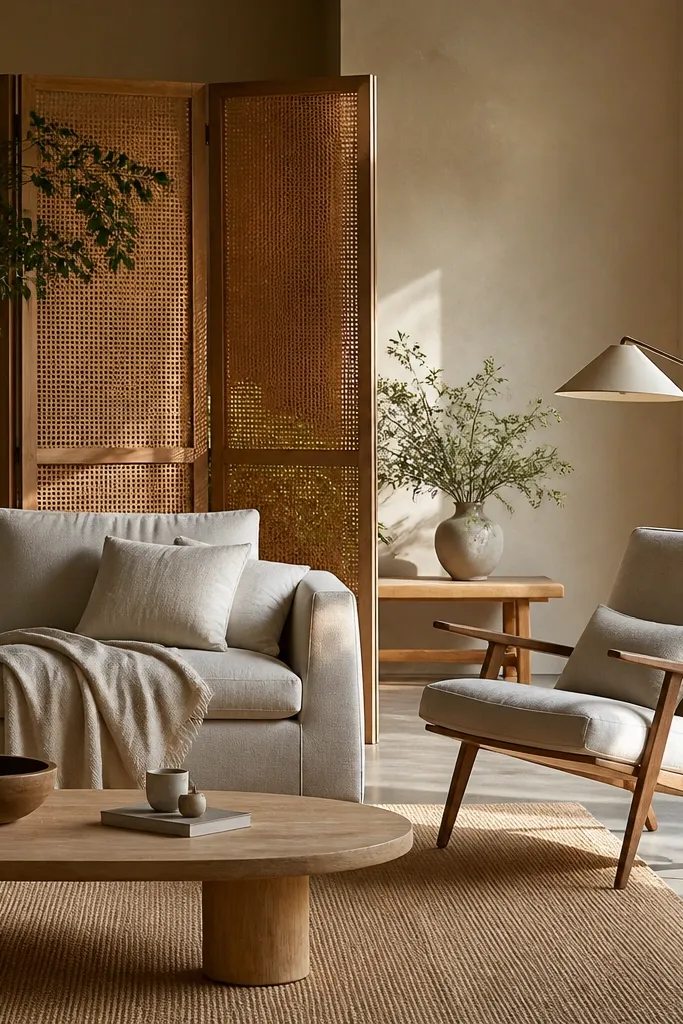
A cane panel screen creates separation without turning your living room into a hallway. The woven texture reads warm and airy, so it doesn’t swallow light the way solid partitions do. Place it slightly behind the sofa back edge so the screen visually “holds” the seating area while carving out space for a reading chair or small desk. This works especially well when your divider needs to look good from multiple angles — cane looks intentional whether you’re facing it from the couch or walking past it.
Pro tipChoose a screen with a dark frame if your room has black hardware or a dark TV stand; it ties everything together fast.
Measure the space and aim for a screen width that covers about half to two-thirds of the zone you’re separating. Set the screen so its front edge stays at least 12 inches away from any table that people use (coffee table, sideboard, or media console). Then anchor the base if it’s top-heavy — use anti-tip furniture straps to a stud or a heavy wall-mounted hook behind the screen. Finish by styling the “quiet zone” behind it with one tall plant or a slim floor lamp so the divider looks like part of the room design, not a temporary fix.
Watch outDon’t put the screen directly in front of a window — it will block the best light and make the room feel closed.
2. Pegboard divider wall with removable hooks
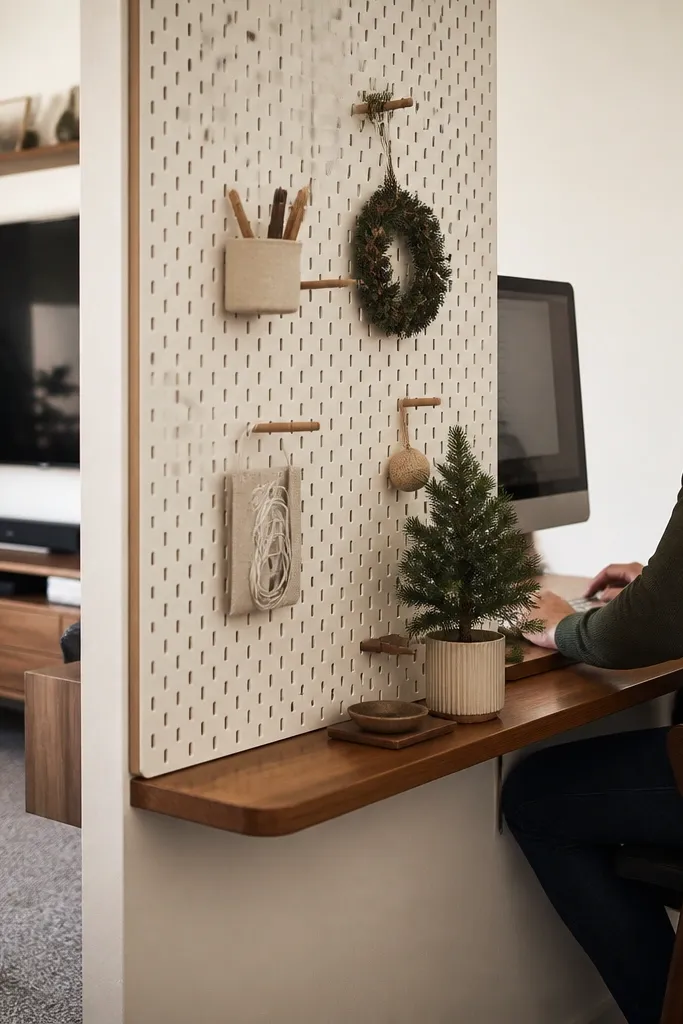
A pegboard divider is the most practical wall divider idea for a small living room because it separates and organizes at the same time. The grid pattern creates a crisp visual boundary, while the hooks let you swap what you hang as seasons change. If you’re separating a media area from a work nook, hang a narrow line of desk organizers on one side and art or baskets on the other. The look stays clean because pegboard has built-in structure — you don’t need heavy decoration to make it feel designed.
Pick pegboard sheet size that fits your space without crowding: 24x48 inches for a narrow boundary, or 36x48 inches for a stronger zone. Mount it on two studs using a level — use a spacer strip behind it if you want room for hooks without scraping the wall. Install hooks first, then hang only what you’ll actually use so the grid doesn’t look cluttered. Finally, add one small shelf or basket at eye level for a “designed” focal point.
Paint the pegboard mounting backer a matte color (like warm white) so any shadow behind it looks intentional.
Don’t fill every hole with hooks — leave empty space so the divider reads airy and organized.
3. Vertical slat panel divider in warm oak
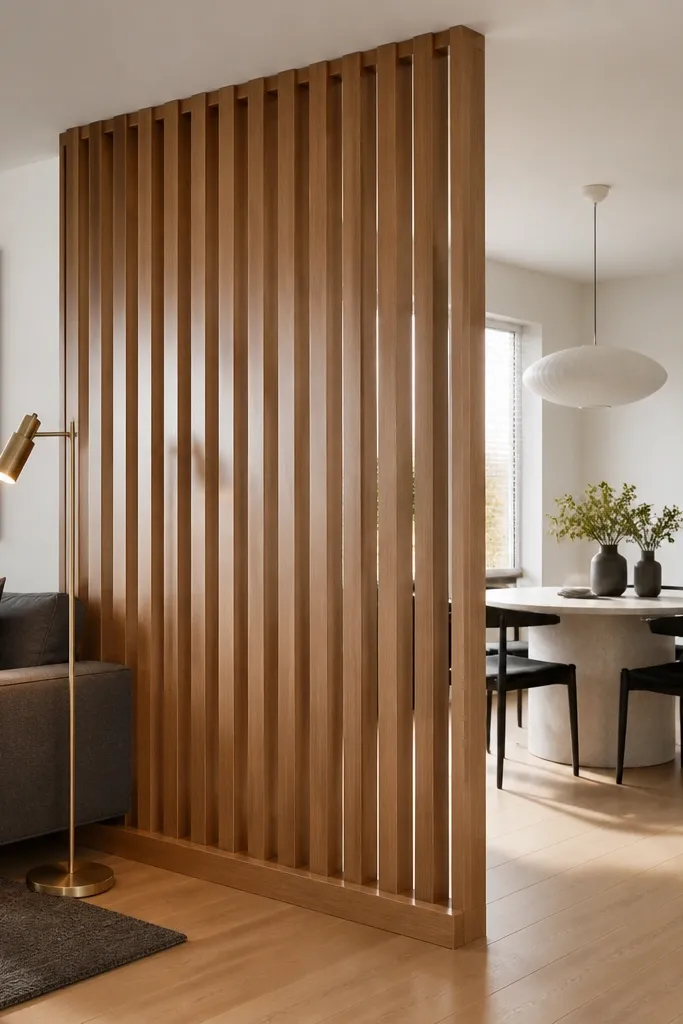
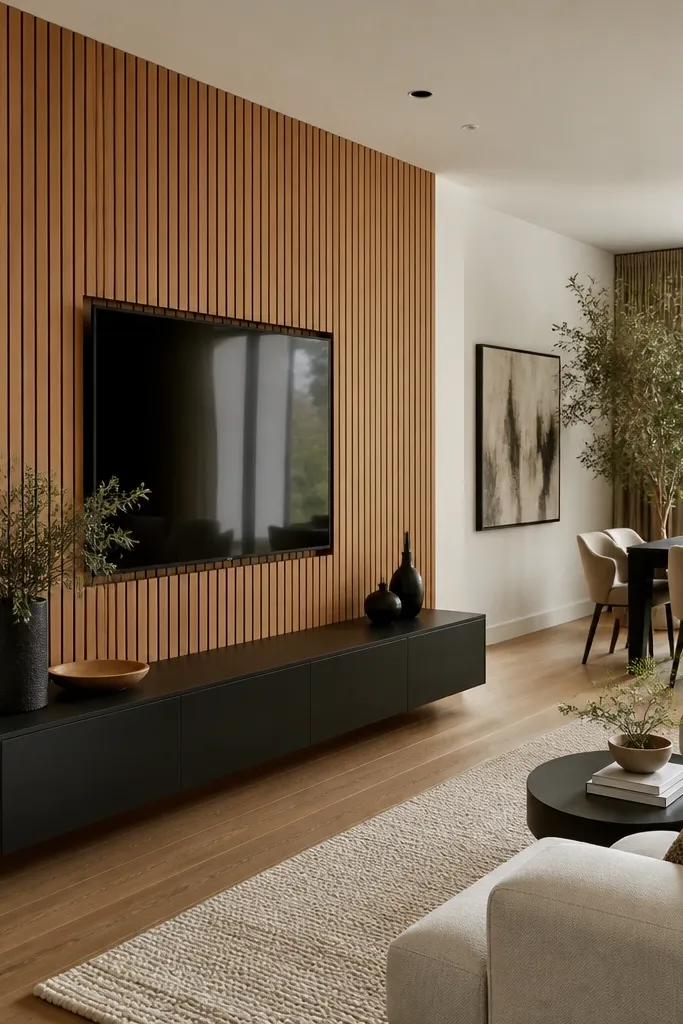
Vertical slats split a room cleanly while keeping airflow and light moving. Warm oak slats look expensive even when you keep the finish simple, and the narrow gaps stop the divider from feeling heavy. This is a strong choice when you want separation between the sofa and a dining corner but you still want the room to feel connected. The slat rhythm also photographs well because it creates repeating lines that look crisp in daylight.
Choose slat width around 1.5 to 2 inches with a gap of about 0.5 inch for a balanced look. Build a simple frame from 1x2 lumber, then attach slats evenly using wood glue and finish nails. Mount the whole piece to the wall with two to four brackets depending on width, or use a freestanding base if you can’t hit studs. Keep the height around 66 inches so it zones without blocking your line of sight to the rest of the room.
Stain slats first, then seal with a matte clear coat so the wood doesn’t glare in photos.
Don’t make the gaps too wide — the divider stops feeling like a boundary and starts looking like decoration.
4. Fabric curtain divider on ceiling track
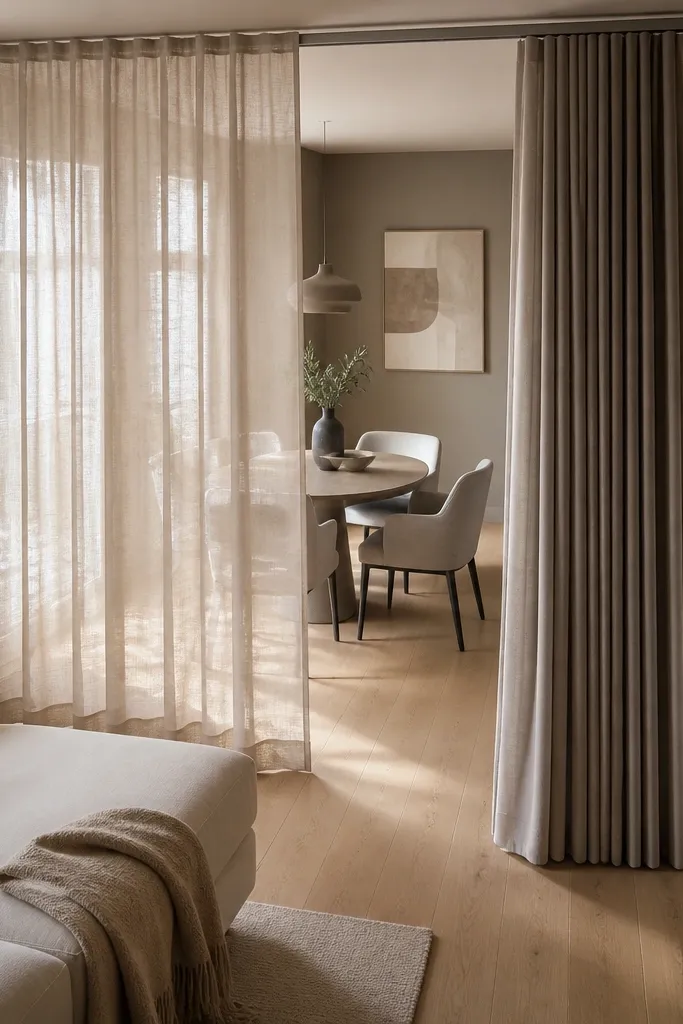
A curtain divider is the easiest way to create real separation in a small living room without permanent construction. Sheer or semi-sheer fabric softens the space and keeps it airy, while a thicker blackout panel gives you privacy when you need it. Mounting on a ceiling track makes the divider look high-end because it doesn’t eat wall space. This is perfect for turning a corner into a guest nook or study zone while keeping the living room feeling light when the curtain is open.
Pro tipUse a single color that matches your wall trim or sofa base so the curtain reads like architecture, not a separate item.
Install a ceiling track at least 2 to 4 inches above the top of where you want the curtain to end, so it hangs cleanly. Use a width that covers the full span of the zone plus 6 to 10 inches so it can fully close. Hang two panels if you want a neat center gap or one panel if you want quick side coverage. For styling, let the fabric puddle lightly on the floor — aim for 1 to 2 inches of extra length.
Watch outDon’t use thin curtain rods on small ceilings — ceiling track is what keeps the lines straight and photogenic.
5. Bookcase half-wall divider with open shelves
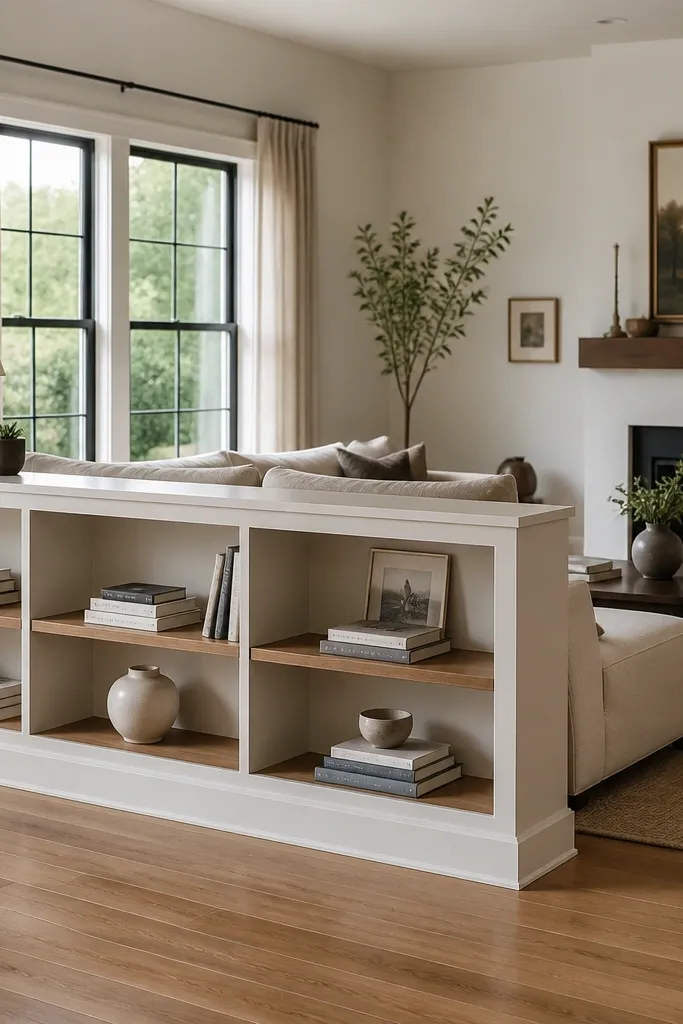
A half-wall bookcase divider separates without blocking light, and it’s one of the most budget-friendly living room wall divider ideas because you can build it from standard shelving units. Open shelves create a visual boundary, while the empty air between books keeps the room from feeling boxed in. Use it to define a media zone on one side and a reading or hobby area on the other. The look is practical and photo-ready because shelves invite styling — baskets, stacked books, and a couple of framed items look intentional.
Start with a unit depth you can live with: 10 to 12 inches is a sweet spot for small rooms. Choose a height around 36 to 42 inches so you get separation while keeping sightlines open. Anchor the unit to studs for safety, then style with a simple rule: books stacked vertically on the ends, horizontal stacks in the middle, and one basket that hides clutter. Leave at least 30 percent of shelves visually empty so the divider doesn’t become a mess.
Pick two cover colors and repeat them across shelves — it makes the divider look designed instead of random.
Don’t fill every shelf — dense styling makes the divider look like storage clutter.
6. Board-and-batten panel divider in matte white
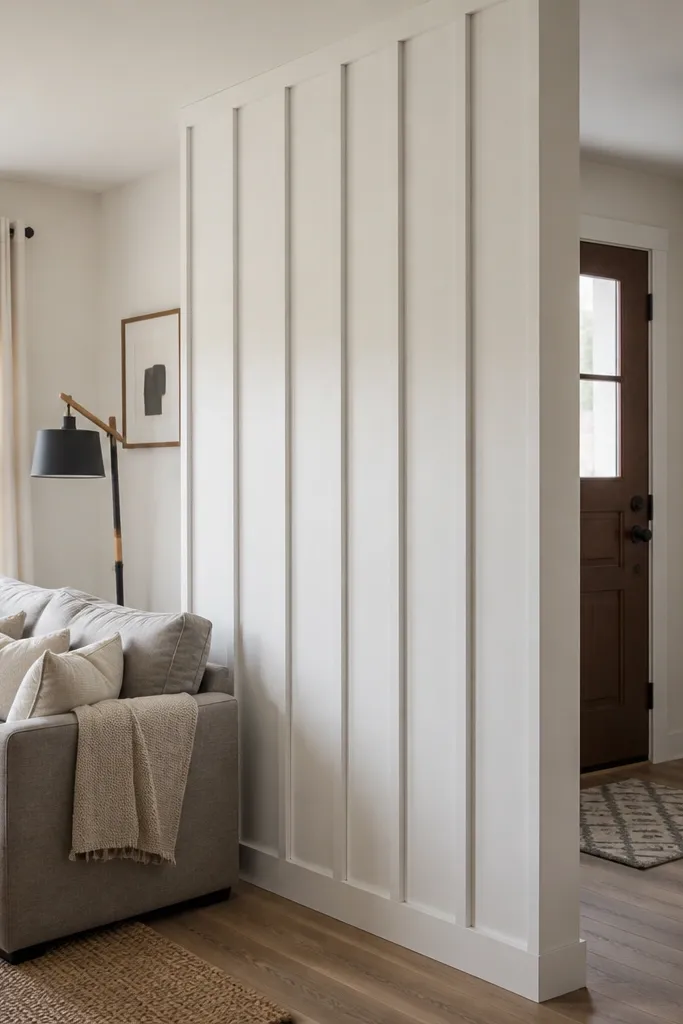
Board-and-batten panels give you the clean, architectural look of a wall without the cost of a real build. Matte white keeps it bright and modern, and the vertical battens make the divider read taller, which helps small rooms. This works when you want a crisp boundary for a doorway area or to separate a couch from a small seating cluster. The best part is how it photographs: the shadows between battens add depth even in flat lighting.
Use battens about 1 inch wide with 8 to 10 inches between battens, then build a simple rectangular frame. Keep the panel height around 72 inches if you want strong zoning; use 60 inches if you want lighter separation. Mount to studs with multiple brackets so it doesn’t wobble, then add a baseboard trim strip if you want it to look like it belongs. Prime and paint in matte finish so the battens don’t shine.
Paint the backside and edges too. It prevents “unfinished” gaps if the divider gets viewed from a slight angle.
Don’t use glossy paint — it exaggerates uneven surfaces and looks cheap fast.
7. Gallery-wall divider with two matching frames sets
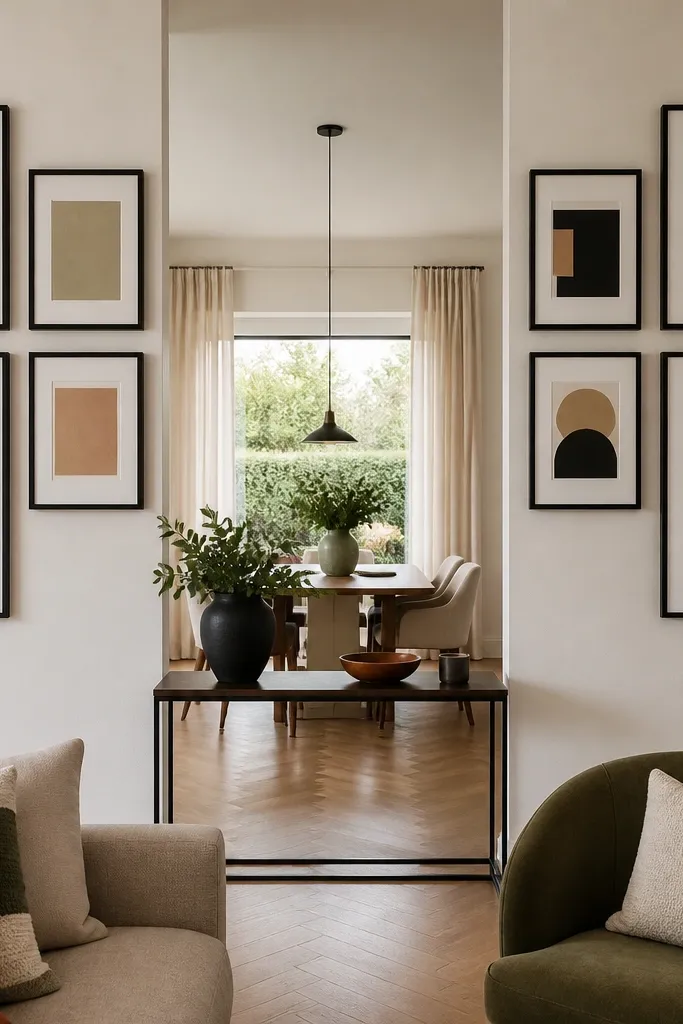
This is a living room wall divider idea that uses art to create separation instead of furniture. By building two coordinated gallery clusters with a clear gap between them, you create a visual boundary that feels intentional. It works best when your “divider wall” is already a focal point or when you don’t want to reduce floor space. Choose matching frame colors and a controlled mix of sizes so the divider reads like design, not a random wall.
Pro tipUse one dominant mat color (warm white or light gray) to make mixed art look cohesive.
Pick one frame color family (black metal or warm wood) and stick to it. Build two clusters: each cluster should be about 24 to 36 inches wide, spaced 10 to 14 inches apart so the gap reads as separation. Measure your sofa-to-wall distance and keep the top of the gallery around 66 to 68 inches from the floor. Use painter’s tape templates to place frames accurately before you drill, then hang with picture wire or sturdy wall mounts rated for the frame weight.
Watch outDon’t mix frame styles — the divider stops looking intentional when the hardware looks random.
8. Rattan room divider with a built-in media shelf edge
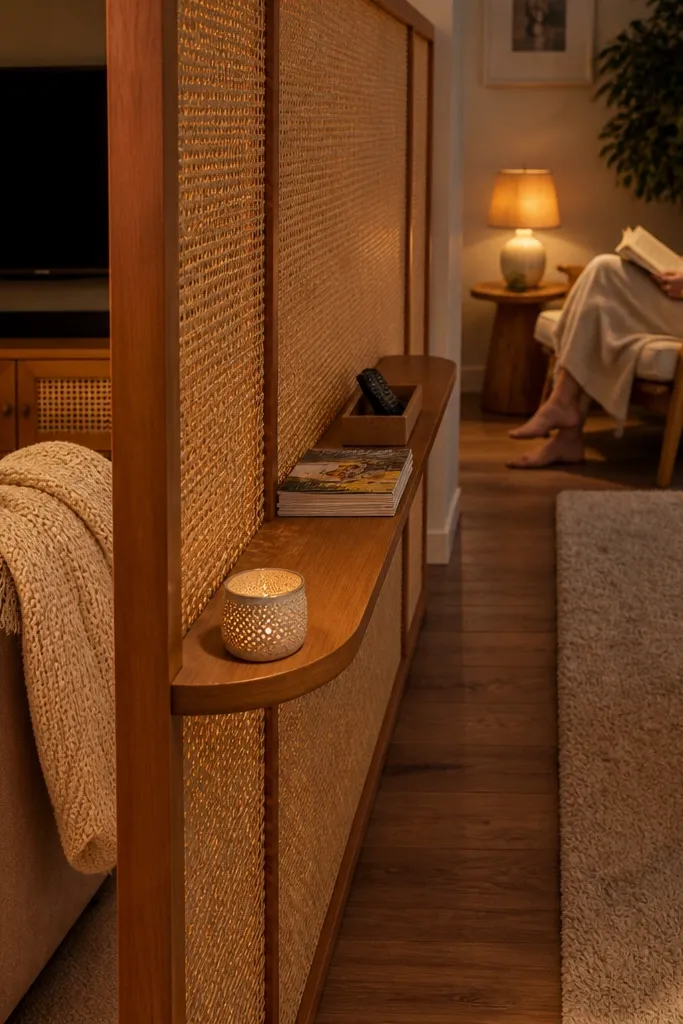
Rattan dividers bring texture and softness, and adding a slim shelf edge makes the separation practical. The shelf gives you a place for remotes, candles, or stacked magazines, so you avoid the “empty divider” look that feels unfinished. This setup is especially good for splitting a living room with a TV on one side and a lounge chair on the other. The rattan pattern also catches light in a way that looks good in daylight and at night with warm bulbs.
Pro tipUse warm lighting (2700K bulbs). Rattan looks flat under cooler light.
Choose a divider that already has a shelf lip or build a simple ledge from a thin board (about 3/4 inch thick) attached with metal corner brackets. Place the divider so the shelf aligns with a usable surface height — around 30 to 34 inches from the floor. Add a small tray on the shelf to corral items and keep it tidy in photos. If you’re making it from scratch, finish the rattan or wood parts first, then attach the shelf last so you don’t scratch the texture.
Watch outDon’t place it too close to the TV stand — you’ll create glare and lose the shelf’s usefulness.
9. Pegboard + fabric overlay for a soft privacy divider
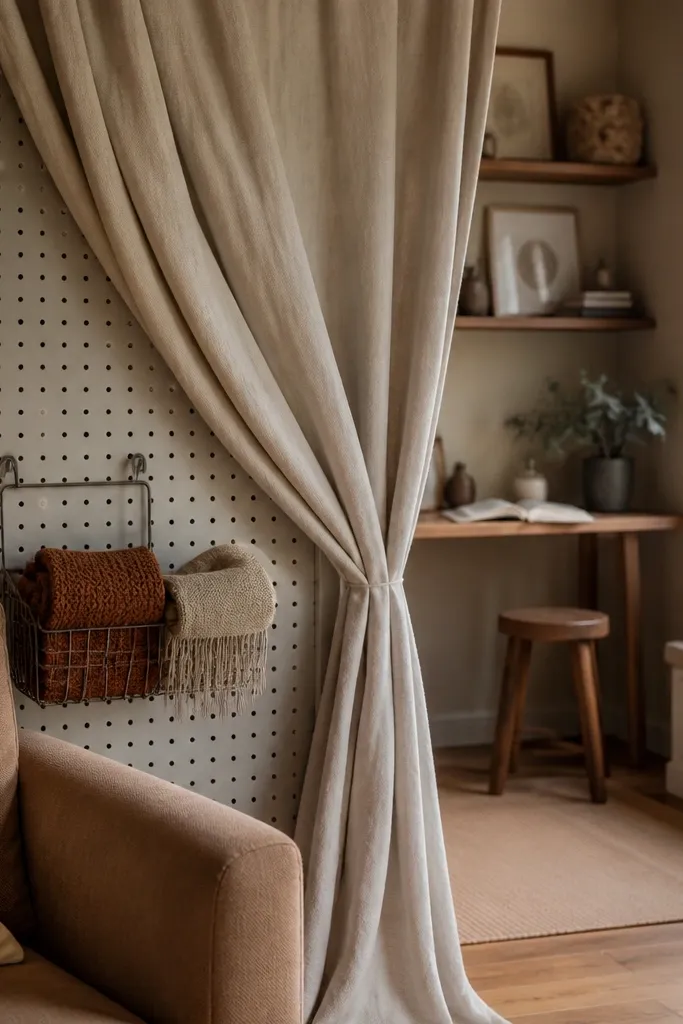
If you want privacy but still want that structured, modern look, combine pegboard with a fabric overlay. The pegboard gives you straight lines and mounting options for hooks, while the fabric softens the boundary so it feels cozy. This works well for separating a couch from a small reading nook where you want less visual exposure without making the room dark. The overlay also hides clutter, which matters in small spaces where everything ends up visible.
Mount a pegboard sheet to studs at your chosen height, then stretch fabric over a lightweight frame that attaches with clips or Velcro. Keep the fabric area around 60 to 66 inches tall so it creates a clean block without feeling like a wall. Use a fabric with enough structure to hold shape — linen blend or cotton canvas — and keep it neutral like oat, sand, or warm gray. Install hooks on the pegboard first, then add the fabric overlay so you can still hang items without removing the panel every time.
Choose fabric in a slightly warmer tone than your walls so the divider reads intentional, not washed out.
Don’t use slippery fabric that sags — sagging looks messy and kills the clean separation effect.
10. Sliding barn-door style divider track
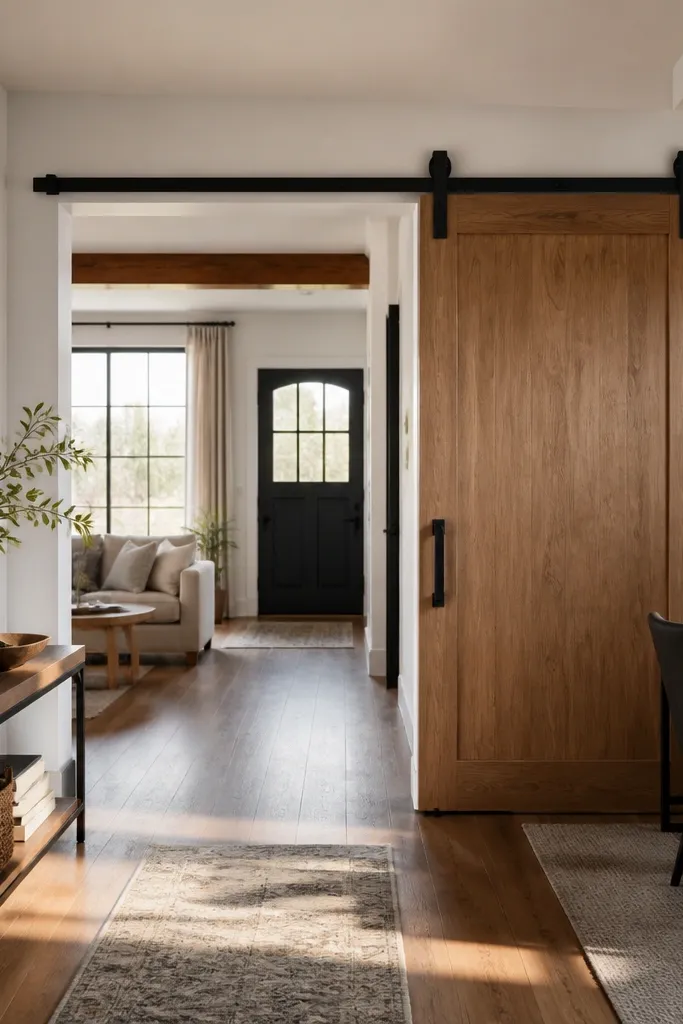
A barn-door style sliding divider gives you the most satisfying separation because it can fully close. Go with a single door panel in a wood tone or a matte black finish for a strong, graphic look. This is a great pick when you have a living room that shares space with an entryway, desk, or guest bed area and you want the option to hide it. The hardware also looks good in photos — the track line draws the eye and makes the divider feel like furniture, not a compromise.
Pro tipMatch the track finish to your light fixtures or TV bracket color so the hardware looks like it belongs.
Install a barn-door track on the ceiling or upper wall at least 4 inches above the divider opening so the door can roll without rubbing. Use a door panel width that overlaps the opening by 4 to 6 inches when closed. Mount the track into studs or use heavy-duty anchors if you can’t hit studs. Add a soft-close hinge or door stop if you want it to land quietly and keep the look clean.
Watch outDon’t size the door to the opening exactly — overlap is what makes it feel like a real divider.
11. Stacked floating shelves as a staggered divider
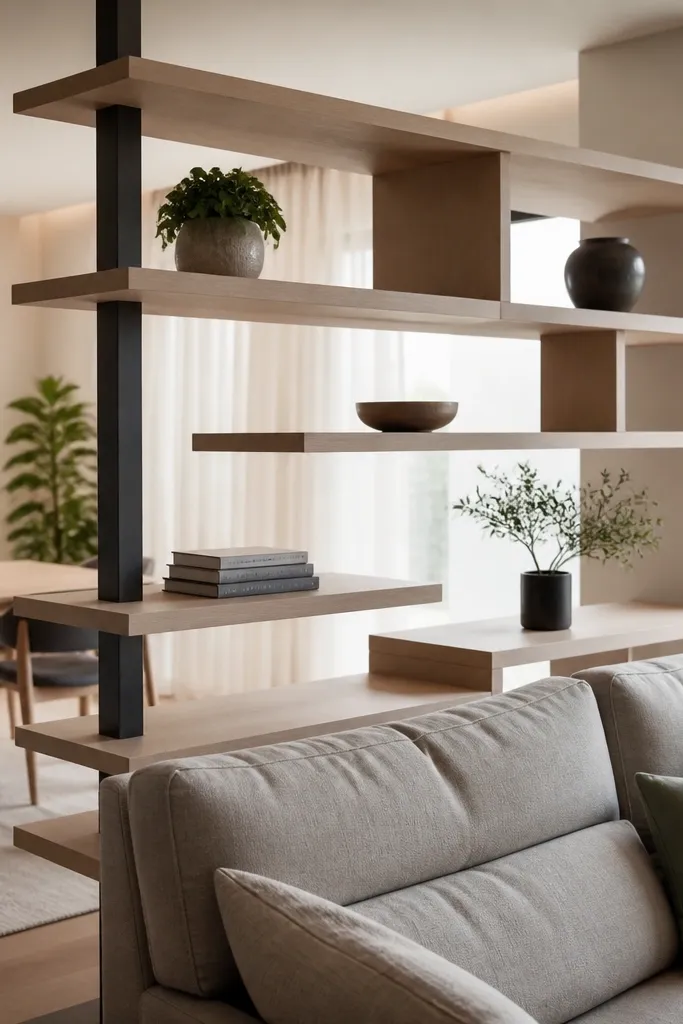
Staggered floating shelves create separation with an airy, modern rhythm. Because the shelves don’t form a solid block, your room stays bright, but the shelving line still breaks sightlines between zones. This works well when you want a divider that doubles as decor storage without eating floor space. Use it behind a sofa to define a “landing” area for throws and books, then place a few larger pieces on the opposite side for balance.
Plan a vertical stagger: mount shelves so the left side starts higher and the right side starts lower, alternating depth by about 2 to 3 inches. Use shelf depth around 6 to 8 inches so items don’t overhang into the walkway. Mark stud locations and mount with heavy-duty brackets rated for the shelf length. Style with one tall item, one medium, and a small cluster per shelf so it looks intentional instead of random.
Keep shelf spacing consistent — even if the items change, the grid makes the divider look designed.
Don’t mount without confirming studs — a sagging divider reads sloppy immediately.
12. Shiplap accent divider with a framed fabric panel
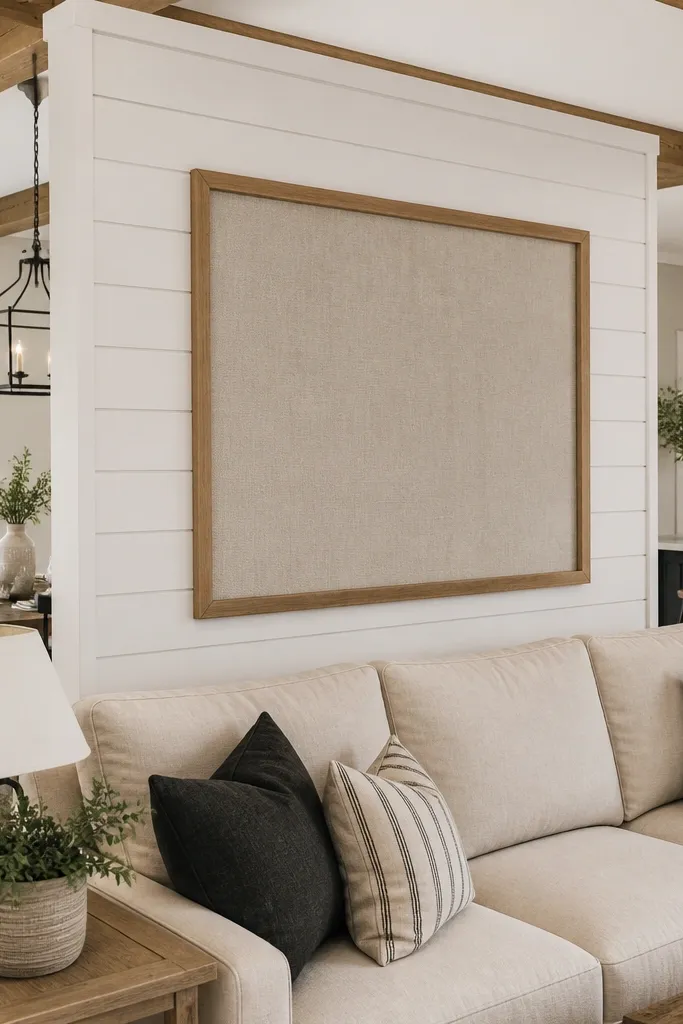
Shiplap brings texture and farmhouse-leaning warmth, but you can keep it modern by adding a framed fabric panel in the middle. The shiplap gives you the wall-like separation, and the fabric softens the center so it doesn’t feel like a heavy partition. This is a good living room wall divider idea when you want a statement boundary behind a couch or between a lounge and dining area. The framed center also makes styling easy — you can swap the fabric seasonally without rebuilding the divider.
Pro tipUse a fabric insert that repeats a color already in the room — a throw or pillow color — so it feels like part of the palette.
Build or buy a shiplap panel about 60 to 72 inches tall, then frame a fabric insert using 1x2 trim. Mount shiplap to studs, and keep the fabric frame slightly recessed so it doesn’t look slapped on. Choose a fabric with a subtle texture like linen or cotton slub in oat, clay, or sage. For mounting, use a French cleat or brackets so the frame stays aligned and level.
Watch outDon’t use a busy patterned fabric — the divider already has strong texture.
13. Foldable screen with layered textiles and a neutral palette
A foldable screen is the fastest way to get separation that still looks styled, and layering textiles makes it feel custom. Use a neutral palette and pick fabrics with different textures — like linen over cotton — so the screen doesn’t look flat. This works when you need temporary zoning for guests, a kids' play corner, or a reading setup that changes week to week. The screen also photographs well because the folds create depth and the textiles soften the edges.
Pick a screen frame color first, then choose fabric panels sized to each section. Cut fabric to overlap the frame by about 1 inch on all sides, then staple or velcro it to removable backing boards. Place the screen with the center panel aligned to your zone boundary — usually behind the sofa arm or near a rug’s edge. Add one styling anchor on the “hidden side” like a basket or floor lamp so the divider looks like it has a purpose.
Keep fabric hems consistent across panels so the screen looks clean from every angle.
Don’t mix loud prints across panels — the screen becomes visual noise instead of a boundary.
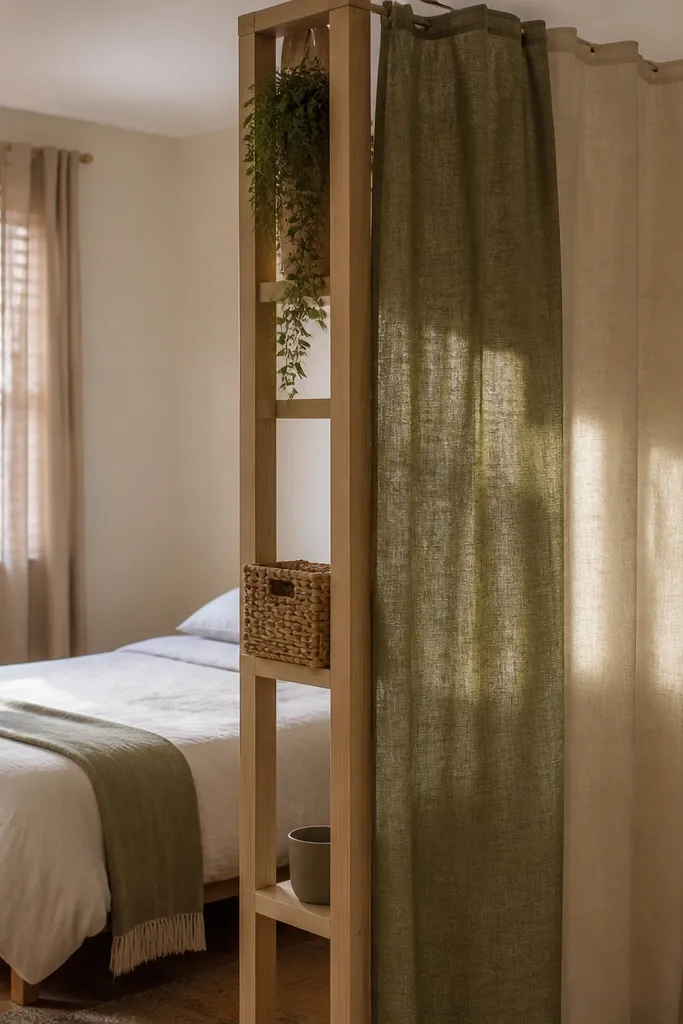
14. Vertical fabric panels on tension rods for quick zoning
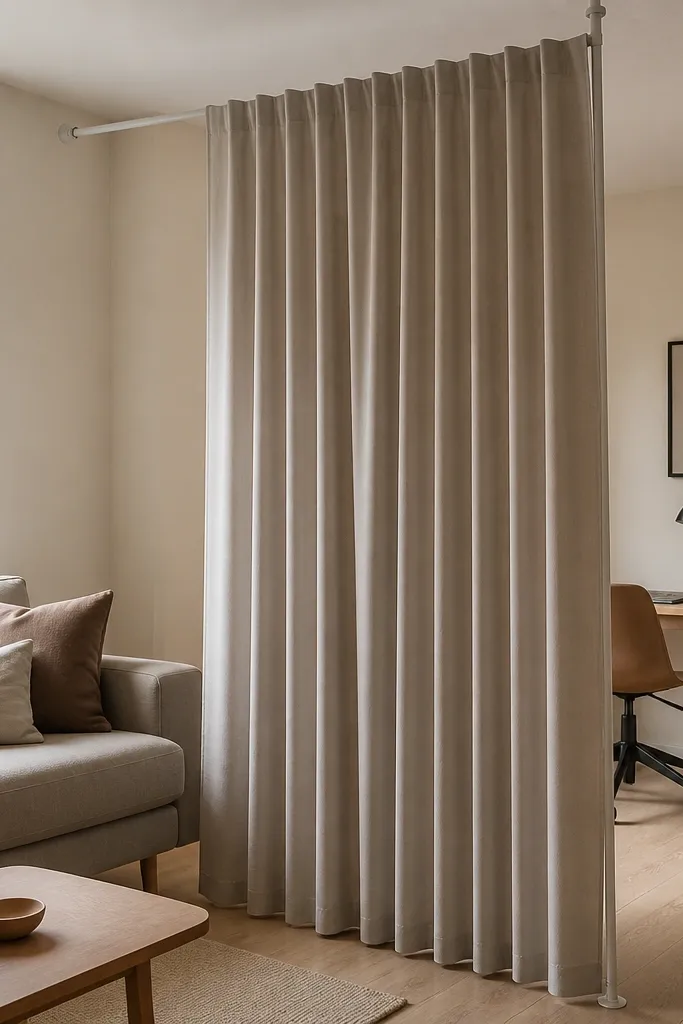
Vertical fabric panels on tension rods are a smart budget move when you rent or you don’t want to drill into walls. The panels create a clear visual line between zones while staying lightweight and easy to adjust. Use thicker curtain fabric for more separation, or sheer panels if you want the divider to read as a soft backdrop. This is a great living room wall divider idea for separating a small workspace from the couch in a one-room apartment setup.
Measure the height from your ceiling or top trim down to where you want the panels to end, then buy tension rods that match that span. Hang two to four panels with equal spacing so the divider looks intentional — aim for 4 to 6 inches between panels. Use curtain clips or sewn loops so the fabric hangs straight. Finally, test closed and open positions and adjust the rod placement so the panels line up with your rug edge or sofa boundary.
Steam the fabric before hanging. Wrinkles make tension-rod dividers look temporary.
Don’t use flimsy fabric that collapses — choose a fabric that holds a vertical drape.