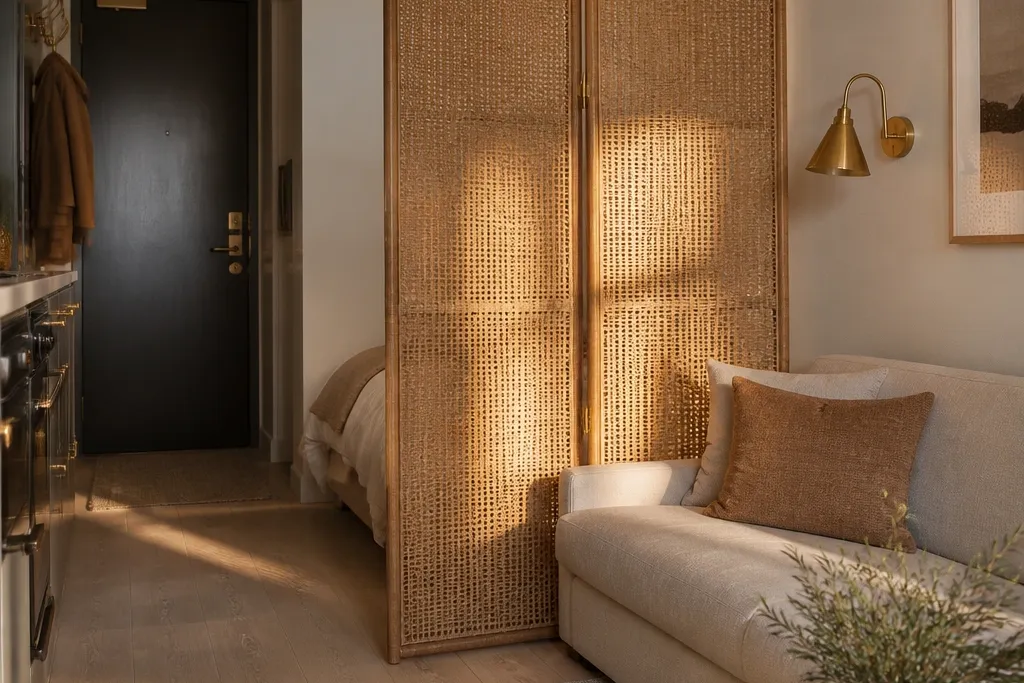
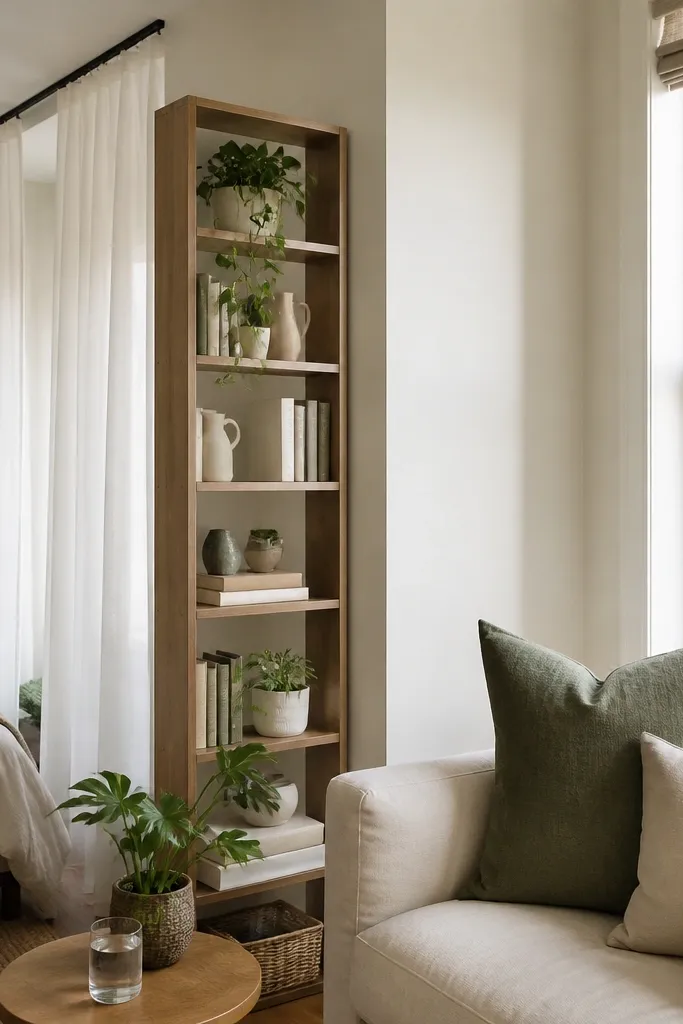
1. Woven rattan screen with a 2-panel stagger
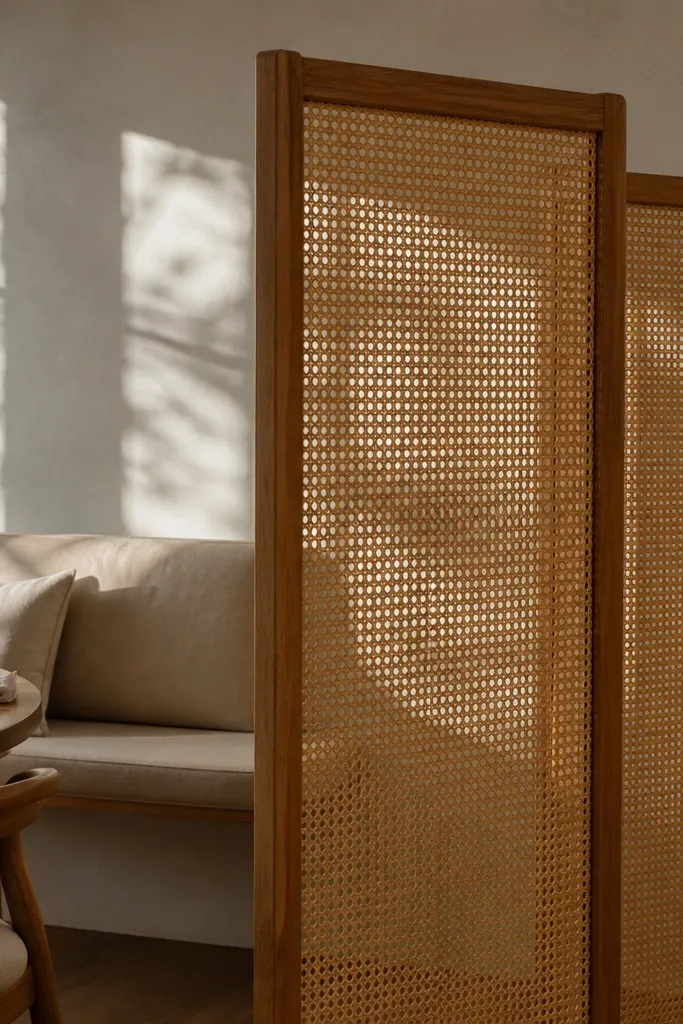
A woven rattan screen gives you privacy without the heavy, closed-in feeling that solid panels cause. Choose a rattan screen with a light, honey-beige tone and a warm wood frame so it blends with most small-space palettes. The staggered look of a two-panel configuration creates overlapping shadow lines, which helps block direct sightlines while still letting daylight bounce around. This is especially good for separating a desk nook from a living area because you get a clear boundary without turning the room into a hallway. Keep the screen height around 60-66 inches so it covers the visual line when you’re seated.
Measure your target spot first — leave at least 12 inches of space for the screen to swing or sit comfortably if it’s a folding style. Position it perpendicular to the sofa edge with the widest side facing the room you want to protect, then set the bottom of the screen about 2 inches away from the baseboard. If the screen looks too tall, add a small rug under it so the bottom edge visually lands; if it looks too short, pair it with a floor lamp behind it to bring the height up. Budget-wise, expect a mid-range rattan screen to land around $120-300 depending on size and frame thickness.
Match your hardware or trim color elsewhere — if you have brass accents, pick rattan with a warm brass-toned frame detail.
Avoid glossy finishes; they catch light and make the divider look “separate” instead of integrated.
2. Sheer curtain divider on a ceiling track
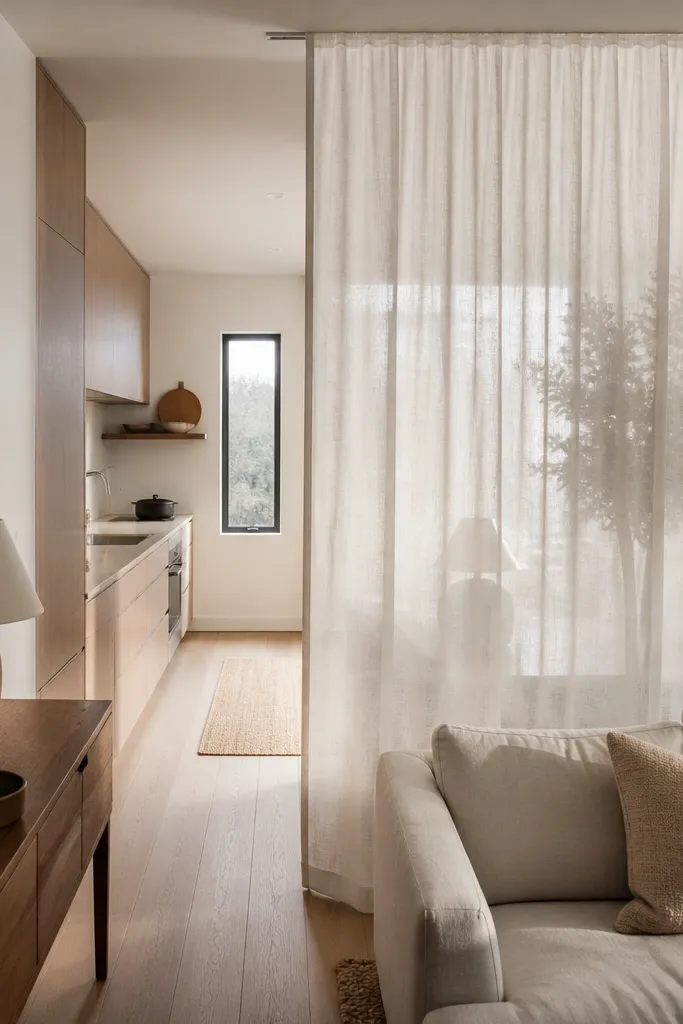
A sheer curtain divider is one of the cleanest ways to add privacy in a small room because it can look invisible when open and protective when closed. Use a ceiling-mounted track so the fabric drops straight and doesn’t eat floor space. Pick a sheer with a subtle texture, not a flat, shiny plastic look — linen-sheer blends or cotton sheers look softer and photograph better. Sheers won’t fully block strong overhead light, so they’re best for separating a sleep zone from a living zone or hiding a work mess, not for full blackout privacy. For the most effective sightline break, hang the curtain so it reaches 2-3 inches above the floor.
Install a ceiling track across the width you need — for most small rooms, 50-72 inches is plenty, depending on where the divider lands. Hang a double layer if you want more privacy: one sheer panel plus a second fabric layer you can pull closed at night. Thread the panels so they stack neatly to one side, then test the closed position by standing where you want privacy and checking what you can see. Expect a budget track kit to cost about $40-120, with fabric adding $30-120 based on width and fabric choice.
Use a slightly warm white sheer (not icy white) if your walls are cream or beige; it looks intentional under daylight.
Skip tension rods in small rooms; they sag and create gaps that ruin the privacy effect.
3. Tall slatted wood panel on casters
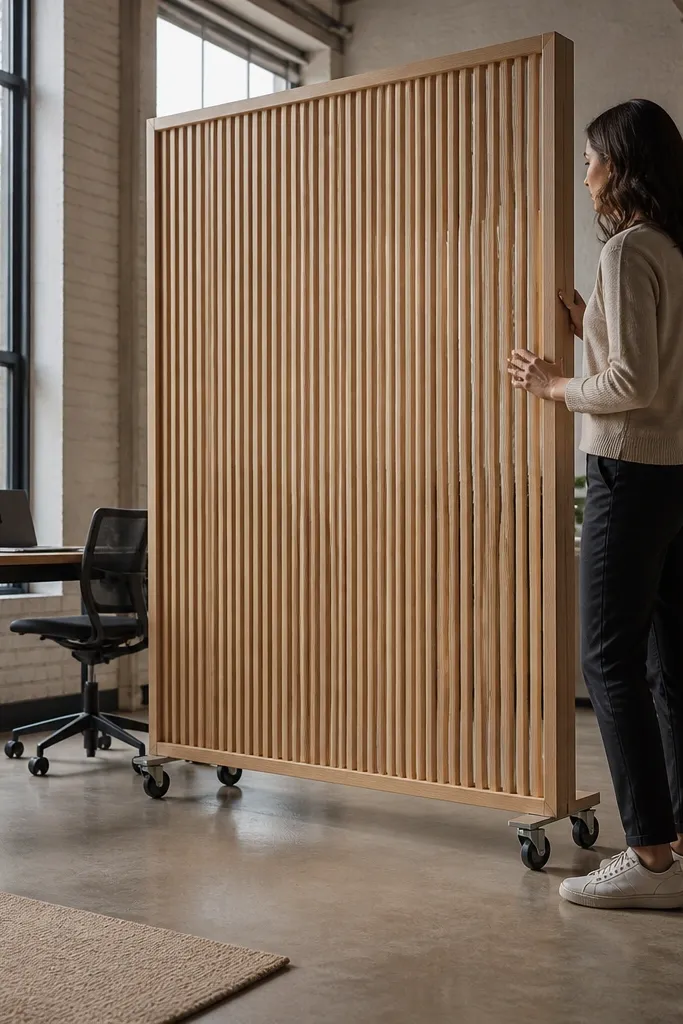
A tall slatted wood panel gives you the best of both worlds: it blocks direct views while letting light pass through the gaps. Casters make it practical in a small space where you’ll move the divider daily — close it when you want privacy, roll it back when you need airflow. Choose a light oak or pale ash tone to keep the room bright; dark slats can work, but only if you have warm lighting and enough natural light. Aim for 64-72 inches tall so it covers the visual line from a couch seat or dining chair. This divider is great for separating a kitchen doorway area from a living room without building anything permanent.
Pick a slatted divider with a stable base and lockable wheels; the lock matters because a moving divider will drift. Place it in the corner where you want the boundary, then pull it 6-10 inches away from the wall so the slats throw a shadow line across the room. Use a rug edge or a floor lamp on the same side to make the divider feel like part of the layout. If you’re DIYing, build a frame with 1x2 lumber, then attach slats spaced around 1 inch apart; finish with a matte clear coat to avoid glare.
Pro tipAdd one plant stand or tall planter behind it — the verticality makes the divider look styled, not temporary.
Watch outDon’t place a slatted divider directly in front of a window; you’ll lose light and the gaps won’t help.
4. Curtain-and-rods combo with a decorative tension frame
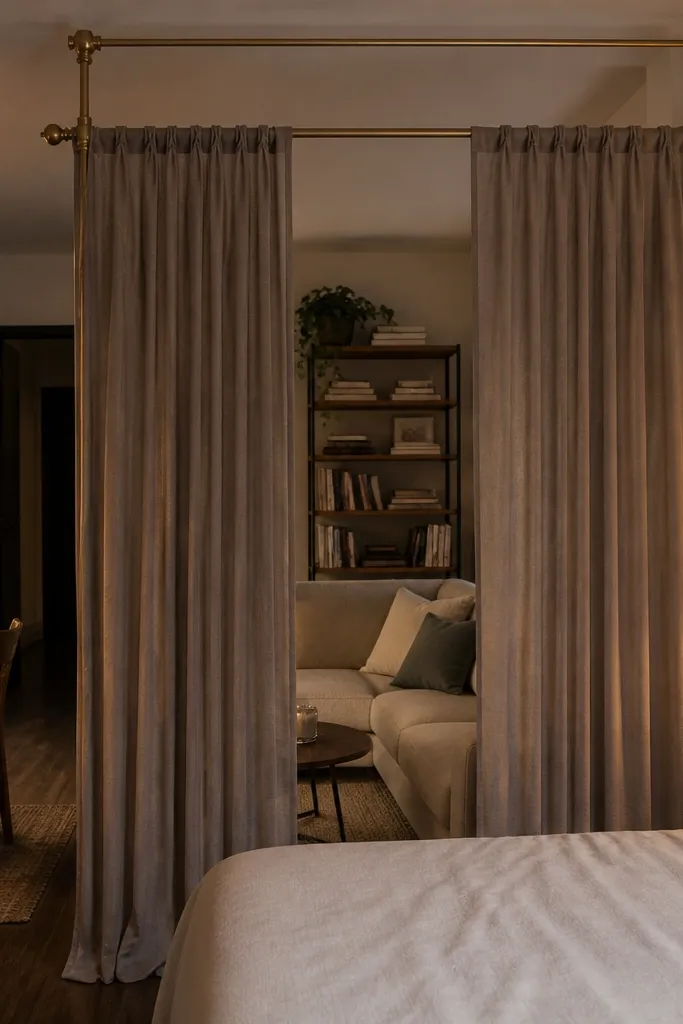
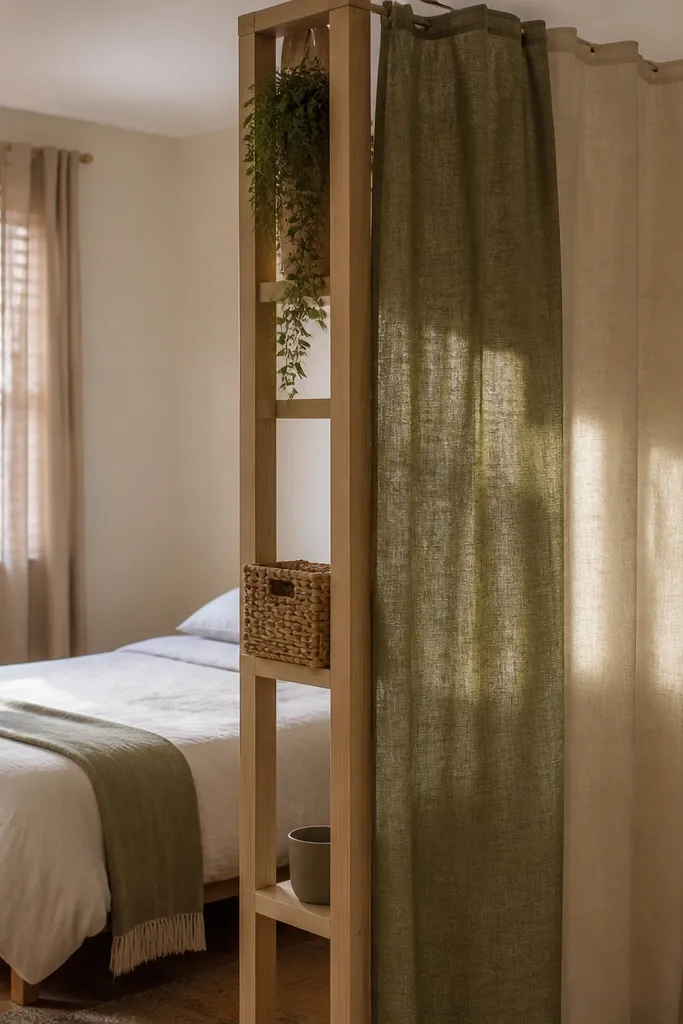
Freestanding curtain dividers are the rental-friendly way to get privacy fast without drilling into ceilings or walls. Use a decorative tension frame or freestanding stand with two curtain panels so you can close off the zone when you need it. Choose a medium-weight curtain fabric in a color that matches your room — warm greige, soft sage, or deep olive all photograph well. The fabric weight matters: too sheer and it won’t block views; too thick and it can feel heavy. This setup works best for a sleeping area in a studio or for hiding a laundry basket station behind a living sofa.
Assemble the stand and confirm it’s stable on your floor — if you have uneven flooring, add felt pads under the feet. Hang two panels so they overlap in the center when closed, then set the bottom so it hovers about 1 inch above the floor for a tailored look. Position it where you want the boundary line — usually behind the main seating, not blocking the main walkway. Budget-wise, plan for about $70-200 for the frame plus $40-120 for fabric depending on panel width.
Pro tipHem the curtains to the right length; pooled fabric near the floor makes small rooms look messy.
Watch outAvoid mixing curtain colors that don’t match anything else; the divider becomes a loud block instead of a calm boundary.
5. Bookcase divider with open shelves and backless styling
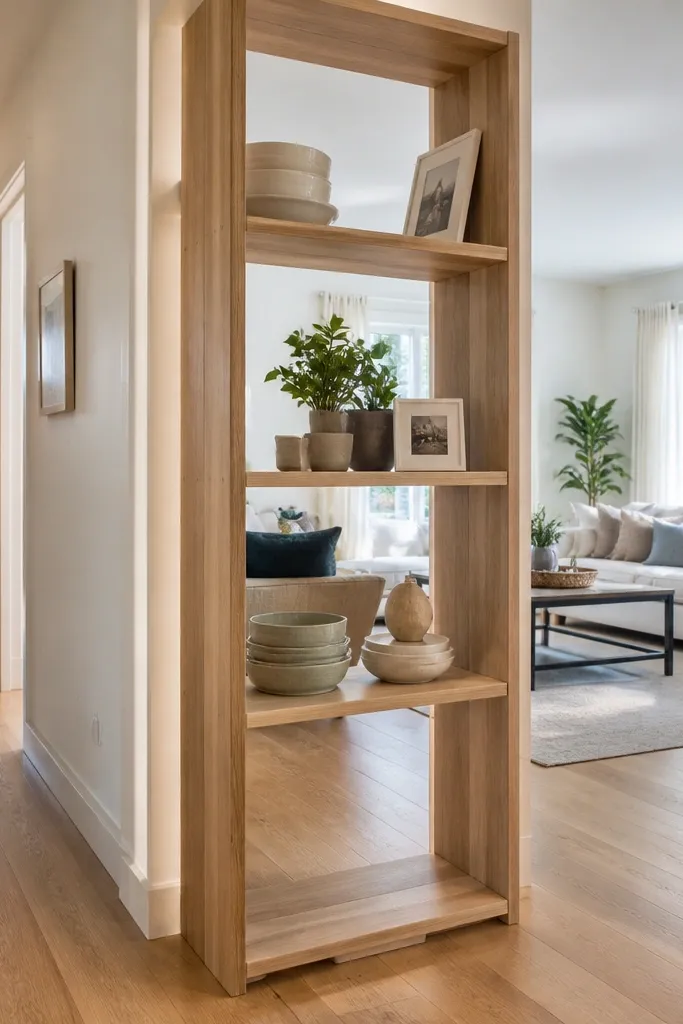
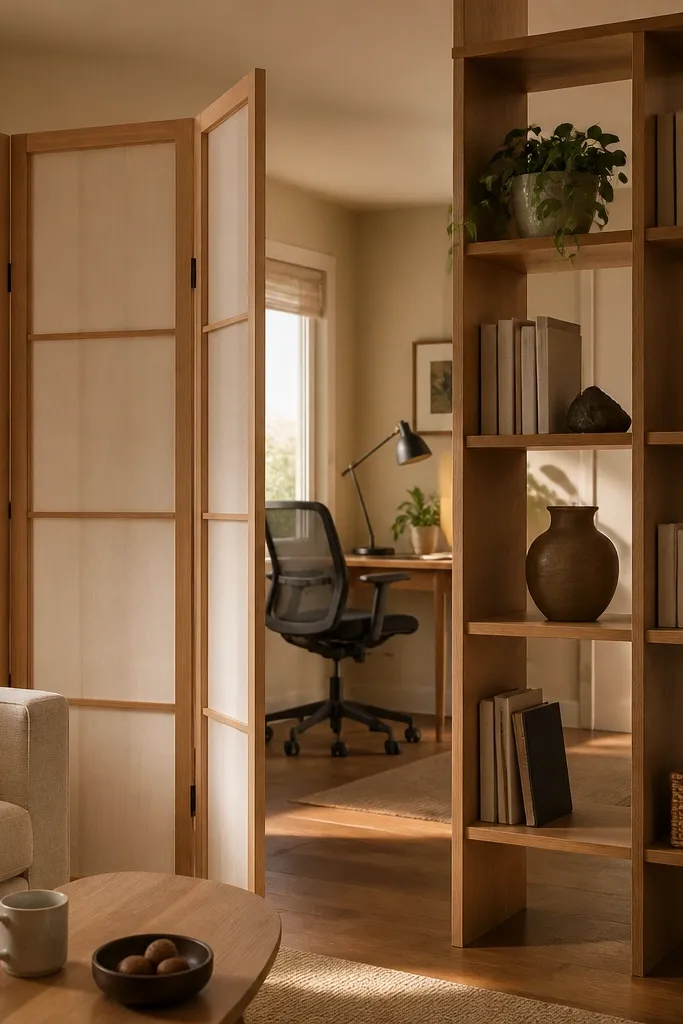
An open bookcase divider adds privacy while still letting light through, and it doubles as storage so you’re not paying for an item that only blocks. Pick a narrow bookcase — 10-14 inches deep is a sweet spot for small rooms. Use shelves that are open to reduce visual weight, and style the top and middle shelves with a repeating rhythm: books stacked, then one basket, then a stack of trays. This works great for separating a reading corner from a dining area because you can see enough to keep the room airy. For privacy, place the bookcase so the backless side faces the messy zone, and keep the height around 60-72 inches.
Choose a bookcase with a stable base and anti-tip hardware if it’s tall. Position it perpendicular to your main furniture and keep a clear walkway on at least one side. Style with low, flat objects on the lower shelves and taller items on the upper shelves so your eye line is broken. If you’re shopping, look for adjustable shelves so you can fit baskets and binders without ugly gaps; cost is usually $150-450 depending on size and finish.
Use two matching storage baskets on the same shelf level — it makes the divider look designed instead of accidentally cluttered.
Don’t fill every shelf; a sparse pattern looks cleaner and improves the privacy effect.
6. Metal folding screen in matte black with linen panels
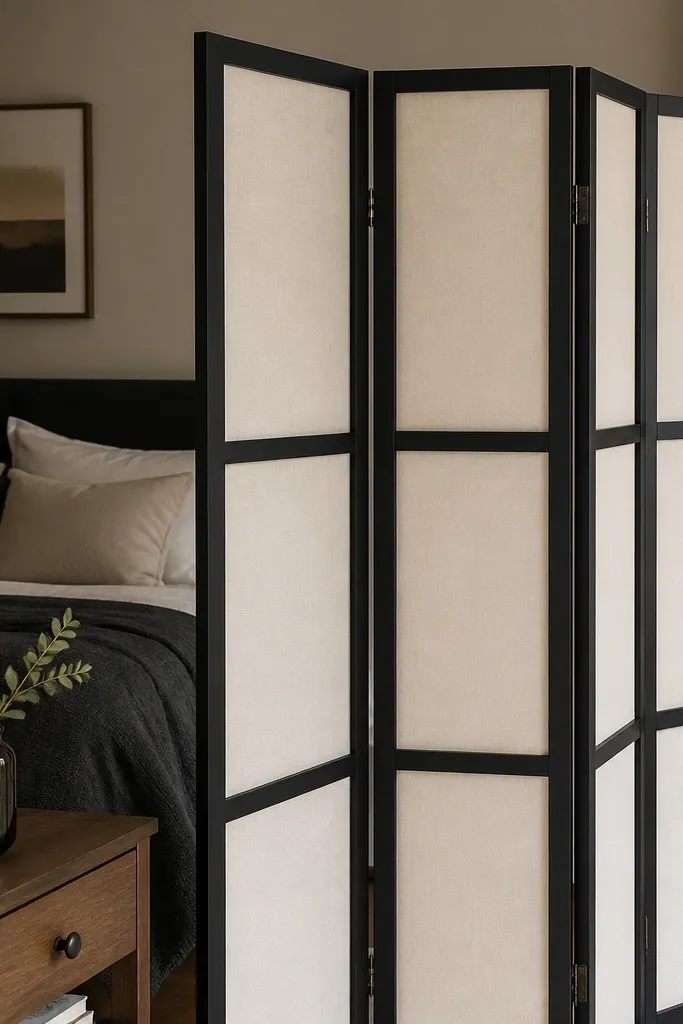
A matte black folding screen gives you strong sightline separation with a crisp, modern look that doesn’t swallow the room. The trick is to choose linen or fabric panels inside the frame, not solid reflective metal — fabric softens the edges and looks good in photos. Matte black is graphic and works best if you have at least one other black element nearby, like a lamp base, picture frames, or a curtain rod. This divider is ideal for creating a temporary private nook in a small apartment without committing to a fixed unit. Aim for 65-72 inches tall so it covers seated eye level.
Open the screen and place it where you want the boundary; for most rooms, it looks best at a slight angle (about 10-20 degrees) instead of perfectly straight. Leave 2-3 inches from the wall so the screen casts a shadow and doesn’t look pasted to the baseboard. Add a floor-length rug under the edge closest to the divider so the whole setup feels intentional. Expect $120-320 depending on panel quality and frame size.
Hang one piece of wall art on the same side as the screen to “frame” the divider visually.
Avoid shiny metal; it turns into glare in small rooms and makes the divider look harsh.
7. Pegboard privacy wall with fabric-wrapped backing
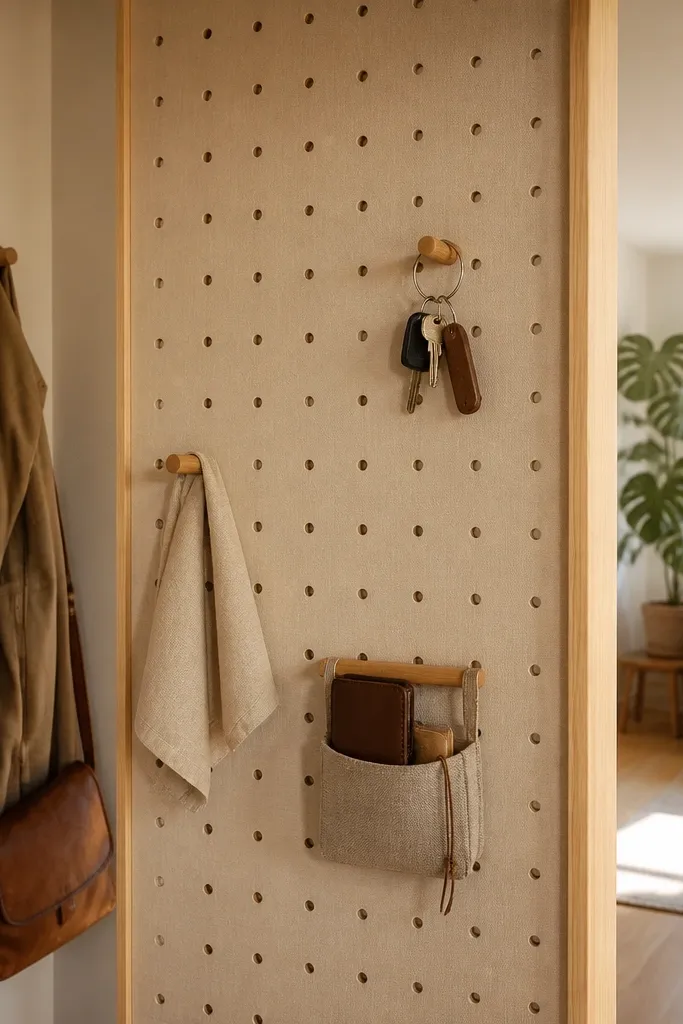
A pegboard divider is a smart small-room move because it separates areas and lets you hang your everyday stuff right where you need it. To keep it looking warm instead of industrial, wrap the back in fabric or use a fabric-lined backing so the pegboard doesn’t show raw board color through the holes. Choose a light pegboard color like warm white or natural wood and keep the divider depth to about 1 inch so it doesn’t feel bulky. This is best for privacy around a desk, craft station, or entry drop zone because you get visual separation plus organization. Use a height around 60 inches so it breaks the sightline when you’re standing or sitting.
Mount the pegboard to a freestanding frame or build a lightweight base so you can place it without drilling. Back it with a fabric panel that covers the full area behind the pegs, then cut an opening for any hardware so it sits flush. Add hooks for bags, headphones, and a small shelf for mail, then hang one or two empty frames or baskets at eye level for a styled look. If DIYing, use 1/2-inch pegboard and a simple 2x2 wood frame; finish with paint and a matte topcoat.
Pro tipKeep hanging items mostly in two vertical columns; that pattern makes the divider look calm, not chaotic.
Watch outDon’t overload with random hooks — the divider becomes visually noisy and privacy drops.
8. Low divider console with tall plant line
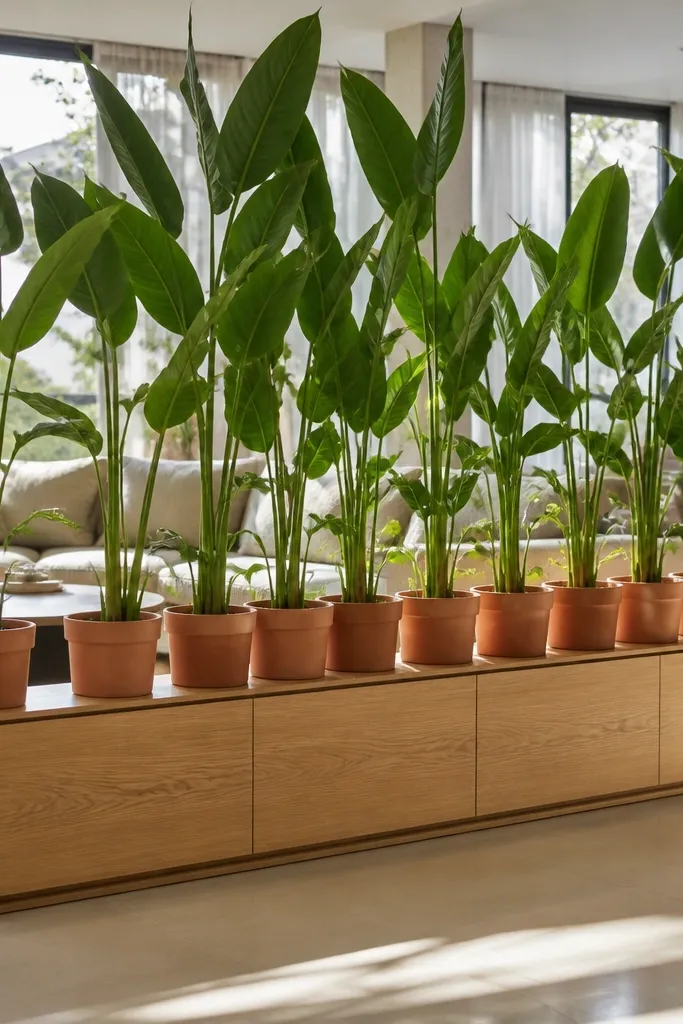
If full-height privacy isn’t the goal, a low divider console plus tall plants is one of the prettiest ways to define space without blocking light. Use a console around 24-32 inches tall with a slim depth of 10-12 inches. The plants do the privacy work by creating a vertical screen effect, and the console gives you a clean surface for styling. Choose planters in matte ceramic or woven textures so the look stays warm. This setup is perfect behind a sofa for defining a dining nook or for separating a sleeping corner in a studio where you still want airflow.
Place the console perpendicular to the sofa or bed and keep a 30-36 inch clear walkway if it’s a main path. Use 2-3 tall plants in a tight line, with the tallest in the center and slightly shorter ones on the sides; aim for plant heights around 36-48 inches. Style the console with one tray and one lamp or candle holder so it looks like furniture, not a divider hack. Budget is usually $80-250 for the console plus $30-150 for planters and plants depending on size.
Pro tipPick plants with consistent leaf shape — tall grasses plus one broad-leaf plant looks intentional.
Watch outAvoid super short plants; if they’re below 30 inches, they don’t break the sightline.
9. DIY slat panel with fabric strips for soft privacy
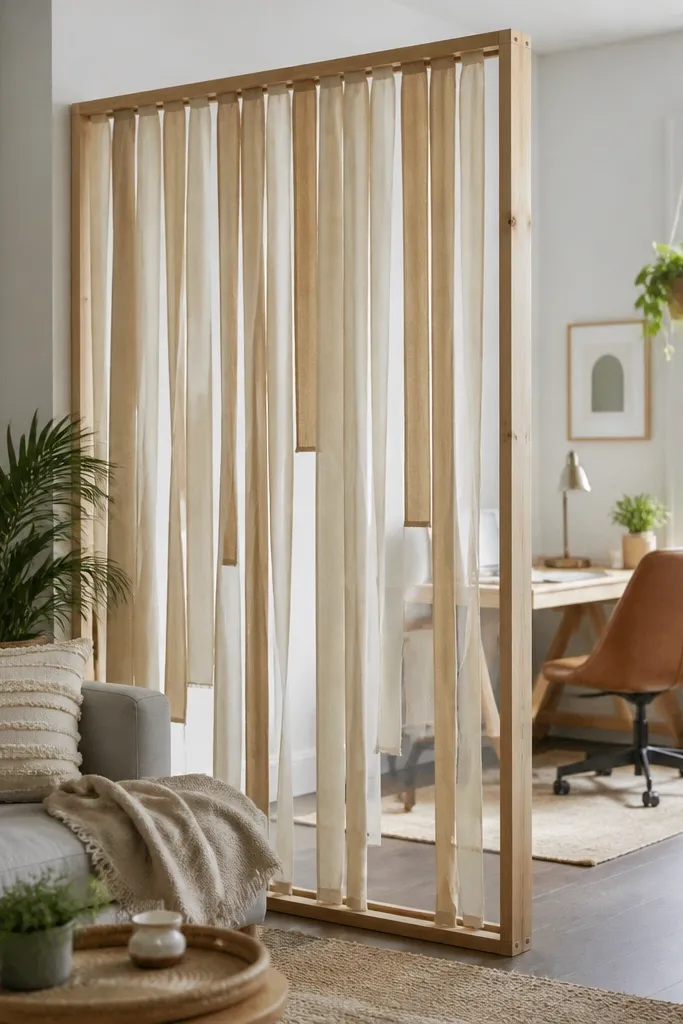
This one looks handcrafted and does real work: a slat frame with hanging fabric strips breaks sightlines but keeps the room airy. The wood slats create structure, while the fabric moves slightly with air flow, adding softness and a lived-in vibe. Use light wood and fabric in one or two tones — warm white with sand, or oatmeal with sage — so it doesn’t look patchy. This divider is great for separating a hallway-facing work desk from the living area because it blocks direct views but doesn’t make the room feel dark. Put it at about 66-72 inches tall so it hits seated eye level.
Build a simple rectangle frame using 1x2 lumber, then attach slats spaced 1-1.5 inches apart. Hang fabric strips from each slat using curtain rings or stitched tabs; keep strips about 12-18 inches long so they sway and overlap. Mount the frame on a freestanding base or hinges so it stays stable, then position it 6-10 inches from the wall to let shadows show. Cost is low if you source lumber and fabric from a craft store; expect $60-160 depending on fabric yardage.
Pro tipUse two fabric lengths — long strips in the center, shorter strips on the sides — it looks more designed.
Watch outAvoid thin, flimsy strips; they cling flat and lose the sightline-blocking effect.
10. Foldable privacy gate style screen in light oak
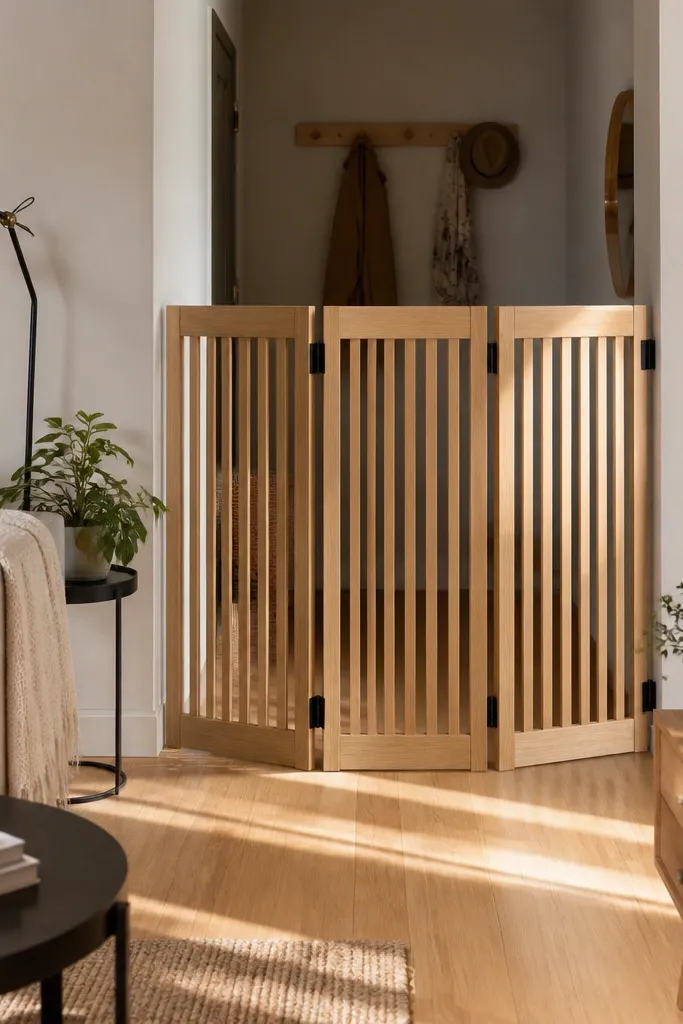
A folding gate-style screen has a clean, architectural look and it’s great when you want a divider that stands up to daily use. Light oak keeps it warm and bright, and the hinge design lets you open it wider when you want more separation. Choose a screen with evenly spaced vertical slats and a solid top rail; that combination blocks direct views without feeling like a fence. This is ideal for separating a bed area from a living space because it reads as furniture, not a temporary partition. Target a height around 70 inches so it covers the upper part of the bed when you’re lying down.
Place the screen where it can fold without hitting furniture — measure clearance on both sides first. Set it so it faces the bed or the messy zone, then adjust the opening width to match the space you’re trying to protect. Add a soft element on one side, like a throw blanket over a chair back, to balance the rigid lines of the slats. If you’re buying, look for a frame that’s at least 1.5 inches thick for stability; typical price range is $140-350.
Match the screen’s wood tone to your bed frame or dresser — even if you don’t match exactly, keep undertones warm or cool consistent.
Avoid screens with wide slat gaps; they look airy but don’t block the sightline you actually care about.
11. Double-panel acrylic and fabric hybrid divider
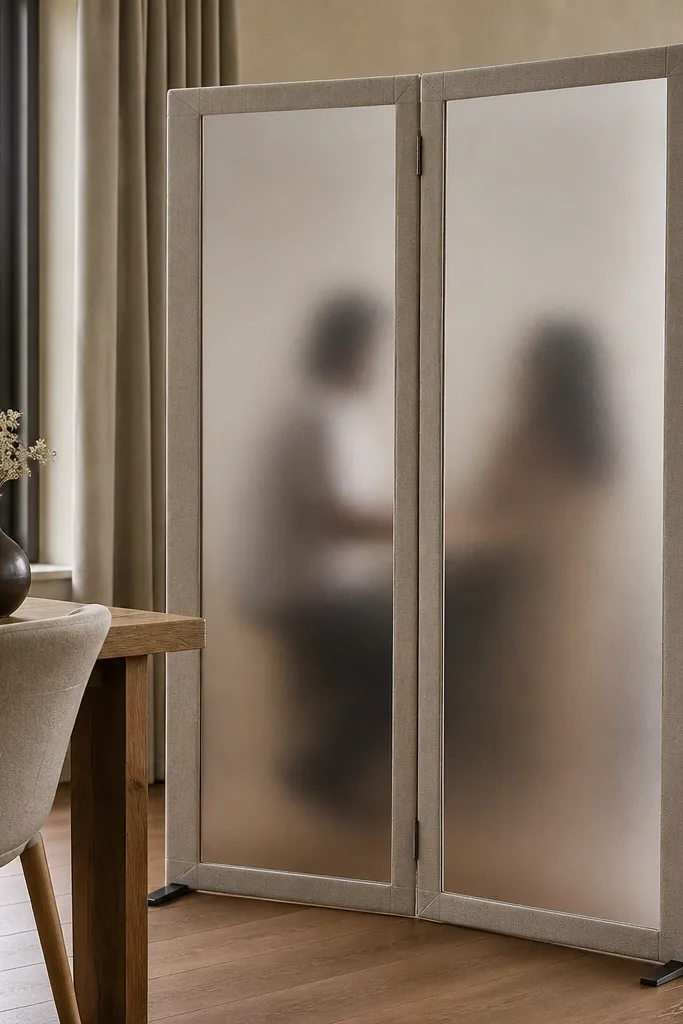
For small rooms that need light retention, a hybrid divider works because it blocks vision without turning the space into a cave. Use a clear or frosted acrylic panel with fabric edges or a fabric backing so it doesn’t feel sterile. Frosted acrylic is better than fully clear when you care about privacy; it blurs shapes while still letting the room’s brightness come through. This is a strong choice for separating a kitchen-living combo where you want your divider to disappear into daylight. Keep the height around 60-68 inches and anchor the base so it stays planted.
Buy a divider kit or assemble panels on a stable base frame with anti-slip feet. Position it where you want a clear boundary line, then test visibility by standing at couch height and checking whether you can identify shapes through it. Add a fabric throw or runner on the floor behind the divider to soften the look and reduce glare. Cost is usually $120-400 depending on panel size and whether it’s a ready-made unit.
Pro tipUse frosted panels facing the privacy side — it gives you blur without killing the light.
Watch outDon’t use fully clear panels if you want privacy; you’ll just recreate the problem with worse style.
12. Gallery wall divider with framed fabric panels
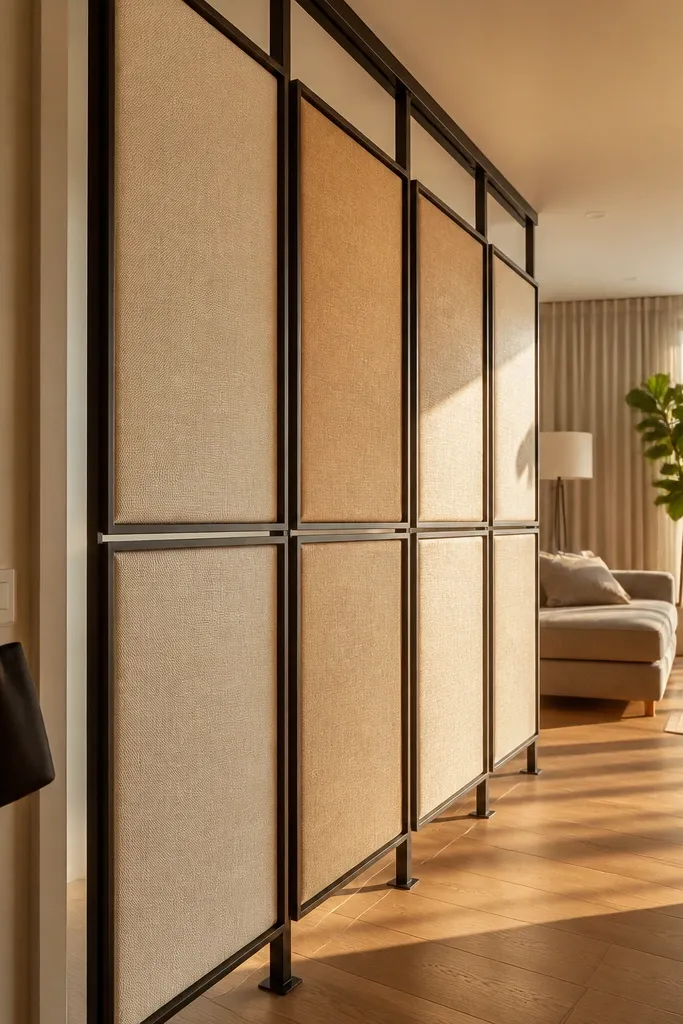
A framed gallery wall divider is a smart way to add privacy and personality in tiny spaces where floor dividers feel too big. You build a narrow grid of framed fabric panels — think 8-10 frames — and mount it on a freestanding track or lightweight wall system. The fabric inside each frame blocks direct views while the gaps between frames keep the room from feeling sealed off. Choose fabrics with a matte finish like linen blend, and stick to a tight palette: warm white, taupe, and one accent like muted terracotta. This works well for separating a reading nook from a dining area because it looks like wall art, not a barrier.
Pick a frame size like 12x16 or 16x20 and plan a grid that fits your wall space; for small rooms, 48-72 inches wide is usually enough. Mount using a freestanding panel system or attach to a wall only if that’s possible in your space. Arrange the frames with consistent spacing and center the tallest piece at eye level (about 60 inches from the floor). Style the area around it with one matching lamp or floor plant so the divider reads as intentional decor. Budget lands around $100-300 if you already have frames and buy fabric by the yard.
Pro tipUse fabric with subtle texture — it catches light softly and looks better than flat printed panels in photos.
Watch outSkip glossy prints; they reflect overhead light and make the divider look cheap.